Creating a bootable USB drive from an ISO image is a handy skill for anyone looking to install an operating system or run diagnostic tools. Whether you're upgrading your computer, troubleshooting issues, or experimenting with a new OS, having that bootable USB on hand can save you a lot of hassle. In this guide, I'll walk you through the steps you need to take to get your USB drive ready. Let’s dive in!
What You Need to Create a Bootable USB Drive
Before we jump into the process, let’s gather everything you’ll need to successfully create your bootable USB drive. Here’s a quick rundown:
- A USB Drive: Make sure you have a USB flash drive with at least 4GB of storage. Keep in mind that all data on the drive will be erased, so back up any important files!
- An ISO File: You'll need the ISO image of the operating system or tool you plan to install. This could be anything from Windows to various Linux distributions. You can usually download these from the official website.
- A Computer: This could be a Windows, macOS, or Linux machine. The steps may vary slightly depending on your OS, but the principles are the same.
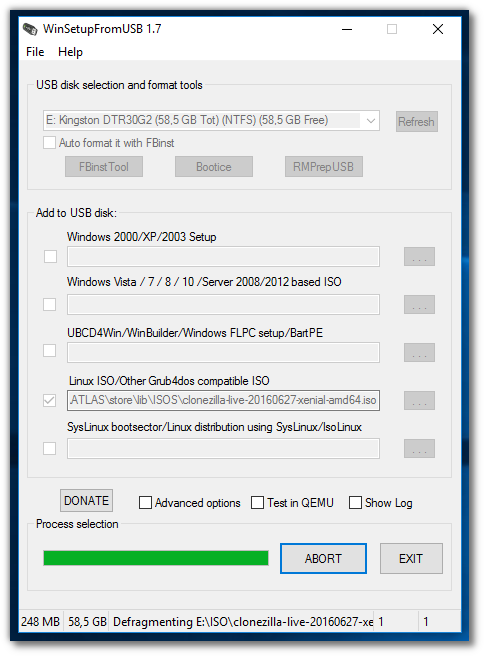
- Rufus (for Windows users) or Balena Etcher (for macOS and Linux users): These are popular software tools that can help you create bootable USB drives easily. They both have user-friendly interfaces that make the process straightforward.
- Knowledge of Your BIOS/UEFI Settings: If you're planning to use the USB to boot into a different operating system, know how to change your BIOS or UEFI settings to prioritize USB boot. This will allow you to boot from the USB drive right after it’s created.
Now that you know what you need, it’s time to gather these tools. Let's check if you have everything ready to move forward.
Once you have your USB drive and ISO image handy, and you've downloaded your chosen software, you're all set. Next, we’ll walk through the steps to make that bootable USB drive. It's easier than you might think, and you're going to love the freedom a bootable drive offers!
Also Read This: How to Make Money on Getty Images and Boost Your Income Stream
3. Step-by-Step Guide to Making a Bootable USB Drive
Creating a bootable USB drive from an ISO image can seem daunting at first, but it’s quite a straightforward process once you break it down into manageable steps. Let’s get started!
Step 1: Gather Your Materials
- A USB drive (at least 8GB is recommended)
- An ISO image file (this could be an operating system or any bootable utility)
- Software to create the bootable drive (such as Rufus, UNetbootin, or the Windows USB/DVD Download Tool)
Step 2: Install the Bootable Drive Software
Depending on your operating system, you might need to download one of the aforementioned tools. For instance, if you’re using Windows, Rufus is a popular choice. You can find it easily through a quick web search. Download and install the application as per the on-screen instructions.
Step 3: Insert the USB Drive
Plug your USB drive into the computer. Ensure you have backed up any important data on the USB drive, as the process will erase all existing data on it.
Step 4: Open the Bootable Drive Software
Launch your selected application (like Rufus). You should see a user-friendly interface that allows you to select the USB drive and ISO image file.
Step 5: Configure the Settings
- Select the USB drive from the drop-down menu under “Device”.
- Click on “Select” next to “Boot selection” and find the ISO file you downloaded.
- Ensure the partition scheme is correct—generally, GPT for UEFI or MBR for legacy BIOS.
- Leave the file system as FAT32, unless you’re handling files over 4GB, in which case you might need NTFS.
Step 6: Start the Creation Process
Once everything is set, click the “Start” button. You might receive warnings about data loss on the USB drive—this is normal. Confirm that you want to erase the USB drive and proceed.
Step 7: Wait for the Process to Complete
The creation process can take several minutes, depending on the size of the ISO file and the speed of your USB drive. Once it’s done, you’ll see a “Done” message.
Step 8: Safely Eject the USB Drive
Make sure to safely eject your USB drive from your computer to avoid any corruptions. Your bootable USB drive is now ready to use!
Also Read This: how to change kb of image
4. Troubleshooting Common Issues
Sometimes, despite following all the steps, you may run into a few issues while creating a bootable USB drive. Don’t worry; we’ve got some common problems and solutions to help you troubleshoot!
Issue 1: USB Drive Not Recognized
If your USB drive isn’t showing up in the bootable software, it may not be properly connected. Here’s what you can do:
- Try a different USB port.
- Use another computer to see if the drive is detected.
- Check for any physical damage to the USB drive.
Issue 2: ISO File Not Valid
If you receive an error stating the ISO file is not valid, you might want to check:
- Ensure that the ISO file isn’t corrupt. Try downloading it again from a reliable source.
- Check that you’re selecting the correct file type during the process. Some tools have restrictions on the ISO formats they support.
Issue 3: Boot Failure
You’ve created your bootable USB drive, but it’s not booting. Here’s what to check:
- Make sure your BIOS or UEFI settings are configured to boot from the USB drive before the hard drive.
- Verify the partition scheme you selected is compatible with your motherboard settings (UEFI vs. Legacy).
Issue 4: Speed Problems
If the process takes excessively long, consider the following:
- Use a high-quality USB 3.0 drive for faster writing.
- Close other resource-intensive applications on your computer that may be slowing down the process.
Issue 5: Permissions Errors
On Windows, you might encounter permission-related issues. To tackle this:
- Run the bootable software as an administrator by right-clicking on its icon and selecting “Run as administrator”.
By keeping these troubleshooting tips in mind, you’ll have a smoother experience creating your bootable USB drive. Remember, patience is key, and don’t hesitate to seek help from online forums or communities if you get stuck!
Also Read This: The Ultimate Guide on Saving Tiktok Photos as Video
5. Alternatives to Creating a Bootable USB Drive
So you’ve made it this far and are still looking for ways to create a bootable USB drive? No worries! There are several alternatives to the traditional methods we’ve discussed. Each has its own benefits and quirks, depending on your needs and the operating system you’re using. Let’s take a look at some of these alternatives:
- dd Command (Linux/Mac): If you're a Linux or Mac user, you can use the powerful
ddcommand. This method takes a little command-line knowledge but can be very efficient. Here’s how you do it:- Insert your USB drive and figure out its path using
diskutil list(Mac) orlsblk(Linux). - Open a terminal and run the command:
sudo dd if=/path/to/your.iso of=/dev/sdX bs=4M status=progress(replace/dev/sdXwith your drive’s path). - Wait until it finishes—be cautious! If you get this wrong, you may overwrite the wrong drive!
- Insert your USB drive and figure out its path using
- UNetbootin: This free tool supports multiple operating systems and is easy to use. You can either create a bootable USB from an ISO or download a distribution directly. Just select your ISO, choose your USB drive, and hit “OK.” It's straightforward!
- Rufus: Windows users may find Rufus to be one of the best alternatives. It’s a versatile, lightweight tool with options such as partition schemes and file systems. Just plug in your USB, select your ISO, adjust the settings as necessary, and click start.
- Etcher: This user-friendly application works on Windows, Mac, and Linux. It’s perfect for beginners who prefer a sleek interface. Simply choose your ISO file, select your USB drive, and click "Flash!" The interface makes it easy to follow the steps.
- Win32 Disk Imager: Another great option for Windows users, this application lets you write raw disk images with ease. Just load your ISO image, choose the destination drive, and write. Piece of cake!
These alternatives can make the process of creating a bootable USB much easier—especially if you’ve encountered issues or need to work across different operating systems. So whether you’re all about that command line or prefer GUI-based approaches, you’ve got options!
6. Conclusion
Creating a bootable USB drive from an ISO image is a handy skill that opens up a world of possibilities, whether it’s installing an operating system, running diagnostics, or recovering data. We’ve covered various methods and offered some alternatives, so you have the tools you need to confidently tackle this task. Here are a few quick takeaways:
- Choose the Right Tool: Depending on your comfort level and operating system, pick a method that works best for you. GUI tools like Rufus or Etcher are great for beginners, while the command line methods offer more control to experienced users.
- Double-Check Your Drives: Always verify the USB drive you’re working with! A little mistake here can lead to data loss on your primary disk.
- Back Up Important Data: Before you start, make sure to back up any important files on the USB drive, as creating a bootable drive will erase all current data.
- Experiment and Learn: Don’t hesitate to try different tools and methods. Each has its learning curve, and experimenting is part of the fun.
Whether you're a tech novice or a seasoned pro, creating a bootable USB drive can seem daunting at first, but it’s truly just a few steps away. We hope this guide has empowered you to dive in and tackle the task with confidence. Happy booting!
 admin
admin