Editing your LinkedIn posts is a crucial skill for anyone looking to make a strong impression and maintain a professional presence online. Whether you’ve made a typo, want to add more context, or simply feel your original message could be better articulated, LinkedIn offers a straightforward way to edit your posts after publishing. In this guide, we’ll walk you through the process of editing your posts and explore the features that
Understanding LinkedIn's Editing Features
Once you've published a post on LinkedIn, the ability to refine and enhance your content is just a few clicks away. Here’s a deep dive into LinkedIn’s editing features, ensuring you harness them effectively.
1. Accessing the Edit Feature
Editing a post on LinkedIn is quite simple. Follow these steps:
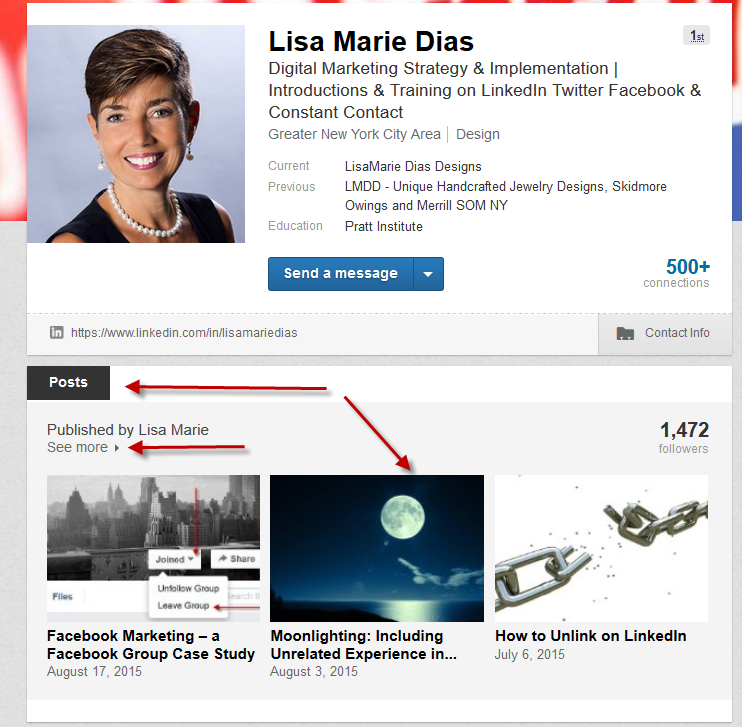
- Navigate to your LinkedIn profile.
- Scroll through your activity or posts until you find the post you’d like to edit.
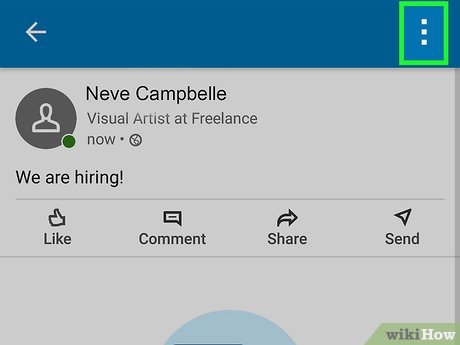
- Click on the three dots (ellipsis) in the upper right corner of the post.
- Select 'Edit post' from the dropdown menu.
And just like that, you're in! This feature allows you to make changes swiftly, ensuring your voice remains clear and professional.
2. What Can You Edit?
LinkedIn provides flexibility in what you can change in your posts:
- Text Content: You can revise any part of the text, adding new thoughts or correcting mistakes.
- Added Media: If you initially included images, videos, or links, you can remove or update these to match the improved content.
- Tags and Mentions: If you want to tag additional connections or remove existing tags, this can be done during the editing process.
3. Things You Can't Edit
While it’s great that LinkedIn allows edits, there are a few limitations to keep in mind:
- You cannot change who can view your post. This setting is set at the time of posting.
- The date and time of the original post remain unchanged, which means your followers will always know when it was first published.
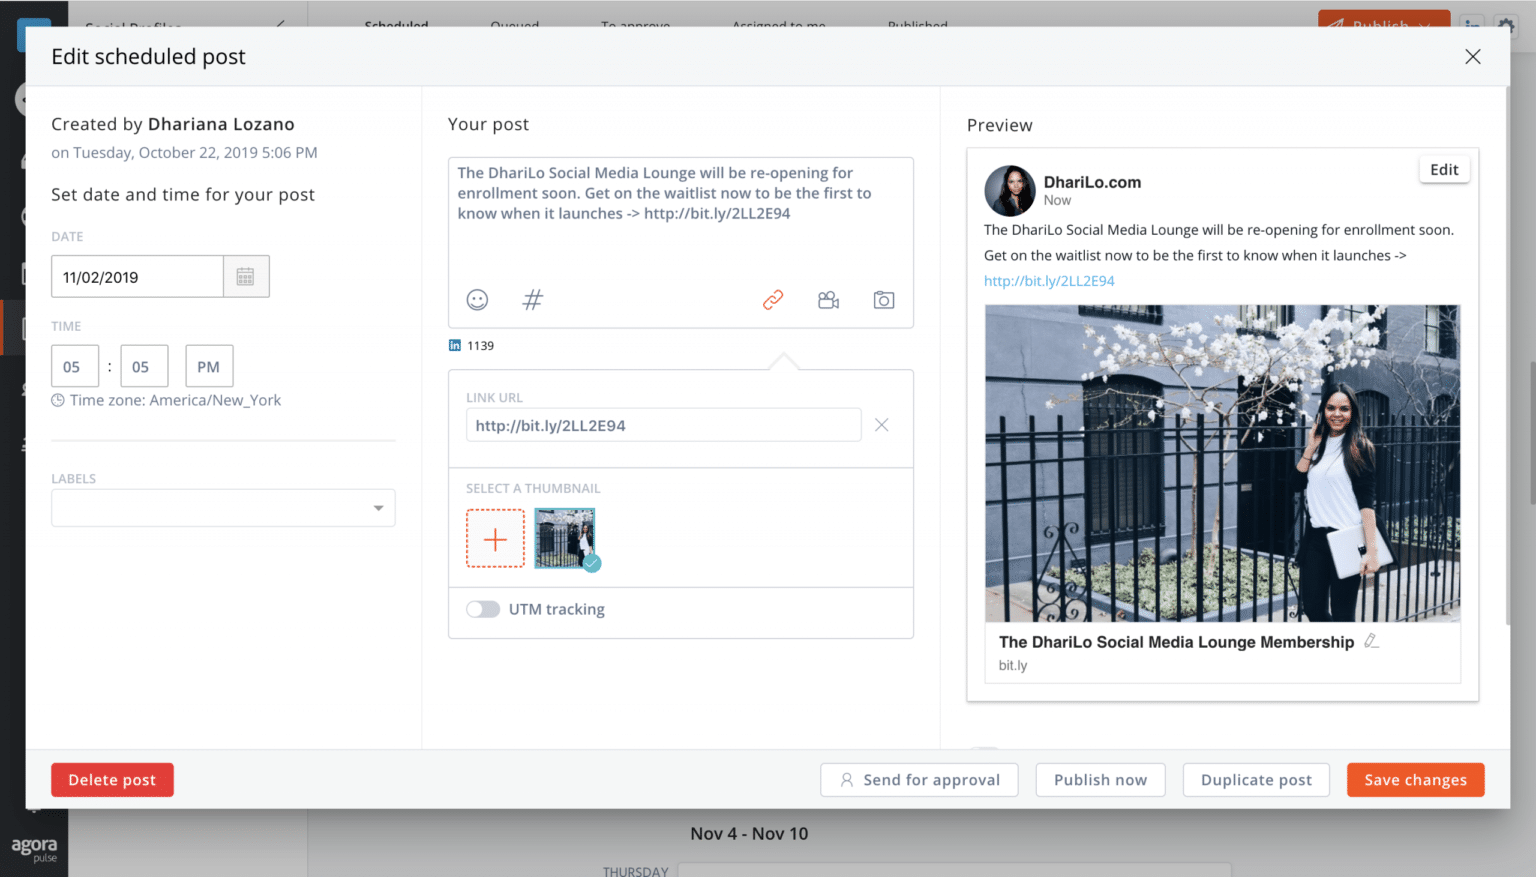
4. Saving Your Changes
After making all necessary edits, it’s vital to save your changes. Simply click on the 'Save' button at the bottom of the edit window. Your post will update immediately, and your connections will see the revised content.
Also, consider adding a note about the changes if they are significant. This transparency can foster trust and engagement with your audience, showing them you value their attention and feedback.
5. Best Practices for Editing Posts
When editing your LinkedIn posts, keep these best practices in mind:
- Be Prompt: If you notice an error shortly after posting, edit it as soon as possible to minimize the number of people seeing the mistake.
- Maintain Clarity: When adding new information, ensure it flows well with the existing content.
- Engage with Comments: If your post has garnered comments, be sure to acknowledge any feedback while you edit, possibly incorporating their insights into your post.
Editing your LinkedIn posts enhances your professional image and helps ensure your audience receives the most accurate information. Understanding these features allows you to navigate LinkedIn more effectively, promoting more engaging and polished content.
Also Read This: What is LinkedIn Verification: Exploring the LinkedIn Verification Process for Profiles
3. Step-by-Step Guide to Edit a Published LinkedIn Post
Editing a published LinkedIn post is a straightforward process, and I'm here to walk you through it step by step. Whether you’ve discovered a typo or want to enhance your original message, making adjustments is easy. Let’s get started!
Step 1: Log into Your LinkedIn Account
First things first, head to the LinkedIn website or open the app and log into your account. This is where the magic begins!
Step 2: Navigate to Your Profile
Once you are logged in, click on your profile picture or the “Me” icon at the top of your LinkedIn homepage. This will take you to your profile where all your posts are showcased.
Step 3: Find the Post You Want to Edit
Scroll through your activity feed to find the specific post you’d like to edit. It might take a moment, especially if you’ve been busy sharing content.
Step 4: Click on the Three Dots
Once you’ve located the post, look for three horizontal dots (or an ellipsis icon) in the top right corner of the post. Give that a click!
Step 5: Select “Edit Post” from the Dropdown Menu
After you click on the three dots, a dropdown menu will appear. Among the options, you’ll see “Edit Post.” Go ahead and click on that. This will bring up the editor for your post.
Step 6: Make Your Edits
Now comes the fun part! You can change the text, add or remove hashtags, and even update any links. Just make sure the content aligns with your original intention and is engaging! If you need to add an image or change one, remember that this option is available too.
Step 7: Review and Save Changes
Take a moment to read through your edits. A little proofreading never hurt anyone! Once you're satisfied with how it looks, simply hit the “Save” button to apply those changes.
Step 8: Monitor Engagement
After editing, keep an eye on the post’s engagement. Sometimes, a well-timed edit can reignite interest and open up new conversations!
And that’s it! You’ve successfully edited your LinkedIn post. It's always a good idea to revisit your posts now and then, especially as you grow and evolve in your professional journey.
Also Read This: Where is My LinkedIn QR Code: Accessing and Using Your LinkedIn QR Code for Easy Networking
4. Common Mistakes to Avoid When Editing LinkedIn Posts
While editing your LinkedIn posts is simple, there are a few pitfalls that can trip you up. Here’s a rundown of common mistakes to avoid to ensure your edits enhance rather than detract from your original post.
1. Overediting
- It's easy to get carried away when editing! Remember that your post's authenticity is key. Overthinking your changes can make the post feel less genuine.
2. Ignoring Feedback
- If your post received feedback before you decided to edit, take it into consideration. Ignoring constructive criticism can lead to missed opportunities for improvement.
3. Changing the Core Message
- When editing, ensure you are staying true to the initial message or intent of your post. Radical changes might confuse your audience and dilute your brand’s voice.
4. Forgetting to Update Hashtags
- Don’t overlook the importance of hashtags! If you’ve made significant changes, consider adjusting your hashtags to better reflect the new content.
5. Saving Without Reviewing
- Always take a moment to review your edits before hitting save. A rushed edit might introduce new typos or errors.
6. Neglecting Post Formatting
- Formatting can make a difference in readability. Avoid large blocks of text and consider using bullet points or spacing to break up information.
By keeping these common mistakes in mind, you can navigate the editing process like a pro. Remember, LinkedIn is a professional platform, and how you present yourself matters. Happy editing! 🌟
Also Read This: Citing LinkedIn Sources in APA Format: A Complete Guide
5. Best Practices for Maintaining Engagement After Editing
Editing your LinkedIn post after publishing is just the beginning of maintaining engagement with your audience. Once you've made the necessary adjustments, it's essential to keep the momentum going. Here are some best practices for ensuring that your edited post continues to capture interest:
- Interact with Comments: Engagement is a two-way street. Once you edit and publish your post, make sure to respond to any comments as soon as they come in. This makes your audience feel valued and encourages more people to contribute their thoughts and insights.
- Share Updated Insights: If your edit includes additional information or insights, consider creating a follow-up post or an update that references your edited post. This helps reinforce the conversation and keeps your audience informed.
- Utilize Notifications: Use LinkedIn’s notification features to alert your connections about the changes. If the edits significantly enhance the post’s value, encourage your network to revisit and engage with it.
- Leverage Hashtags: If you hadn’t included relevant hashtags initially, add them post-editing! Hashtags boost visibility and can attract new readers who are interested in the topics you're discussing.
- Post Timing: Consider the timing of your edits. If your post has already gained traction, editing too late might confuse your audience. However, timely edits can add relevance, especially if they highlight new trends or changes in your industry.
Remember, the key to maintaining engagement lies in actively participating in the conversation. Don’t just edit and forget; be present and respond! This helps build your professional brand and establishes a robust network on LinkedIn.
6. Conclusion and Final Thoughts on LinkedIn Post Editing
Editing a LinkedIn post after publishing can feel daunting, especially if you’re worried about how it may affect your audience’s perception. But fear not! Editing is a normal part of the content creation process, and with the right mindset, it can turn your post into a valuable resource for your connections.
To wrap things up, here’s a quick recap of why editing is essential:
- Improved Clarity: Editing helps you communicate your ideas more clearly and efficiently. Refining your message can make a significant difference in how your audience perceives your post.
- Enhanced Engagement: A well-edited post is more likely to attract comments and shares, enhancing your visibility on the platform.
- Professional Growth: By taking the time to edit, you demonstrate a commitment to quality and professionalism, which can help boost your reputation and leverage career opportunities.
In conclusion, don’t shy away from the editing process. Use it as an opportunity to create better connections, foster discussions, and share your insights more effectively. LinkedIn is a dynamic platform, and your posts should reflect the evolving nature of your professional journey.
So go ahead, edit that post! You’re taking a crucial step in engaging with your network and presenting your best self in the professional world.
 admin
admin


