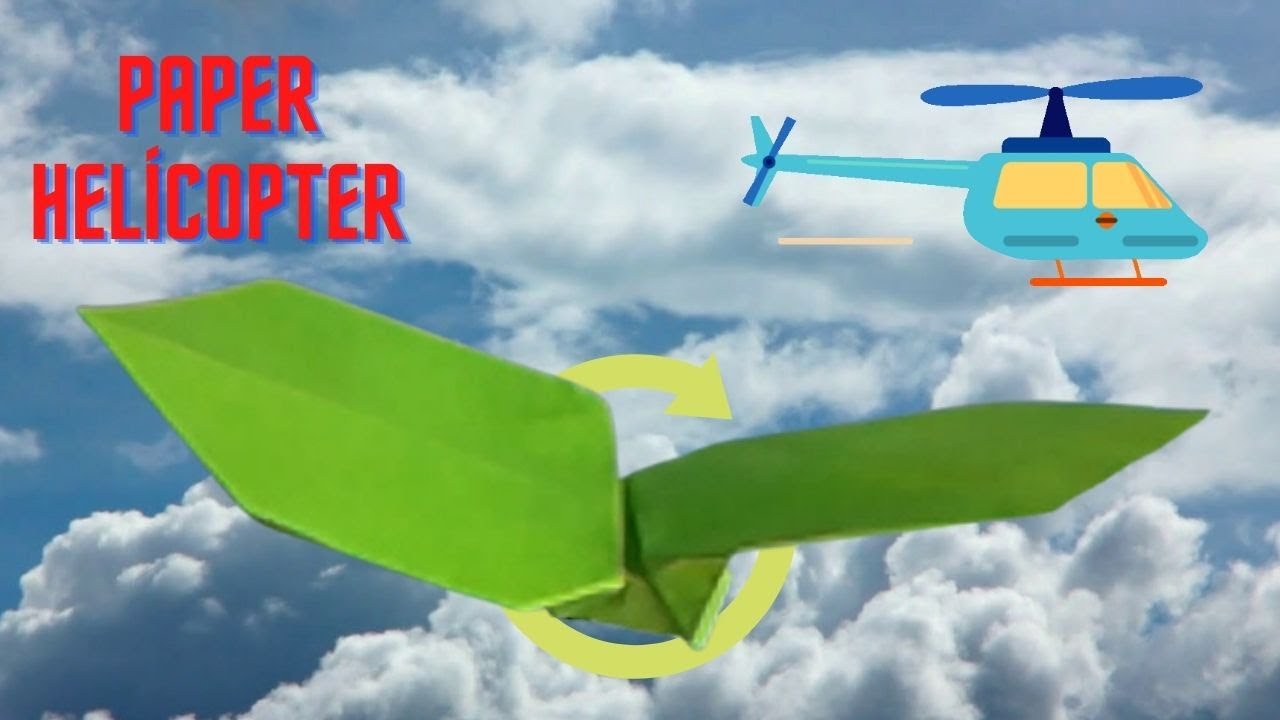
Have you ever watched a helicopter gracefully descend from the sky and thought, “I wish I could make one of those”? Well, you can! Today, we're diving into the fun and creative world of paper helicopters. These simple DIY projects not only provide a hands-on experience but also unleash your creativity while teaching some basic principles of aerodynamics. Making a paper helicopter is an engaging activity for kids and adults alike. Plus, it's a fantastic way to recycle paper you might otherwise throw away!
The Benefits of Making Paper Helicopters
Creating paper helicopters is more than just a fun craft; it comes with a surprising number of benefits. Let's break down some of the great reasons to get started:
- Enhances Fine Motor Skills: Assembling and cutting the materials required for a paper helicopter helps develop fine motor skills, especially in younger children. The process actively engages their hands and helps them practice coordination.
- Encourages Creativity: Making paper helicopters allows for endless customization. You can decorate your helicopter with colors, patterns, and even add personalized touches. This fosters creativity and gives everyone a chance to express their unique style!
- Teaches Fundamental Physics: While flying a paper helicopter might seem like just a fun activity, it actually demonstrates key principles of physics, like lift and gravity. You can even turn it into a mini science experiment by adjusting the design and observing how it affects flight.
- Promotes Problem-Solving Skills: As you experiment with various designs and techniques for altering how your helicopter flies, you’ll inevitably need to troubleshoot and solve problems along the way. This teaches valuable critical-thinking skills.
- Environmentally Friendly: Crafting paper helicopters is a sustainable activity, especially if you use recycled paper. By reusing materials, you can create an engaging project while reducing waste.
- Great Group Activity: Whether it’s a classroom project, a fun day at home, or a party activity, making paper helicopters can be a fantastic group endeavor. Collaborating with others can make the experience even more enjoyable.
In short, making paper helicopters is an easy and delightful way to have fun, learn, and create. Ready to give it a go? You’ll be amazed at how a simple piece of paper can transform into a flying machine with a little imagination and some basic crafting skills!
Also Read This: Unlocking Festive Fun with Animated Specials for Family Entertainment on Dailymotion
3. Materials Needed for Your Paper Helicopter
Before we dive into crafting your very own paper helicopter, let's gather all the materials you'll need. The great news is that most of these items are commonly found around your house. Here’s a quick list:
- Paper: A simple piece of lightweight paper will do. You can use printer paper, notebook paper, or even colored craft paper for a fun twist.
- Scissors: You'll need these to cut your paper into the right shapes.
- Tape or Glue: Both of these will help keep your helicopter parts together. Tape is generally easier for kids, while glue provides a stronger hold.
- Ruler: This isn't strictly necessary, but it’s helpful if you want to make precise measurements.
- Pencil: Use it to mark your lines and shapes before cutting.
Once you have all these materials, you're ready to start creating! The best part? This project doesn’t require any expensive supplies. You might already have everything you need right in your desk drawer!
Also Read This: How to Make a Gift Box with Paper on Dailymotion
4. Step-by-Step Guide to Crafting a Paper Helicopter
Alright, now that you’ve gathered your materials, let’s get into the fun part—crafting your helicopter! Follow these simple steps to create a flying masterpiece that’s sure to impress!
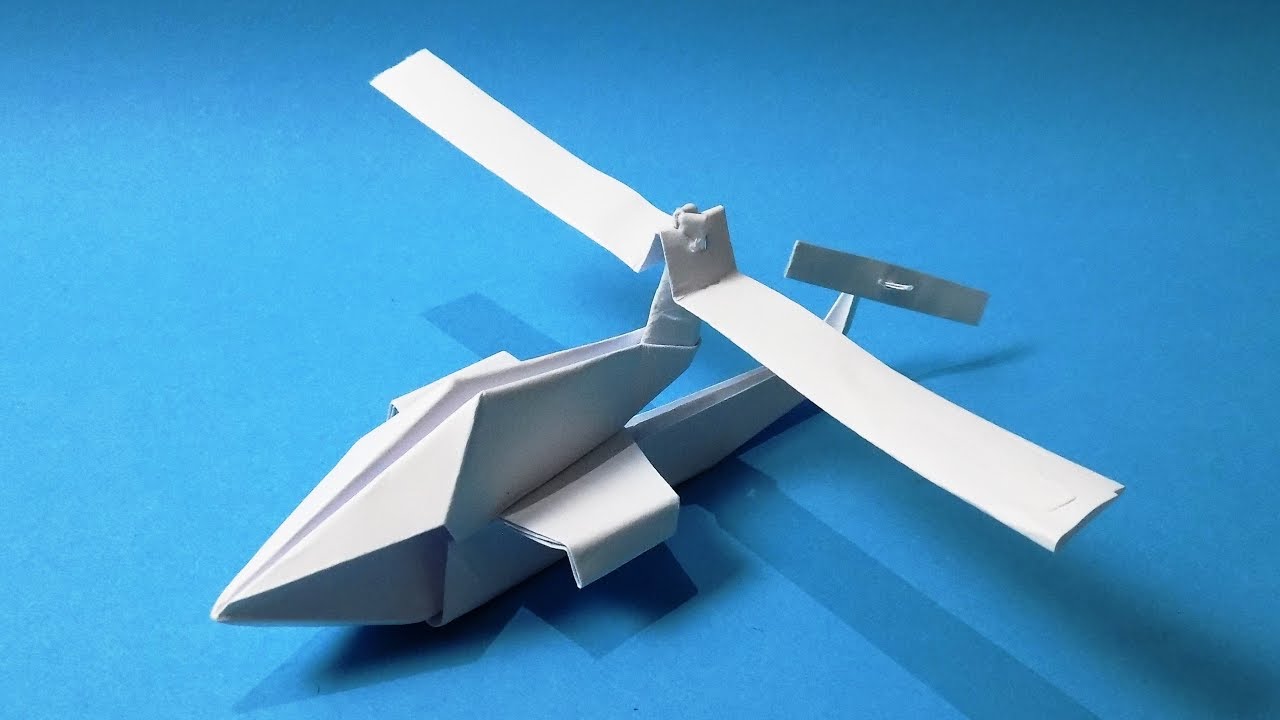
- Cut the Paper: Start by cutting a rectangular piece of paper that measures about 6 inches by 2 inches. This will be the body of your helicopter.
- Create the Blades: From another piece of paper, cut out two long strips that are about 6 inches long and 1 inch wide. These will serve as the helicopter blades.
- Make a Fold: Take the strips (blades) and fold each one in half lengthwise. This fold is crucial as it helps give the blades their lift when they spin.
- Position the Blades: Take your main body rectangle and create a small horizontal cut at one end—about 1 inch long. This cut is where you’ll insert your helicopter blades. Slide one blade into the slit, ensuring it’s sticking out on both sides. Repeat with the other blade, positioned perpendicular to the first one.
- Secure the Blades: Use tape or glue to secure the blades to the body. Make sure they stay in place, as they need to be attached firmly but still able to spin freely.
- Make it Tail-Worthy: For added style and stability, you can create a tail. Simply cut a small rectangle (about 2 inches by 1 inch) and tape or glue it to the opposite end of the body, sticking out vertically.
- Ready for Launch: Now that your helicopter is assembled, you’re ready to test it out! Hold the helicopter by the body, give the blades a gentle spin, and drop it from a height to watch it glide.
And voila! You've just crafted a simple paper helicopter. Each step is easy to follow, and you can even experiment with different sizes or shapes of paper to see how it affects flight. Enjoy watching your creation soar through the air!
Also Read This: How to Enlarge Subtitles on Dailymotion Quick Video Guide
5. Creative Variations of Paper Helicopters
If you think paper helicopters are just simple toys, think again! There are so many creative variations you can try that will not only enhance your flying experience but also engage your imagination. Here are a few fun ideas to get you started:
- Colorful Helicopters: Grab some colored paper or markers and add flair to your helicopter. Different colors can help differentiate model designs during testing.
- Designing with Patterns: Experiment with different patterns like stripes or polka dots. This can make your helicopters more visually appealing, and if you encourage kids to come up with their own designs, it also sparks their creativity.
- Using Different Shapes: Instead of a standard rectangular blade, try making blades in different shapes—triangles, diamonds, or even animal shapes for a whimsical touch.
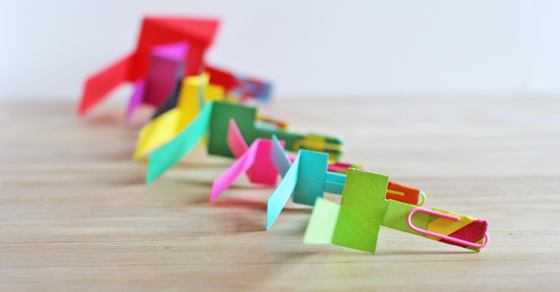
- Weighted vs. Unweighted: Add paper clips or small weights to the bottom of your paper helicopter. This can affect the way it falls and can show the principles of gravity and aerodynamics in an interactive way.
- Building a Helicopter 'Fleet': Create multiple helicopters with varying sizes and shapes. Discuss how each design influences flight time and stability, allowing you to create a mini-competition.
By trying out these creative variations, you not only enhance the aesthetic appeal of your helicopters but also deepen your understanding of flight mechanics through hands-on learning. You never know, you might come up with the next cool design that really takes off—literally!
Also Read This: Using Dailymotion on Roku TV – A Comprehensive Guide
6. Tips and Tricks for Improving Flight Performance
Now that you've got some creative variations, let’s talk about taking your paper helicopter skills to the next level. Here are some insider tips and tricks to improve the flight performance of your paper helicopters:
- Blade Shape and Size: Experiment with different blade shapes and sizes. Longer blades might catch more air, while shorter blades can lead to faster spins. Finding the right balance can be key to a smoother descent.
- Center of Gravity: Adjust the center of gravity by moving weights around. A well-balanced helicopter will descend steadily, so try placing weights above or below the rotor to see how it impacts flight.
- Helicopter Height during Launch: Always launch from a significant height to maximize flight duration. A higher drop gives your helicopter enough time to catch the air and spin optimally.
- Wind Conditions: Try flying your helicopter indoors without drafts or outdoors on calm days. Wind can significantly affect the performance, so pick your flying conditions wisely.
- Testing Different Materials: Sometimes, switching from regular paper to lightweight cardstock can make a noticeable difference. Explore various materials to find what flies best.
Each little tweak can lead to a better flying experience, and part of the fun is in the experimentation. Gather some friends or family, test your variations, and see who can create the ultimate paper helicopter. Remember, it’s all about learning and having fun, so don't be afraid to get creative and continue refining your designs!
Also Read This: Should You Eat Pizza with a Fork and Knife? Here is How to Do It Properly
7. FAQs about Paper Helicopters
If you're diving into the world of paper helicopters, you might have a few questions. Here, we’ll cover some of the most frequently asked questions that can help you understand this fun project and troubleshoot any issues you might encounter along the way!
Q1: How do I make my paper helicopter fly better?
A: Several factors can affect how well your paper helicopter flies. Here are some tips to enhance its performance:
- Balance: Make sure the weight is evenly distributed. Use a paper clip at the bottom to add weight if necessary.
- Blade Width: Adjust the width of the blades. Wider blades can catch more air, leading to a slower descent.
- Launch Technique: Hold your helicopter at a higher starting point and drop it rather than throwing it. A gentle drop helps maintain stability.
Q2: Can I use different types of paper?
A: Absolutely! Experimenting with different papers can lead to various results. Here are some options:
- Cardstock: This is thicker and may help the helicopter maintain its shape better.
- Scrapbook Paper: Patterns and colors can add a fun touch without sacrificing functionality.
- Standard Printer Paper: It's a classic choice and easy to work with, especially for beginners.
Q3: What should I do if my helicopter doesn’t spin?
A: If your helicopter is not spinning as it falls, check the following:
- Blade Alignment: Ensure the blades are positioned correctly and not folded or off-balance.
- Weight Distribution: If it's too light or too heavy, adjust the weight accordingly.
- Surface Area: Make sure the blades are large enough to catch air effectively.
Q4: How can I customize my paper helicopter?
A: Get creative! Here are a few ideas for personalizing your helicopter:
- Use markers or colored pencils to design your blades.
- Attach a tiny themed figure at the bottom, like a paper person or animal.
- Decorate with stickers or washi tape for a unique flair.
With these tips, you'll be more equipped to create a fantastic flying paper helicopter! Don't hesitate to experiment and most importantly, have fun!
8. Conclusion: Unleash Your Creativity with Paper Helicopters
As we've explored, paper helicopters are more than just a fun science project; they’re a fantastic way to engage with creativity and learn about physics! Whether you’re a teacher looking for an exciting classroom activity or a parent aiming to bond with your kids through an engaging DIY project, paper helicopters offer an excellent avenue for exploration.
Remember, the beauty of this activity lies in its simplicity. You can:
- Try different designs: The same basic principles can spawn countless helicopter shapes and sizes.
- Experiment with materials: Discovering how different papers perform can lead to interesting discoveries.
- Invite others: Encourage friends and family to join the fun, turning it into a friendly competition—who can create the best-performing helicopter?
So gather your materials, unleash your imagination, and let those helicopters soar! Each flight is not just an achievement; it’s an opportunity to learn and grow. Who knows? You might even discover a hidden talent for design or engineering in the process. Get creative, have some laughs, and enjoy the journey—this is what DIY is all about!
 admin
admin


