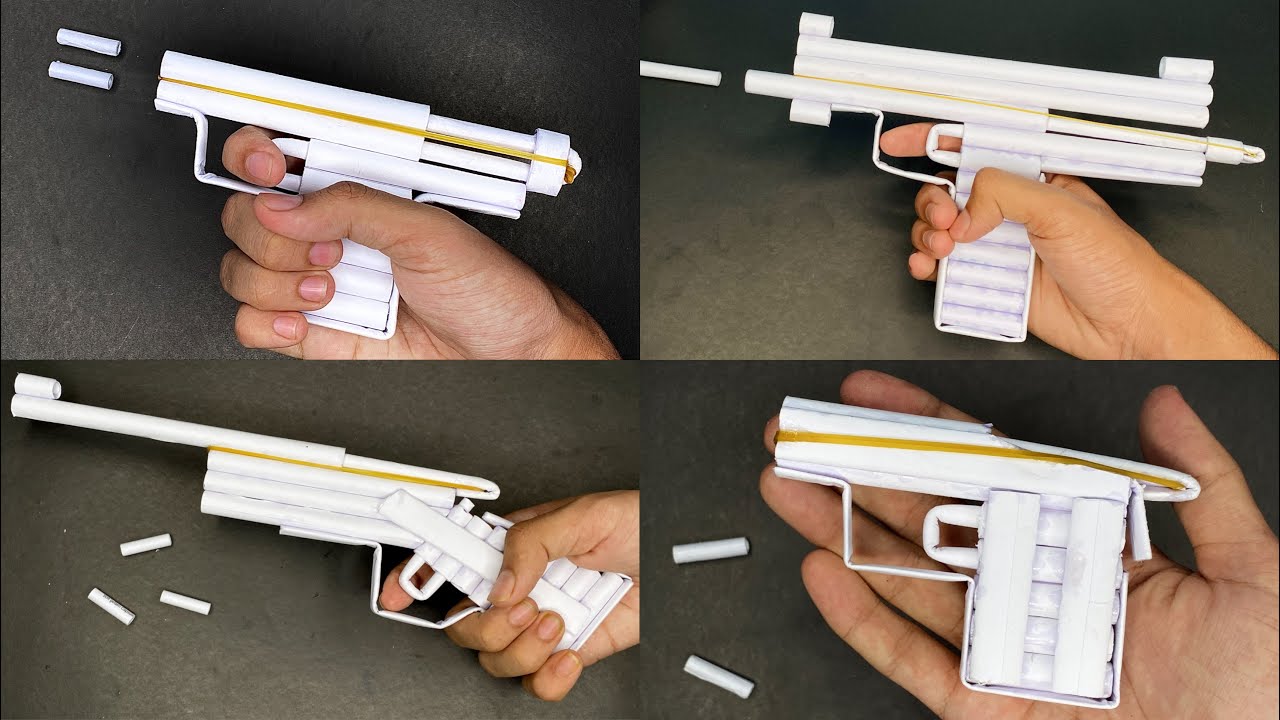
Welcome, fellow DIY enthusiasts! Today, we’re diving into a fun and creative project that’s sure to impress your friends—making a paper gun that actually shoots! This project is simple, inexpensive, and all you need is a few materials you probably already have at home. Whether you're looking to entertain yourself or show off your skills, this guide will walk you through the process step by step. So, grab your supplies and let’s get started on this exciting adventure!
Materials Needed for Your Paper Gun
Before we jump into crafting your paper gun, let’s gather all the necessary materials. You’ll be surprised at how easy it is to find what you need! Here’s a quick list to make your shopping or gathering process easier:
- Printer Paper: Standard A4 or letter-sized paper works best.
- Scissors: For cutting your paper into the required shapes.
- Glue or Tape: To secure the different parts of the gun together.
- Ruler: To measure and mark your paper accurately.
- Pencil: For making light marks that can be erased easily.
- Rubber Bands: These are crucial for creating the shooting mechanism!
- Optional Decor: If you want to add some flair, grab some markers, stickers, or colored paper.
Now, let’s break down each of these materials:
- Printer Paper: You can use any type of paper, but printer paper is ideal because it’s flexible yet sturdy.
- Scissors: Ensure they are sharp for clean cuts—which will make assembling easier.
- Glue or Tape: Glue is great for precision, while tape offers instant adhesion. Pick what you’re comfortable with!
- Ruler: Measuring is key to making your paper gun work effectively, so be precise.
- Pencil: Using a pencil prevents permanent marks on your paper, allowing for perfect adjustments.
- Rubber Bands: These will provide the necessary tension to launch your projectiles with gusto.
Once you’ve collected all these materials, you’ll be ready to start making your paper gun! Don’t worry if you don’t have everything at home—you can substitute items as needed. Remember, the main objective is to have fun and unleash your creativity!
In the next section, we’ll go through the steps to actually create your paper gun. Get excited to see your creation come to life!
Also Read This: How to Download from Dailymotion on Android
3. Step-by-Step Instructions to Build Your Paper Gun
Making a paper gun can be a fun and creative project that you can do with just a few materials. Let’s get to the good stuff! Here’s how to build your paper gun step by step:
Materials You'll Need:
- A4 paper or cardstock
- Scissors
- Tape or glue
- A ruler
- A pencil
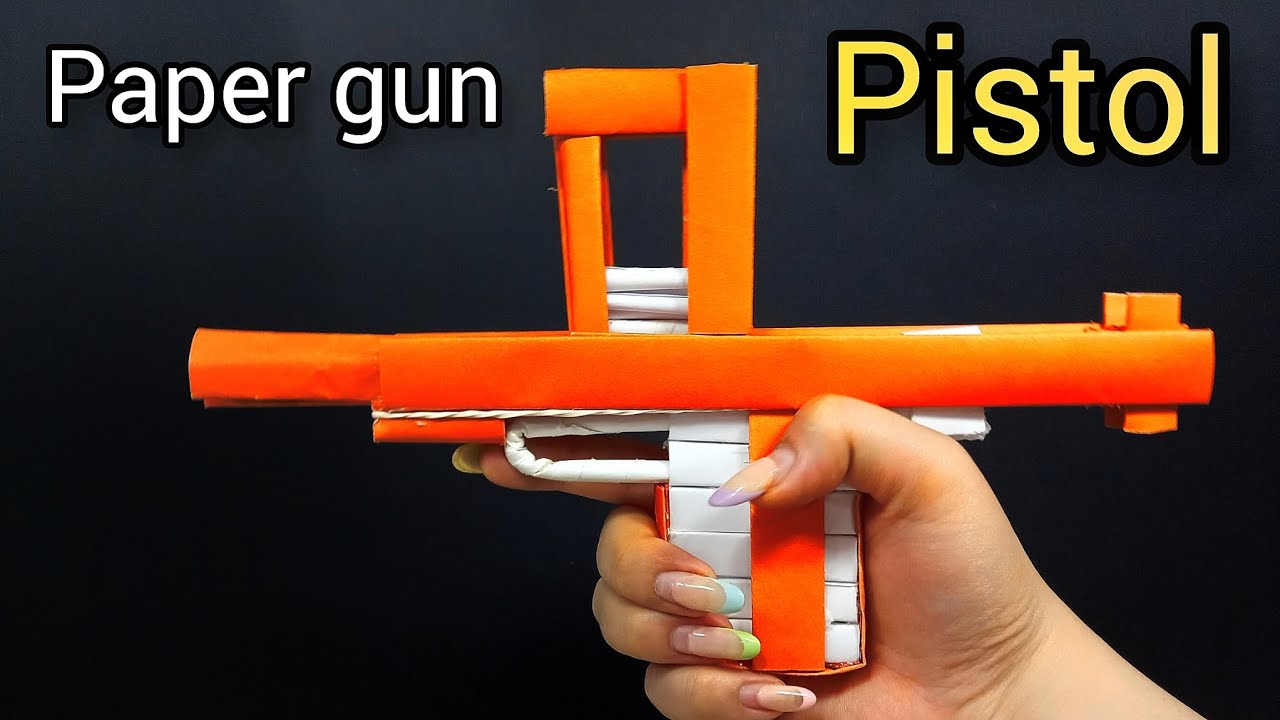
Step 1: Create the Main Body
Start by grabbing your A4 paper. We’re going to form the main body of the gun with a simple rectangle. Follow these steps:
- Measure and Cut: Using your ruler and pencil, draw a rectangle measuring 10 inches by 3 inches on your paper. This will be the base of your gun. Cut along the edges carefully.
Step 2: Make the Trigger
Next, we’re going to make a simple trigger mechanism:
- Shape of the Trigger: Cut a smaller rectangular piece, about 3 inches by 1 inch. This will serve as your trigger. Bend it slightly in the middle to give it a little curvature.
- Attach the Trigger: Using tape or glue, secure the trigger piece on one end of the main body, allowing it to pivot up and down a little.
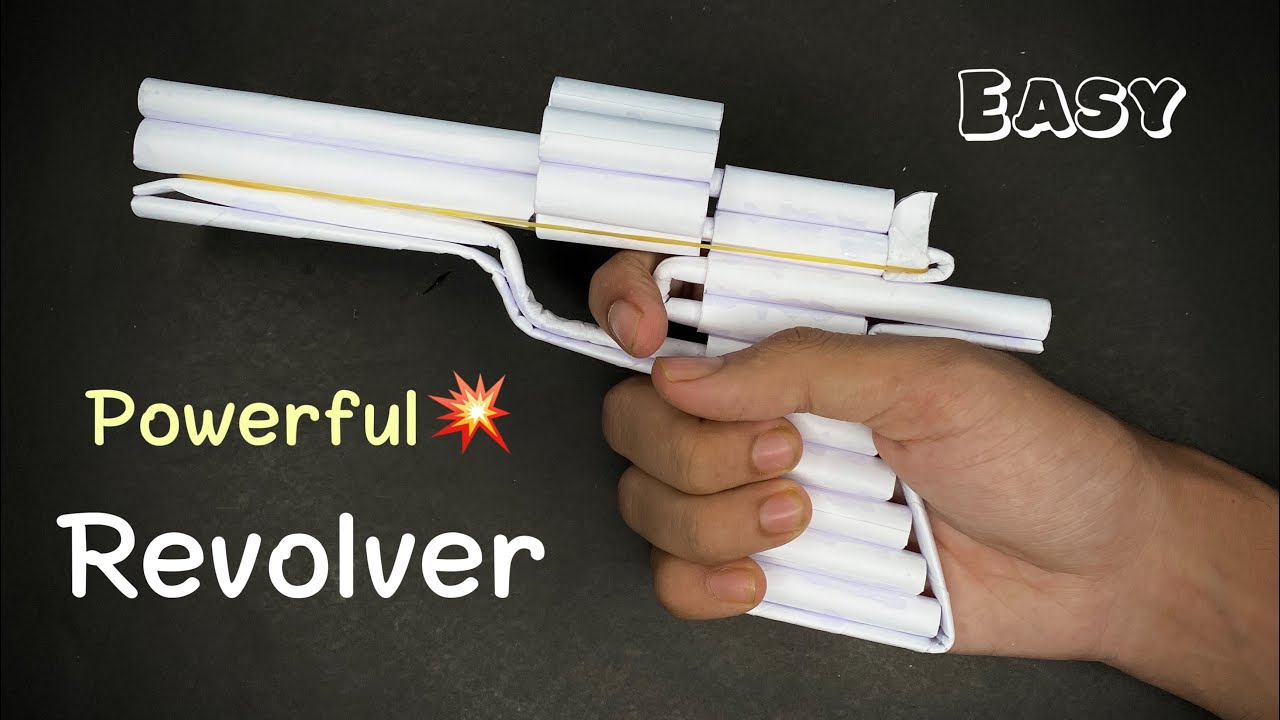
Step 3: Create the Barrel
The barrel is essential for launching your paper ammo.
- Cut the Barrel: Now grab another piece of paper, about 8 inches by 1 inch. This will be your barrel. Roll it tightly into a tube and secure it with tape or glue.
- Attach the Barrel: Position this tube on the front end of the main body. You can tape it securely in place. This is where your ammo will come out!
Step 4: Build the Stock
The stock can add some support and style to your gun. Here’s how to do it:
- Cut the Stock: Take another strip of paper, about 4 inches by 2 inches. Fold it in half lengthwise for sturdiness.
- Attach It: Secure this piece to the back end of your gun’s main body using tape or glue. This will help you hold the gun better.
Congratulations! You've now built the main body of your paper gun. It’s simple yet effective. Decorate it if you like—feel free to add some color using markers or stickers!
Also Read This: How to Connect Dailymotion with Roku TV for Easy Streaming
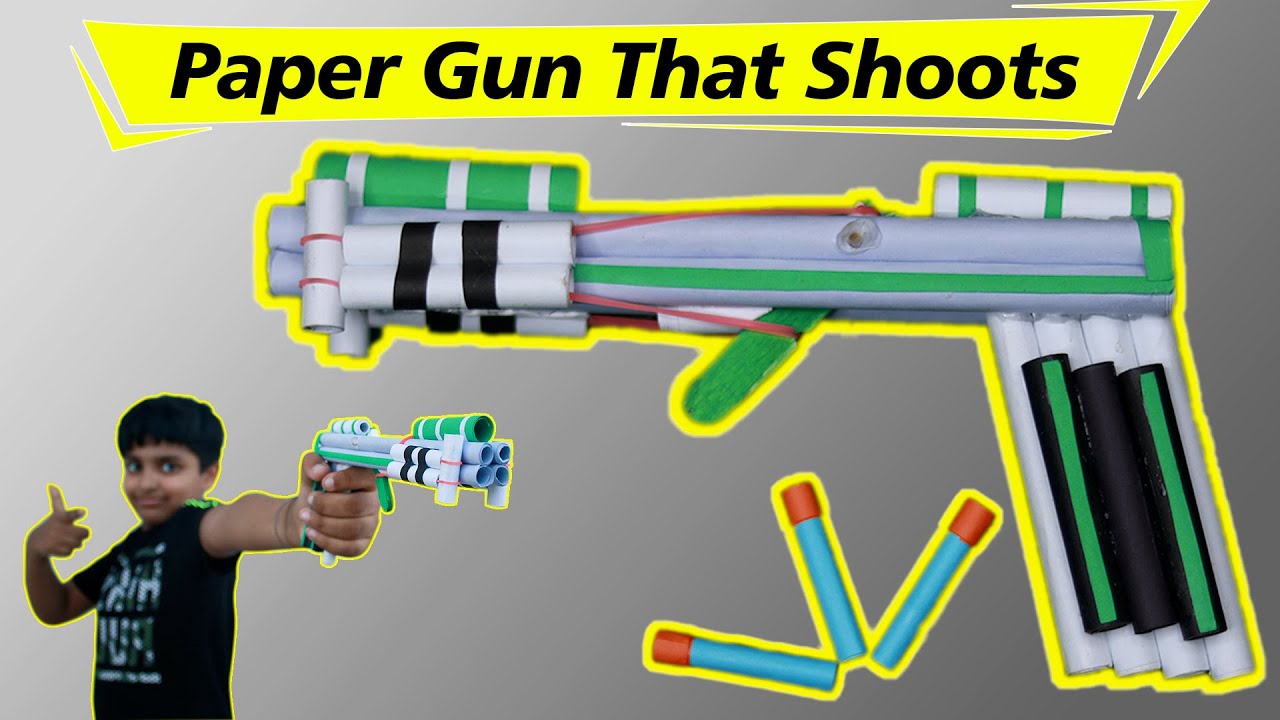
4. How to Make Your Paper Gun Shoot
Alright, now that we’ve got your paper gun looking sharp, it’s time to make it fire! You might be wondering, "How can a paper gun shoot?" Well, it’s all about the ammo and the proper launch technique. Let's get into it!
Step 1: Preparing Your Ammo
Your ammo will be small bits of paper. Here’s a simple method to prepare them:
- Cut Small Squares: Use leftover paper to cut small squares or strips. Each piece should be around 1 inch by 1 inch.
- Fold Them: Fold each square into a small, compact ball. This helps them fly better when you launch them.
Step 2: Loading Your Gun
Now that you have your ammo ready, it's time to load:
- Insert the Ammo: Take one of your paper balls and insert it into the barrel from the back end.
- Push It In: Use a pencil or a stick to gently push the ammo forward until it reaches the front of the barrel, but don’t push it out yet!
Step 3: Firing Mechanism
To make your paper gun shoot:
- Pull the Trigger: When you're ready to fire, pull the trigger you've made. This action will cause the ammo to shoot out of the barrel!
- Aim and Shoot: Aim at a safe target, preferably a soft one, and pull the trigger. Watch your paper ball fly!
And there you have it! With just a few steps and some creativity, your paper gun is now ready to shoot. Just remember to play safely and have a blast sharing this fun DIY project with friends and family!
Also Read This: How to French Braid Hair to the Side with Step-by-Step Guidance
5. Tips for Enhancing Your Paper Gun Design
Now that you've got the basics down and have crafted your very own paper gun, it's time to think about ways to enhance your design. Whether you want it to look cooler or perform better, these tips will help take your paper gun to the next level!
1. Experiment with Different Materials
Not all paper is created equal! Try using different types of paper, like cardstock or even old cardboard, to see how it changes the structure and durability. Heavier paper can add weight for better shooting distance while still remaining flexible enough for the trigger mechanism.
2. Add Custom Designs
Why not make your paper gun stand out? Grab some colored markers, stickers, or even washi tape to add unique designs and patterns. You can personalize it to reflect your favorite characters or themes. A little creativity goes a long way!
3. Consider Aerodynamics
The shape of your paper gun can have a significant impact on how well it shoots. Try to streamline the design, reducing any extra bulk that might affect aerodynamics. You can even research some basic physics principles about how shape and weight distribution affect flight!
4. Upgrade the Mechanism
- Elastic Bands: Instead of a simple paper spring, consider using elastic bands to give more power to your shots.
- Pulleys: For a more complex challenge, you could incorporate a pulley system, adding tension and improving the lethalness of your shots.
5. Test and Tweak
After making enhancements, take your newly designed gun for a test run! See how the modifications affect shooting distance and accuracy. Don’t be afraid to go back to the drawing board, make a few tweaks, and do some more testing. It's all about the trial and error method!
Remember, the fun of a DIY paper gun project lies in experimentation. So grab those supplies and start enhancing your creation!
Also Read This: How to Create a Page on Facebook: Step-by-Step Instructions Featured on Dailymotion
6. Safety Precautions While Using Your Paper Gun
Alright, you’ve crafted your masterpiece, and you’re ready to show it off. But hold up! Before you aim and fire, it’s crucial to understand some safety precautions to keep everyone safe and avoid accidents. Here’s what you need to know:
1. Always Aim Away from People and Animals
This one’s a no-brainer! Always direct your paper gun away from others. Even though it’s a fun toy, you never know if someone might get hit or frightened.
2. Use Appropriate Ammunition
- Avoid Hard Objects: Stick to soft, lightweight projectiles, like crumpled paper balls or small foam pieces.
- Never Use Real Bullets: This is crucial—never replace your paper ammo with anything other than what you’ve designed for your paper gun.
3. Supervise Younger Users
If kids are involved, ensure they always have adult supervision. It's essential to monitor their use of the paper gun and enforce safe play. Safety glasses can even be a fun way to encourage kids to be responsible!
4. Create a Safe Shooting Area
Choose an open space, preferably in your backyard or at a park, away from windows and breakable items. Create a designated “shooting zone” to prevent accidents.
5. Know the Local Laws
Always be aware of local laws regarding toy guns. In some areas, even replica weapons can cause unnecessary alarm, so it's best to stay informed and avoid any potential misunderstandings.
By following these safety precautions, you can ensure that the excitement of your paper gun doesn’t come at the cost of safety. Now, enjoy the thrill of your creation responsibly!
Conclusion and Final Thoughts
Creating a paper gun that shoots can be an incredibly fun and engaging project that taps into your creativity and DIY skills. Throughout this guide, we've explored various methods and techniques to craft your own paper shooter using simple materials. Here are some key takeaways to keep in mind:
- Materials Matter: While you can use any paper, select thicker paper for better durability and performance.
- Practice Precision: The accuracy of your paper gun will improve with careful crafting and adjustments. Measure and cut precisely for the best results.
- Safety First: Remember that even though these are paper guns, they can still cause minor injuries. Always aim away from people and pets.
- Experiment: Don't hesitate to innovate! Adjust designs, try different types of ammunition, and see what works best.
As you progress in your paper crafting skills, consider moving on to more complex designs or even creating a small arsenal of paper shooters with unique features. The world of DIY crafts is vast and limited only by your imagination. Remember to share your creations and experiences with others, as there is a community of enthusiasts who love to exchange ideas and techniques.
In conclusion, making a paper gun that shoots is not just about the end product. It's about the process, learning, and having fun while engaging with a simple yet rewarding craft. So gather your materials, put your skills to the test, and enjoy creating your own paper masterpiece!
 admin
admin


