Applying liquid foundation can feel like an art form, but it doesn’t have to be complicated! For many, it’s all about achieving that perfect, natural look without the heavy finish. While brushes and sponges are popular tools, using your fingers can often yield incredible results. In this post, we'll explore how to effectively apply liquid foundation with your fingers to enhance your natural beauty and give you a flawless finish.
Benefits of Using Fingers for Foundation Application
Using your fingers to apply liquid foundation comes with a range of fantastic benefits that can elevate your makeup routine. Let’s dive into some of the top reasons to embrace this method:
- Natural Blend: Your fingertips can blend foundation more seamlessly into your skin than tools. The warmth from your fingers helps to melt the product into your skin, creating a lovely, skin-like finish.
- Control: Using your fingers offers more control over the amount of product you’re using. This way, you can easily layer foundation in areas where you need more coverage without looking cakey.
- Quick Application: For those on the go, applying with your fingers is often quicker than using a brush or sponge. Just a few taps and swipes can get you out the door in no time!
- Minimal Tools Required: Using your fingers means you don’t have to worry about cleaning brushes or sponges. This can save you time during your routine and make your makeup bag lighter.
- Intuitive Technique: It can feel more intuitive to use your fingers, especially for beginners. You can feel how the product is applying and adjust your technique in real-time.
Now, while using your fingers has its advantages, it’s important to remember a few best practices:
- Start with Clean Hands: Always make sure your hands are clean before touching your face to avoid spreading bacteria.
- Use a Primer: A good primer can create a smooth base and help the foundation adhere better.
- Work with a Small Amount: Start with a pea-sized amount of foundation and build up coverage as needed for the most natural finish.
- Don’t Forget to Blend: Make sure to blend out the foundation along the jawline, hairline, and around the nose for a seamless look.
By understanding the benefits and techniques associated with applying liquid foundation with your fingers, you can adopt a more effortless and natural approach to your makeup routine. So give it a try – you might find it’s your new favorite way to achieve a glowing complexion!
Also Read This: How to Make Bags from Old Jeans Creative Recycling Project on Dailymotion
3. Step-by-Step Guide to Applying Liquid Foundation with Fingers
Now that you're all set to get started, let's dive into the step-by-step process of applying liquid foundation with your fingers. Don’t worry! It might sound a bit intimidating, but it’s actually quite simple and can yield stunning results.
Here’s how to do it:
- Start with Clean Hands: Before you even think about touching your face, make sure your hands are clean. Wash them thoroughly with soap and water to prevent any bacteria from spreading to your skin.
- Apply Primer (Optional): If you like, you can apply a makeup primer to create a smooth canvas. A primer can help your foundation apply more evenly and last longer.
- Dispense the Foundation: Squeeze a small amount of liquid foundation onto the back of your hand. You can always add more, so start with a pea-sized amount to avoid using too much.
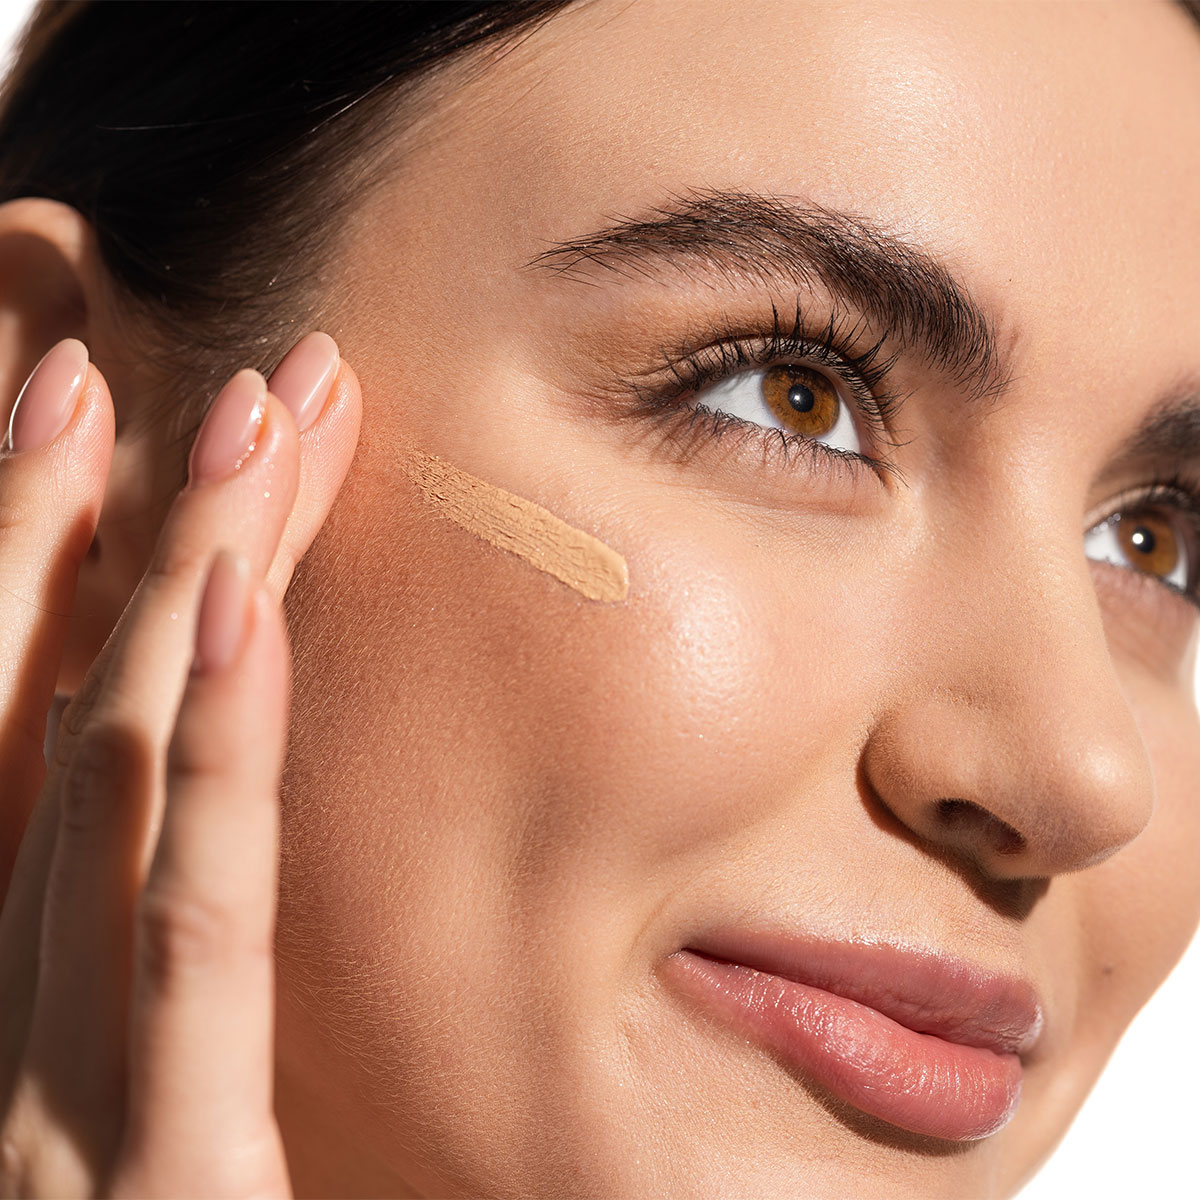
- Dot the Foundation: Using your finger, pick up a bit of foundation and dot it on your face. Focus on areas that need more coverage first, like your cheeks or around your nose. A common pattern is to place dots on your forehead, cheeks, chin, and nose.
- Blend, Blend, Blend: With your fingers, begin to blend the foundation into your skin. Use circular motions for the best results, starting from the center of your face and working your way outwards. Make sure you don’t miss the jawline and hairline for a seamless finish!
- Build Coverage as Needed: If you have areas that need a little more coverage, go back for a tiny bit more foundation. Use your fingertip to apply it precisely where needed, and blend once again.
- Set It Up: Once you’re happy with the finish, consider setting your foundation with a light dusting of translucent powder or a setting spray. This step will help keep everything in place and maintain that natural look.
Feeling confident about the application process? Good! Remember, practice makes perfect. The more you apply your foundation, the more in tune you’ll become with what works for your skin and the look you desire.
Also Read This: How to Create Handmade Bracelets with String: Watch on Dailymotion
4. Step 1: Prepare Your Skin
Before you even reach for your liquid foundation, taking the time to prepare your skin is crucial. Proper preparation not only enhances the performance of your foundation but also contributes to that coveted natural look.
Here’s a simple skincare routine you can follow:
- Cleanse Your Face: Start with a gentle cleanser suited for your skin type to remove any dirt, oil, or makeup residue. This helps create a clear and smooth base for your foundation.
- Exfoliate (if needed): If you notice dry, flaky patches on your skin, gently exfoliate once or twice a week. Be careful not to over-exfoliate, as it can irritate the skin.
- Apply Moisturizer: Hydration is key! Use a lightweight moisturizer if you have oily skin, or a richer formula if you have dry skin. Wait a few minutes for your moisturizer to absorb before moving on to the next step.
- Use Sunscreen: If you’re heading out, don’t forget your sunscreen! A broad-spectrum SPF will protect your skin while providing a great base for your makeup.
- Let It Set: After applying your skincare products, give them a few minutes to settle in. This ensures that your foundation adheres well and doesn’t slide off during the day.
Preparing your skin might take a few extra minutes, but trust me, it’s absolutely worth it! The better your skin looks and feels, the better your foundation application will be. Plus, it sets the tone for achieving that flawless, natural look you’re aiming for!
Also Read This: How to Make Small Paper Flowers: Fun Craft Tutorial on Dailymotion
5. Step 2: Choose the Right Foundation Shade
Choosing the right foundation shade is like finding the perfect pair of jeans—it makes all the difference! You want a foundation that seamlessly blends into your skin tone rather than contrasting with it. Here’s how to find that flawless shade:
- Know Your Undertone: Skin tones usually fall into three categories: cool, warm, and neutral. Cool undertones have pink, red, or blue hues, while warm undertones lean towards yellow, peach, or golden hues. Neutral undertones are a mix of both. A quick way to determine your undertone is to check the color of your veins. If they appear blue, you're likely cool-toned; green means warm; and if it's hard to tell, you might have a neutral undertone.
- Test in Natural Light: When testing foundation shades, always do so in natural light. Store lighting can be misleading and might not represent how the foundation looks outdoors. Place a small amount of foundation along your jawline and blend it in. The right shade should disappear into your skin, so you don’t see a distinct line.
- Don’t Be Afraid to Mix: Sometimes, you may find that you need more than one shade. This is especially true if you have a slightly darker skin tone in summer and a lighter one in winter. Mixing two shades can give you a customized blend that matches perfectly throughout the year.
Remember, testing a foundation is essential—don’t just grab a bottle off the shelf! Take your time and ensure you’re happy with your choice before purchasing.
Also Read This: How to Use Always Ultra Pads Complete Guide for Women on Dailymotion
6. Step 3: Warm Up the Foundation
Now that you've got your perfect foundation shade, it’s time to get it ready for application! Warming up your foundation is a crucial step that helps to enhance its consistency and makes blending a breeze.
- Why Warm It Up?: When foundation is warm, it spreads more easily on the skin. This helps it to blend seamlessly and creates that beautiful natural look we all want. Cooler, more solid products can sometimes feel heavy and can be more challenging to apply smoothly, especially using just your fingers.
- The Technique: To warm up your foundation, simply take a small amount on your fingertips—think of a nickel-sized amount for your whole face. Rub your fingers together gently, which helps to generate some heat. You want the foundation to feel a bit warmer than room temperature.
- Optional: Mix with Moisturizer: If you’re looking for an even lighter, dewy finish, consider mixing your foundation with a dab of moisturizer. This not only warms it up but also gives your skin an extra boost of hydration. Just remember to use less foundation than usual, as you’re adding another product!
Once your foundation is warmed up, you’re ready to apply it! With the right warmth, it’s going to glide seamlessly onto your skin, making your blending process so much easier. You're just a few steps away from achieving that gorgeous, natural look!
Also Read This: Make Your Nose Appear Slimmer with Makeup Tutorials on Dailymotion
7. Step 4: Apply Foundation in Sections
Now that you've prepped your skin and chosen the right shade of liquid foundation, it's time to apply it! But hold on—before you dive right in, let's talk about why applying in sections is a game changer.
Applying foundation all over your face at once might seem tempting, especially if you're in a rush. However, this can lead to uneven coverage. Instead, breaking it down into sections allows you to control the application and ensure each part of your face looks polished and seamless.
Here’s how to do it:
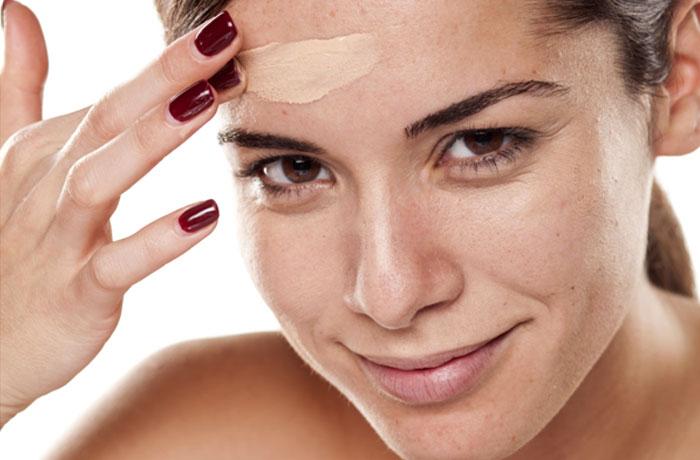
- Choose Your Sections: Start with the central portion of your face—typically your forehead, nose, and chin. Then, move outward to cover the cheeks and jawline. This method helps to distribute the foundation evenly without letting it dry in one area before you can blend.
- Use the Right Amount: Dispense a small amount of foundation onto your fingertips or the back of your hand. You can always add more, but it's better to start with a little and build it up where needed.
- Work Quickly: Liquid foundation can dry relatively fast, especially if you’re working with full-coverage formulas. Once you apply a thin layer to a section, don’t linger too long before you start blending it out.
If you find that certain areas need more coverage, go ahead and layer it up. Just remember to keep it light in the beginning, focusing on achieving a natural look rather than masking your skin.
Applying foundation in sections not only helps in achieving that perfectly blended finish, but it also allows you to see how much product you really need, making your makeup routine more efficient. So, take your time and enjoy the process!
Also Read This: How to Copy a Video from Dailymotion: Detailed Instructions for Downloading
8. Step 5: Blend for a Natural Finish
The secret to a flawless makeup application often lies in the blending. After applying foundation in sections, it’s crucial to take your time to blend properly for that coveted natural finish. Here’s how to master the art of blending with your fingers:
- Use Your Fingers: Your fingers are one of the best tools for blending liquid foundation because they generate warmth, which helps melt the product into your skin. This creates a more natural look compared to using brushes or sponges.
- Start from the Center Out: Begin blending from the center of your face and work your way outwards. This tactic helps to diffuse the product outward, preventing any harsh lines, especially around the edges of your jawline and hairline.
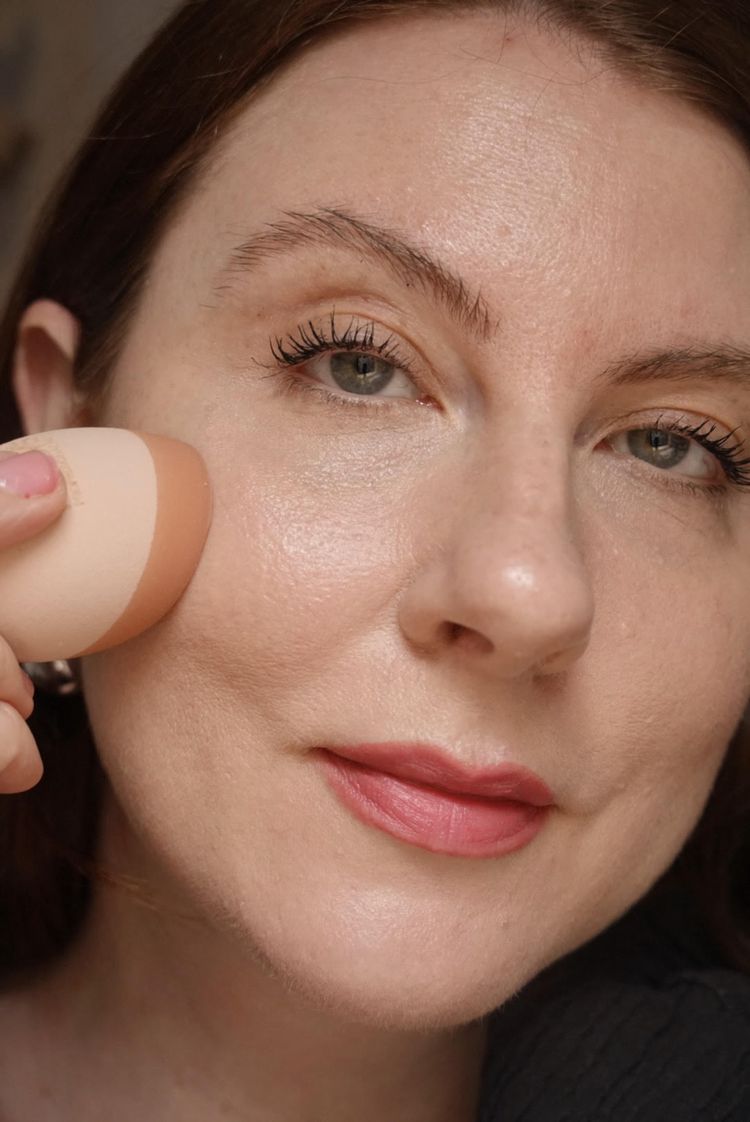
- Pat & Press: Instead of rubbing your foundation into your skin, use a gentle patting or stippling motion. Pressing the foundation helps it adhere better to your skin, resulting in a more skin-like finish.
- Check for Coverage: After blending, take a moment to look at your foundation in different lighting. This is a good time to spot any areas that may need a little extra love or a touch-up. Don't hesitate to add a dot more foundation and blend again if necessary.
Remember, blending is your friend! The more you take the time to ensure everything is seamlessly merged together, the more natural and radiant your makeup will look.
So there you have it—applying liquid foundation with your fingers can make a world of difference when aiming for that effortless, natural finish. With these steps, you'll feel confident in your technique and ready to tackle any day looking fresh-faced and fabulous!
Also Read This: Is Dailymotion Legal in 2020? A Review of Its Global Legal Status
9. Tips for Achieving a Flawless Look
Achieving a flawless look with liquid foundation using just your fingers is entirely possible with a few simple tips and techniques! Here are some expert suggestions to help you get that fresh, natural glow:
- Prep Your Skin: Always begin with a clean and moisturized face. Consider using a primer if you have oily skin to help control shine and extend the wear of your foundation. Make sure to let any skincare products soak in for a few minutes before applying foundation.
- Use the Right Foundation: Not all foundations are created equal. Choose a formula that matches your skin type. For oily skin, look for a matte finish, while dry skin might benefit from a hydrating or dewy foundation.
- Warm It Up: Before applying, warm the foundation between your fingers. This makes it easier to blend and helps the product to meld into your skin seamlessly.
- Start Small: Less is more! Start with a small amount of foundation—about a pea-sized drop—and gradually add more if necessary. It’s easier to build coverage than to remove excess product from your face.
- Apply in Sections: Work on one section of your face at a time. Apply foundation to your cheeks first, then move to the forehead and chin. This approach allows the product to blend more effectively and prevents it from drying before you can blend.
- Use a Tapping Motion: Use your fingertips to apply and gently tap the foundation into your skin. This technique is great for achieving a natural finish, as it mimics the way your skin naturally functions.
- Blend, Blend, Blend: Make sure to blend well around your jawline, hairline, and ears to avoid any harsh lines. Pay attention to areas that need extra coverage, like blemishes or redness.
Following these tips can significantly enhance your application technique, helping you sport a beautifully natural look while making sure your foundation lasts throughout the day.
Also Read This: How to Download Dailymotion Playlist: A Complete Guide for Playlist Downloading
10. Common Mistakes to Avoid When Applying Foundation
While applying liquid foundation with your fingers can be easy and fun, there are some common pitfalls to watch out for. Avoiding these mistakes will help ensure your makeup looks flawless and natural.
- Skipping Skincare: Never apply foundation on unmoisturized skin. Skipping skincare can lead to patchiness and an uneven application. Always prep your skin properly before any makeup application!
- Using Too Much Product: Applying too much foundation can result in a cakey finish. Remember, you can always layer if needed. Start light and build your coverage gradually.
- Neglecting the Neck: Remember to blend foundation down your neck! This prevents a stark contrast between your face and neck, ensuring a more cohesive look.
- Ignoring Skin Type: Using the wrong formula for your skin type can lead to various issues, such as excessive shine or dryness. Always choose products that complement your skin!
- Pulling or Tugging on the Skin: Be gentle! Your skin is delicate, so avoid harsh pulling or tugging when applying foundation. Instead, use light tapping motions for a seamless finish.
- Forgetting About Touch-Ups: Depending on your skin type, you may need to touch up throughout the day. Keep some powder handy for oily areas and a few makeup wipes for any smudges.
The key is to stay aware of these common missteps and adjust your technique accordingly. Once you’re mindful of these issues, achieving a natural, flawless look becomes so much simpler!
Conclusion and Final Thoughts on Liquid Foundation Application
Applying liquid foundation with your fingers can be an effective and effortless way to achieve a natural, flawless finish. Here are some key takeaways to keep in mind:
- Find the Right Formula: Choose a foundation that suits your skin type, whether it's oily, dry, or combination. This ensures that the formula blends seamlessly into your skin.
- Prep Your Skin: Always start with a clean, moisturized face. Using a primer can also enhance the staying power of your foundation.
- Small Amounts: Start with a small amount of product and build up as needed. This helps in avoiding a cakey appearance.
- Use Your Fingers: The warmth of your fingers can help in melting the foundation into your skin, providing a more blended look compared to brushes or sponges.
- Tap, Don’t Rub: Gently tap the foundation onto your skin rather than rubbing it, to help it sit naturally rather than sitting on top of your skin.
Remember to blend well, especially around the jawline and hairline, to avoid harsh lines. Adjust the coverage based on your needs, whether you want a light, daily look or something more full coverage for special occasions.
In conclusion, mastering the technique of applying liquid foundation with your fingers can elevate your makeup game significantly, providing that desired effortless and natural glow. Experiment with different methods, and don’t hesitate to adapt these techniques to find what works best for you!
 admin
admin


