If you're looking for a fun and engaging project that combines creativity, engineering, and a bit of flight magic, then making a DIY motor plane is the perfect endeavor! Whether you’re a beginner or a seasoned hobbyist, crafting your own motor plane can be a rewarding experience. Not only will you learn about aerodynamics, but you'll also gain hands-on skills in construction and mechanics. Let's take off into the world of DIY motor planes, where the only limit is your imagination!
Materials Needed for Your Motor Plane Project
Before we dive into the building process, it’s essential to gather all the materials you’ll need. Having everything on hand will make your project go smoothly and keep you in the creative zone. Here’s what you’ll need:
- Wooden Balsa Sheets: These are lightweight and easy to cut, making them ideal for building the frame of your plane.
- Electric Motor: A small electric motor (usually around 180 to 250 watts) will provide the necessary power. Don't forget a propeller to attach to it!
- Battery Pack: Choose a rechargeable lithium-polymer battery (LiPo) that matches your motor’s requirements.
- Servo Motors: These are necessary for controlling the rudder and elevators, allowing you to maneuver your plane in the air.
- Control Receiver and Transmitter: A basic RC system will enable you to control your plane from the ground.
- Glue: A strong adhesive like epoxy or a hot glue gun will keep your components secure.
- Cutting Tools: Safety scissors or a craft knife will help you cut the balsa wood and other materials easily.
- Measurement Tools: A ruler or a measuring tape to ensure all your pieces are cut to the right dimensions.
- Paint and Decorations: Optional, but customizing your plane with paint and stickers adds a personal touch and makes it uniquely yours!
Once you have all your materials gathered, you’re ready to jump into the building process! The beauty of this project is that you can tweak the design to suit your style, experiment with different configurations, and even improve upon your initial model once you've gathered some experience. So, grab your tools, unleash your creativity, and let’s get building!
Also Read This: How to Make 3D Glasses at Home: A Dailymotion Tutorial
3. Step-by-Step Instructions to Build Your Motor Plane
Alright, ready to get your hands dirty? Building your motor plane can be a fun and rewarding process! Let’s break it down into manageable steps so you can follow along easily. Gather your materials, and let’s get started!
Materials Needed:
- Lightweight balsa wood or foam board for the body
- Electrolytic motor (small size)
- Propeller (compatible with your motor)
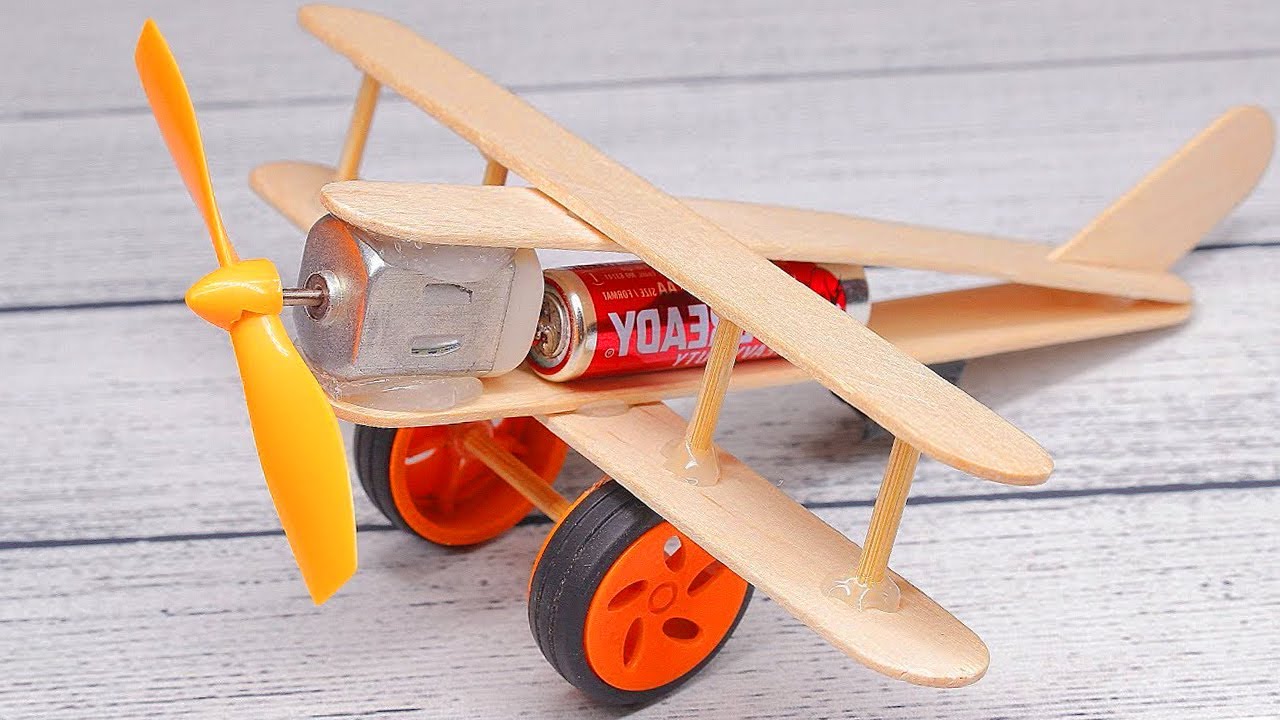
- Battery (LiPo or AA, depending on your motor requirements)
- Control surfaces like rudders and ailerons (can be made from balsa or plastic)
- Glue (lightweight adhesive or hot glue)
- Scissors or a craft knife
- Ruler and pencil
- Optional: LED lights for decoration
Step 1: Designing Your Plane - Start by sketching out a basic plan for your motor plane. Think about its dimensions and proportions. A simple design will help you focus on the mechanics of flight without getting overwhelmed.
Step 2: Cutting the Body - Using your ruler and pencil, measure and mark the dimensions on your balsa wood or foam board. Carefully cut out the body shape of your plane according to your design. Remember, precision is key for balanced flight!
Step 3: Building the Wings - Measure and cut the wings from the same material. Depending on your design, you might want larger wings for better lift. Make sure both wings are symmetrical for balanced flight.
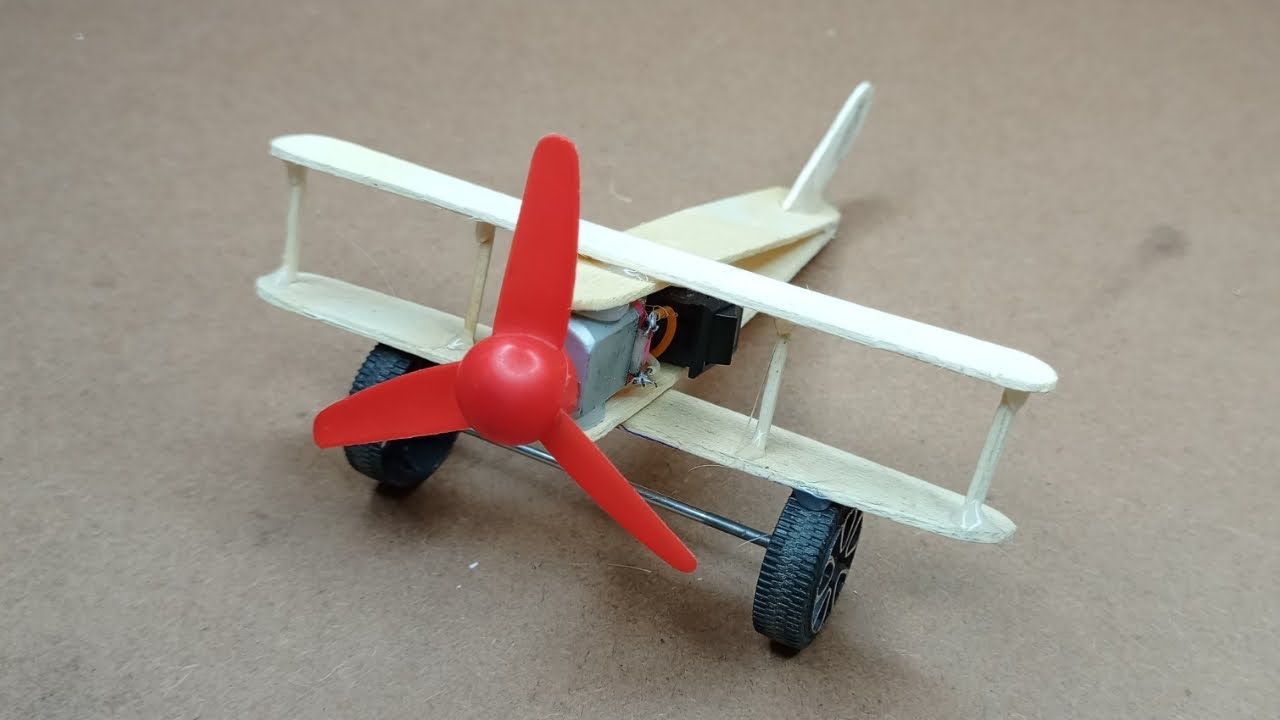
Step 4: Attaching the Motor - Secure the motor to the body of the plane using glue. Position it on the nose of the plane to balance it correctly. Ensure the propeller is attached securely to the motor shaft.
Step 5: Creating Control Surfaces - Cut out pieces for the rudder and ailerons, then attach them at the back of the body and on the wings with flexible tape. These will help steer your plane during flight.
Step 6: Battery Installation - Attach the battery to the body securely, ensuring all wires are tucked away. You can create a small compartment with a hatch if you want easy access.
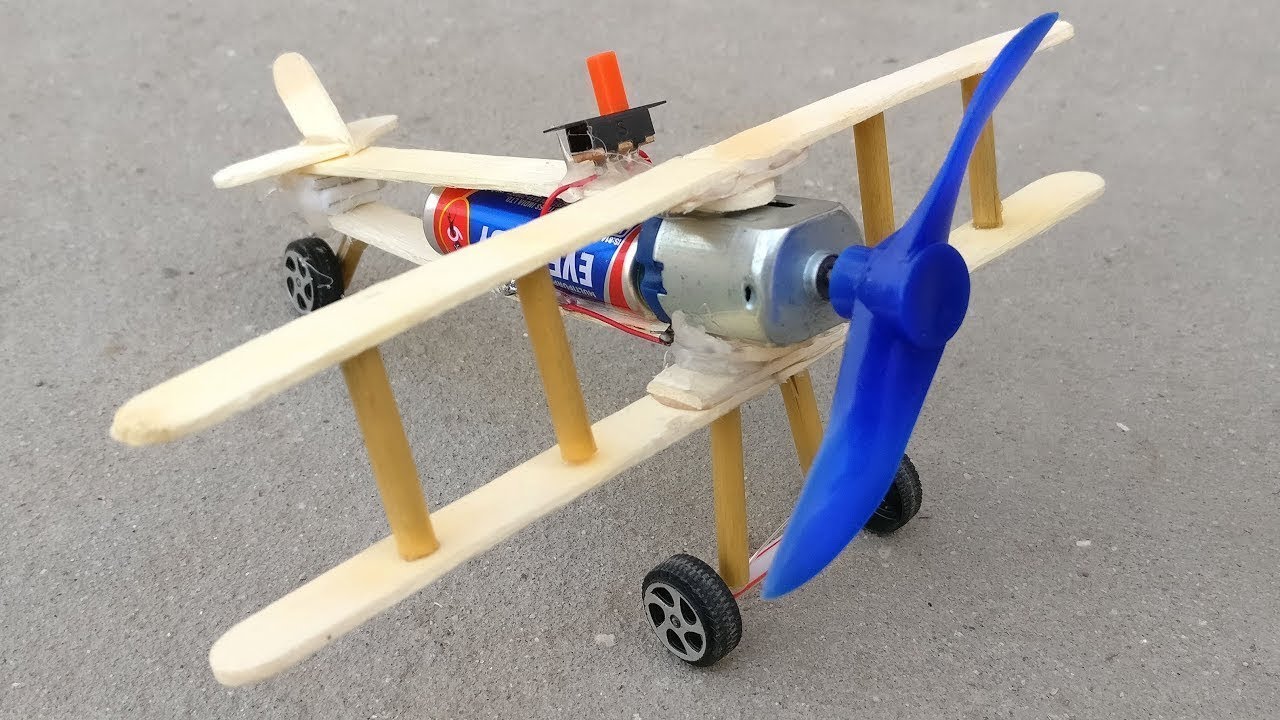
Step 7: Final Assembly and Decoration - Once everything is glued in place and dry, you can add optional decorations like LED lights for flair. Remember to keep the weight light to ensure better flight performance!
After your plane is assembled, give it a gentle shake. It should feel sturdy and balanced. If everything looks good, you're all set for first flight!
Also Read This: Discovering the Dailymotion App A Comprehensive Guide to the Dailymotion Mobile Application
4. Tips for Ensuring Your Motor Plane Flies Successfully
Now that you’ve built your motor plane, let’s talk about some tips to help ensure it takes flight successfully. Flying could be the most thrilling part of this entire DIY project!
1. Balance is Key: Always check that your plane is balanced before launching. A well-balanced plane will fly straight and true. You can achieve this by positioning the battery and motor correctly and ensuring that both wings are equal in size and weight distribution.
2. Test the Controls: Make sure all control surfaces move freely. Give them a testing push to see if they respond correctly to your movements. Any sticky parts can ruin your flight, so it’s worth taking a moment to ensure everything moves smoothly!
3. Choose the Right Launch Area: Find a wide-open space free from obstacles. Grass fields, parks, or beaches are great places to practice flying. Avoid areas with strong wind as much as possible, since wind can throw off your flight trajectory.
4. Start with Small Flights: On your first flight, don’t go too far! Start small to see how your plane behaves. If it seems to tilt or nose-dive, note what adjustments you might need to make.
5. Adjust for Stability: If your plane veers off course, you may need to adjust the rudder or make changes to the weight distribution. Sometimes, a small shift can make a significant difference.
6. Learn from Mistakes: Not every flight will be perfect - and that’s okay! Each flight gives you insights into what modifications to make next time. Keep a notebook handy to jot down observations for future adjustments.
By following these tips and staying patient, you'll have your motor plane soaring through the skies in no time! Happy flying!
Also Read This: Learn How to Do a French Braid with Dailymotion Step-by-Step Videos
5. Common Mistakes to Avoid When Building a Motor Plane
Building a motor plane can be an exhilarating project, but it's essential to avoid some common pitfalls that could lead to frustration or even failure. Here are a few mistakes you might encounter and tips on how to steer clear of them:
- Skipping the Research: Before you begin, take the time to research different designs and components. Every model has its quirks, so arm yourself with knowledge. The more you understand, the fewer mistakes you’ll make.
- Poor Material Choices: Using subpar materials can lead to poor performance or safety issues. Invest in quality wood and reliable electronics. Even slight variations in weight can affect flight!
- Neglecting Weight Distribution: Balance is key when it comes to flights. Make sure the weight of the components is evenly distributed. If the motor plane is too heavy on one side, it may not fly well and could crash.
- Overlooking Electrical Connections: A common mistake! Double-check all your wiring and connections. If something's loose or improperly connected, your motor plane won’t take off as planned—or worse, it could cause a hazardous situation.
- Not Testing Components Individually: Before assembling everything, test individual parts like the motor and servos. This way, you can identify and troubleshoot issues before they become too complicated.
By staying aware of these potential pitfalls and taking proactive steps, you can save yourself time and energy. Remember that every error is an opportunity to learn. Don’t be discouraged by mistakes; they're part of the process!
Also Read This: How to Make Rings in Sheesha Crafting Tutorial on Dailymotion
6. Enhancing Your Motor Plane: Modifications and Upgrades
Once you've successfully built your motor plane and taken it for its inaugural flight, you might find yourself wanting to enhance its performance or simply make it more fun to fly. Here are some popular modifications and upgrades that you can consider:
- Upgrading the Motor: If you’re looking for more power, consider upgrading to a more powerful motor. A stronger motor can lead to better lift and faster speeds, making your flying experience much more exciting.
- Improving the Battery: Upgrading to a high-capacity LiPo battery can greatly enhance your flight time. Just ensure that your plane's design can handle the extra weight and that your ESC (Electronic Speed Controller) is compatible.
- Implementing Advanced Flight Control Systems: For those who want to get technical, adding features like a flight stabilization system can help with handling and improve your flying skills. Various systems help stabilize rolls and pitches, which can be particularly wonderful for novices.
- Custom Painting and Aesthetics: Give your motor plane some personality! Use paint or decals to customize its appearance. A well-painted plane can stand out at the flying field and reflect your personal style.
- Adding LED Lights: Want to take your night-flying game to the next level? Adding LED lights not only enhances visibility but can create a stunning spectacle as it soars through the night sky.
Each modification can open a new world of possibilities and experiences, so don’t hesitate to experiment! Whether it’s enhancing performance or personalizing the aesthetic, your motor plane can evolve with you. Enjoy the thrill of flying, and let each flight bring you new inspiration for improvements!
Also Read This: Can You Watch Dailymotion on Tablo? What You Need to Know
7. Showcasing Your DIY Motor Plane: Video Guide
Now that you’ve successfully crafted your very own motor plane, it’s time to showcase your hard work and flying skills! What better way to share your creation than through a video guide? Not only does this help others learn from your build, but it also creates a fun way for you to document your journey. Here’s how you can create an engaging video showcase:
- Plan Your Video: Before hitting record, think about what you want to include. Start with an introduction about yourself and the project. Outline the different stages of building your motor plane. A clear structure will keep your viewers engaged.
- Gather Your Tools: Make sure you have all the tools necessary for the video. A good camera or smartphone with decent video quality is a must. Consider using a tripod to keep the shot steady.
- Show the Process: Film the key stages of your build. You might want to include:
- Gathering materials
- Cutting and assembling parts
- Installing the motor and electronics
- Painting and decorating your plane
- Flight Tests: Capture footage of your motor plane in action! Make sure to find a safe location for this. A local park or open field works best. Show your first flight from multiple angles, including a close-up of you in action.
- Editing Your Video: Once you have your footage, it’s time to edit. Use free software like iMovie or DaVinci Resolve to slice, dice, and arrange your clips into a cohesive story. Add background music and on-screen text to highlight important concepts.
- Promote Your Video: Once your masterpiece is ready, share it on social media platforms, DIY forums, and communities like Reddit or Facebook groups focusing on remote control hobbies. Don’t forget to engage with the comments!
Remember, your video doesn’t have to be perfect! It’s your personal journey, and authenticity resonates with viewers. Sharing your experiences can inspire countless others to take on their own DIY projects. So grab that camera and get started—you've got a motor plane to show off!
8. Conclusion and Encouragement for DIY Enthusiasts
Congratulations on embarking on this exciting DIY journey! Building a motor plane is more than just a project; it’s a testament to your creativity, patience, and determination. Each step you took, from assembling parts to flying your finished creation, showcases not only your skills but also your passion for making something with your own hands.
As you reflect on your journey, remember these key takeaways:
- Embrace the Process: DIY isn’t just about the end result. Every challenge you faced while building your motor plane contributes to your learning experience. Embrace mistakes, as they are often the best teachers.
- Experiment and Innovate: Don’t be afraid to try new techniques or add personal flair to your projects. Whether it’s a unique paint job or tweaking the design for better performance, your creativity is what makes your motor plane truly yours.
- Connect with the Community: The DIY community is vast and welcoming. Share your experiences, seek advice, and collaborate with fellow enthusiasts. You might even inspire someone else to take the plunge into DIY motor plane building!
So, whether you're flying solo with your motor plane or preparing for another great project, keep that spirit of inquiry and enthusiasm alive. The world of DIY offers endless possibilities, so stay curious, stay inventive, and most importantly, have fun! Wings up, and happy flying!
 admin
admin


