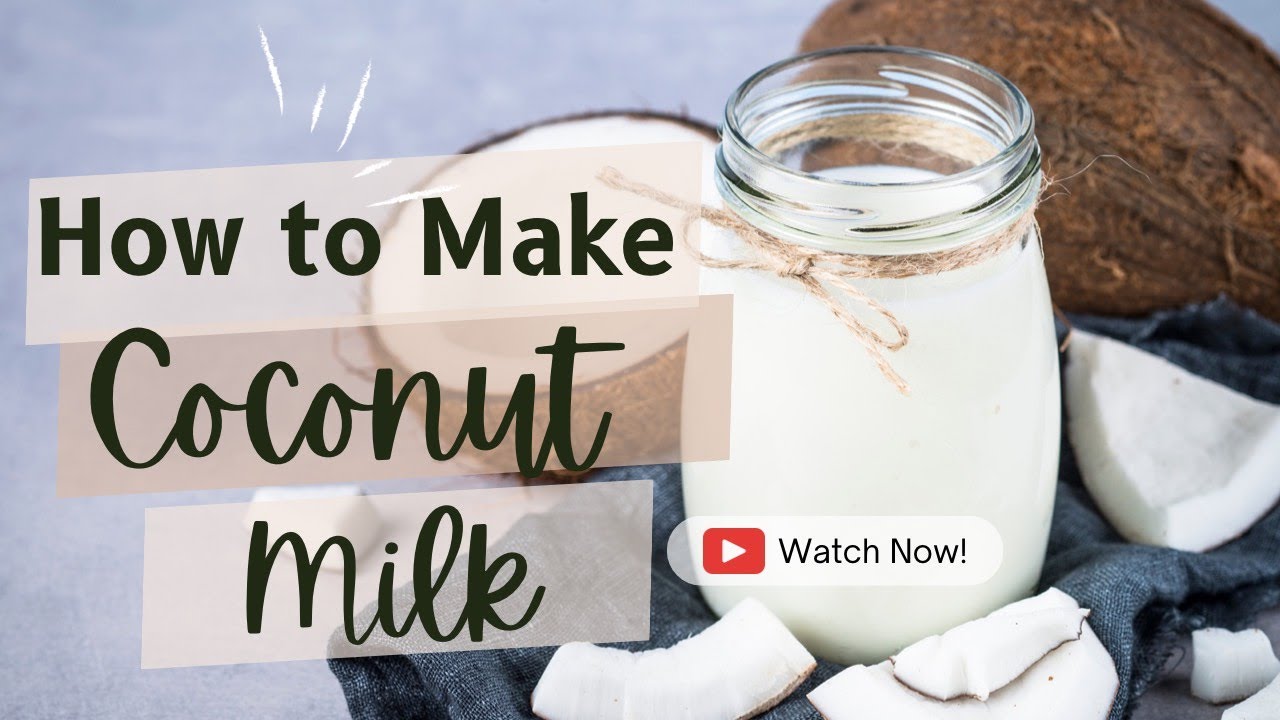
Have you ever considered making your own coconut milk at home? It’s not just a trendy kitchen hack; it's a deliciously rich alternative to dairy milk that adds a creamy texture to your dishes. Plus, it's incredibly easy to whip up with just two main ingredients: coconut and water! In this post, we'll dive into the world of coconut milk, exploring its flavors, versatility, and why making it yourself can be a game changer for your kitchen.
Benefits of Homemade Coconut Milk
Making your own coconut milk comes with a bunch of fantastic benefits that you just can’t ignore. Let’s take a closer look at why you might want to skip the store-bought versions and embrace the homemade route.
- Freshness: When you make coconut milk at home, you’re working with fresh ingredients. Store-bought varieties may contain preservatives or additives to prolong shelf life, which can detract from the pure coconut flavor.
- Control Over Ingredients: By making your own coconut milk, you get to decide exactly what goes into it. No hidden sugars, thickeners, or artificial flavors—just pure goodness.
- Cost-Effective: Buying whole coconuts can often be cheaper in the long run compared to purchasing cartons of coconut milk at the grocery store. One coconut can yield a large batch of milk!
- Rich in Nutrients: Homemade coconut milk is packed with healthy fats, vitamins, and minerals. It provides lauric acid, which is believed to support immune health.
- Customization: You can easily customize your coconut milk to suit your taste preferences. Want it sweeter? Add a splash of vanilla or a bit of honey. Prefer it a little thicker? Adjust the amount of water you use when blending.
Moreover, homemade coconut milk can be a fun and fulfilling activity. It’s like an art project in your own kitchen! The process allows you to get creative, and you can even experiment with adding spices or other flavors, such as cinnamon or cardamom, for a delightful twist. Plus, leftover coconut pulp can be repurposed for baking or added to smoothies, minimizing waste and maximizing flavor.
So, are you ready to elevate your culinary game? Making coconut milk at home not only brings fresh flavors into your cooking but also empowers you to make nutritious, tailor-made alternatives to store-bought brands. Stay tuned for our upcoming sections, where we’ll share a simple recipe and tips for making the best coconut milk!
Also Read This: How to Change Your Dailymotion Username Easily
3. Ingredients Needed for Coconut Milk
Making your own coconut milk at home is not only simple but also allows you to control the freshness and quality of the ingredients you use. Here’s what you’ll need to get started:
- Fresh or Dried Coconut: You can use either fresh coconut meat or unsweetened dried coconut flakes. If you’re using fresh coconut, you’ll need about 2 cups of grated coconut. If you’re opting for dried, about 1 cup should do the trick.
- Water: This is the second key ingredient. The amount of water you use can vary depending on how thick you want your coconut milk. For a creamier texture, use less water (about 1-2 cups). For a lighter milk, you can use up to 4 cups.
- Sweeteners (Optional): If you like your coconut milk sweetened, consider adding a tablespoon of sugar, honey, or maple syrup. This step is completely optional and can be adjusted based on your taste preferences.
- Flavorings (Optional): For an extra kick, you might want to add a pinch of salt, a few drops of vanilla extract, or even a sprinkle of cinnamon for a cozy touch.
That’s it! You don’t need a dozen ingredients – just these few staples will get you perfect, creamy coconut milk. Remember, the quality of the coconut you choose will directly impact the taste of your milk, so opt for fresh, organic options when possible.
Also Read This: How to Eliminate Double Chin in Just Two Days with Dailymotion Advice
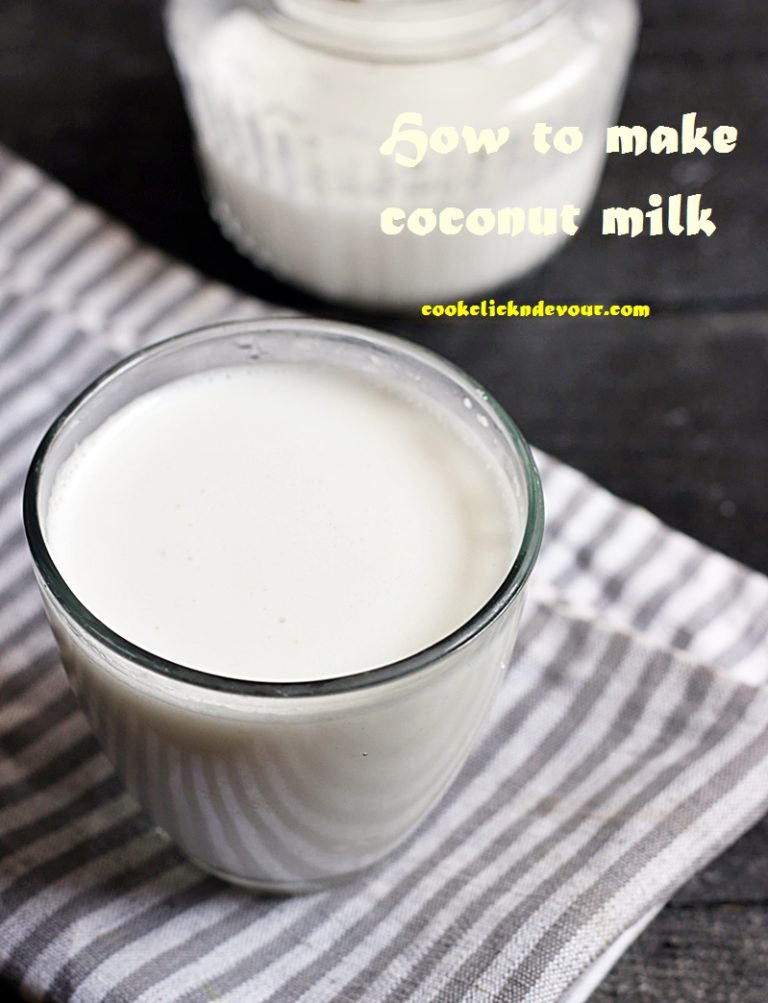
4. Step-by-Step Instructions for Making Coconut Milk
Now that you have your ingredients ready, let’s dive into the fun part: making coconut milk! Follow these simple steps, and you’ll have your homemade coconut milk in no time.
- Prepare the Coconut:
If you’re using fresh coconut, start by cracking it open and removing the meat. Grate the coconut meat into small pieces using a grater or food processor. If you’re using dried coconut flakes, make sure they are unsweetened and organic for the best flavor.
- Add to Blender:
Transfer the grated coconut or dried flakes to your blender. This is where the magic happens!
- Pour in Water:
Add your chosen amount of water to the blender. Remember, for creamier coconut milk, use less water (around 1-2 cups). For a thinner consistency, go for 3-4 cups. Make sure to adjust according to your preference.
- Blend Away:
Blend on high for about 2-3 minutes until the mixture appears milky and the coconut is finely shredded. If your blender is powerful enough, it should combine smoothly.
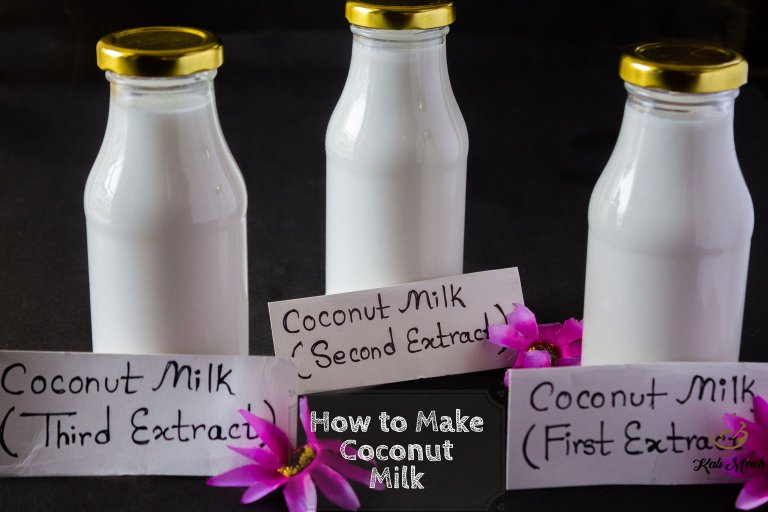
- Strain the Mixture:
Now comes the fun task of straining. Take a fine mesh strainer or cheesecloth and place it over a large bowl. Pour the blended mixture into the strainer. If using cheesecloth, gather the edges and twist to extract as much liquid as possible. You're going to want to squeeze it like you're wringing out a towel – get all that goodness out!
- Store Your Coconut Milk:
Your coconut milk is ready! Transfer it to a clean glass container and store it in the refrigerator. It should last about 3-5 days, although it’s best enjoyed fresh. If you notice any separation (which is normal), just give it a good shake before using.
And there you have it—a simple, delightful recipe for homemade coconut milk! You can use it in smoothies, curries, coffee, or even just enjoy it as a beverage on its own. The possibilities are endless, and you’ve just made a delicious dairy-free milk substitute right from your kitchen!
Also Read This: Is Dailymotion Offline and How to Check and Fix Streaming Issues
5. Tips for the Best Coconut Milk
Making the perfect coconut milk at home can be a delightful experience, but there are some pro tips to keep in mind that will elevate your homemade creation. Here are some essential tips to ensure you achieve rich, creamy coconut milk every time:
- Choose the Right Coconut: Whether you're using fresh coconuts or dried coconut flakes, the quality matters! For fresh coconuts, look for ones that feel heavy and sound sloshy when shaken. For dried coconut, opt for unsweetened, organic flakes to avoid additives.
- Use Hot Water: For maximum extraction of flavor and creaminess, use hot water during blending. This helps to dissolve the fats in the coconut, resulting in a richer milk.
- Blend Thoroughly: Don't skimp on the blending! Ideally, you should blend the coconut and water for at least 2-3 minutes. This gives the coconut time to break down completely and infuse the water with its flavor.
- Strain Well: Use a fine mesh strainer or a nut milk bag to strain the milk. The goal is to get as much liquid as possible out while leaving behind the coconut pulp. You can save that pulp for other recipes like smoothies or baked goods!
- Season to Taste: If you’re looking to add a little flavor, consider sweetening your coconut milk or adding a pinch of salt. Some even enjoy adding vanilla extract or cinnamon for a delightful twist!
By following these tips, you’ll find yourself with coconut milk that's not only delicious but also versatile for all your culinary needs. Whether you're using it in curries, smoothies, or desserts, the quality of your coconut milk will shine through!
Also Read This: Searching for Videos by Category and Length on Dailymotion
6. Storing and Using Homemade Coconut Milk
Now that you’ve made your coconut milk, it’s essential to know how to store it properly to preserve its freshness and flavor. Homemade coconut milk has a shorter shelf life than store-bought varieties, but with some simple guidelines, you can enjoy it for longer.
Storing Your Coconut Milk
Here’s how to store your homemade coconut milk:
- Refrigeration: Store your coconut milk in an airtight container in the refrigerator. It stays fresh for about 3-5 days. Always give it a good shake before using, as it may separate when sitting.
- Freezing: If you don’t plan to use your coconut milk within the week, consider freezing it! Pour the milk into ice cube trays or freezer-safe bags, making sure to leave room for expansion. It can last for up to 2 months in the freezer.
Using Coconut Milk
There are countless ways to use homemade coconut milk in your cooking and baking. Here are a few ideas:
- Smoothies: Use coconut milk as a creamy base for smoothies. It adds a tropical flavor and a luscious texture.
- Curries and Soups: Replace water or broth with coconut milk in soups and curries for a rich and creamy consistency.
- Baking: Coconut milk can be used in baked goods like pancakes, cakes, or muffins instead of regular milk for a delicious twist.
- Coffee and Tea: Add a splash of coconut milk to your morning coffee or tea for a creamy, non-dairy option.
With these storage tips and usage ideas, you can make the most of your homemade coconut milk. Enjoy experimenting with this delightful ingredient in your favorite recipes!
Also Read This: How to Download Dailymotion Video Using KeepVid: A Quick Guide
7. Delicious Recipes Using Coconut Milk
Coconut milk isn’t just fantastic on its own; it’s a versatile ingredient that can elevate a variety of dishes. Whether you’re looking to whip up something savory or sweet, here are some delightful recipes you can try:
- Coconut Curry: A comforting dish that marries spices with the creaminess of coconut milk. Simply sauté your favorite vegetables (like bell peppers, zucchini, and carrots), add some curry powder, and stir in coconut milk for a rich sauce. Serve it over rice for a hearty meal!
- Coconut Rice: To add a tropical twist to your regular rice, boil your rice in half water and half coconut milk. This method results in fluffy, flavorful rice that pairs perfectly with grilled meats and stir-fried veggies.
- Smoothies: Make your breakfast more exciting by blending coconut milk with bananas, spinach, and a scoop of protein powder. It’s creamy, delicious, and full of nutrients!
- Coconut Pancakes: Swap out regular milk for coconut milk in your pancake recipe. This gives them a soft, fluffy texture and a subtle coconut flavor. Serve with tropical fruits and a drizzle of honey!
- Thai Coconut Soup (Tom Kha): This delicious soup features coconut milk, lemongrass, galangal, and mushrooms. It’s a fragrant dish that offers a perfect balance between sweet, savory, and spicy flavors. Ideal for a warm meal on a cool day!
- Coconut Chia Pudding: Mix coconut milk with chia seeds and a touch of sweetener, then let it sit overnight. The next morning, indulge in a delicious, pudding-like dessert that’s both healthy and satisfying!
- Coconut Ice Cream: Combine coconut milk, sugar, and vanilla for a simple ice cream base. Freeze it, and you’ll have a luscious treat that’s perfect for hot days!
These recipes reflect just how flexible coconut milk can be in your cooking arsenal. It's healthy, tasty, and a great dairy-free option that can be used in many different cuisines. Feel free to experiment and create your own coconut-infused dishes!
8. Conclusion and Final Thoughts
Making coconut milk at home is not only easy but also incredibly rewarding. When you make it yourself, you control what goes in, ensuring the purity and freshness of the ingredients. Plus, it opens up a world of culinary possibilities!
Throughout this post, we’ve explored everything from the basic recipe to a variety of delicious uses for coconut milk. Here are a few key takeaways:
- Freshness Matters: Homemade coconut milk is creamier and more flavorful than store-bought versions.
- Versatility is Key: Coconut milk can be used in sweet and savory dishes, making it a staple for any kitchen.
- Experiment and Enjoy: Don’t be afraid to try new recipes and find out how coconut milk can become a favorite in your household.
So, the next time you’re in the kitchen, remember that a simple way to enhance your culinary creations is by integrating homemade coconut milk. Enjoy the process of making it, and savor the delicious results in your meals. Happy cooking!
 admin
admin


