If you're looking to create stunning video content, you're in the right place! WeVideo makes it easy to edit videos, and what’s even better is that you can import YouTube videos directly into the platform. This feature opens up a world of creativity and allows you to enhance your video projects by incorporating existing footage. In this post, we’ll explore why importing YouTube videos into WeVideo can take your editing game to the next level!
Why Import YouTube Videos into WeVideo?
Incorporating YouTube videos into your WeVideo projects has several advantages. Here are a few compelling reasons to consider:
- Access to Rich Content: YouTube is a treasure trove of videos on almost any topic imaginable. By importing these videos, you can leverage existing content to bolster your projects. Whether you're looking for tutorials, reviews, or vlogs, there’s something for everyone.
- Save Time: Creating original footage can be time-consuming. Importing YouTube videos saves you hours of filming and allows you to focus on other aspects of your project, such as editing and storytelling.
- Enhance Your Storytelling: Mixing different video styles and perspectives can make your videos more engaging. Using YouTube clips can help you draw in your audience and create a richer narrative.
- Inspiration and Learning: Watching and importing other creators’ work can ignite your creativity. You may discover new editing techniques, visual styles, or storytelling methods that you want to incorporate into your own content.
- Distinct Visual Features: WeVideo offers editing tools that allow you to modify YouTube clips to fit your vision. From transitions and effects to color grading, you can create a unique and polished final product.
However, it's important to remember to respect copyright and fair use guidelines when importing videos from YouTube. Ensure that you have the right to use the content, whether it's because it's your own material or because you've received permission from the copyright holder.
In summary, importing YouTube videos into WeVideo isn’t just about saving time; it's about enhancing your creative toolkit. By diversifying your source material and blending original concepts with existing works, you can create standout videos that resonate with your audience!
Also Read This: Do All YouTube Videos Have Ads? Exploring YouTube’s Monetization Policies
3. Step-by-Step Guide to Importing YouTube Videos
Now that you're excited about enhancing your video editing with WeVideo, let’s walk through the process of importing your YouTube videos. You might be wondering how to exactly bring those clips into WeVideo for your projects—don’t worry, we've got you covered! Follow these simple steps:
- Log into Your WeVideo Account: Start by logging into your WeVideo account. If you don’t have one, create a free account—it's quick and easy!
- Open a New Project: Once you're in, click the “Create New” button and select “Project.” You will be prompted to name your project and choose a resolution—feel free to select what suits your need!
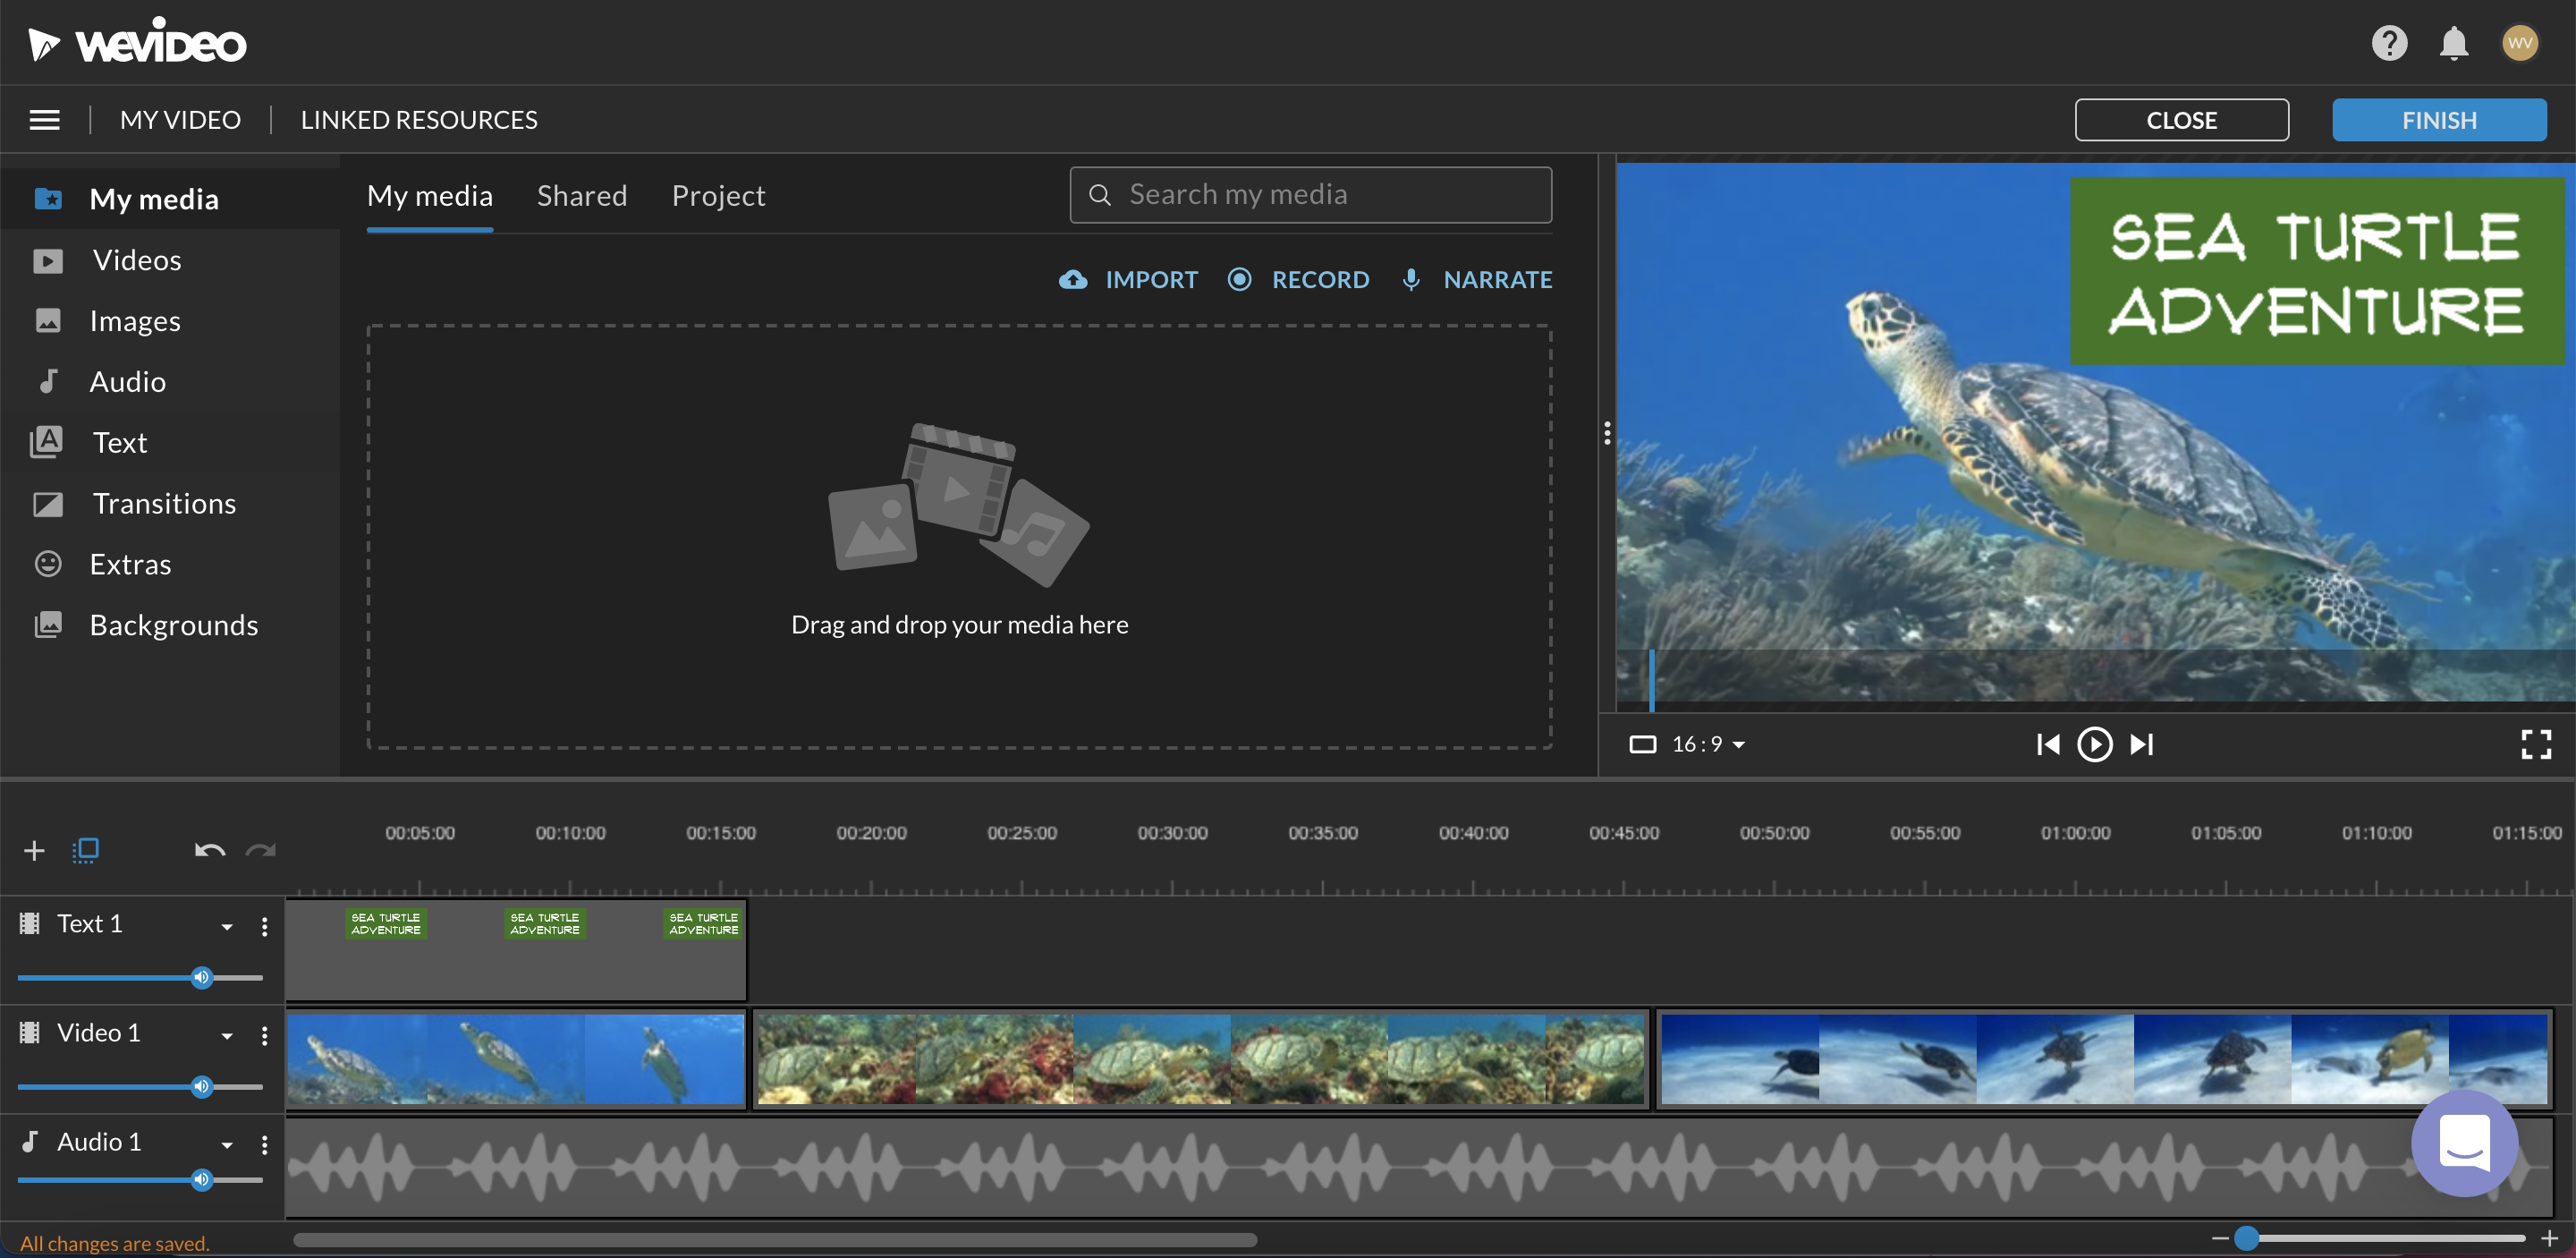
- Access the Media Panel: On the left side of your screen, you will see the media panel. Click on the “Import” button to begin the import process.
- Select “YouTube”: From the import options, choose “YouTube.” This will initiate the process of connecting your WeVideo account with your YouTube account.
- Authorize Access: A new window will pop up asking you to log into your YouTube account. Make sure to allow WeVideo the necessary permissions to access your videos.
- Browse Your Videos: After authorizing, you can browse through your YouTube library. Check the boxes next to the videos you want to import. You can select multiple videos at once!
- Click Import: Once you've made your selection, hit the “Import” button. WeVideo will start bringing those videos into your project.
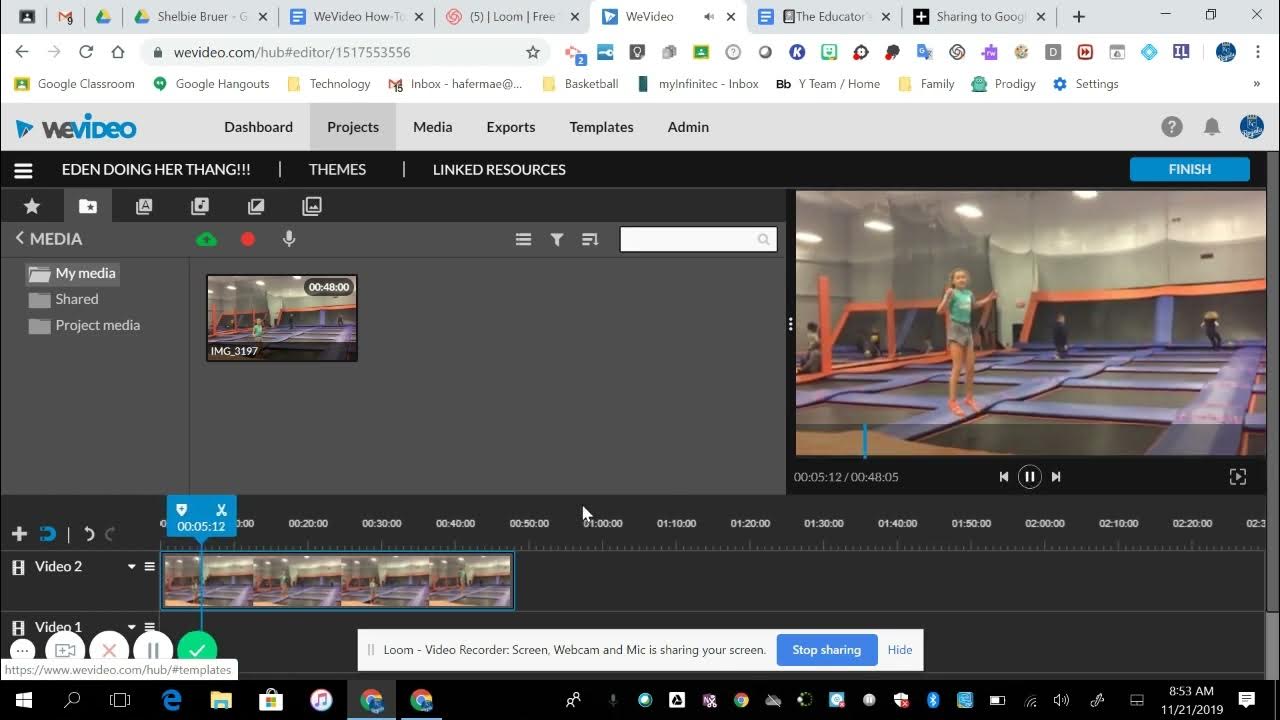
- Timeline Usage: After the import is complete, go to your timeline. You can drag and drop the videos from your media library onto the timeline to start editing right away!
And voilà! Those YouTube videos are now ready for you to edit and enhance. It’s a pretty straightforward process, isn't it? If you run into any hiccups, don’t hesitate to check WeVideo's support forums or help sections. There’s a great community out there just waiting to help!
Also Read This: Why Aren’t Your YouTube Videos Getting Views? Common Reasons and Solutions
4. Setting Up Your WeVideo Account
Ready to take the plunge and set up your WeVideo account? If you’re serious about improving your video editing game, having a solid account setup is essential. Let’s go through the steps to get you started!
- Visit the WeVideo Website: Head on over to WeVideo's official website. You’ll find everything you need right there!
- Choose a Plan: WeVideo offers different plans tailored to various needs, from basic editing for social media creators to advanced features for professionals. Take your time exploring what each plan offers. You may start with their free version to take a test drive!
- Click Sign Up: After selecting your plan, click on the “Sign Up” button. You can register using an email address, or you can quickly sign up utilizing your Google or Facebook account.
- Fill Out Your Information: If you opt for an email signup, input the required information—username, password, and any other requested details. This will be your key to accessing and managing your projects.
- Email Verification: Once you’ve registered, check your inbox for a verification email from WeVideo. Click the link provided to confirm your account. This step is crucial, so don’t skip it!
- Log In to Your New Account: After verification, go back to WeVideo and log into your account using your new credentials.
- Explore Your Dashboard: Once logged in, take a moment to familiarize yourself with the dashboard. You’ll find shortcuts for creating new projects, accessing media, and checking out tutorials.
- Customize Your Profile: Finally, spend a little time customizing your profile. Upload a profile picture and adjust settings to align with your preferences!
Your WeVideo account is now set up and ready to go! This platform is designed to be user-friendly, so as you start creating, you'll find it intuitive even if you're a beginner. Dive in and explore the various features that make video editing an exciting creative outlet!
Also Read This: How to Watch Bally Sports South on YouTube TV: Accessing Regional Sports Content
5. Finding the Right YouTube Video to Import
When it comes to importing YouTube videos into WeVideo, the first step is knowing what you’re looking for. With millions of videos on YouTube, you might feel overwhelmed, but don’t worry! Here are some tips to help you find the right content:
- Identify Your Purpose: Before diving into YouTube, think about why you want to import a video. Are you looking for educational content, background footage, or perhaps an inspiring short clip? Having a clear purpose will significantly narrow your search.
- Search Keywords: Use specific keywords related to your project. For instance, if you're creating a travel vlog, try searching for phrases like "travel tips," "best destinations," or "packing hacks." The more targeted your search, the better the results!
- Check Video Quality: Look for HD (1080p or higher) videos. High-quality footage will ensure that your final project looks polished and professional. Always preview the video before importing to confirm quality.
- Review Licensing: Ensure the video you're considering has the right licensing. Many creators use Creative Commons licenses, which allow for reuse. If you’re planning to monetize your video or share it widely, make sure you respect copyright rules. Videos from creators who explicitly grant permission are great options.
- Evaluate Engagement: Look at the comments, likes, and general engagement to gauge whether the video resonates with viewers. High engagement often means quality content that can add value to your project.
By keeping these points in mind, you’ll save time and effort when scouring YouTube for that perfect video to import into WeVideo. Remember, every video you add should enhance your project and fit seamlessly with the narrative you want to create!
Also Read This: How to See Someone's Subscribers on YouTube: A Quick Guide
6. Using the WeVideo Import Function
Now that you’ve found the perfect YouTube video, it’s time to import it into WeVideo. This process is straightforward but does require a few steps. Let’s break it down:
- Log into WeVideo: Go to the WeVideo website and log into your account. If you don’t have one yet, creating an account is simple and free for basic features.
- Select 'Import' Options: Once you’re in your project dashboard, look for the "Import" button, usually located in the upper left corner of the editor. Click it, and you will see various import options.
- Choose YouTube: From the import options presented, select “YouTube.” You will be prompted to connect your YouTube account to WeVideo. Just follow the prompts to grant permissions.
- Find Your Video: After linking your account, you can browse or search for the video you want to import. You can search by title or URL, making it easy to find exactly what you need.
- Import the Video: Once you’ve found your video, click on it, and hit the "Import" button. WeVideo will start the importing process, which may take a few moments depending on the video's length and quality.
- Editing Time! After the import is complete, your video appears in your media library. Drag it onto the timeline, and you’re all set to start editing!
And there you have it! Importing YouTube videos into WeVideo is a breeze if you follow these steps. With your video now in WeVideo, you can enhance it with filters, transitions, and special effects to create something truly unique. Happy editing!
Also Read This: Why Is My YouTube Italicized and How to Restore Normal Text
7. Editing Your Imported YouTube Videos
Now that you've successfully imported your YouTube videos into WeVideo, it's time to dive into the editing process. This is where you can really get creative and tailor your content to better suit your goals. Whether you're looking to create a polished presentation or a fun vlog, WeVideo has all the tools you'll need. Let’s break down the editing process step by step!
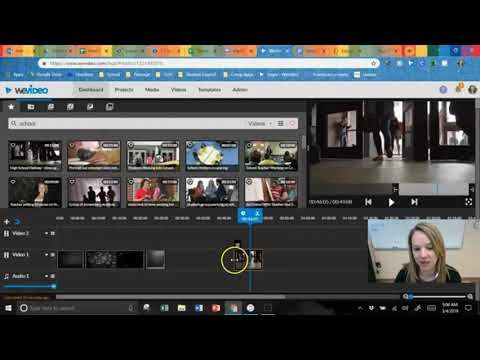
1. Familiarize Yourself with the Timeline:
When you import your videos, they will appear in the media library. Drag your desired video clips onto the timeline. The timeline is where all the magic happens! Here, you can rearrange clips, trim footage, and organize your story chronologically.
2. Cutting and Trimming Clips:
Don’t worry if your clips seem longer than necessary. You can easily cut and trim them to highlight the most interesting parts. Select the clip in the timeline, and use the scissors tool to cut out segments you don’t want. You can also drag the edges of the clip to trim unnecessary footage. This helps keep your audience engaged!
3. Adding Text and Titles:
Text overlays are essential for guiding viewers and providing context. WeVideo offers a variety of text styles, fonts, and animations. To add text, simply click on the ‘Text’ tab in the menu, choose your favorite style, and drag it to the timeline above your video track. You can customize the duration, font size, color, and position!
4. Utilizing Color Correction:
If your video footage appears washed out or too dark, don't fret! WeVideo includes built-in color correction tools. Click on the clip, select the ‘Color’ option, and adjust brightness, contrast, saturation, and more to enhance the visual appeal of your video.
5. Layering Clips:
One of the cool features of WeVideo is the ability to layer different clips and images. You can add a second video clip or a background image on a separate video track. This is especially useful for creating picture-in-picture effects or adding engaging graphics or still images related to your content.
As you go through these steps, remember to keep your audience in mind. Editing is as much about storytelling as it is about technical adjustments. You want your edits to enhance the narrative, not distract from it!
Also Read This: Using Keyboard Shortcuts to Skip Ads on YouTube: A Guide
8. Adding Music, Effects, and Transitions
After fine-tuning your video clips, the next step is to add some flair! Music, special effects, and transitions play a vital role in keeping your viewers engaged. Here’s how to make your YouTube video shine with elements that elevate the overall experience.
1. Selecting Background Music:
Music sets the tone for your video. WeVideo provides a library of royalty-free music tracks that can be used to enhance emotions or create an inviting atmosphere. To add music, navigate to the ‘Audio’ tab, browse through the categories, and select a track that complements your content. Drag it onto the audio track in your timeline. You can also adjust its volume to ensure it doesn't overpower your voiceovers or spoken segments.
2. Incorporating Sound Effects:
Adding sound effects can give your video a dynamic edge! Whether it’s a whoosh for a transition or a ding for highlighting a key point, sound effects elevate the viewer's experience. WeVideo allows you to search for and insert sound effects from their library just like music. Pairing visuals with appropriate sounds sparks engagement and makes your video memorable!
3. Using Transitions:
Transitions smoothly connect different clips and maintain the flow of your video. You’ll find a variety of transition options in WeVideo – from simple fades to more elaborate wipes and dissolves. To add a transition, simply drag it between two clips on the timeline. Preview the transition to ensure it fits your video's pace and style. Keep in mind that less is often more; excessive transitions can be distracting.
4. Exploring Video Effects:
Don't shy away from using effects to give your video a unique touch. Whether it's applying filters, adding animations, or using overlays, WeVideo has a wide range of presets available. Experiment with these effects to find what complements your editing style and reinforces your message.
With music, sound effects, and engaging transitions in place, your video is now on its way to becoming a polished final product! Remember, the key is to ensure that all audio and visual elements work harmoniously to convey your story and keep your viewers hooked. Happy editing!
Also Read This: Can I Change the Email Address of My YouTube Channel? A Step-by-Step Guide
9. Exporting Your Edited Video
Once you've put in the time and effort to edit your YouTube video in WeVideo, the final step is exporting your masterpiece. This is where all your hard work comes together, and you get to share your creation with the world! Here’s how to do it:
First, make sure you’re satisfied with your edits. Review your video one last time to ensure everything looks and sounds just the way you want. Pay attention to:
- Transitions: Are they smooth and matching the flow of your content?
- Audio Levels: Is the background music balanced with your voiceover?
- Graphics and Text: Do they enhance your message without overloading the viewer?
When you’re ready to export:
- Click on the "Finish" button: This is usually found in the top-right corner of the editing interface.
- Select Your Export Settings: WeVideo offers various formats and resolutions. Choose one that suits your needs, like:
- 480p for quick uploads and smaller file sizes
- 720p for decent quality, great for general use
- 1080p for high-definition quality — perfect for YouTube!
Once the export is complete, you’ll get a notification. If you exported to your computer, locate the file in your designated download folder. If you chose to share it directly to YouTube or another platform, double-check that the video has uploaded successfully and is displayed as you intended.
And voilà! Your edited video is now ready to be shared with your audience. Be sure to promote it across your social media platforms and encourage viewers to engage by liking, commenting, and subscribing!
Also Read This: Why Is My YouTube Video Dark? Fixing Video Brightness and Quality Issues
10. Frequently Asked Questions
As with any video editing tool, you might have questions along the way. Here are some frequently asked questions about importing YouTube videos into WeVideo and the editing process:
Can I import videos from my YouTube channel directly into WeVideo?
No, currently, you can’t import YouTube videos directly through WeVideo due to copyright and privacy concerns. However, you can download your own videos to your computer and then upload them into WeVideo for editing.
What should I do if I’m facing import issues?
If you encounter problems when importing your videos, here are a few troubleshooting tips:
- Ensure the video format is compatible (e.g., MP4, MOV).
- Check your internet connection — a stable connection is crucial when uploading large files.
- Clear your browser cache, or try importing from a different browser.
Is there a limit on how many projects I can have in WeVideo?
Yes, WeVideo has different pricing tiers, and each tier has its own limitations on the number of projects you can have. The free version typically allows for a limited number of projects, while premium plans offer greater flexibility. Check their website for the latest information.
How can I enhance my video’s quality during editing?
To enhance your video’s quality, consider the following:
- Use high-resolution footage whenever possible.
- Experiment with color correction tools available in WeVideo.
- Add appropriate music and sound effects to elevate production value.
Hopefully, these answers help clear up any confusion about using WeVideo for your video editing needs! If you have more specific questions, don’t hesitate to reach out or check the WeVideo support resources.
Conclusion
Importing YouTube videos into WeVideo offers a seamless way to enhance your video editing experience. This powerful combination allows creators to leverage the vast library of content available on YouTube while applying the sophisticated editing tools WeVideo provides. By following the steps outlined, you can easily bring your favorite videos into WeVideo for further customization and refinement.
To recap, here are the key benefits of this integration:
- Enhanced Editing Capabilities: Utilize advanced features such as transitions, effects, and text overlays.
- User-Friendly Interface: WeVideo's intuitive design makes it easy to trim, cut, and modify your imported videos.
- Cloud Accessibility: Edit your videos from anywhere, thanks to WeVideo's cloud-based platform.
- Collaboration Tools: Work together with others on projects in real-time, simplifying the teamwork process.
By incorporating YouTube videos into your WeVideo projects, you not only save time in sourcing quality content but also enhance your storytelling capabilities. Whether you're creating tutorials, vlogs, or marketing materials, don't hesitate to explore the endless creative possibilities this integration provides. Start editing today and watch your video projects come to life like never before!
 admin
admin


