When it comes to creating compelling content on YouTube, many people focus on eye-catching visuals and stunning editing techniques. However, audio quality plays a crucial role in how your audience perceives your videos. Imagine watching an amazing video only to be distracted by poor sound quality or annoying background noise. It can ruin the experience and drive viewers away. In this post, we'll explore why quality audio matters and how the right microphone can significantly enhance your content.
Factors to Consider When Choosing a Microphone
Choosing the right microphone can feel overwhelming, especially with so many options available. But don’t worry! Here are some important factors to consider that will help you make an informed decision:
- Type of Microphone: There are different types of microphones such as dynamic, condenser, and lavalier. Each serves different purposes. For instance:
- Dynamic Microphones: Great for live settings and high-volume sound sources. They’re durable and less sensitive to background noise.
- Condenser Microphones: Ideal for studio settings and capturing vocals and acoustics with great detail. They're more sensitive, making them perfect for voiceovers.
- Lavalier Microphones: Small and clip-on, excellent for interviews or vlogs as they allow for hands-free recording.
- Polar Pattern: This refers to the direction the microphone picks up sound. Common patterns include:
- Cardioid: Picks up sound primarily from the front, reducing noise from the sides and back.
- Omnidirectional: Captures sound equally from all directions, great for interviews and group discussions.
- Bidirectional: Records sound from the front and back, making it suitable for interviews facing each other.
- Connection Type: Consider how you will connect the microphone to your equipment. Common connection types include:
- XLR: Professionals often prefer XLR microphones for their audio quality and versatility, though they require an audio interface or mixer.
- USB: Perfect for beginners and those who want a simple plug-and-play experience, easily connecting directly to a computer.
- Budget: Quality microphones can range from affordable options to high-end products. Determine your budget and find a microphone that offers the best value for your needs.
- Portability: If you're filming on the go, a lightweight and compact microphone might be more convenient. Consider how often you’ll need to travel with your gear.
- Accessories: Think about whether you'll need additional accessories like pop filters, shock mounts, or boom arms to enhance your microphone setup.
By keeping these factors in mind, you can confidently choose a microphone that fits your YouTube content and helps deliver the high-quality audio your audience deserves. Remember, great sound can elevate your videos from good to unforgettable!
Also Read This: How to Get Past the YouTube Ad Blocker and Enjoy Your Favorite Content
3. Types of Microphones Used by YouTubers
When it comes to creating compelling content on YouTube, high-quality audio can make or break your video. Not all microphones are created equal, and choosing the right type can depend on your specific needs, environment, and even the type of content you’re producing. Let’s explore the various types of microphones commonly used by YouTubers.
1. Lavalier Microphones
Also known as lapel mics, lavalier microphones are compact and clip onto your clothing. They’re a great choice for vlogging or any scenario where you need to move around while recording. Since they are close to your mouth, they capture clear audio without picking up too much background noise. Perfect for interviews, tutorials, or lifestyle vlogs!
2. Shotgun Microphones
Shotgun mics are highly directional, meaning they pick up sound from one direction while minimizing ambient noise. They're fantastic for outdoor shoots or when you want to focus on a particular sound source. Often mounted on a camera or boom pole, these mics are a favorite among filmmakers as well as YouTubers for capturing crisp audio during interviews or dialogue scenes.
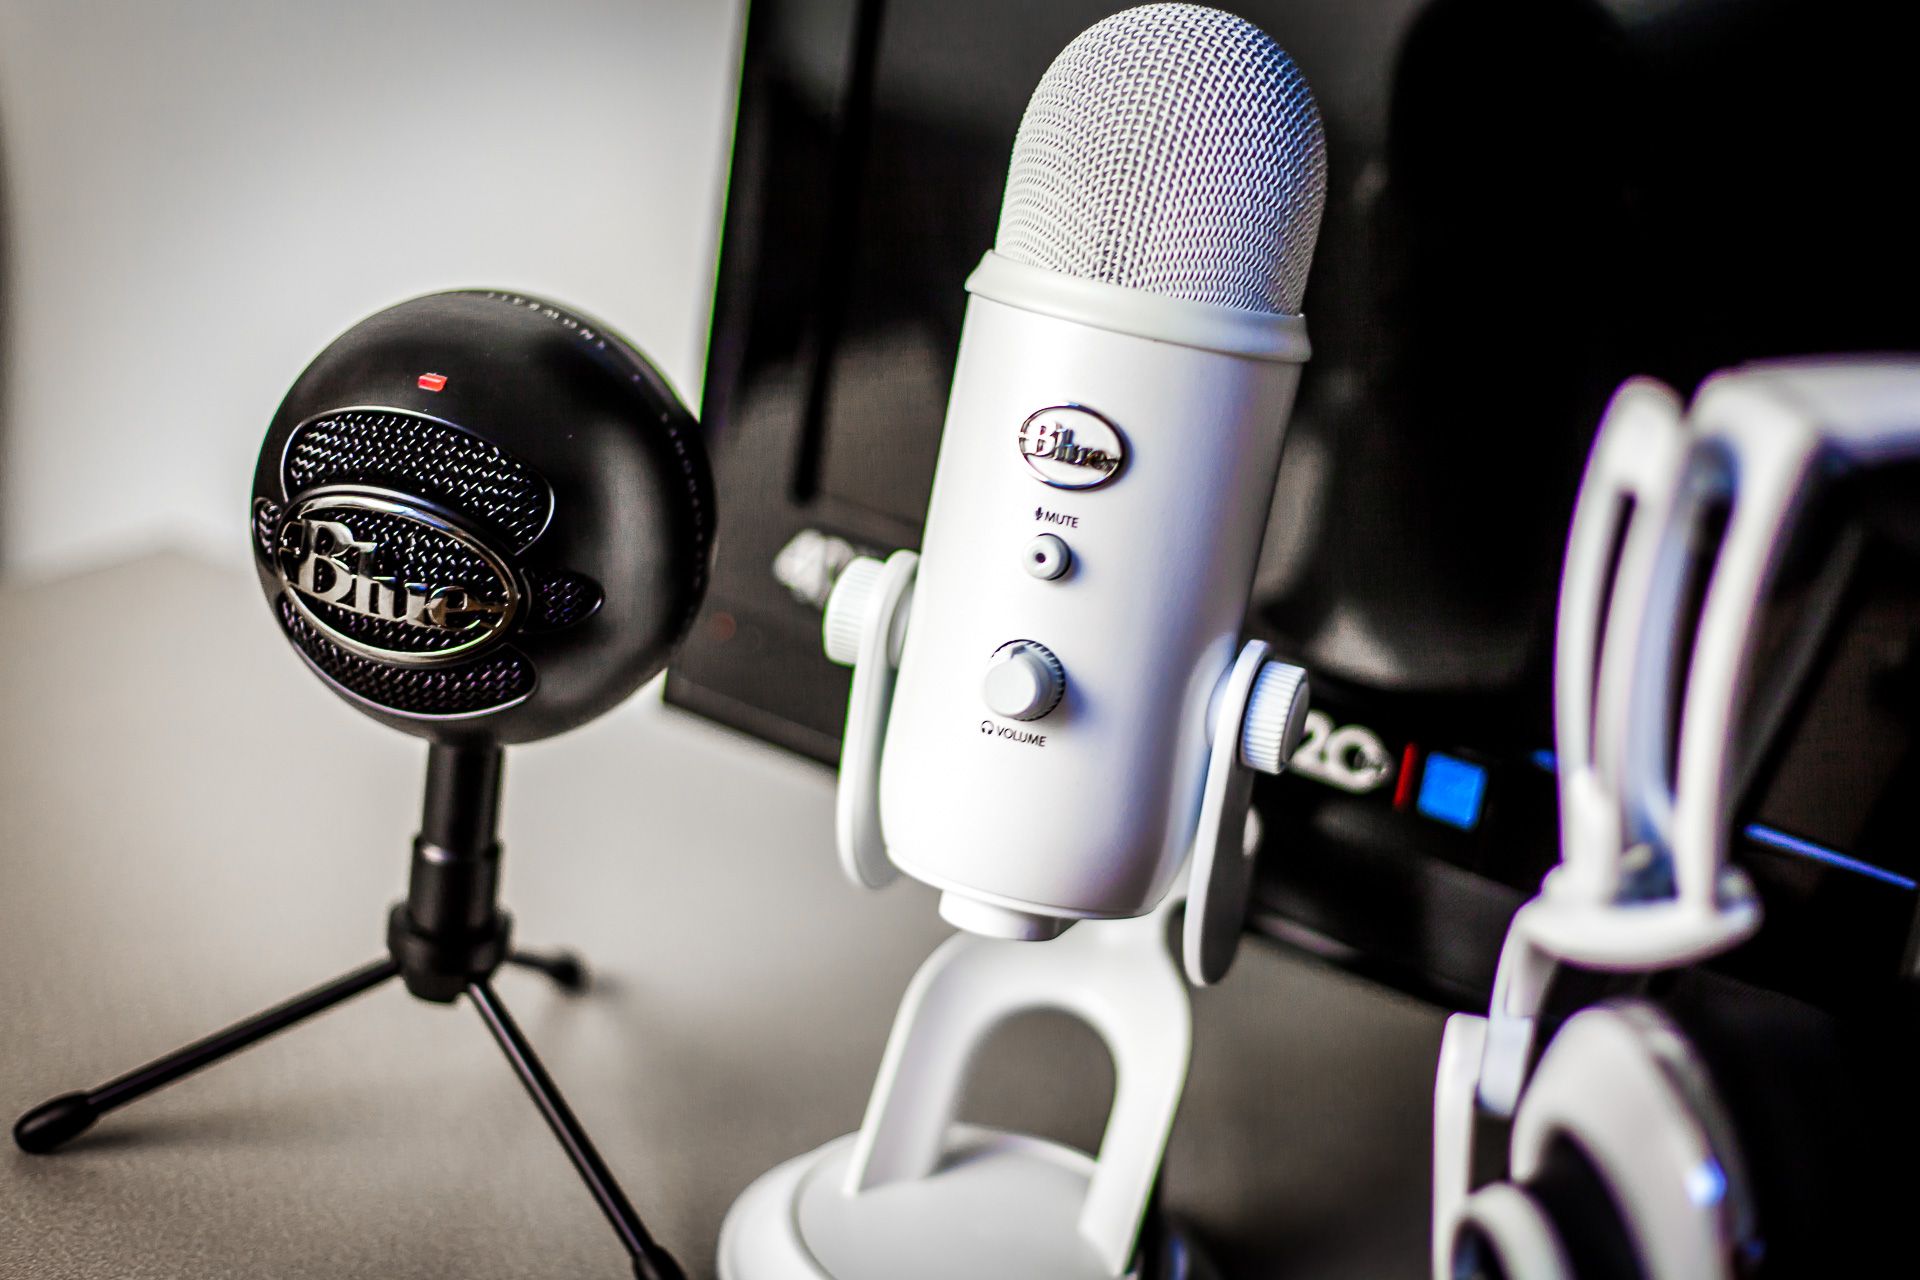
3. USB Microphones
If you’re just starting or creating content primarily from a desk setup, USB microphones might be your best bet. These mics are typically plug-and-play, which means you can directly connect them to your computer without the need for an audio interface. They offer decent sound quality for voiceovers, podcasts, and gaming videos. Plus, they come at various price points, making them accessible for all budgets.
4. Condenser Microphones
Condenser microphones are popular for voiceovers and music due to their sensitivity and wide frequency response. While they do require some phantom power, they capture vocals with rich detail, enhancing the overall quality of your audio. Whether recording in a studio or at home, a good condenser mic can elevate your YouTube channel’s audio quality significantly.
5. Dynamic Microphones
Dynamic microphones are robust and can handle high sound pressure levels, which makes them great for live recordings and loud environments. Even though they don't capture as much detail as condenser mics, they are often favored for their durability and ability to minimize background noise. They're a solid choice for on-the-go YouTubers filming in public spaces.
In summary, there's no one-size-fits-all when it comes to choosing a microphone. You’ll want to consider your environment, recording style, and budget before making a decision. Each type has its advantages, so pick one that best fits your YouTube aspirations!
Also Read This: How to Change Your Birthday on YouTube: Updating Your Profile Information
4. Top Microphone Recommendations for YouTube Creators
Now that we’ve discussed different types of microphones, let’s get into some specific recommendations tailored for YouTube creators. Remember, the right microphone can drastically enhance your audio quality and engage your audience more effectively. Here are some of the top picks across various categories:
| Microphone | Type | Best For | Price Range |
|---|---|---|---|
| Rode Wireless GO II | Lavalier | Vlogging & Interviews | $$$ |
| Shure MV7 | Dynamic/USB | Podcasts & Live Streaming | $$$ |
| Audio-Technica AT2020 | Condenser | Voiceovers & Music | $$ |
| Rode NTG5 | Shotgun | Film & Outdoor Recording | $$$$ |
| Blue Yeti | USB | General Use & Voiceovers | $$ |
These recommendations cater to a variety of needs and budgets. For instance, if you’re looking to film dynamic, on-the-go content, the Rode Wireless GO II is an excellent choice. However, if you’re mainly focused on creating podcasts or voiceovers, the Shure MV7 or Blue Yeti are both robust contenders.
Investing in a high-quality microphone not only improves audio clarity but also shows your audience that you care about the content you’re providing. So, research, try out a few options, and find the microphone that fits your style and needs! Your YouTube journey will be much more enjoyable and professional with the right tools at your disposal.
Also Read This: Do You Need YouTube Premium to Download Videos? The Answer
5. Budget-Friendly Microphone Options for Beginners
Starting a YouTube channel can be an exciting adventure, but the costs can quickly add up. Fortunately, there are plenty of budget-friendly microphone options that won’t break the bank and still deliver great sound quality!
Here are some of the best options to consider:
- Blue Snowball iCE: This USB microphone is a fantastic choice for beginners. It offers clear audio quality, is easy to use with a simple USB connection, and has a compact design that's perfect for desk setups.
- Fifine K669B: Another USB option, the Fifine K669B provides impressive sound quality at an incredibly affordable price point. It's cardioid, meaning it picks up sound directly in front, reducing background noise – a major plus for filming in a home environment!
- Audio-Technica ATR2100x-USB: This versatile microphone can connect via USB or XLR, giving you flexibility as your channel grows. It’s known for its durability and sound quality, making it excellent value for beginners.
- Rode VideoMic GO: If you're shooting with a camera, the Rode VideoMic GO is a compact shotgun microphone that mounts directly onto your camera. It captures excellent audio while being lightweight and easy to set up.
When selecting a microphone, consider your specific needs. Will you be recording in a controlled environment, or will you be on the go? Prioritizing your recording situation can make choosing the right microphone much easier.
Also Read This: Is SportsNet LA Available on YouTube TV? Accessing Regional Sports Networks
6. High-End Microphones for Professional YouTube Channels
Once you’ve grown your audience and are ready to invest in high-end microphones, you’ll find a selection that offers premium sound quality and features. Here are some top-tier options that can elevate your audio game:
- Shure SM7B: This dynamic microphone is a favorite among podcasters and YouTubers alike. It provides exceptional sound quality and versatility, making it suitable for vocals, instruments, and even voiceovers. Its cardioid pattern helps to minimize background noise, leaving you with a crisp, clear audio experience.
- Rode NT1: Known for its ultra-low self-noise, the Rode NT1 is a condenser microphone that picks up the subtlest of sounds. It’s perfect for voiceovers, singing, or even ASMR videos. Plus, its durable build ensures it’ll last, making it a worthy investment.
- Electro-Voice RE20: This microphone is a staple in radio stations and professional studios. The RE20's variable-D technology minimizes proximity effect, giving you a natural sound regardless of how close you are to the mic, making it a fantastic choice for anyone aiming for a polished audio production.
- Heil PR-40: This is another professional-grade dynamic microphone that excels in capturing rich and full voices. Its broad frequency response and internal pop filter provide a superb recording experience, especially for dialogue-heavy content.
Upgrading to a high-end microphone can dramatically enhance your production quality. High-quality audio not only maintains viewer engagement but also establishes credibility and professionalism in your content. Plus, it’s an investment that pays off as your channel continues to grow!
In the end, whether you opt for a budget-friendly microphone or a high-end gem, the key is to find one that matches your recording style and the environment in which you’ll be filming. Happy recording!
Also Read This: Why Can’t I See YouTube Comments? Understanding Comment Visibility Issues on YouTube
7. Tips for Setting Up Your Microphone for Optimal Performance
So, you’ve got your hands on a shiny new microphone – congratulations! But before you dive into recording your next viral video, let’s talk about how to set it up for the best possible audio quality. After all, even the best microphone won’t sound great if it’s not set up properly. Here are some essential tips:
- Choose the Right Location: Position your microphone in a quiet space, away from noisy appliances, traffic, or any other background noise. The quieter the environment, the clearer your audio will be.
- Use a Pop Filter: A pop filter helps reduce plosive sounds (like “p” and “b” sounds) that can cause distortion. It’s a small investment that can make a big difference in your audio quality.
- Adjust the Gain: Ensure you set the gain correctly on your microphone or audio interface. Too much gain can lead to distortion, while too little can make your audio sound weak. Aim for a balance where the levels are consistently high without peaking into the red zone.
- Microphone Placement: Remember the 6 to 12 inches rule! For the best sound, keep your microphone at an appropriate distance – too close, and you can capture too much breath sound; too far, and the audio might lack clarity.
- Use an Acoustic Treatment: If possible, try to treat your recording space acoustically. Soft furnishings like rugs, curtains, or foam panels can help absorb sound reflections that cause echoes.
- Test and Monitor: Always do a test recording before diving into your content. Listen back to make sure the audio is clear and adjust any settings if necessary. If your microphone or software allows, monitor your audio with headphones while recording.
- Consider Windshields: If you’re recording outside or in a breezy environment, use a windscreen to minimize wind noise. This simple accessory can save your audio quality significantly.
By following these tips, you can ensure that your microphone setup maximizes its potential, giving you rich, clear audio that enhances your video content. Remember, great audio can make all the difference in keeping your audience engaged!
Also Read This: How YouTube Channels Get Bodycam Footage
8. Common Mistakes to Avoid When Choosing a Microphone
Choosing the right microphone can feel overwhelming, especially with so many options available. To help you make the best decision, let’s discuss some common pitfalls to avoid:
- Ignoring Your Needs: Before purchasing a microphone, take a moment to think about what you actually need. Are you recording voiceovers, vlogs, interviews, or music? Each application might require a different type of microphone, so knowing your purpose is crucial.
- Overlooking Compatibility: Check if the microphone you’re interested in is compatible with your recording gear, whether that’s a camera, computer, or audio interface. Some microphones require specific connectors or phantom power to function correctly.
- Focusing Solely on Price: While it’s tempting to go for the cheapest option, remember that you often get what you pay for. Instead, think about quality and longevity. Sometimes investing a bit more upfront can save you money and headaches down the line.
- Neglecting User Reviews: Don’t skip out on user reviews! Real feedback from other YouTubers can provide invaluable insights into the microphone's performance and durability that specifications simply can’t convey.
- Not Testing Sound Quality: If possible, try to test the microphone before you buy. Listen to how it captures your voice and check for clarity, tone, and any unwanted noise. Sound quality can vary greatly between models.
- Being Brand Loyal: While some brands are well-known for their quality, don’t let brand loyalty cloud your judgment. Explore different brands and models to find the best fit for your specific needs, instead of sticking with just one name.
By avoiding these common mistakes, you’ll be well on your way to selecting a microphone that not only meets your needs but also enhances your content's overall quality. Remember, your audience deserves clear, high-quality audio – so make a smart choice!
Conclusion: Finding the Right Microphone for Your YouTube Channel
Choosing the perfect microphone is a crucial step for any YouTuber aiming to elevate their audio quality. With so many options available, it’s essential to consider your specific needs and content style. Here are some key factors to evaluate:
- Type of Content: Are you creating vlogs, tutorials, or podcasts? Different formats may require different microphones. For instance:
- Dynamic Microphones: Great for live settings and music.
- Condenser Microphones: Ideal for voiceovers and studio recordings.
- Environment: Consider whether you'll be recording in a controlled studio setting or a noisy outdoor environment. Directional microphones can help isolate your voice from distracting background noise.
- Budget: Quality options exist across all price ranges. Determine how much you're willing to spend without compromising on quality.
- Connectivity: Check if the microphone interfaces well with your recording equipment. USB mics are user-friendly, while XLR mics generally offer better quality but require additional gear.
In summary, the right microphone can significantly enhance your audio and engage your audience effectively. By carefully assessing your content type, recording environment, budget, and technical requirements, you will be equipped to make an informed decision. Investing in a high-quality microphone not only improves your video's production value but also helps build a loyal viewer base, as clear audio is vital for maintaining interest and professionalism on your YouTube channel.
 admin
admin


