Have you ever wanted to create something fun and creative using just paper? Well, you're in luck! In this easy step-by-step guide, we’re going to show you how to make a paper car. Whether you’re looking for a fun craft project to do with your kids or just want to unleash your inner artist, this project is perfect for all ages. Grab your supplies, and let's get started on this exciting paper craft!
Materials Needed for Your Paper Car
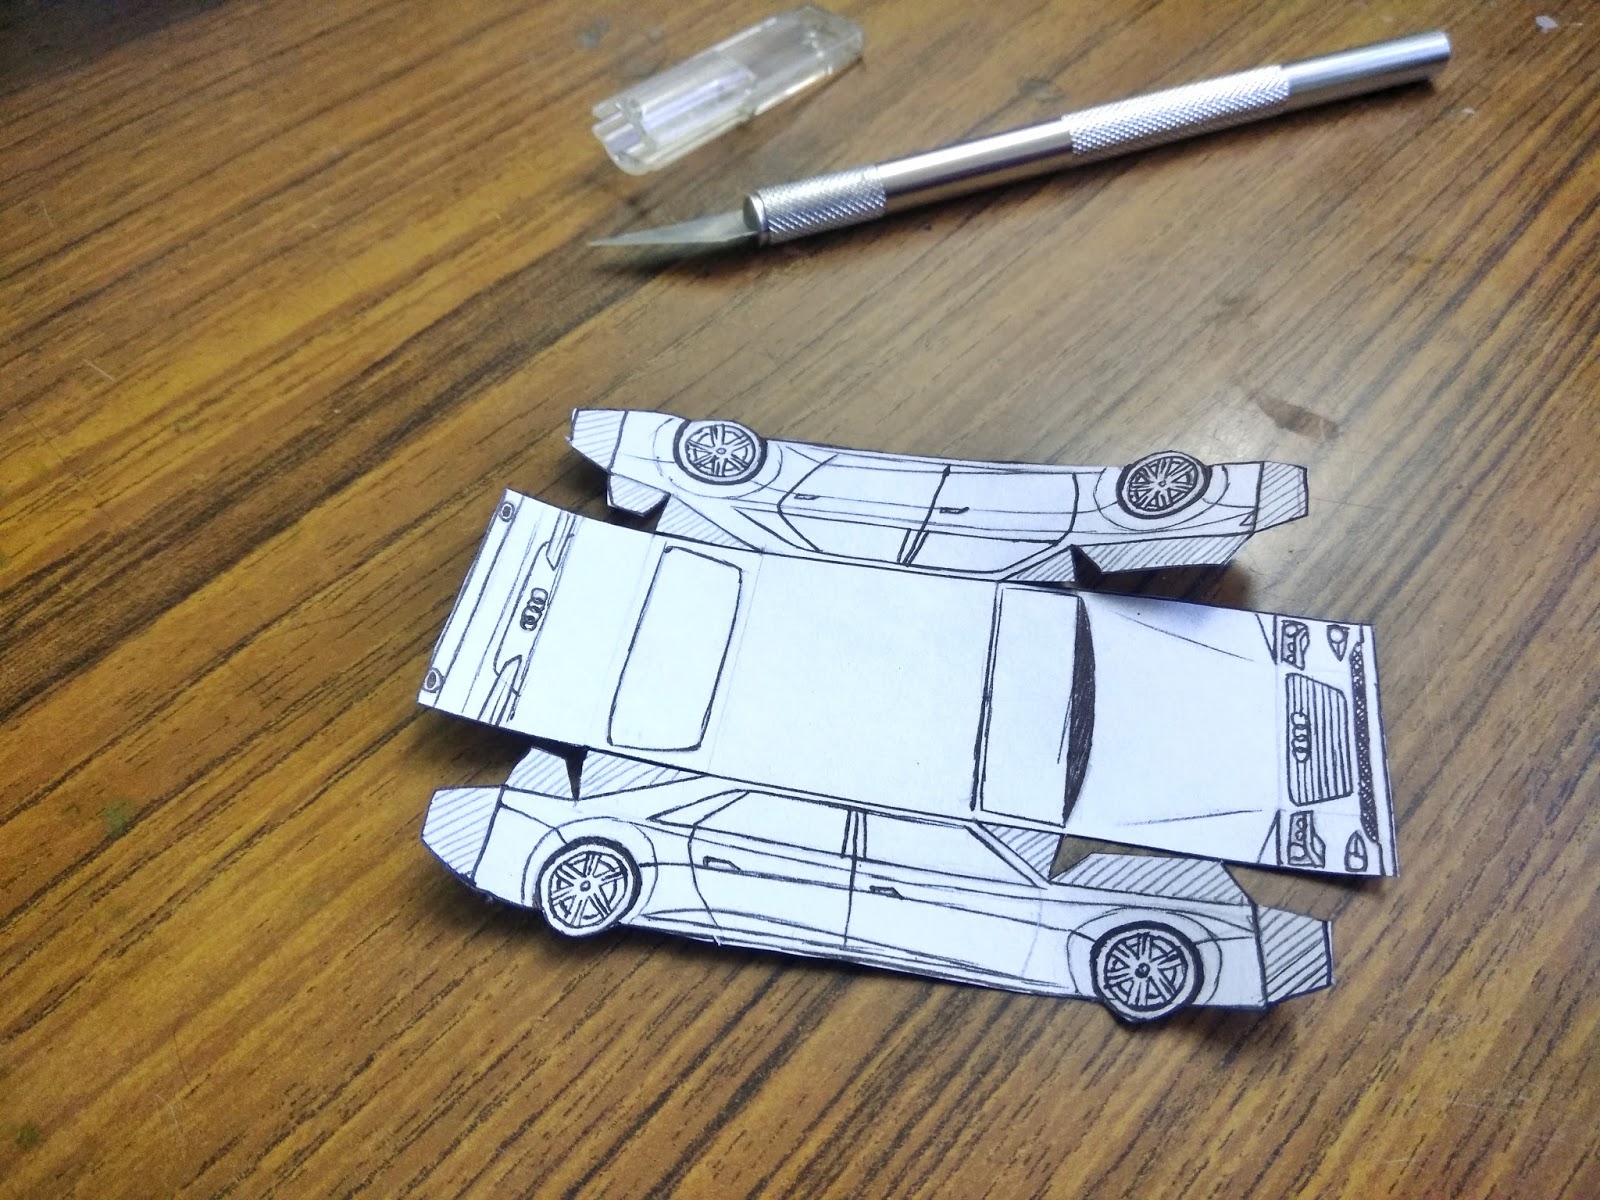
Before we dive into the construction of your paper car, let’s gather all the materials you'll need. Don't worry; most of these items are likely already in your home, making this an accessible and budget-friendly project!
- Paper: You can use colored paper, cardstock, or even recycled paper—get creative! Choose various colors to make your car stand out.
- Scissors: A good pair of scissors will help you cut your paper into the right shapes.
- Glue or Tape: Use glue for a more permanent bond, or tape for a quick assembly.
- Pencil: A pencil will help you sketch out designs before cutting.
- Ruler: To ensure straight lines and precise measurements, a ruler is essential.
- Markers or Crayons: These will add details and color to your car—a chance to express your creativity!
- Optional Add-Ons: If you want to take your paper car to the next level, consider adding small details like stickers, glitter, or tiny wheels made from bottle caps.
Gathering your materials ahead of time will make the crafting process smoother and more enjoyable. Once you have everything ready, you’ll be all set to start creating your masterpiece! Remember, the beauty of this project is in the creativity and fun you’ll have while making it, so don’t worry about making it perfect. Let your imagination run wild!
In the next sections, we’ll walk you through the steps to assemble your paper car. So, get those scissors ready, and let’s hit the road on this crafting adventure!
Also Read This: How to Change Name of Facebook Page: A Complete Guide
3. Step-by-Step Instructions to Create Your Paper Car
Alright, let’s get to the fun part! Making a paper car is quite simple, and with these easy steps, you’ll be cruising around in no time. Grab your supplies and let’s roll up our sleeves!
Supplies You'll Need:
- Colored paper or cardstock
- Scissors
- Glue stick or tape
- Pencil
- Ruler
- Markers or crayons (for decorating)
Step 1: Prepare the Car Body
Start by cutting out a rectangle from the colored paper for the car's body. The size depends on how large you want your car to be; a good starting point is 10 inches long and 4 inches wide. This will serve as the main part of your paper car.
Step 2: Create the Wheels
Next, you’ll need to make the wheels. Cut out four circles from a different colored paper. Each wheel should be around 2 inches in diameter. If you want to add a fun twist, you can use a bottle cap to trace perfect circles!
Step 3: Assemble the Wheels
Now, it’s time to attach the wheels to the car body. Use a pencil to mark where you want the wheels to go. Make sure they are positioned evenly on both sides of the car. Apply a small amount of glue or tape to one side of each wheel and stick them on the marked spots. Make sure they’re spaced evenly so they roll correctly.
Step 4: Add the Car Top
To give your car some character, cut out a smaller rectangle (approximately 6 inches long and 3 inches wide) for the top. You can shape it like a classic cab or a sports car depending on your design. Attach it on top of the car body using glue.
Step 5: Create Windows & Details
Now let’s make your car look like a real vehicle! Cut out small squares or rectangles for windows from your leftover paper. Color them in blue or leave them white for a glass effect. Stick them onto the top piece. Don’t forget to draw or cut out other fun features like headlights, tail lights, or a license plate to decorate your car!
Step 6: Let It Dry
After assembling it, let your car dry for a while (if using glue). Make sure everything is secure before you start showing it off or taking it for a spin!
Also Read This: How to Connect Dailymotion with Roku TV for Easy Streaming
4. Tips for Decorating Your Paper Car
Now that you’ve assembled your paper car, it’s time to make it pop with decoration! Here are some fantastic tips to personalize your creation and really make it yours:
Choose a Theme: Consider what kind of vehicle you want your car to be. Is it a miniature race car, a classic cruiser, or maybe an eco-friendly hybrid? Adopting a theme will guide your colors and decorations.
Use Bright Colors: Bright colors not only make your car stand out, but they also add a fun vibe! Use markers, stickers, or colored paper to give it a lively paint job. Consider using contrasting colors for the body and the wheels for a more striking effect.
Add Fun Designs: Get creative with patterns! You can draw stripes, polka dots, flames, or even checkerboard patterns. Use your imagination—there’s truly no limit!
Incorporate Personalized Elements: You can make your paper car extra special by adding names or initials. You could even create a custom logo for your car! Using markers, place small stickers, or print designs from your computer to elevate your design.
Use 3D Elements: If you want your car to have some dimension, add additional pieces like wings or spoilers! You can do this by cutting out more paper shapes and glueing them onto your original car model.
Consider Accessories: Want to take it a step further? Create little paper passengers to go inside or even make tiny paper trees or buildings to craft a paper landscape. This adds depth to your project and makes for a charming display!
With these decorating tips, your paper car will surely be one-of-a-kind! So, unleash your creativity, and most importantly, have fun with it!
Also Read This: What Is the Threshold for Monetization on Dailymotion? Understanding Partner Program Requirements
5. Common Mistakes to Avoid When Making a Paper Car
Making a paper car can be a fun and rewarding project, but it’s easy to make a few common mistakes along the way. Here are some pitfalls to watch out for:
- Using the Wrong Type of Paper: Not all paper is created equal. If you use paper that’s too thick, the car might be cumbersome, while paper that's too flimsy may not hold its shape. Aim for a medium-weight paper that’s easy to fold yet sturdy enough to hold up.
- Skipping the Measurements: It might be tempting to eyeball the dimensions, but accurate measurements are crucial for symmetry and stability. Use a ruler and pencil to mark your cutting lines, ensuring everything aligns perfectly.
- Not Pre-Folding Creases: Pre-folding can save you a lot of hassle during assembly. If you skip this step, you might find yourself struggling to get clean lines and bends.
- Ignoring Design Plans: Going off-script can sometimes lead to creative outcomes, but it can also lead to headaches. Stick to a design template or guide, especially if you’re a beginner. This gives you a solid foundation to start from.
- Improper Gluing: Too much glue can cause paper to warp or become soggy, while too little might not hold pieces together. Use a small amount of glue, and allow each section to dry before moving on to ensure a durable construction.
- Rushing the Process: Crafting a paper car isn’t a race! Take your time to fold, cut, and assemble each part carefully. Rushing increases the chance of making mistakes, which can lead to frustration.
By being mindful of these common mistakes, you can streamline your crafting experience and enjoy creating a paper car that’s not only fun to make but also looks great!
Also Read This: Understanding the Concerns Around Dailymotion as a Predatory Website
6. Video Tutorial on Dailymotion
If you’re more of a visual learner or just want to see the entire process in action, then there’s a fantastic video tutorial available on Dailymotion that walks you through every step of making a paper car. Here’s what you can expect from the video:
- Complete Overview: The video provides an introduction to the materials you’ll need, along with tips on selecting the right type of paper.
- Step-by-Step Instructions: Each segment is broken down into clear, easy-to-follow steps that you can pause and rewind if needed.
- Troubleshooting Tips: The host shares valuable insights on common errors they’ve encountered when making paper cars, helping you avoid similar pitfalls.
- Creative Ideas: Once you’ve mastered the basics, the video also delves into ideas for personalizing your paper car with colors, decorations, and unique designs.
To check out the tutorial, simply head over to Dailymotion and search for “How to Make a Paper Car.” Whether you’re a novice or someone looking to sharpen their crafting skills, this visual guide can be a powerful tool in your paper car-making journey!
Conclusion and Final Thoughts
Creating your own paper car is not only a fun and engaging activity but also a great way to enhance your creativity and fine motor skills. As we explored the step-by-step process, it’s clear that with just a few materials and some patience, anyone can make a fantastic paper vehicle. Here are some key takeaways from our guide:
- Simplicity: The project is simple enough for both children and adults.
- Materials: You can use readily available materials like colored paper, scissors, and glue.
- Customization: Feel free to experiment with different designs, colors, and sizes.
- Learning Experience: This project teaches valuable skills such as planning and following instructions.
In case you want to further enhance your paper car project, consider:
| Enhancements | Benefits |
|---|---|
| Add wheels | Increase movement and functionality |
| Decorate with stickers | Personalize and express creativity |
| Create multiple designs | Develop problem-solving skills and artistic flair |
Overall, making a paper car can serve as an enjoyable and educational experience for people of all ages. So gather your materials, unleash your creativity, and enjoy the process of bringing your paper car to life! Whether for a craft activity or a fun project at home, remember that the journey and the creativity are just as important as the final product.
 admin
admin


