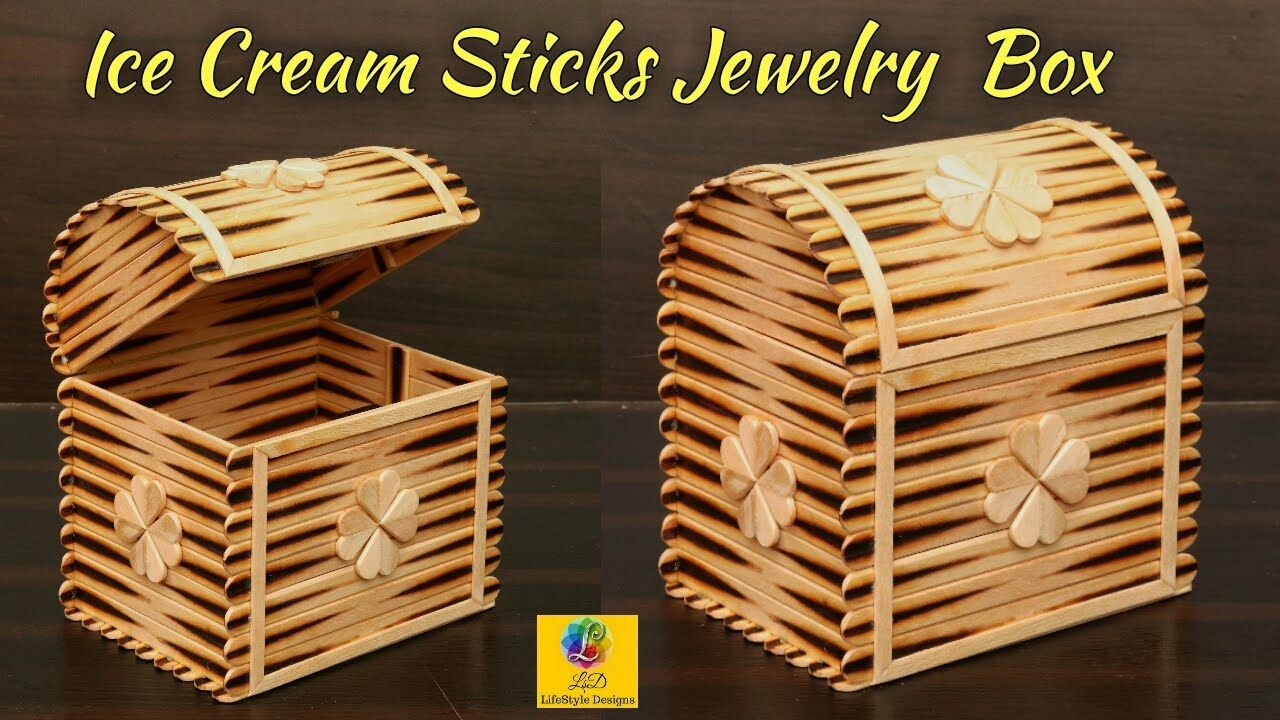
Have you ever wanted to create something unique and personal to store your precious jewelry? Well, you’re in luck! In this fun DIY project, we will guide you step-by-step on how to make a beautiful jewellery box using just ice cream sticks. It’s an easy, budget-friendly craft that not only helps you organize your trinkets but also makes for a lovely decorative piece. Grab your supplies, and let’s get started!
Materials Needed
Before diving into this creative venture, it's essential to gather all the materials you'll need. Here’s a complete list to help you get organized:
- Ice Cream Sticks: Around 50-60 sticks, depending on the size of your box.
- Glue: A strong adhesive, like hot glue or wood glue, works best.
- Paint or Stain: Optional, for adding color or enhancing the natural wood finish.
- Paintbrush: If you choose to paint or stain your box.
- Craft Knife or Scissors: For cutting ice cream sticks to size, if necessary.
- Sandpaper: Fine-grit sandpaper to smooth edges (particularly if you cut any sticks).
- Cloth for Cleaning: To clean your work surface and wipe excess glue.
- Ruler: Useful for measuring lengths and ensuring even placement.
- Pencil: For marking guide lines on your sticks.
Now that you have your materials ready, you’re all set to unleash your creativity! Don't worry if you don’t have all the supplies listed—improvise with whatever you can find at home. The goal is to have fun and express yourself while crafting your custom jewellery box!
Also Read This: How to Create a Frame in Photoshop on Dailymotion
3. Step-by-Step Instructions
Creating a jewelry box from ice cream sticks is not only a fun project but also a great way to repurpose materials. Let's get started with a simple, step-by-step guide to craft your very own jewelry box!
What You'll Need:
- Ice cream sticks (around 40-50, depending on the size you want)
- Hot glue gun and glue sticks
- Scissors
- Paint (optional)
- Decorative materials (like stickers, washi tape, or fabric)
- A small container or box for the base
Instructions:
- Prepare Your Base: Choose a small container or a box that will serve as the base of your jewelry box. This can be a small cardboard box or an empty tin. Make sure it’s clean and dry.
- Assemble the Walls: Start by arranging your ice cream sticks vertically along the edges of the base to form the walls. Use hot glue to securely attach each stick to the edge of the base, ensuring you create a sturdy structure. You can overlap the sticks slightly for a nice design.
- Continue Building: Once the first layer is set, continue adding layers of ice cream sticks until your box reaches your desired height. Aim for at least four layers for durability.
- Create a Lid: For the lid, take additional ice cream sticks and create a square or rectangle, depending on the shape of your box. Make sure the dimensions match the top of your walls. Attach sticks together using hot glue until you have a solid lid.
- Finishing Touches: After your box is assembled, consider painting the exterior for a splash of color. Allow the paint to dry thoroughly. Then, you can decorate your box using stickers, washi tape, or any embellishments that reflect your personal style.
Once everything is dry and decorated, your ice cream stick jewelry box is ready to use! Fill it with your favorite treasures and enjoy your handiwork!
Also Read This: How to Wear Niqab with Scarf on Dailymotion: Traditional Style Tips
4. Tips for Customization
Now that you have your basic jewelry box assembled, let’s talk about ways to personalize it! Customization not only enhances the look of your box but also makes it uniquely yours.
1. Experiment with Colors:
Don’t just stick to one color! Use multiple shades or even tie-dye your ice cream sticks before assembling them. This can create a vibrant, eye-catching box.
2. Different Shapes and Sizes:
Feel free to play with different shapes! Instead of a rectangular box, try making a round or heart-shaped jewelry box. You can also create compartments inside for better organization of your jewelry.
3. Add a Personal Touch:
Consider engraving or painting your initials or a favorite quote on the lid. This makes your box not just a storage space, but a personal keepsake.
4. Use Fabric Lining:
Line the inside of your box with soft fabric, such as velvet or felt, to give it a luxurious feel. Simply cut the fabric to size and make sure to glue it securely in place.
5. Incorporate Additional Decorative Elements:
Add charms, beads, or even small trinkets to the exterior for added flair. You could glue a small mirror inside the lid, which is super handy and adds elegance to your box!
Remember, customization is all about expressing your creativity! Don’t hesitate to try different ideas and techniques until your jewelry box showcases your personality. Enjoy the process!
Also Read This: How to Change Wi-Tribe WiFi Password: Step-by-Step Guide
5. Decorating Your Jewellery Box
Now that you’ve got the basic structure of your jewellery box completed, it’s time to unleash your creativity and give it a personal touch. Decorating your jewellery box can be just as fun as building it! Here are some ideas to help you transform your simple wooden box into a stylish piece that reflects your personality.
- Paint: A fresh coat of paint can make a world of difference. Consider using acrylic paints for vibrant colors or even metallics for a classy look. You can create patterns like stripes, polka dots, or abstract designs to suit your style.
- Decoupage: This technique is fantastic for adding images or patterns. Use some decorative paper, old magazines, or even fabric. Apply it with mod podge or a similar adhesive to give your box a chic vibe.
- Embellishments: Don’t shy away from using small embellishments like beads, rhinestones, or sequins. Glue them onto your box in a pattern that speaks to you; it could be as simple as a border or something more intricate.
- Stickers or Stencils: For those who prefer a more straightforward approach, stickers are a great way to add flair. You can also use stencils to create shapes and letters. It’s an excellent technique for personalizing your box with your name or a meaningful quote.
- Nature Elements: Incorporating elements from nature can add a rustic charm. Try gluing on small twigs, shells, or dried flowers. Just ensure to properly seal these with a clear varnish to protect them.
Once you finish decorating, don't forget to apply a clear sealant. This ensures your hard work is preserved and protects the box against wear and tear.
Take your time with this phase; it's your opportunity to express who you are and make a piece that's uniquely yours. Enjoy the process and remember—it’s all about having fun!
Also Read This: How to Watch Sensitive Content on Dailymotion Safely
6. Where to Find Inspiration
Feeling stuck on how to decorate your jewellery box or what designs to incorporate? No need to worry! Inspiration is all around you, and here are some great avenues to explore:
- Social Media: Platforms like Pinterest and Instagram are goldmines for DIY projects. Search for “jewellery box” or “ice cream stick crafts” to discover endless designs. You might find a style you absolutely love or catch a hint that sparks a new idea!
- Craft Fairs and Markets: Visiting local craft fairs is a wonderful way to see what other artisans are creating. You'll see a variety of styles, and handmade items can give you a fresh perspective on decoration.
- Home Decor Magazines: These publications often showcase innovative ideas that you can adapt for your jewellery box. Look for current trends in colors, patterns, and materials.
- Nature: Take a stroll outside and find inspiration in the colors and shapes in flowers, leaves, or the environment around you. Nature's palette can often lead to stunning combinations for your project.
- DIY Blogs and YouTube: There are countless craft enthusiasts out there sharing their secrets. Look for DIY blogs or YouTube channels that focus on crafts. You’ll be amazed at how many tutorials can guide you through the process!
Remember, every great artist started somewhere. Don’t hesitate to gather ideas from multiple sources, mix them up, and create something truly original. Your jewellery box will not only be a functional piece but also a reflection of your creativity and style.
Also Read This: How to Create Loom Bands with Simple Tutorials on Dailymotion
7. Watch the DIY Tutorial on Dailymotion
If you’re like many who prefer visual guidance, you're in luck! There are fantastic DIY tutorials available on platforms like Dailymotion that walk you through the process of creating your very own jewellery box with ice cream sticks. Watching someone else bring a project to life can be immensely helpful, especially when you’re working with new materials or techniques.
Here’s why checking out a tutorial on Dailymotion can be beneficial:
- Visual Learning: Sometimes, seeing the process in action clarifies things that written instructions might leave ambiguous. You can pick up tips on how to handle the sticks and how to glue them effectively.
- Step-by-Step Guidance: A good tutorial will take you through each critical step, ensuring you won’t miss anything important.
- Creative Ideas: Many tutorial creators add their own twists and embellishments to the project. You might discover unique designs and finishing touches that you wouldn’t have considered otherwise!
To find these tutorials, simply go to Dailymotion and search for “DIY jewellery box ice cream sticks.” You’ll likely find multiple videos, so don’t hesitate to explore a few different ones to find the style and approach that resonates with you. Take notes as you watch or pause frequently to follow along at your own pace. You can even gather inspiration from multiple creators to mix and match ideas for your personalized jewellery box!
Remember, DIY projects can be as much about the journey as the final product, so enjoy the process. Don’t forget to share your progress and finished creation—after all, the DIY community thrives on inspiration and sharing experiences!
8. Conclusion
And there you have it! Making a jewellery box from ice cream sticks is not only a fun craft project but also an opportunity to express your creativity and give a thoughtful gift. Whether you're storing your precious trinkets or creating a delightful present for a loved one, this DIY project is sure to bring joy.
By following the steps outlined in this guide and perhaps complementing them with a visual tutorial from Dailymotion, you’ll be crafting a beautiful jewellery box in no time. Just remember: patience is key! Each step, from gluing the sticks to painting and decorating, contributes to the finished piece.
As you embark on this DIY journey, don’t hesitate to:
- Experiment: Feel free to play around with the design, color schemes, and embellishments. Your jewellery box should reflect your style.
- Involve Others: This project can be a fantastic way to spend quality time with family or friends. Gather some ice cream sticks, get creative together, and make it a fun group activity.
- Share Your Work: Once your jewellery box is complete, showcase your creation! Post pictures on social media or bring it to craft fairs—who knows, you might inspire someone else to start their own project.
So grab those ice cream sticks, gather your supplies, and let your creativity flow. Happy crafting!
 admin
admin


