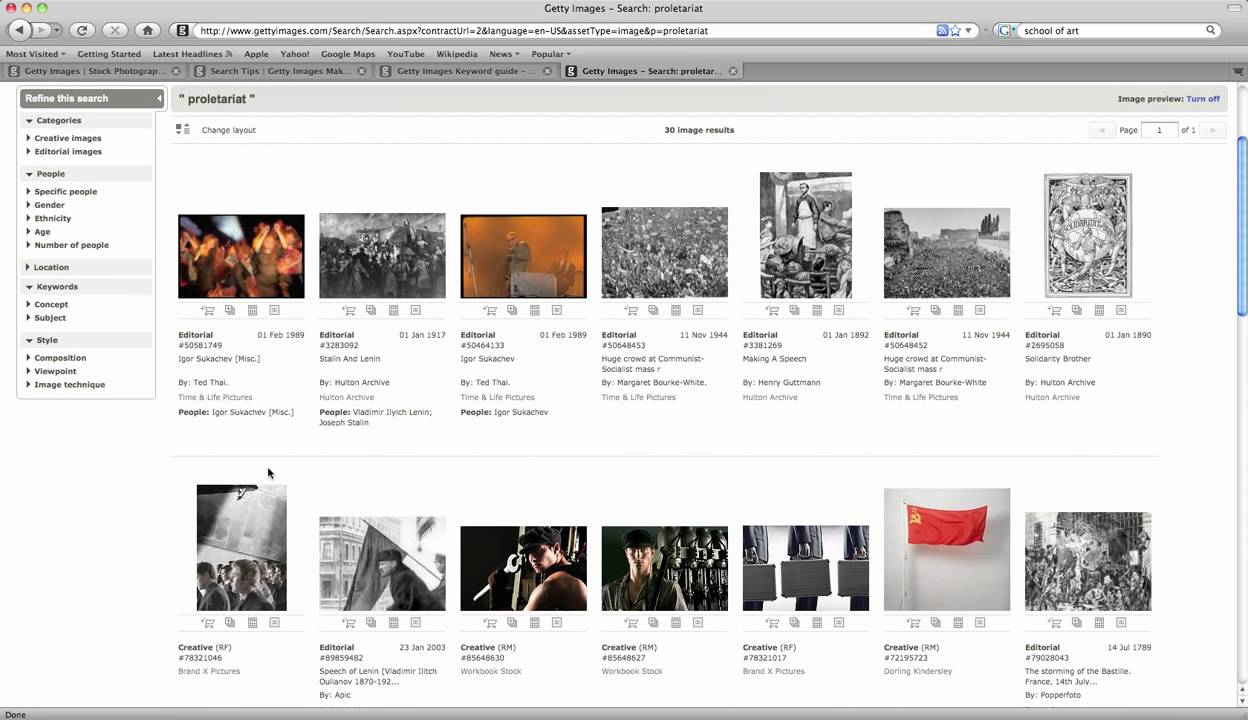
Getty Images is a major player in the world of stock photography, providing photographers a unique platform to showcase their work. With its extensive library and global reach, Getty equips photographers with the opportunity to monetize their art. By sharing your images on this platform, you can connect with businesses, marketers, and creative professionals looking for quality visuals. In a competitive industry, standing out is crucial, and Getty Images can help propel your photography career to new heights.
Preparing Your Images for Upload

Now that you understand the significance of Getty Images, let’s delve into how to prepare your images for a smooth uploading experience. Proper preparation not only enhances your chances of acceptance but also maximizes your visibility. Here are some essential tips to ensure your images shine:
1. Follow the Technical Requirements
- Image Format: Use JPEG or TIFF formats for best results.
- Resolution: Aim for a minimum resolution of 300 DPI for print quality.
- File Size: Keep your images under 100 MB to facilitate quicker uploads.
2. Optimize for Quality
Editing your images is vital. Use software like Adobe Photoshop or Lightroom to:
- Adjust exposure, contrast, and colors.
- Crop unnecessary parts of the image to focus on the subject.
- Sharpen the image to enhance details.
Don't forget to consider color balance because images with accurate colors have a better chance of being accepted.
3. Naming Your Files Wisely
Your file name is the first impression your image makes, so make it count! Use descriptive keywords that reflect the content, such as:
- landscape-mountain-sunset.jpg
- cityscape-night-lighting.jpeg
Avoid generic names like IMG_1234.jpg as they offer no insight into your work.
4. Metadata Matters
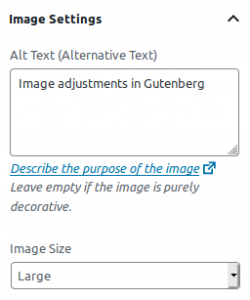
Adding metadata to your images can significantly improve their searchability. Include:
- Titles: Create a captivating title that describes your work.
- Keywords: Use relevant keywords to help buyers find your images.
- Description: Provide a brief description that conveys the essence of your image.
5. Review and Preview
Before hitting that upload button, take a moment to review your images. Zoom in on the details, ensuring there are no unwanted artifacts or flaws. If you can, preview how your images will appear on the platform. This step is crucial to ensure they meet both your standards and Getty’s guidelines.
By taking these steps to prepare your images effectively, you'll not only make the uploading process smoother but also elevate the likelihood of your photos being accepted and appreciated on Getty Images. Remember, quality and professionalism go a long way in this industry! Happy uploading!
Also Read This: Alamy’s Top Selling Images of 2022: Examining the Trendsetters and High Performers
3. Step-by-Step Guide to Uploading Pictures

Uploading pictures to Getty Images might seem daunting at first, but trust me—it's easier than you think! Here’s a step-by-step guide to help you get your images up on the platform smoothly.
- Create Your Getty Images Account
If you haven’t done so already, start by creating your account. Go to the Getty Images website, hit the “Sign Up” button, and fill in the necessary details. Make sure to verify your email address for full access. - Prepare Your Images
Before uploading, ensure your images meet Getty's requirements. This typically means high-quality images that are at least 4 MB in size and in either JPEG or TIFF format. It’s also helpful to tag your images appropriately to make them searchable! - Log In
Once your account is set up and your images are ready, log in to your Getty Images account. You’ll find the “Upload” button on your dashboard. Click it, and you’re one step closer! - Select Your Files
You'll be prompted to select the images you wish to upload. Click on “Choose Files,” and navigate to the folder where your images are stored. Select the files you want and click “Open.” - Add Metadata
This is a crucial step! Add relevant information such as keywords, descriptions, and categories for each image. This not only helps in organizing your uploads but also enhances visibility in search results. - Review Your Upload
Before finalizing, take a moment to review your uploaded images and associated metadata. Double-check everything to ensure it’s correct and complete. - Hit “Submit”
When you’re ready, press “Submit.” Your images will undergo a review process by Getty Images. You’ll receive notifications regarding the status of your submission. - Monitor and Respond
Don’t forget to monitor your uploads! Getty Images may reach out for clarification on submissions or request additional information. Stay engaged!
And that’s it! You’ve successfully navigated the uploading process. Now, let's discuss some of the common issues you might encounter and how to tackle them.
Also Read This: iStock Getty Images and Yin Yang What’s the Connection
4. Common Issues During Upload and How to Resolve Them

Even the smoothest of uploads can hit a snag now and then. Here are some common issues you might face while uploading your pictures to Getty Images and how to resolve them.
- File Size Limitations
If you encounter an error indicating your files are too large, ensure your images are less than 30 MB, as Getty sets this limit. You can compress your images using photo editing software, or online tools for a quick fix. - Incorrect Image Format
Only JPEG and TIFF formats are accepted. If you try to upload images in other formats (like PNG or BMP), you’ll need to convert them. Free online converters are a great option! - Metadata Submission Errors
If your metadata is incomplete, it can prevent successful uploads. Double-check your descriptions, keywords, and categories. Remember to keep your keywords relevant and specific for better searchability. - Connection Issues
A sluggish or unstable internet connection can interrupt uploads. If you’re experiencing problems, try switching to a wired connection or a different network. It often helps to restart your router. - Review Process Delay
After submission, there may be a delay before your images are approved. Patience is key! However, if you haven’t heard back within a few days, consider reaching out to Getty Images support for an update.
By being aware of these common issues and their solutions, you can make your picture-uploading experience much smoother. Remember, every photographer faces hurdles—what matters is how you tackle them!
Also Read This: How to Obtain Posters from Getty Images: Tips and Tricks for Collectors
5. Best Practices for Successful Image Uploads
Uploading images to Getty Images can be a straightforward process, but there are best practices that can significantly improve your chances of acceptance and success. Here are some tips to keep in mind:
- Understand the Guidelines: Each platform has specific requirements. Familiarize yourself with Getty Images’ submission guidelines to ensure your work meets the necessary criteria.
- High-Quality Images: Always upload high-resolution images. Getty Images prefers files that are sharp and clear. Aim for at least 300 dpi, as this is typically the standard for print quality.
- Select the Right Categories: When categorizing your uploads, take your time to choose the most appropriate options. This helps your images get seen by the right audience.
- Keyword Wisely: Keywords are your friends! Use relevant keywords to describe your images. Think about what potential buyers might search for and incorporate those terms.
- Provide Accurate Metadata: Filling out metadata correctly is crucial. Include details like location, event names, and other relevant information, as this aids in searchability.
- Review and Edit: Before hitting that upload button, ensure that your images are free from any signs of editing mistakes. A quick review can save you from potential rejections.
- Stay Up-to-Date: Trends in photography change frequently. Follow industry news and popular styles on Getty Images to adapt and align your submissions accordingly.
By adhering to these best practices, you’ll not only enhance your chances of a smooth upload process but also improve the potential visibility and sales of your images. Remember, every detail counts!
6. Conclusion and Final Thoughts on Uploading to Getty Images
As we wrap up this guide on smooth picture uploads to Getty Images, it’s vital to remember that your journey as a content creator doesn’t stop at just capturing beautiful images. The uploading process can be just as critical to your success. Here are the key takeaways:
- Preparation is Key: Ensure your images are in the right format, size, and quality. This readiness reduces the likelihood of challenges in the submission process.
- Follow the Guidelines: Every platform has its dos and don’ts. Getty Images is no exception. Follow their guidelines closely to maximize your acceptance rates.
- Optimize Your Images: Use effective titles, descriptions, and keywords. This optimization makes your work searchable and appealing to potential buyers.
- Stay Engaged: The world of stock photography is dynamic. Engaging with the community, keeping up with industry trends, and continually refining your skills will keep you ahead of the game.
In conclusion, uploading to Getty Images can be a rewarding venture when done right. Embrace the learning curve, experiment with different styles, and don’t hesitate to seek feedback from peers. With diligence and creativity, you’ll not only navigate the uploading process smoothly but also build a portfolio that attracts attention and sales. Happy uploading!
 admin
admin


