Camtasia Studio 8 is a powerful video editing tool that makes it easy for anyone to create professional-looking videos, even if you have no prior experience. Whether you're looking to make tutorials, product demos, or social media content, Camtasia offers user-friendly features that streamline the editing process. With its timeline-based interface and rich library of effects, you'll be able to add flair to your videos and engage your audience effectively. Plus, with support for uploads to platforms like Dailymotion, getting your content out there has never been easier!
Setting Up Your Camtasia Studio 8 Environment
Before diving into video editing with Camtasia Studio 8, it's crucial to set up your environment properly. This ensures a smooth workflow and enhances your creativity. Here’s a step-by-step guide to help you get started:
1. Install Camtasia Studio 8:
If you haven’t installed Camtasia yet, you can easily download it from the TechSmith website. Remember, it’s a paid software, but you might find a free trial to test its capabilities before committing. Once downloaded, follow the installation instructions. Make sure your system meets the necessary requirements for optimal performance.
2. Launch Camtasia:
Open the program after installation. You’ll be greeted by the welcome screen, which offers tutorials and tips to help you familiarize yourself with the software. Take a moment to explore this area; it’s a goldmine of information!
3. Configure Your Workspace:
When you first launch Camtasia Studio 8, consider customizing your workspace to suit your editing style. Drag and drop the panels to arrange them in a way that feels intuitive to you. Key panels include:
- Media Bin: This is where you'll import all your video clips, images, and audio files.
- Timeline: This section allows you to layer your media and edit your video’s sequence.
- Preview Screen: A real-time display of your project that shows you how your edits look.
- Tools Panel: Access to all the editing tools, effects, and transitions available.
4. Import Media:
To start creating, click on the “Import Media” button in the Media Bin. Choose the files you want to use in your project. You can import a mix of video clips, audio, and images from your computer. Remember, keeping your files organized will save you time during editing!
5. Familiarize Yourself with Essential Tools:
Take some time to explore the tools available in Camtasia Studio 8. Here are a few key features to play around with:
- Cutting and Trimming: Learn how to cut unnecessary footage and trim clips to focus on key moments.
- Transitions: Experiment with transition effects to create smooth changes between scenes.
- Animations: Use animations to add movement to text and images, drawing viewers' attention precisely where you want.
6. Save Your Project:
As you make edits, remember to save your work frequently. This prevents any frustrating loss of progress. You can also use the “Save As” option to create different versions of your project as you refine your edits.
By following these initial steps, you’ll have a well-prepared environment ready for your video editing journey with Camtasia Studio 8. The more comfortable you become with its features, the more powerful your video content will be!
Also Read This: How to Make Rose Hairstyle: Elegant Hairdo Tutorial on Dailymotion
3. Importing Videos into Camtasia Studio 8
Alright, let’s dive into the exciting part: importing your videos into Camtasia Studio 8! This step is super simple, but it’s crucial to get right so you can start editing without a hitch.
First things first, you need to launch Camtasia Studio 8 on your computer. Give it a moment to load up because you’re about to unleash your creativity! Once the program is ready, you'll notice a clean and intuitive interface designed to help you focus on your project.
Now, to import your video, follow these simple steps:
- Click on the Import Media button located in the media bin area. You can usually find this in the upper left part of the window.
- A file explorer window will pop up. Here, you can browse through your folders to find the video files you want to edit. This could be anything from recorded tutorials to family videos.
- Select the desired video file and click the Open button. Just like that, your video will be imported into the Camtasia media bin!
- If you're looking to import multiple files, don’t worry! You can hold down the Ctrl key (or Cmd on a Mac) while selecting files to import them all at once.
Once your videos are in the media bin, they are ready for drag-and-drop action into the timeline. It’s that easy! You can also drag and drop media directly from folders into the timeline if you prefer shortcuts.
One nifty feature here is the ability to import various file formats, including screen recordings, audio files, and images, making Camtasia a robust tool for all kinds of multimedia projects. If you're concerned about compatibility, don’t fret; Camtasia supports most common video formats.
And remember, as you import your video, ensure you keep your files organized. A well-structured project helps streamline your editing process and saves time in the long run!
Also Read This: How to Use Hair Bumpits: Create Voluminous Hair in Just a Few Steps
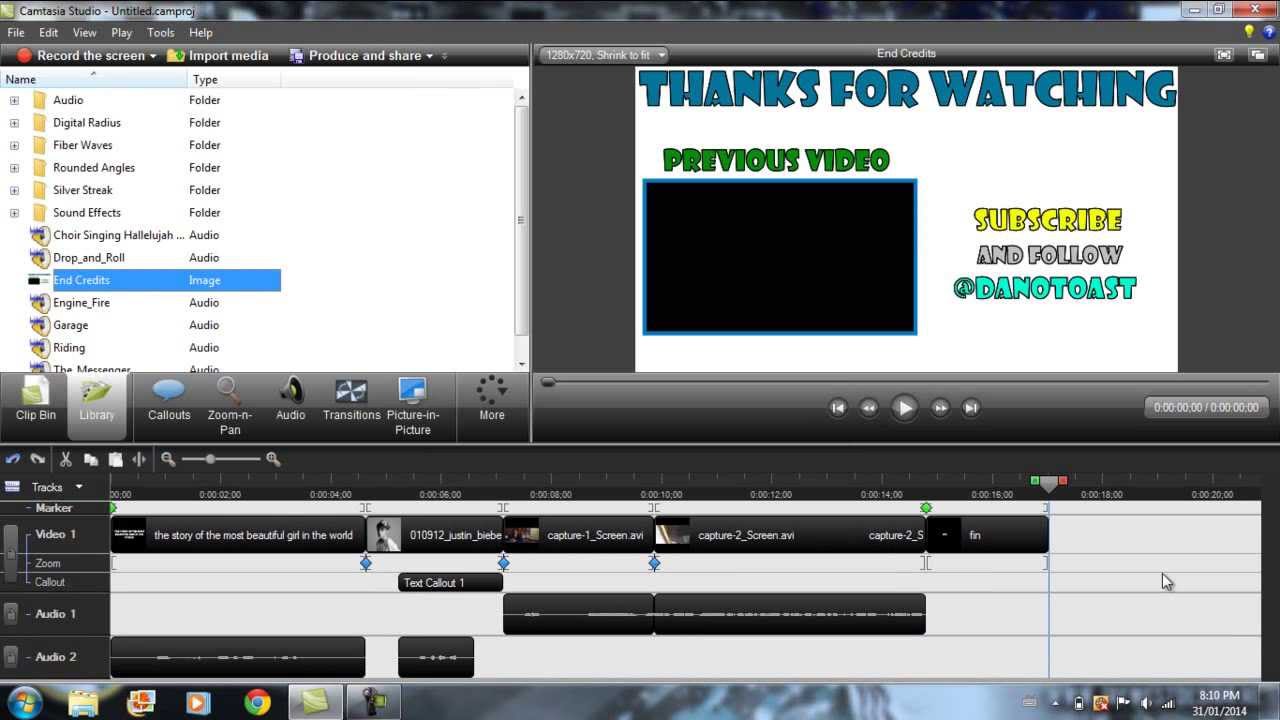
4. Editing Your Video: A Step-by-Step Guide
Now that you've got your video imported and loaded up, it’s time to roll up your sleeves and edit! Editing can feel daunting if you’re new to it, but with Camtasia Studio 8, you'll find it to be an enjoyable experience. Let’s break it down step by step.
Step 1: Placing Your Video on the Timeline
Drag your imported video from the media bin to the timeline at the bottom. This is the area where all the magic happens! The timeline allows you to control where your media sits and lets you sequence your edits precisely.
Step 2: Trimming Clips
If you have parts of your video that need to be trimmed (maybe a long intro?), hover over the edges of the clip on the timeline. You’ll see a trimming tool; just click and drag to shorten your clip neatly.
Step 3: Adding Transitions
Transitions help make your video flow smoothly from one clip to another. To add transitions:
- Go to the Transitions tab in the left panel.
- Choose your desired transition.
- Drag it onto the timeline between two clips.
There’s a variety of transitions to choose from, so feel free to experiment until you find one that fits your style!
Step 4: Utilizing Annotations
Your video might need some text or annotations to highlight key points. Click on the Annotations tab and drag your preferred text style onto the timeline. You can customize the font, size, and color to match your branding or make it visually appealing.
Step 5: Adding Audio
If your video needs background music or voice-over, don’t forget to import and edit audio tracks! You can control audio levels directly from the timeline to ensure your voice is clear over the music.
Step 6: Previewing Your Edits
Always take a moment to preview your edits by clicking on the play button in the preview window. It allows you to see how everything is coming together before exporting!
By following these steps, you’ll turn your raw footage into a polished video that’s ready for sharing on Dailymotion or any other platform. So, grab your video and let’s get creative!
Also Read This: How to Unmute Dailymotion Videos for a Smooth Viewing Experience
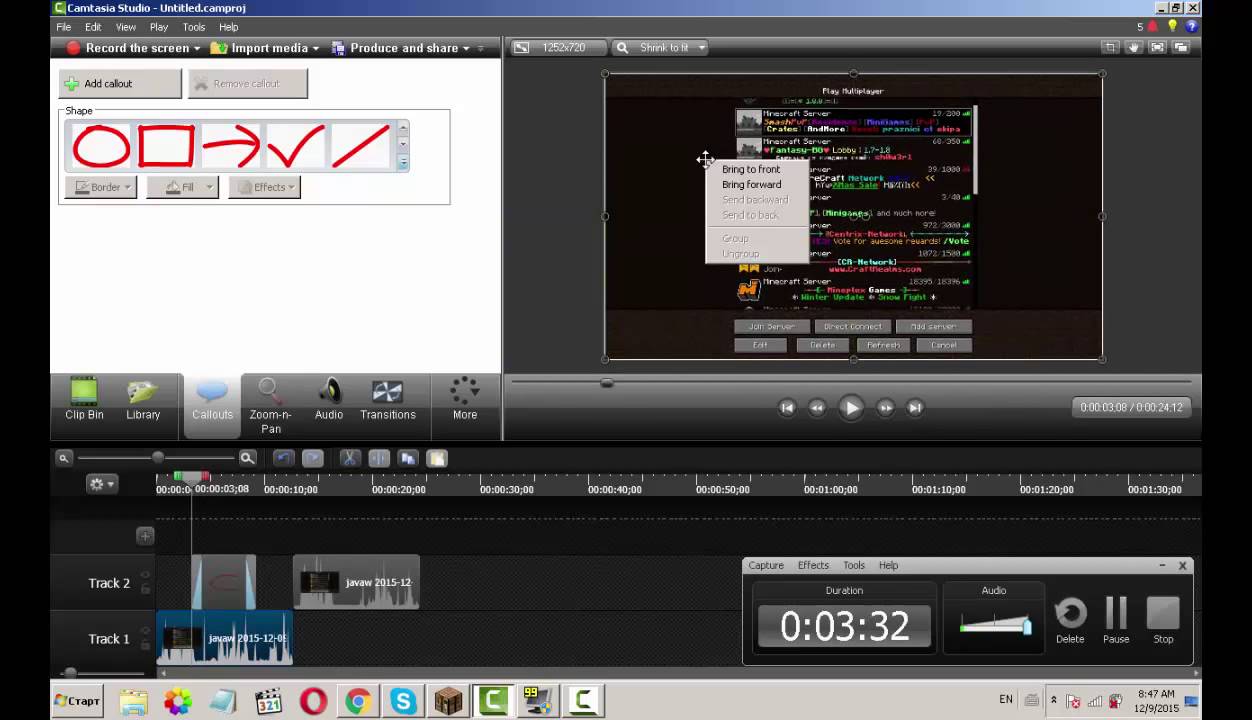
5. Adding Effects and Annotations in Camtasia Studio 8
Once you've recorded your video or imported existing footage into Camtasia Studio 8, the next step is to make it shine by adding effects and annotations. This part of the editing process is where you can truly express your creativity and emphasize important points in your video. Let’s dive into some of the coolest features!
Adding Visual Effects
Camtasia offers a variety of visual effects to help your video stand out. You can find them in the Effects panel. Here are a few that you might find particularly useful:
- Transitions: Use transitions to smoothly change from one scene to another. This makes your video flow better and keeps your viewers engaged. Just drag and drop the transition you like between clips.
- Animations: You can animate text and images to make them pop up, fade in, or move around. This adds a dynamic element to your video, helping to grab your audience's attention.
- Cursor Effects: Highlight your mouse movements with effects that emphasize clicks and other actions. This is especially handy for tutorials where viewers need to see specific actions clearly.
Adding Annotations
Annotations are a fantastic way to communicate additional information or highlight key points. Camtasia Studio 8 makes it easy to add text overlays, shapes, and images directly onto your video. Here’s how:
- Text Boxes: Click on the Annotations tab and select a text box. Customize the font, size, and color to match your video’s theme. Use these for callouts or to provide context for viewers.
- Shapes: Use shapes to draw attention to specific areas of the screen. You can adjust their size, fill, and border colors for a more polished look.
- Images: If you want to include logos or other visuals, simply drag your image file into the timeline. Adjust its duration to match how long you want it to appear on screen.
Remember, while effects and annotations can enhance your video, avoid overdoing it. Keep your edits clean and professional to maintain viewer engagement!
Also Read This: How Does "She Knows" from Enchanted Play on Dailymotion? Exploring the Song
6. Exporting Your Video for Dailymotion
Congratulations! You've edited your video using Camtasia Studio 8 and added all the effects and annotations to make it shine. Now it's time to share your masterpiece with the world by exporting it for Dailymotion. To ensure your video is optimized for this platform, follow these simple steps.
Choosing the Right Format
Dailymotion supports various video formats, but the most recommended formats include:
- MP4: This is the preferred format due to its compatibility and smaller file size.
- AVI: Good for quality, but generally results in larger file sizes.
- WMV: Works nicely, but be careful about the potential for quality loss.
Exporting Your Video
To export your video from Camtasia:
- Click on File in the top menu.
- Select Produce and Share... to open the production wizard.
- Choose MP4 as your output format for the best results.
- Follow the prompts to set your desired resolution and other settings. For Dailymotion, a resolution of 1080p is ideal.
- Click Next, choose a location to save your video, and give it a name.
- Hit Finish and let Camtasia do the work of rendering your video.
Uploading to Dailymotion
Once your video is exported, head over to Dailymotion:
- Log in to your account.
- Click on Upload and select your video file.
- Add a title, description, tags, and any other details needed.
- Finally, hit Publish to share your creation with the world!
And there you have it! Your video is now ready for audiences on Dailymotion. With the effective use of Camtasia Studio 8 and a little attention to detail during the exporting process, you’re set to create engaging content that captivates your viewers. Happy editing!
Also Read This: How to Make a Rocket at Home: Step-by-Step Dailymotion Guide
7. Uploading Videos to Dailymotion from Camtasia Studio 8
Once you've created a stunning video in Camtasia Studio 8, the next step is getting it out into the world. Uploading to Dailymotion is a breeze, and I’m here to walk you through the process!
First off, you need to ensure your video is complete, polished, and ready for the audience. You’ve taken the time to edit, add effects, and fine-tune your footage, so let’s make sure it gets the attention it deserves!
Here’s a quick guide on how to upload your finished video to Dailymotion:
- Export Your Video: In Camtasia, go to the “Share” menu and select “Local File.” Choose your preferred video format (MP4 is usually the best choice for Dailymotion). Follow the prompts to save your video to your computer.
- Log into Dailymotion: If you haven’t already, create an account on Dailymotion or log into your existing one. Make sure your profile is completed as having a complete profile helps increase your visibility.
- Upload Your Video: On the Dailymotion homepage, click on the “Upload” button – it’s usually right at the top. Drag and drop your video file into the upload area or click to browse to your file location.
- Add Metadata: Fill in the title, description, and tags for your video. Make them engaging and relevant to your content. This helps your video get discovered by viewers!
- Select Thumbnail: Choose or upload an eye-catching thumbnail. This is the first thing viewers will see, so make it stand out!
- Adjust Privacy Settings: Decide whether you want your video to be public, unlisted, or private. For most content creators, public is the way to go!
- Hit Publish: Once everything looks good, hit that publish button! Your video will be processed, which might take a little time depending on the length and quality.
And voilà! Your video is now live on Dailymotion for all to see! Remember to check in on it after publishing; responding to comments can help build your audience.
Also Read This: How to Play Dailymotion Videos on Your TV: A Simple Method
8. Tips for Successful Video Uploading and Management on Dailymotion
Now that you know how to upload your video, let’s talk about some tips and tricks to ensure your content shines on Dailymotion and engages viewers effectively.
- Optimize Video Titles: Use clear, descriptive, and enticing titles. Incorporate relevant keywords that people might search for. This improves your video's chances of being found!
- Craft Compelling Descriptions: Your description should summarize your video and include keywords as well. Don’t forget to add links to your social media or other related content!
- Utilize Tags Wisely: Tags help categorize your video. Use a mix of broad and niche tags related to your content, but keep it relevant.
- Engage with Your Audience: Respond to comments and questions. Engaging can turn casual viewers into loyal fans!
- Analyze Performance: Use Dailymotion’s analytics tools to see how your videos are performing. Keep an eye on views, likes, and engagement metrics to know what resonates with your audience.
- Regular Upload Schedule: Consistency is key! Regular uploads keep your audience engaged and coming back for more.
- Collaborate with Other Creators: Seeking partnerships with other Dailymotion users can expand your reach and introduce you to new audiences.
By following these tips, you should be well on your way to mastering video management on Dailymotion and building an audience that loves your content. Happy uploading!
Conclusion: Mastering Video Editing with Camtasia Studio 8
In conclusion, mastering video editing with Camtasia Studio 8 can significantly enhance your ability to create engaging content for platforms like Dailymotion. This software provides a user-friendly interface combined with powerful editing tools that cater to both beginners and experienced editors alike.
To recap the key features that make Camtasia a top choice for video editing:
- Screen Recording: Capture high-quality screen recordings seamlessly.
- Easy Editing Tools: Utilize drag-and-drop editing for quick adjustments.
- Text and Annotations: Add captions, titles, and annotations to enhance viewer understanding.
- Audio Editing: Adjust audio levels and incorporate music for a polished final product.
- Export Options: Share your videos directly to platforms like Dailymotion with optimal format settings.
With these tools at your disposal, you can elevate your video projects to a professional level. Remember, practice is key! The more you familiarize yourself with the software, the more adept you will become at crafting compelling videos that capture and retain your audience’s attention.
So, dive into your video editing journey with Camtasia Studio 8, and let your creativity shine through your Dailymotion content!
 admin
admin


