Getting a salon-quality manicure at home is absolutely within your reach! With just a little time and the right techniques, you can achieve gorgeous nails without the hefty price tag. A home manicure not only allows you to save money but also gives you a chance to pamper yourself in the comfort of your own space. Plus, you have endless color and design options at your fingertips. Let's dive into the essentials for setting up your manicure station and the basics of creating a perfect set of nails!
Essential Tools and Products for a Perfect Home Manicure
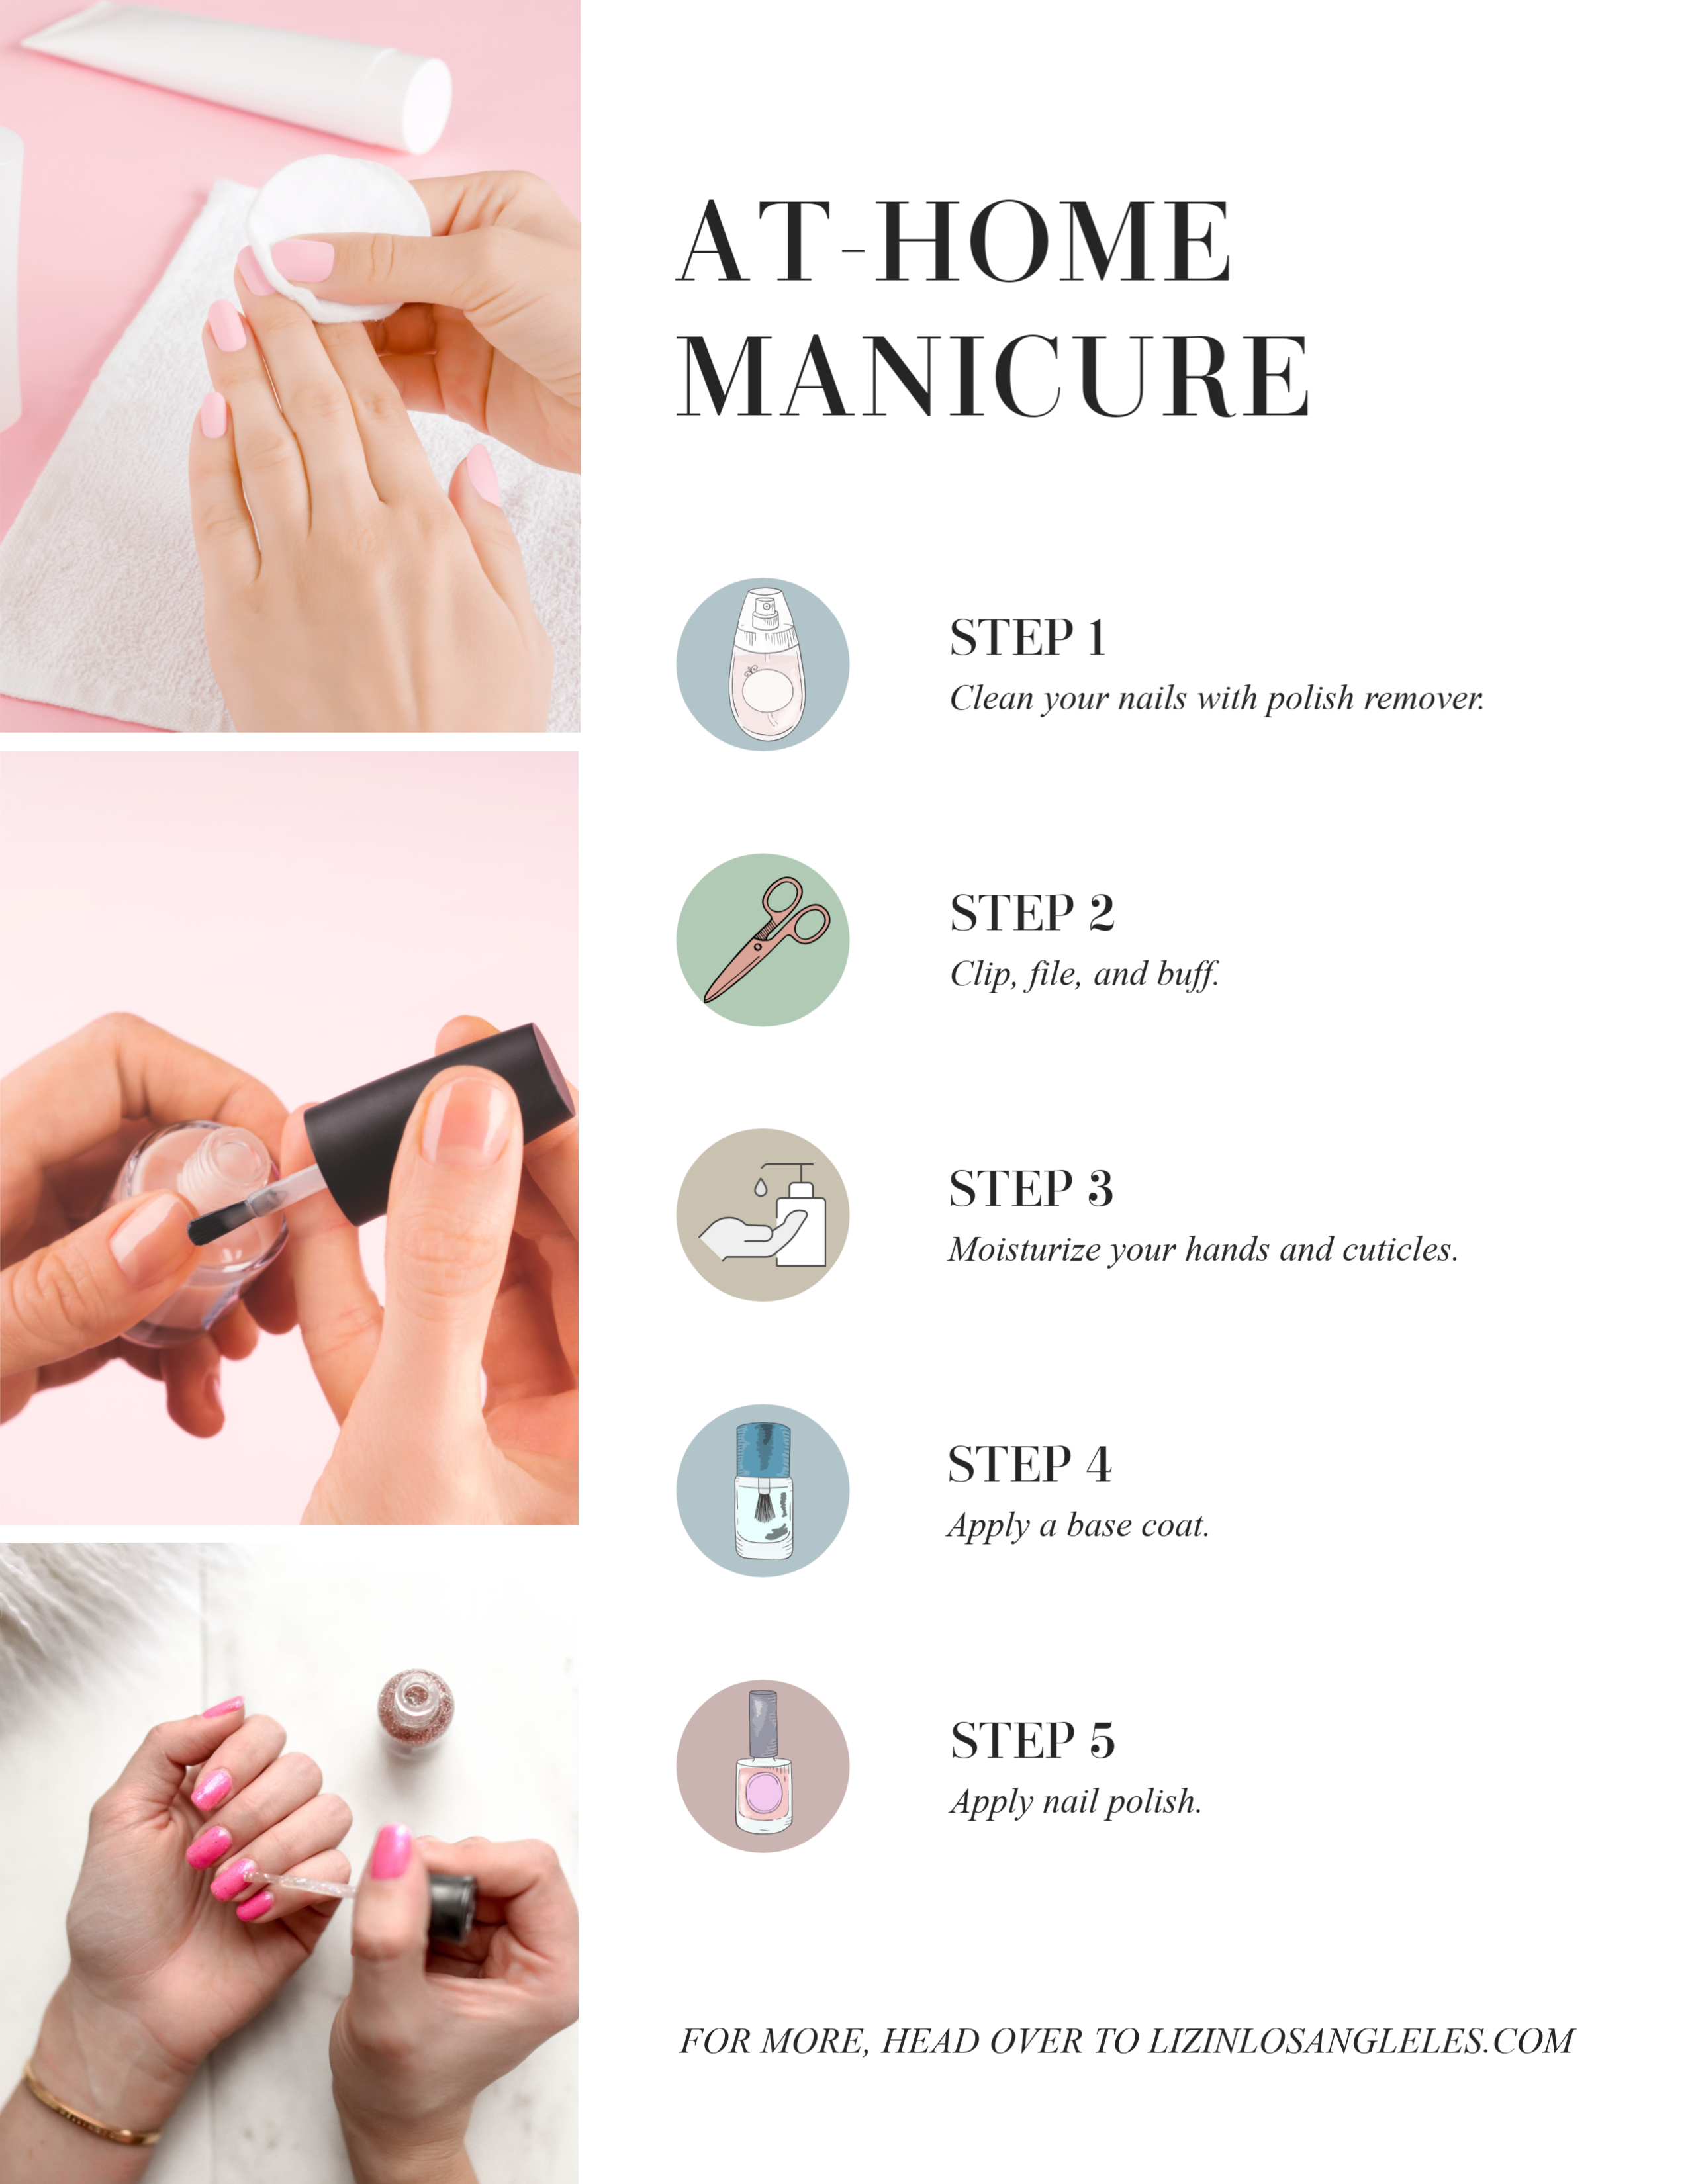
Before you can start creating those stunning nails, you'll need to gather some essential tools and products. Here’s a list of what you'll need to ensure your at-home manicure is a success:
- Nail clippers: Get them in various sizes for precise trimming.
- Nail file: A crystal or a buffer file is best for a smooth finish.
- Cuticle pusher: Essential for maintaining healthy nails.
- Cotton pads: Great for removing polish and oils.
- Nail polish remover: Acetone or non-acetone options depending on your polish type.
- Base coat: Protects your nails and extends the life of your manicure.
- Nail polish: Choose your favorite shades! Be adventurous.
- Top coat: Seals in your color and adds shine.
- Moisturizer: Keep your hands hydrated post-manicure.
- Hand scrub: Exfoliating scrub to prep your hands and nails.
- Cuticle oil: Nourishes and maintains healthy cuticles.
Now that you have your tools, let’s break down their usage:
Nail Clippers
Start with nail clippers to trim your nails to your desired length. A clean cut will make filing easier and will help prevent snagging. Trim straight across for a classic look or round the edges for a softer appearance.
Nail File
After clipping, use a nail file to shape your nails. Remember: file in one direction to prevent splits and tears. Aim to create a clean line, whether you want a square or oval shape.
Cuticle Pusher
Next up is the cuticle pusher. Gently push back your cuticles, but avoid any severe pushing as this can damage your nails. If it’s your first time, be gentle and take your time!
Cotton Pads and Polish Remover
If you’re starting with polish on your nails, soak a cotton pad in polish remover and swipe it over your nails to ensure they are clean and free of residue.
Base Coat, Nail Polish, and Top Coat
Apply a base coat to protect your nails before painting them. Once it dries, apply two coats of your chosen nail polish color for the best coverage. Finish with a top coat to lock in your color and add a lovely shine.
Moisturizer, Hand Scrub, and Cuticle Oil
Once your manicure is done, don’t forget to pamper your hands! A good moisturizer will hydrate your skin, while a hand scrub will keep your hands soft and smooth. Applying cuticle oil will keep your cuticles nourished and looking fantastic. Lastly, take a moment to admire your beautiful nails!
With these tools and techniques under your belt, you're well on your way to achieving a professional-looking manicure at home. Ready to show off those fabulous nails?
Also Read This: How to Use Viber on Mobile: Stay Connected with Friends and Family
3. Step 1: Preparing Your Nails for a Manicure
Getting ready for a home manicure is all about preparation. Think of it as creating a clean canvas for your masterpiece! Here’s how to prepare your nails so they look fabulous:
- Gather Your Supplies: Before diving in, make sure you have everything you need:
- Nail clippers
- Nail file
- Buffer block
- Cuticle oil
- Hand cream
- Warm, soapy water
- Pusher or orange stick
- Start with Clean Hands: Wash your hands thoroughly with soap and warm water. This removes any dirt and oils, ensuring your nails are prepped for the treatment.
- Soak Your Nails: Fill a small bowl with warm, soapy water. Soak your fingertips for about 5-10 minutes. This softens the nails and cuticles, making them easier to manage.
- Push Back Cuticles: After soaking, gently push back your cuticles using a cuticle pusher or an orange stick. Be gentle! You want to encourage your cuticles to move back, not push them aggressively.
- Trim Cautiously: If your cuticles are particularly long or ragged, you can carefully trim them with cuticle clippers. Remember, less is more here. You don’t want to overdo it!
- Moisturize: Apply a little cuticle oil to nourish your cuticles and prevent any dryness. Follow this up with a moisturizing hand cream to keep your hands feeling soft and pampered.
With your nails prepped beautifully, you're ready for the next step. Remember, preparation is key to achieving that salon-quality finish at home!
Also Read This: Creative Tutorials for Knitting Sweaters on Dailymotion
4. Step 2: Shaping Your Nails
Now that your nails are clean and prepped, it’s time to give them some shape! Nail shaping is essential, not just for aesthetics but for promoting healthy, strong nails. Let’s look at how to shape your nails perfectly:
- Choose Your Shape: There are several popular nail shapes you can go for, each of which suits different styles and personal preferences:
- Square: Straight edges with sharp corners. Great if you want a modern look!
- Round: Soft curves that mirror the natural shape of your fingertip, perfect for a classic approach.
- Oval: A mix between square and round, this shape elongates the fingers and works well for most nail types.
- Almond: Tapered sides that offer a sleek silhouette. Ideal if you like a bit of flair!
- Filing Techniques: Grab your nail file! Here’s how to get the right shape:
- Start by clipping your nails to your desired length with nail clippers.
- Use the file to shape the edges. Move the file in one direction instead of a back-and-forth motion to prevent splitting.
- For square shapes, file straight across the top. For rounded shapes, round off the edges.
- If you’re going for an almond or oval shape, gently taper the sides, moving toward the center.
- Buffing: Once you’ve shaped your nails, use a buffer block to smooth the edges. This step not only gives your nails a polished finish but also makes them shine!
That’s it! Shaping your nails is a crucial step to ensure they look stylish and well-maintained. Whether you prefer a simple round shape or a dramatic almond, the key is to take your time and enjoy the process. Now, sit back and admire your handiwork before moving on to the exciting part: adding color and flair! Happy manicuring!
Also Read This: Create Stunning Paper Flowers: Watch Videos on Dailymotion
5. Step 3: Caring for Your Cuticles
Your cuticles play an important role in nail health, acting as a protective barrier against bacteria. Neglecting them can lead to dryness and even infections. So, let’s give them the love they deserve! Here’s how to care for your cuticles properly:
- Soak Your Hands: Start by soaking your hands in warm, soapy water for about 5-10 minutes. This will soften your cuticles and make them easier to work with.
- Push Back Your Cuticles: Use a cuticle pusher or an orangewood stick to gently push back the cuticles. Do this slowly to avoid damaging the skin or nail bed. Remember, we're aiming for a gentle push, not a harsh shove!
- Trim If Necessary: If you notice any excess skin or hangnails, use cuticle scissors or nippers to carefully trim them away. Be super cautious here; you don’t want to take off too much!
- Hydrate Your Cuticles: After pushing and trimming, it’s time to hydrate. Apply a cuticle oil to nourish and moisturize them. Oils like jojoba, vitamin E, or almond oil work wonderfully. Massage it in for added benefits!
- Apply a Protective Layer: Finish off by applying a clear base coat over your nails. This won’t only protect your nail but will also seal in that moisture for your cuticles.
Caring for your cuticles doesn’t just enhance the look of your manicure—it helps maintain healthy nails. Remember, a few minutes of cuticle care can make a significant difference!
Also Read This: How to Make a Matchstick House: Easy Crafting Tutorial on Dailymotion
6. Step 4: Exfoliating and Moisturizing Your Hands
Now that your nails and cuticles are looking fabulous, let’s not forget about your hands! They deserve some TLC too. Exfoliating and moisturizing will leave them feeling soft and rejuvenated. Here’s how to do it:
- Exfoliate: Start with a gentle hand scrub. You can create your own at home using sugar and olive oil—a fantastic duo! Mix equal parts sugar and oil until you achieve a paste-like consistency. Massage it onto your hands for a few minutes in circular motions; this will help eliminate dead skin cells and improve circulation.
- Rinse Thoroughly: After you’ve exfoliated, rinse your hands under warm water. Make sure to remove all the scrub so your hands feel fresh and clean.
- Pat Dry: Gently pat your hands dry with a soft towel. Avoid rubbing, as this can irritate your skin.
- Moisturize generously: Choose a good quality hand cream or lotion. Look for products that contain ingredients like shea butter, coconut oil, or aloe vera for maximum hydration. Don’t forget to massage the cream into your hands, focusing on the palms, fingers, and cuticles!
- Seal the Deal: For extra hydration, consider applying a thicker cream or even petroleum jelly before bedtime. Slip on some cotton gloves and wake up to wonderfully soft hands!
Exfoliating and moisturizing your hands is a simple yet effective way to achieve that salon-quality finish. Plus, it’s a great way to indulge yourself in a mini self-care session right at home!
Also Read This: Guide to Downloading Protected Videos from Dailymotion
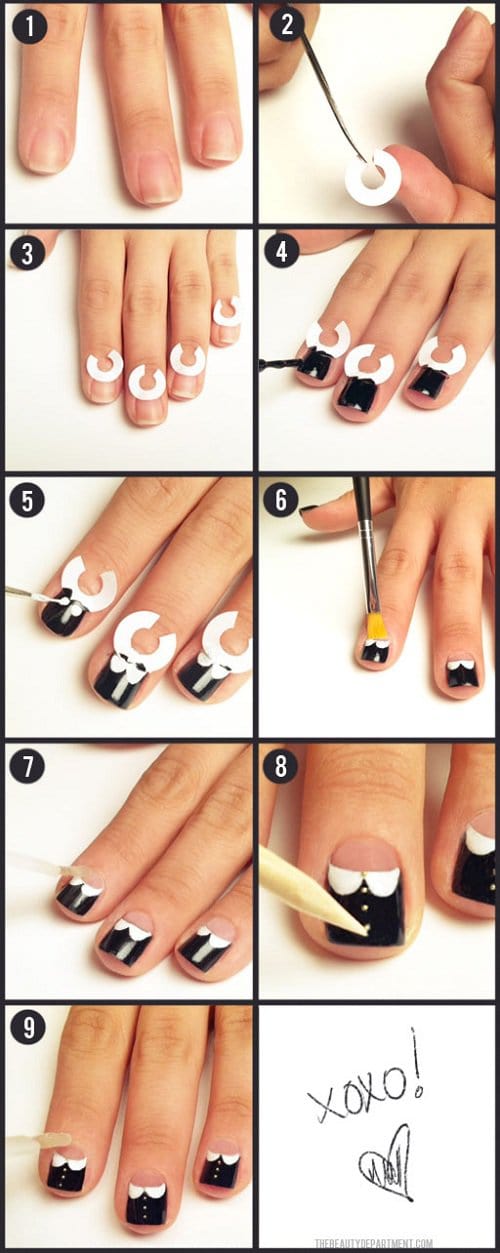
7. Step 5: Applying Nail Polish Like a Pro
Now that your nails are prepped and primed, it’s time to dive into one of the most exciting parts of your manicure: applying the nail polish! Whether you're a newbie or a seasoned at-home nail artist, perfecting this step can elevate your manicure from "meh" to magnificent.
Here’s how to apply nail polish like a pro in just a few simple steps:
- Choose the Right Tools: Gather your nail polish and a good-quality top coat. If you're feeling fancy, grab a base coat too for added protection!
- Shake It Up: To ensure an even application, give your nail polish bottle a good shake. This mixes the colors and ensures a smooth consistency.
- Start with a Base Coat: If you decided to use a base coat, apply a thin layer on each nail. This helps the color adhere better and protects your nails from staining.
- Master the Three-Stroke Technique: Here’s how to apply the polish neatly:
- Start by dipping the brush into the polish and wiping one side against the bottle to remove excess.
- Place the brush at the base of the nail and swipe upwards, covering one side before moving to the other and then finishing in the middle.
- Repeat this for every nail and clean up any mistakes with a little nail polish remover on a small brush or a cotton swab.
- Layer It Up: Depending on the opacity of your polish, you may need two or three coats. Make sure to let each layer dry before applying the next.
- Finish with a Top Coat: Once your color is applied and dry, seal the deal with a top coat. This not only gives your nails that glossy finish but also adds a layer of protection against chips.
- Give It Time to Dry: Patience is key! Allow your nails to dry completely to avoid smudging your hard work.
And there you have it! With these tips, you'll apply nail polish like a professional and turn heads with your stunning home manicure.
Also Read This: How to Lose Shoulder Fat: Dailymotion’s Top Workout Tips
8. Step 6: Finishing Touches for a Long-Lasting Manicure
Congratulations! You’ve successfully painted your nails, but we’re not quite done yet. The final step is all about those finishing touches that ensure your manicure looks great for days to come. Let's dive into the details!
Here’s how to add the perfect finishing touches:
- Cleanup Any Mess: Use a small brush or a cotton swab dipped in nail polish remover to clean up any excess polish around the edges of your nails. This little step can make a big difference in making your manicure look polished and professional!
- Hydrate Your Cuticles: Apply a nourishing cuticle oil to keep your cuticles healthy and moisturized. This adds a nice touch and prevents hangnails from forming.
- Apply a Quick-Dry Spray: If you’re in a rush, consider using a quick-dry spray or drops to speed up the drying process. Just a small spritz will do the trick!
- Seal with a Top Coat Every Few Days: To keep your manicure looking fresh, apply a thin layer of top coat every few days. This not only revives the shine but also adds protection against chips.
- Avoid Chores for a Day: Try to avoid heavy lifting or water activities for at least 24 hours after your manicure. This allows the polish to set properly and stay intact.
Taking these extra steps not only enhances the appearance of your manicure but also significantly extends its longevity. So, finish strong and step out with confidence, knowing your nails are looking fabulous!
Also Read This: Guide to Installing Drivers on Windows 7 from a CD
9. Tips for Maintaining Your Manicure
Congratulations! You've just created a stunning manicure at home. Now, let's talk about how to keep those lovely nails looking fresh and fabulous for as long as possible. With a few simple tips, your manicure can last longer and stay looking great!
1. Moisturize Regularly: Dry nails can lead to chipping and breakage. After washing your hands or using a nail polish remover, apply a good quality hand cream or cuticle oil. Remember to massage it into your cuticles and nails to keep your manicure looking vibrant.
2. Avoid Water Exposure: Prolonged exposure to water can weaken your manicure. When doing dishes, consider wearing rubber gloves to protect your nails. If you must wash your hands often, make sure to follow up with moisturizer to combat drying.
3. Reapply Top Coat: A top coat is your best friend for preserving your manicure. Aim to apply a fresh coat every few days. This not only adds shine but also adds an extra layer of protection against chips and scratches.
4. Be Gentle: Treat your nails with care. Avoid using them as tools to open packages or scratch surfaces. Gentle handling can dramatically improve the longevity of your polish.
5. Choose the Right Activities: If you're planning to do some heavy-duty work, like gardening or heavy cleaning, consider wearing gloves. Protecting your nails will help keep the polish intact.
6. Avoid Abrasive Products: Certain cleaning products can damage your polish. Try to use gentler substances whenever possible and always wear gloves when dealing with harsh chemicals.
7. Quit the Picking: It's tempting to pick at loose polish but resist! Picking can lead to further chipping and damage to your nails. If you notice chips, use a nail file to smooth out the rough edges instead.
8. Keep Nails Trimmed: Regular upkeep is important. Even if you love long nails, keeping them at a manageable length helps prevent breakage and makes it easier to maintain your polish.
9. Schedule Regular Manicure Touch-ups: Even the best manicures need a little refresh. Depending on the wear and tear, plan to do a full manicure every two weeks or touch up your existing polish as needed.
10. Conclusion: Enjoy Your Beautiful Home-Manicured Nails
And there you have it! With this step-by-step tutorial, you've transformed your nails into a work of art, all from the comfort of your home. Remember, taking care of your hands and nails is just as important as the initial application.
Recognizing the effort and time you've invested, it's essential to adopt a maintenance routine that works for you. After all, your nails are often the first thing people notice when you reach out for a handshake or wave hello!
By following those maintenance tips we discussed, you'll not only extend the life of your manicure but also enjoy the process of caring for your nails. Your nails should radiate the beauty and confidence you're cultivating!
So go ahead, flaunt those beautiful home-manicured nails and let your fingers do the talking. Whether you're at a job interview, a date night, or just a cozy evening at home, your nails will be your perfect accessory. Happy pampering!
 admin
admin


