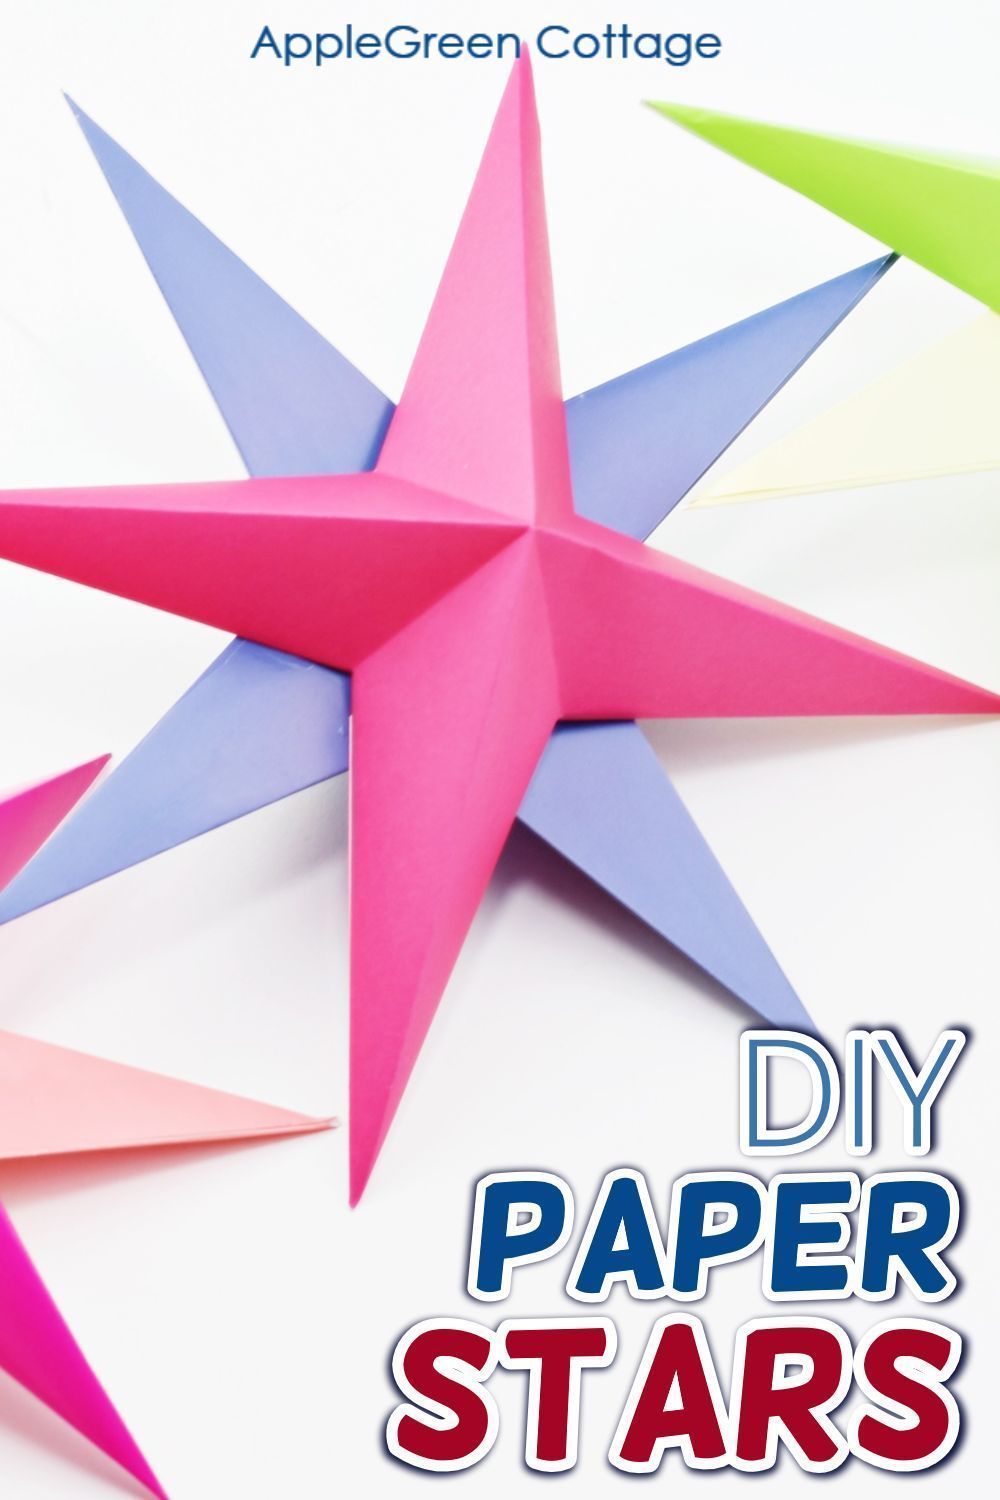
If you’re looking for a fun and creative way to brighten up your space, paper star crafts are the perfect project! These stunning decorations can be used for any occasion—from festive holidays to everyday home décor. Not only are they visually appealing, but they also provide a great opportunity to spend time with family or friends. In this guide, we’ll take you through the process of creating beautiful paper stars in a simple, step-by-step manner. So gather your materials, and let’s get started on this delightful crafting journey!
Materials Needed for Making Paper Stars
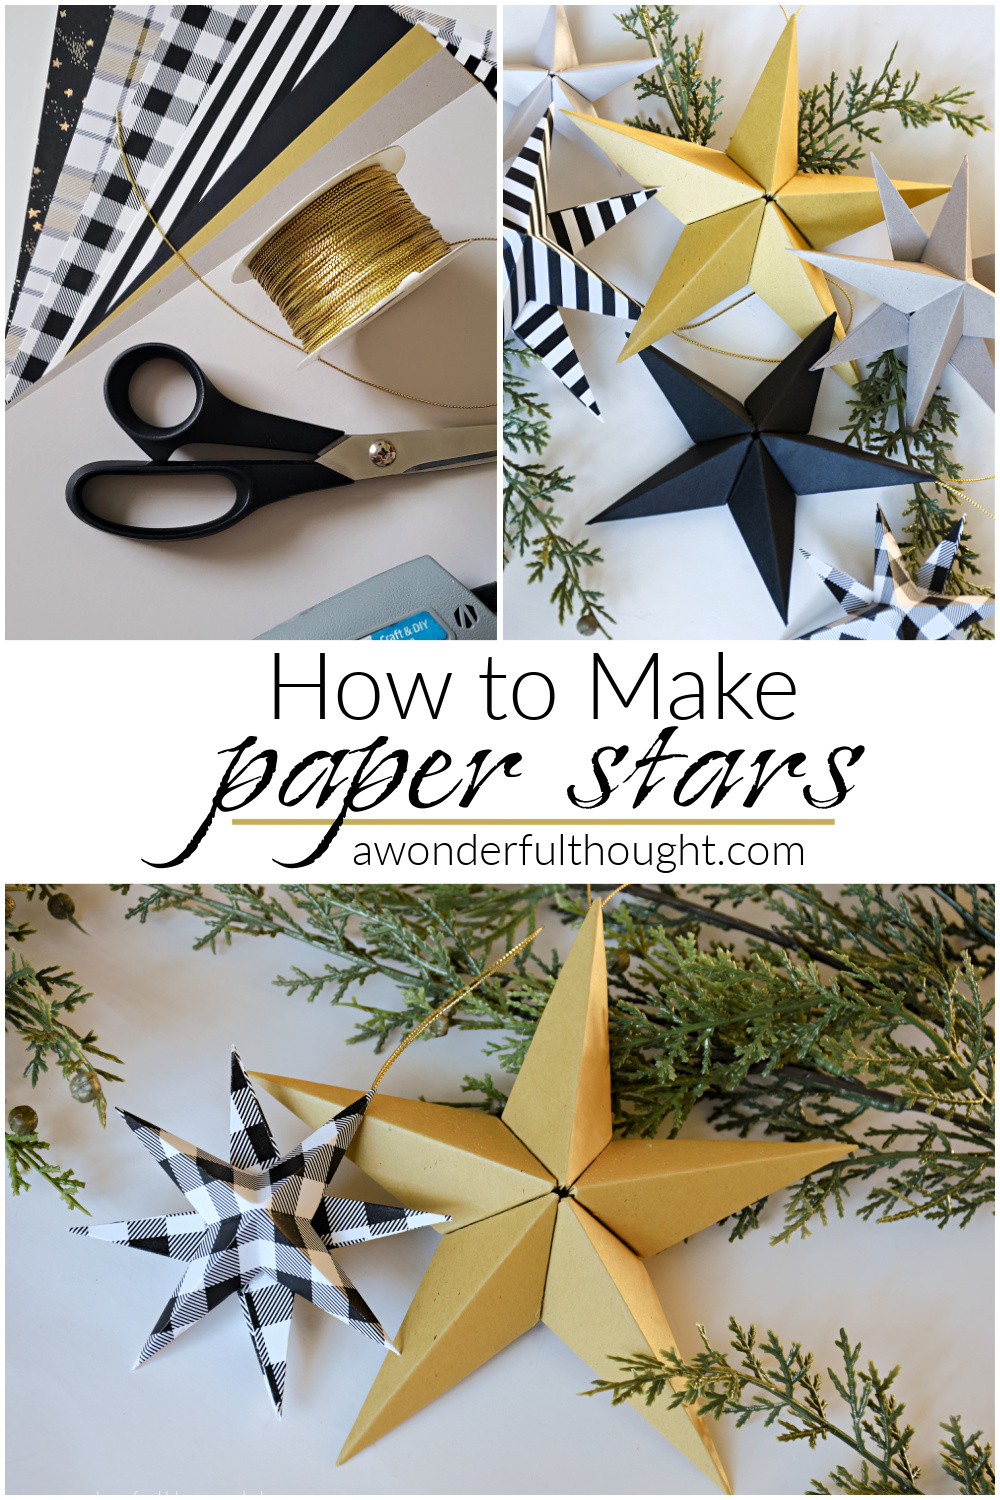
Before diving into the art of making paper stars, it’s essential to gather all the necessary materials. The good news is that most of what you need is probably already in your home! Below is a list of items you'll find handy:
- Paper: You can use any type of paper, including colored paper, patterned scrapbook paper, or even old magazines. The key is to pick something that catches your eye!
- Scissors: A good pair of scissors will make cutting the paper much easier and ensure clean edges.
- Ruler: If you want to create uniform shapes, a ruler will help you measure accurately.
- Pencil: Use a pencil to lightly mark your measurements before cutting.
- Glue or Double-sided Tape: These will be essential for securing the edges of your stars.
- String or Twine (optional): If you wish to hang your stars, have some string or twine ready for that extra touch.
- Embellishments (optional): Consider adding embellishments like glitter, sequins, or stickers to give your stars more personality!
Now that you have your materials ready, it’s time to get creative! Remember, the beauty of crafting lies in the freedom to explore and experiment. Don't hesitate to use different colors and textures in your paper selection. The sky's the limit when it comes to personalization!
Once you have everything prepared, you're all set to start crafting those beautiful paper stars. In the next section, we'll walk you through the step-by-step process to make your very own paper stars. Let’s bring some sparkle into your life!
Also Read This: How to Watch Dailymotion Private Videos: Unlock Restricted Content
3. Step-by-Step Instructions for Crafting Paper Stars
Creating your own paper stars can be a fun and rewarding DIY project. Whether you're looking to decorate your home, make gifts, or simply enjoy a crafty afternoon, follow these step-by-step instructions to make beautiful paper stars!
Materials Needed:
- Colorful paper (origami paper works great!)
- Scissors
- Ruler
- Pencil
- Glue (optional)
Now, let’s get started!
- Choose Your Paper: Select your favorite colors and patterns. You can use patterned scrapbook paper, plain colored paper, or even recycled paper.
- Cut the Paper: Cut your paper into squares. A good size is 6x6 inches, but feel free to experiment with different dimensions. The size of your stars will depend on the size of your squares!
- Origami Base: Fold the square diagonally to form a triangle. This is your first crease. Unfold it back to a square.
- Fold Corners: Take each corner of the square and fold it towards the center, aligning the tips to meet at the middle. Your square will now look like a smaller square. Crease well!
- Create Star Points: Fold the square in half again, diagonally, to form a triangle. Now, keeping it in this format, fold the triangle's corners inward to create a sharper point at the top. You should see star points forming!
- Expand the Star: Carefully unfold your recent folds. If you have done everything correctly, you will see the star shape appearing. If it’s not looking quite right, don’t worry; you can always refold.
- Add Stability: To give your star some shape and make it stand out, consider adding a dab of glue at the inner folds. This will help keep everything in place.
- Finishing Touches: If you’d like, you can decorate your stars with glitter, drawings, or stickers to make them even more special!
And there you have it! Your very own paper star is complete! You can make several stars of different sizes and colors to create an enchanting display!
Also Read This: How to Upload a Video to Dailymotion with Clear and Simple Instructions
4. Creative Variations and Designs for Paper Stars
Once you’ve mastered the basic paper star, it’s time to get creative! There are countless variations and designs to explore that can add a unique flair to your paper stars. Here are some fun ideas to inspire your next craft session:
1. Stacked Stars
Create stars of different sizes and stack them on top of each other. Use a hot glue gun to affix them together. This creates a fabulous centerpiece for tables or a festive decoration for the holidays!
2. Glimmering Stars
Apply a layer of craft glue and sprinkle glitter on your finished stars. Once they dry, they will sparkle brilliantly when light hits them. Perfect for evening decor!
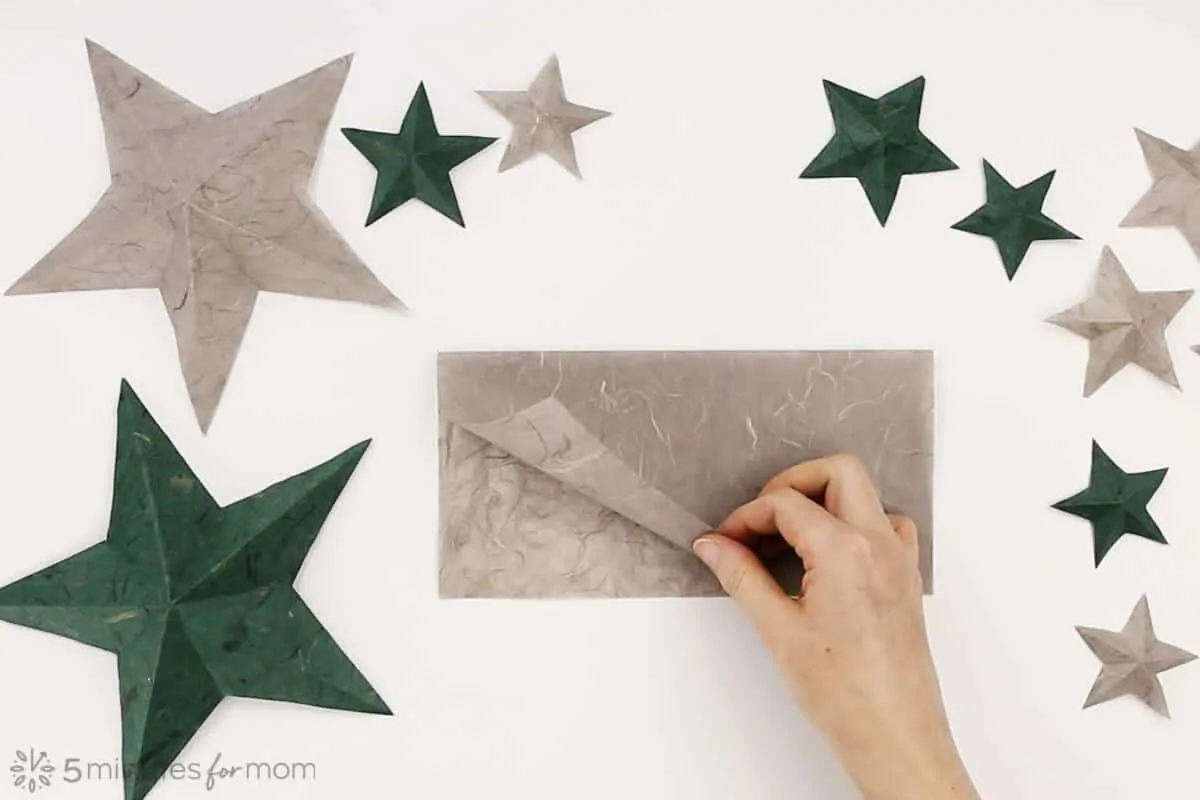
3. Themed Stars
Consider creating stars based on a theme. For instance:
- Christmas: Use red and green paper, perhaps with some holly patterns.
- Summer: Bright yellow and orange colors that reflect the sunshine.
- Magical: Use metallic or iridescent paper to give them an otherworldly feel.
4. Stringed Stars
If you want to make a mobile or a garland, create multiple stars and attach them to a string. This can brighten up any room or party area!
5. Personalized Stars
Try writing inspirational quotes, names, or meaningful messages on your stars. These work great for parties or giving to someone special!
With these creative variations, you can turn simple paper stars into stunning decorations that reflect your personal style. Keep experimenting and don't be afraid to think outside the box! Happy crafting!
Also Read This: Can You Download Dailymotion Videos on iPhone and iPad? A Complete Guide
5. Tips for Perfecting Your Paper Star Crafting Skills
Creating beautiful paper stars can be incredibly rewarding, but it does take a bit of practice to get the hang of it. Here are some handy tips to help you perfect your crafting skills:
- Choose the Right Paper: The type of paper you use can make a big difference. For stars that hold their shape, opt for cardstock or heavier paper. If you’re looking for a more delicate design, lighter paper like origami paper can create stunning effects.
- Master Your Folding: Precision is key when it comes to folding. Make sure each crease is sharp and well-defined. Use a bone folder or the edge of a ruler to ensure your folds are crisp and clean.
- Stay Patient: Crafting requires patience. Take your time with each step, and don’t rush through the process; this will result in much cleaner and prettier stars.
- Experiment with Shapes: While traditional five-point stars are fantastic, don’t be afraid to experiment! Try making six-point or eight-point stars for variation. This can really add depth and interest to your decorations.
- Use Patterns and Textures: Adding different patterns and textures can elevate your star design. Look for patterned wrapping paper, scrapbook paper, or even textured cardstock to give your stars some unique flair.
- Practice Makes Perfect: The more you create, the better you will get. Take some time to practice with scrap paper before moving on to your final pieces. This will help you gain confidence and refine your technique.
- Join a Crafting Community: Engaging with fellow crafters can provide you with new tips and inspiration. Consider joining online forums or local crafting groups to share ideas and get feedback on your stars.
By following these tips, you’ll be on your way to becoming a paper star pro in no time. Remember, crafting should be fun, so enjoy the process!
Also Read This: How to Watch Videos on Dailymotion App: Stream Content on Your Mobile Device
6. How to Use Paper Stars for Decorations
Once you've crafted your beautiful paper stars, it’s time to put them to good use! Here are some creative ways to incorporate these delightful decorations into your home or event:
- String Garland: Create a whimsical garland by stringing together multiple paper stars. Use thread or fishing line to make them float freely. Hang the garland above a fireplace, along a staircase, or across a wall for a magical effect.
- Ceiling Displays: For a truly enchanting atmosphere, suspend your stars from the ceiling using fishing line. This creates the illusion of a starry night sky, perfect for parties or a cozy reading corner.
- Centerpieces: Arrange your stars into a beautiful centerpiece on a dining table. Use them alongside candles or flowers for an eye-catching display that adds a personal touch to your decor.
- Holiday Decor: Paper stars can also be wonderful additions to your holiday decorations. Hang them on your Christmas tree, use them as ornaments, or incorporate them into your holiday wreaths for extra cheer.
- Gift Wrapping: Use smaller paper stars as embellishments for gift wrapping. They can add a charming touch when glued to gift bags or attached to ribbon, making presents feel even more special.
- Seasonal Decor: Change up your star designs with the seasons! Use warmer colors and festive patterns in fall and winter, while opting for bright and colorful papers in spring and summer.
The possibilities are endless when it comes to using paper stars for decoration! Let your creativity shine and transform ordinary spaces into extraordinary ones with your beautiful handcrafted stars.
Conclusion and Encouragement to Share Your Creations
Congratulations on completing your beautiful paper stars! You've not only engaged in a delightful craft but also created stunning decorations that can bring joy to your space. Here are a few reminders as you wrap up your crafting journey:
1. Display Your Stars Creatively:
- Hang them from the ceiling for a whimsical touch.
- Attach them to wreaths for a festive look.
- Use them as table centerpieces during special occasions.
2. Share the Joy: Don’t keep your creations to yourself! Consider sharing them on social media platforms.
- Post photos of your completed projects with family and friends.
- Use hashtags like #PaperStars or #CraftingJoy to connect with other crafters.
- Join online craft communities to showcase your work and get inspired by others.
3. Encourage Others: Inspire your friends and family to create their own paper stars. You might even host a crafting party! Here’s a simple activity plan:
| Time | Activity |
|---|---|
| 10 min | Brief introduction and show examples. |
| 30 min | Crafting session to create stars. |
| 20 min | Showcase and share creations. |
By sharing your paper stars, you not only celebrate your creativity but also encourage others to explore their artistic side. So, get out there and show off your work—happy crafting!
 admin
admin


