Are you looking to spice up your WeVideo projects with your favorite tunes from YouTube? You're in the right place! In this post, we'll walk you through the steps to add your own music, ensuring your videos hit all the right notes. But before you dive in, it’s crucial to understand the ins and outs of WeVideo's music policy. Let's get started!
Understanding WeVideo's Music Policy

When it comes to integrating music into your WeVideo creations, understanding the platform's music policy is essential. This will help you avoid any potential copyright issues while ensuring that your content adheres to the guidelines. Here’s what you need to know:
- Copyrighted Music: Most popular songs on YouTube are copyrighted. This means you can't simply download and use them in your videos. Using copyrighted music without permission can lead to your video being muted, taken down, or worse—you're at risk of receiving a copyright strike on your account!
- Royalty-Free Music: WeVideo offers a library of royalty-free music that you can use without any worries. This music is specifically curated for creators like you, and it won't cost you a dime when adding it to your projects. You can explore genres from pop to ambient, ensuring there's something for every style!
- Creative Commons Licenses: Some artists on YouTube offer their music under Creative Commons licenses. This can allow for use, but always check the specific terms of the license first. Some may require attribution or have restrictions on commercial use.
- Paid Licenses: If you’re set on using music from YouTube, consider purchasing a license. Several websites offer licensing options for various tracks, granting you the rights to use them in your videos without the risk of copyright infringements.
It’s always advisable to double-check any tracks you plan to use, regardless of where they’re sourced. Always ask yourself: can I use this music safely in my video? When in doubt, opt for the extensive collection of music available within WeVideo itself, which has been created with users in mind.
Moreover, when you do find tunes that complement your content, don’t forget to keep your audience in mind. The right background music enhances the viewing experience and helps convey the emotion or theme of your video. Whether it's an upbeat track to match an exciting montage or soft melodies to accompany a heartfelt message, music is a powerful tool in storytelling.
By understanding WeVideo's music policy and the best practices surrounding music use, you're well on your way to creating stunning videos that not only look professional but are also compliant with copyright laws. Now that you're equipped with this crucial knowledge, let’s get into how to actually add and use this music in your WeVideo projects!
Also Read This: Do Employers Look at Your YouTube Account? What to Consider When Sharing Your Videos
3. Step 1: Find the Right Music on YouTube

Finding the perfect background music for your project can be a bit of a treasure hunt, but fortunately, YouTube has a vast collection of music that can suit any vibe. Here’s how to make your search efficient and enjoyable.
First, think about the mood you want to convey. Are you looking for something upbeat and cheerful? Or maybe a more dramatic, cinematic score?
Here are some tips to help you hone in on the right track:
- Use Specific Keywords: When searching, include specific terms related to your project—like "happy piano music" or "intense action soundtrack." This’ll help narrow down your options to find something that fits your vision.
- Explore Playlists: Many users create playlists for specific genres or moods. Look for playlists titled “Royalty-Free Music” or “Background Music for Videos.” These are gold mines!
- Check the Description: Once you find a track that catches your ear, read the video description. Creators often include information about the usage rights, which is crucial for avoiding copyright issues.
Another way to find quality music is by using YouTube’s Audio Library. This is a dedicated section where you can browse through thousands of tracks and sound effects available for creators. To access it:
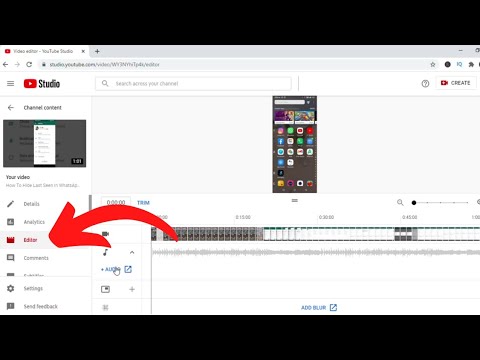
- Go to YouTube Studio.
- In the left menu, select Audio Library.
- You can filter by genre, mood, instrument, and duration to find just the track you need.
Remember, YouTube is vast! Don’t be afraid to scroll through options and preview different pieces. Once you find something that resonates with you, you’re ready to move on to the next step!
Also Read This: How to Stop YouTube from Trying to Connect to TV and Enjoy a Seamless Experience
4. Step 2: Downloading Music from YouTube

Now that you’ve found the ideal track on YouTube, it’s time to bring it into your WeVideo project! But first, you need to download the audio. Here’s how to do it, keeping in mind that you should always respect copyright laws.
Here’s a straightforward guide to downloading music:
- Use YouTube to MP3 Converters: There are plenty of free online tools that allow you to convert and download YouTube videos as MP3 files. Just copy the URL of the video, paste it into the converter, and download it. Here are a couple of trusted sites:
- Be Wary of Copyright: Before downloading, ensure that the music you are intending to use is either royalty-free or falls under a Creative Commons license that permits use in your projects. This will keep you on the safe side of copyright laws!
- Check Audio Quality: When downloading, choose a high-quality option if available. This will serve your video better when mixed with visuals.
Once you’ve downloaded the MP3 file:
- Locate the file on your device.
- Upload it to your WeVideo account by navigating to the Media section and selecting Upload.
And voilà! You’re one step closer to completing your video!
Now that you’ve got your music ready, it’s time to dive into editing. Stay tuned for the next steps where we’ll cover how to incorporate that sweet tune into your WeVideo project! Happy editing!
Also Read This: Can You Use YouTube TV on Firestick? Setup and Features Explained
5. Step 3: Importing Music into WeVideo

Alright, you've got your music selected and ready to go! Now, let's get it into WeVideo. This part is pretty straightforward, and once you master it, you'll be well on your way to creating that incredible video backdrop.
To import your music, follow these simple steps:
- Open WeVideo: Start by logging into your WeVideo account. If you don’t have an account yet, it’s time to create one. You can choose a free plan to start with, and if you love it, consider upgrading later.
- Navigate to the Media Library: Once you’re on your WeVideo dashboard, look for the Media tab located on the left side of the screen. Click on it to open your Media Library.
- Upload Your Music: In the Media Library, you’ll notice an option to upload files. Click on the “Upload” button, which is usually represented by a cloud icon with an arrow. A window will pop up, prompting you to choose files from your computer. Locate the music file you saved earlier and select it.
- Confirm the Upload: After you've selected the music file, WeVideo will start uploading it to your media library. Depending on the size of the file and your internet speed, this could take a moment. Once it’s uploaded, you’ll see the music track in your library, ready for use!
And there you have it! You’ve successfully imported your music into WeVideo. It’s a simple process, but it sets the stage for the fun part—editing and syncing your music to your visuals. Let’s move on to that next step!
Also Read This: How to Download Private Videos from YouTube for Personal Use
6. Step 4: Editing and Syncing Your Music in WeVideo
Now that your music is safely nestled in your WeVideo Media Library, it’s time for the real magic to happen! Editing and syncing your music with your video adds that professional touch and ensures everything flows seamlessly. Here’s how to do it:
Follow these steps to edit and sync your music:
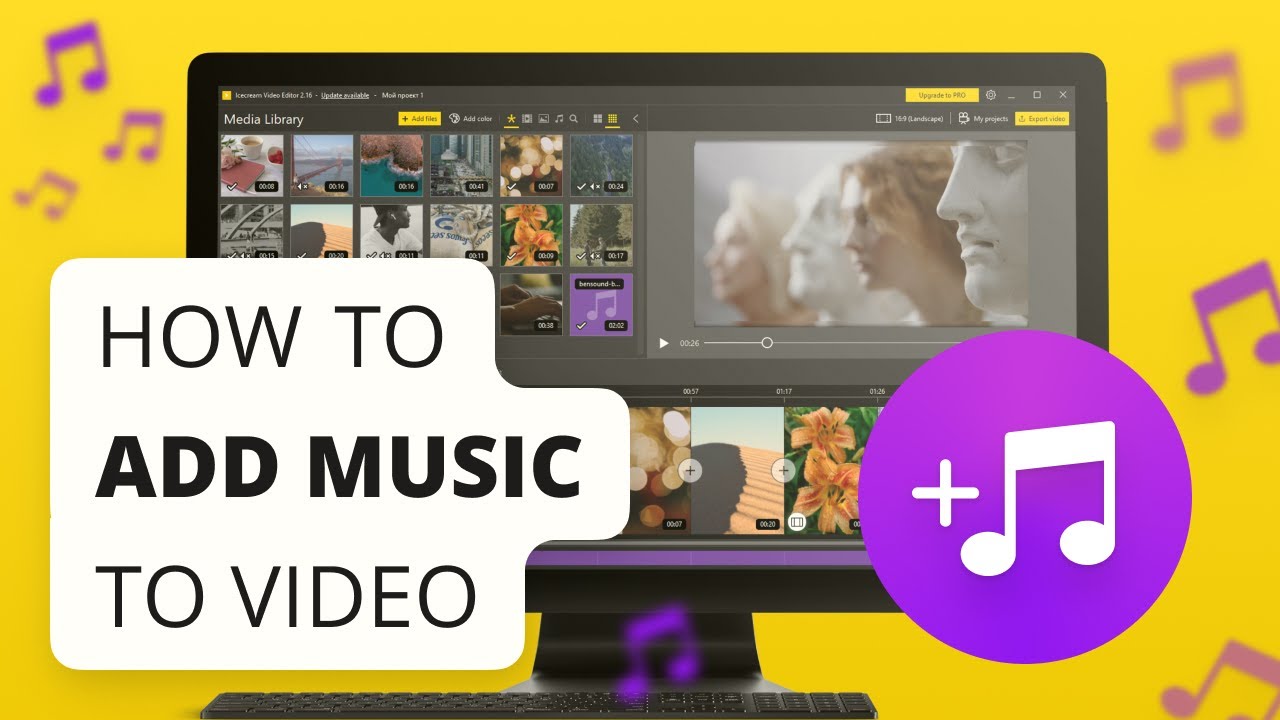
- Drag and Drop: Start by creating your video project if you haven’t already. Once it’s open, you’ll see your timeline at the bottom of the screen. Simply drag your music track from the Media Library and drop it onto your timeline. You can place it on the audio track layer.
- Trim and Extend: If your video is short and your music track is longer (or vice versa), you’ll need to adjust the length. You can hover over the edge of the music track in the timeline until you see a double-sided arrow. Click and drag to trim the music or extend it, if necessary.
- Adjust Volume Levels: To make sure your music complements your video without overpowering any voiceovers or sound effects, you'll want to adjust the volume. Click on the music track in the timeline, and you’ll see a volume control slider appear. Lower it until it sounds just right!
- Syncing to Visuals: This is where it gets creative! Play your video back while keeping an eye on your music. Look for beats, crescendos, or emotional moments in the song where you want your visuals to peak or change. You can split the music track by right-clicking on it in the timeline where you want changes to appear and selecting “Split.” This allows you to perfectly sync your visuals to the rhythm of the music.
- Preview and Fine-tune: Once you’ve made all your adjustments, hit the play button to preview your masterpiece. Listen closely! Is the music working well with the visuals? If not, go back and make small tweaks until it feels just right.
With these steps, your music will not only enhance the viewing experience but also elevate your video’s storytelling. Editing and syncing might take a bit of practice, but remember—great things come to those who persist! So keep tweaking until it’s perfect, and have fun with the creative process!
Also Read This: Can You Watch ESPN Plus with YouTube TV? Sports Fans’ Guide to Streaming
7. Common Issues and Troubleshooting Tips
If you're diving into WeVideo to add your own music from YouTube, you might encounter a few hiccups along the way. But don't worry! Here, we'll cover some common issues and provide troubleshooting tips to keep your project moving smoothly.
Issue 1: Audio File Not Found
After saving your downloaded music file, you might get an error saying it can't be found when you try to upload it to WeVideo. This usually happens if the file was accidentally moved or deleted. Here’s how to resolve it:
- Check your downloads folder. Make sure the audio file is still there.
- Look for any typos in the file name if you modified it.
- If the file is missing, you may need to re-download it from YouTube.
Issue 2: Unsupported File Format
WeVideo supports several audio formats including MP3 and WAV, but if you’ve downloaded a file in a different format, it won’t upload. Here’s what to do:
- Convert the audio file to a WeVideo-supported format using an online converter.
- Try using audio editing software to export the track in the correct format.
Issue 3: Background Noise or Poor Audio Quality
Sometimes, the audio you’ve exported may have background noise or may not sound as clear as you’d like. Here are some tips to improve audio quality:
- Use audio editing software to clean up the track before uploading.
- Consider using WeVideo’s built-in audio editing features to adjust levels and improve clarity.
Issue 4: Syncing Problems
If your audio isn't aligning properly with your video, it can throw off the entire production. Here's how to address syncing issues:
- Try trimming or splitting your audio track in WeVideo to match the video clips.
- Adjust the start point of the audio track and make sure you’re not including any intro silence.
Issue 5: YouTube Policy Conflicts
Even if you've downloaded your favorite track, be aware that YouTube’s policies might still affect your usage. If you plan to publish your video, follow these tips:
- Always check the copyright and usage rights of the music track.
- Consider opting for royalty-free or Creative Commons licensed music to avoid issues.
By keeping these troubleshooting tips in mind, you can tackle common issues that crop up when adding your own music from YouTube to WeVideo, ensuring a smoother editing experience.
8. Conclusion
Adding your own music from YouTube to WeVideo can be a fantastic way to enhance your video projects and make them stand out. While the process is relatively straightforward, it’s essential to approach it with an understanding of copyright laws and the technical aspects of file formats. Following the steps outlined in this guide will ensure you have the tools you need to integrate music effectively into your videos.
Remember, the creative possibilities are endless when you combine high-quality visuals with the perfect soundtrack. Whether you’re crafting a vlog, a marketing video, or anything in between, customizing your audio will greatly elevate the viewing experience.
In conclusion, here's a quick recap of what we've covered:
- The steps to find and download music from YouTube.
- How to import that music into your WeVideo project.
- Troubleshooting common issues you might face along the way.
So, if you’re ready to take your videos to the next level, gather your favorite tracks, follow the guidelines we've discussed, and enjoy the creative process! Happy video editing!
 admin
admin


