Are you ready to share your creativity with the world? Uploading videos to YouTube from your iPhone is a breeze! Whether you’re capturing moments on vacation, sharing a tutorial, or vlogging your daily life, your iPhone makes it easy to create and upload content on the go. In this guide, we’ll walk you through each step, ensuring you’re all set to make your mark on YouTube in no time!
Preparing Your Video for Upload
Before hitting that upload button, it’s crucial to prepare your video. Here’s how you can ensure your content shines:
- Editing: Use apps like iMovie or Adobe Premiere Rush to trim, cut, and enhance your video. Add music, text, or filters to make it pop!
- Aspect Ratio: Make sure your video is in the correct aspect ratio—16:9 is ideal for YouTube. Most iPhones automatically record in this format, but check just in case!
- File Format: YouTube supports MP4, AVI, MOV, and more. MP4 is commonly used and recommended for its balance of quality and file size.
- Resolution: Aim for 1080p for high-quality videos. You can adjust this in your camera settings before recording.
- Thumbnail: Create an eye-catching thumbnail using apps like Canva. A good thumbnail can significantly improve your click-through rate!
Once your video is edited and ready, it’s time for the final checks:
- Watch it through: Make sure everything looks and sounds good. Sometimes, what seems perfect in the editing app needs a second pair of eyes.
- Final File Check: Ensure your video file is saved correctly and is accessible on your iPhone.
With your video polished and ready to go, you’re one step closer to uploading! Let’s look forward to the actual uploading process next. Exciting, right?
Also Read This: How to View YouTube Thumbnails in High Resolution
3. Step 1: Opening the YouTube App
Alright, let’s kick things off! The first thing you need to do is open the YouTube app on your iPhone. If you haven’t downloaded it yet, head over to the App Store, search for “YouTube,” and hit that download button. Once it's installed, you’re ready to go!
To open the app, simply tap the YouTube icon on your home screen. You'll recognize it by its bright red and white logo. If you can’t find it right away, try swiping down on your home screen and typing “YouTube” in the search bar. Easy peasy!
Once you open the app, you’ll be greeted by the homepage, which features trending videos, recommendations, and channels you might like. Take a moment to scroll through; it’s a great way to get inspired by what others are posting!
Remember, the YouTube app is designed to be user-friendly, so you’ll find navigation is a breeze. Look for the camera icon at the bottom of the screen – that’s your next stop!
Also Read This: How to Update YouTube Vanced: A Step-by-Step Tutorial
4. Step 2: Signing In to Your YouTube Account
Now that you’ve got the YouTube app open, it’s time to sign in to your YouTube account. If you already have a Google account, you’re in luck!
To sign in, look for the profile icon, usually located at the top right corner of the screen. Tap on it, and you will see the option to “Sign In.” Click on that, and you’ll be directed to the Google login page.
Enter your email address, and then your password. If you’ve enabled two-factor authentication, don’t forget to check your phone for the verification code. After you successfully log in, you’ll notice your profile icon will change to display your account picture. This means you’re all set!
If you don’t have a YouTube account yet, no worries! You can create one right there. Just click on “Create Account” and follow the prompts. It’s super straightforward, and you’ll be uploading videos in no time!
Signing in is crucial because it allows you to manage your uploads, interact with your audience through comments, and access your channel features. So, take a moment to ensure you’re logged in before moving on to the next step!
Also Read This: Can You Watch Your YouTube TV Subscription at Another House? A Guide to Streaming
5. Step 3: Selecting the Video to Upload
Alright, you’re almost there! Now it’s time to select the video you want to upload from your iPhone. This step is crucial because it sets the foundation for everything that follows.
First, tap on the YouTube app icon to open it. If you haven't logged in yet, do so using your Google account. Once you're in, look for the familiar camera icon with a '+' sign at the bottom center of your screen. Go ahead and tap on it!
After that, you’ll see a prompt asking you to select a video from your camera roll. Your iPhone will display a gallery of all your recent videos. Here’s how to make your selection:
- Scroll through your videos: Swipe left or right to browse through your video library. Remember, you can upload videos that are already recorded or saved on your device.
- Use filters: If you have a lot of videos, tap on the ‘Albums’ tab at the bottom to quickly find your videos organized in albums.
- Preview your video: Tap on a video thumbnail to watch a quick preview. This will help you confirm that this is the right video you want to upload.
Once you’ve found the perfect video, simply tap on it, and it will appear with a check mark beside it. If you’ve changed your mind, just hit the ‘X’ button to go back and select another one. Remember, you can only upload videos that adhere to YouTube’s guidelines, so make sure your content follows those rules!
Now that you’ve selected your video, you’re ready for the next step. Let’s dive into editing the details before uploading, ensuring your video shines and attracts viewers!
Also Read This: How to Legally Use Movie Clips in Your YouTube Videos
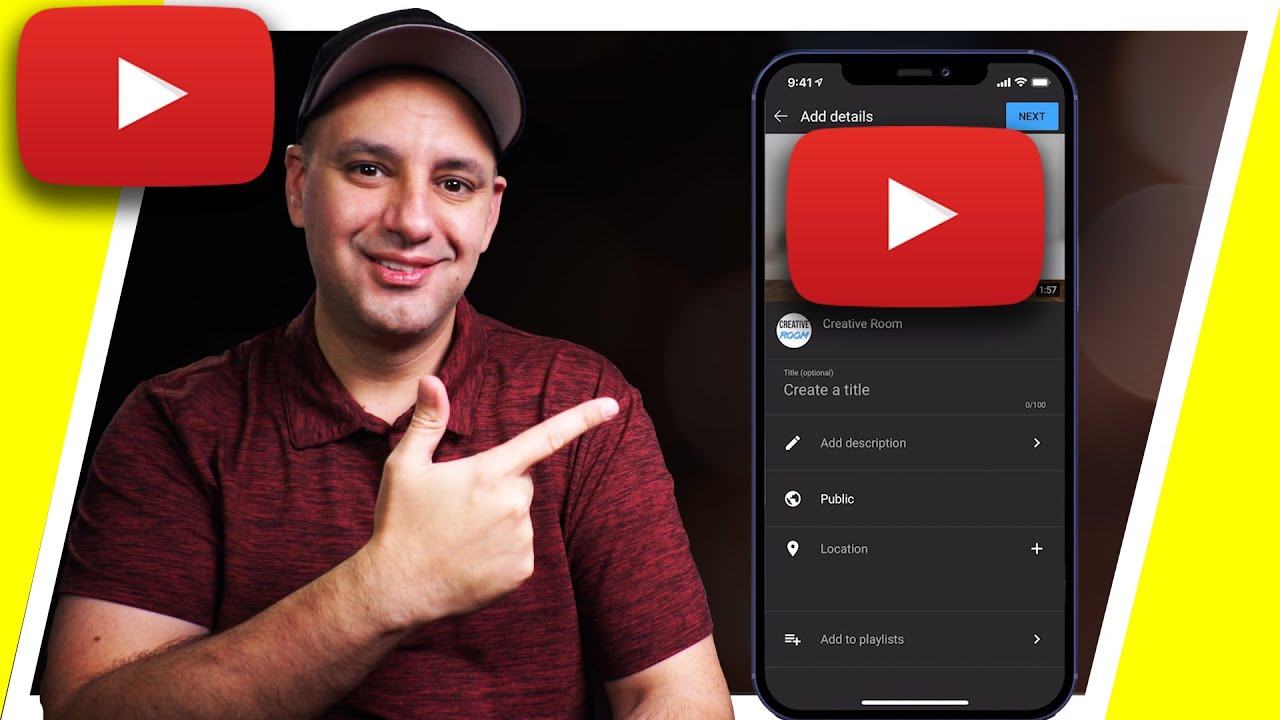
6. Step 4: Editing Video Details Before Upload
This is where the magic happens! Editing your video details can make a huge difference in how it performs on YouTube. After selecting your video, you’ll be directed to the editing screen, where you can customize various aspects of your upload. Here’s how to do it:
First, you’ll see a Title field. Give your video a catchy title that grabs attention and gives viewers an idea of what to expect. Aim for around 60 characters—this is optimal for searchability!
Next, let’s talk about the Description. This section is your chance to provide more context about your video. Include key points, relevant links, and hashtags that can help with searchability. Here’s a quick checklist for crafting a fantastic description:
- Start with a brief summary: What’s your video about?
- Include links to your social media or other relevant videos.
- Add relevant hashtags (like #TravelVlog or #CookingTips) to help viewers find your video.
If your video is part of a series or playlist, don’t forget to include that information as well!
Next, you’ll encounter options for Thumbnails. This is an important visual element that can significantly impact your click-through rate. You can choose:
- One of the automatic thumbnails generated by YouTube
- Upload a custom thumbnail you created (make sure it follows YouTube’s guidelines!)
After that, you’ll see options for setting the Privacy of your video. You can choose:
- Public: Anyone can see it.
- Unlisted: Only people with the link can view it.
- Private: Only you can see it.
Once you’ve filled out all these details, review them to ensure everything looks great. When you’re satisfied with your edits, just hit the ‘Upload’ button, and voilà—you’re ready to share your creation with the world!
Also Read This: How to Charge Your Rose Without a Magnetic Charger on YouTube: A Simple Guide
7. Step 5: Choosing Privacy Settings
Now that you’ve added all your video details, it’s time to decide how you want to share your masterpiece with the world. YouTube gives you three privacy settings to choose from, each tailored to different sharing needs. Let’s break them down:
- Public: Anyone can see your video. It’ll be available for everyone to find and watch. This is perfect if you want to maximize your reach!
- Unlisted: Only people who have the link can view your video. It won’t show up in search results or on your channel. Great for sharing with friends or for private projects!
- Private: Only you (and any users you choose) can view the video. This is ideal for sensitive content or when you want to keep things under wraps until you’re ready to share.
To select a privacy setting, simply tap on the dropdown menu under “Privacy” on your upload screen. Take a moment to think about your audience and what you want to achieve with your video. Once you’ve made your choice, you’re one step closer to bringing your creation to life!
After selecting your privacy setting, you can also set up additional options, such as enabling monetization if you’re part of the YouTube Partner Program. This can be a game-changer if you’re looking to earn money from your content!
Also Read This: What Size is YouTube Shorts? A Guide to the Ideal Dimensions for Shorts Content
8. Step 6: Finalizing and Uploading Your Video
Awesome! You’re almost done with the whole process. This last step is where the magic happens. You’ve crafted your video, added a title, description, and thumbnail, and set your privacy options. Now it’s time to hit that upload button!
Before you do, take a quick look at the following checklist to ensure everything is in order:
- Title: Is it catchy and relevant? Your title should grab attention!
- Description: Does it accurately describe your video? Include keywords that may help with searches.
- Thumbnail: Have you chosen an eye-catching thumbnail? This is the first thing viewers will see!
- Tags: Have you added relevant tags? Tags help categorize your video and make it easier for people to find.
Once you’re satisfied, go ahead and tap the Upload button. You’ll see a progress bar indicating the upload status. Depending on the size of your video and your internet speed, this may take a little time. Don’t worry; you can still keep using your iPhone while it uploads!
After the upload is complete, YouTube will process your video. This may take a few moments, too. Once it’s finished processing, you’ll receive a notification, letting you know your video is live (if you chose public or unlisted).
Finally, consider promoting your new video! Share it on your social media platforms, send it to friends, or engage with your audience in the comments. The more you share, the more viewers you’ll attract!
Congratulations! You’ve just uploaded your first YouTube video from your iPhone. Now, get ready to watch the views roll in!
Also Read This: Why Do YouTube Videos Get Demonetized? Understanding YouTube’s Monetization Rules
9. Tips for Successful YouTube Video Uploads
Uploading a video to YouTube from your iPhone can be a smooth experience, but there are certain tips that can really enhance the outcome of your uploads. Here are some pointers to help you make the most of your YouTube content:
- Optimize Your Video Title: Make sure your title is catchy and includes relevant keywords. This helps in searchability. For example, instead of “My Trip,” try “Exploring the Beauty of Hawaii: A Travel Vlog.”
- Create a Compelling Thumbnail: Thumbnails are the first thing viewers see. Use a high-resolution image with text overlay to grab attention. Tools like Canva can help you design eye-catching thumbnails.
- Utilize Tags Effectively: Tags improve your video's chances of appearing in search results. Include a mix of broad and specific tags. For instance, use tags like “travel vlog,” “Hawaii adventure,” and “travel tips.”
- Craft a Detailed Description: Your video description should summarize the content and include links to your social media or website. Aim for at least 200 words, incorporating relevant keywords naturally.
- Add Subtitles and Captions: This not only makes your video accessible but also boosts engagement. YouTube's auto-caption feature can help, but always double-check for accuracy.
- Schedule Your Upload: If you know your audience's peak viewing times, schedule your video upload accordingly. This maximizes visibility right when most viewers are online.
- Engage with Your Audience: After uploading, respond to comments and ask viewers to like and subscribe. Building a community around your channel is crucial for growth.
- Promote on Social Media: Share your video across your social platforms. Encourage your followers to check it out. You can even tease the content with short clips to pique interest.
- Analyze Your Performance: Use YouTube Analytics to track how your video is doing. Pay attention to watch time, views, and audience retention to shape your future content strategies.
Remember, the more effort you put into your video before and after uploading, the better your chances of success on YouTube!
10. Conclusion and Next Steps
Congratulations! You’ve just learned how to upload a video to YouTube from your iPhone. It’s a great skill that opens up a world of possibilities for sharing your creativity, insights, or experiences with a global audience. But the journey doesn’t stop with just uploading your video.
Here are some next steps you can take:
- Keep Creating: The more content you produce, the better you’ll get! Experiment with different formats, styles, and topics until you find your niche.
- Engage with Your Community: Take time to interact with your viewers. Ask for their feedback, respond to comments, and consider their suggestions for future content.
- Collaborate with Other Creators: Reach out to fellow YouTubers for collaborative projects. This can introduce you to new audiences and enrich your content.
- Stay Updated: YouTube is always evolving. Keep yourself informed about new features, trends, and best practices by following YouTube creators and blogs.
- Consider Monetization: If you’re serious about YouTube, look into the requirements for the Partner Program. Earning money from your videos can be a rewarding incentive!
In summary, uploading your first video is just the beginning. By following these tips and planning your next steps, you can enhance your YouTube journey and grow your channel over time. Happy uploading!
 admin
admin


