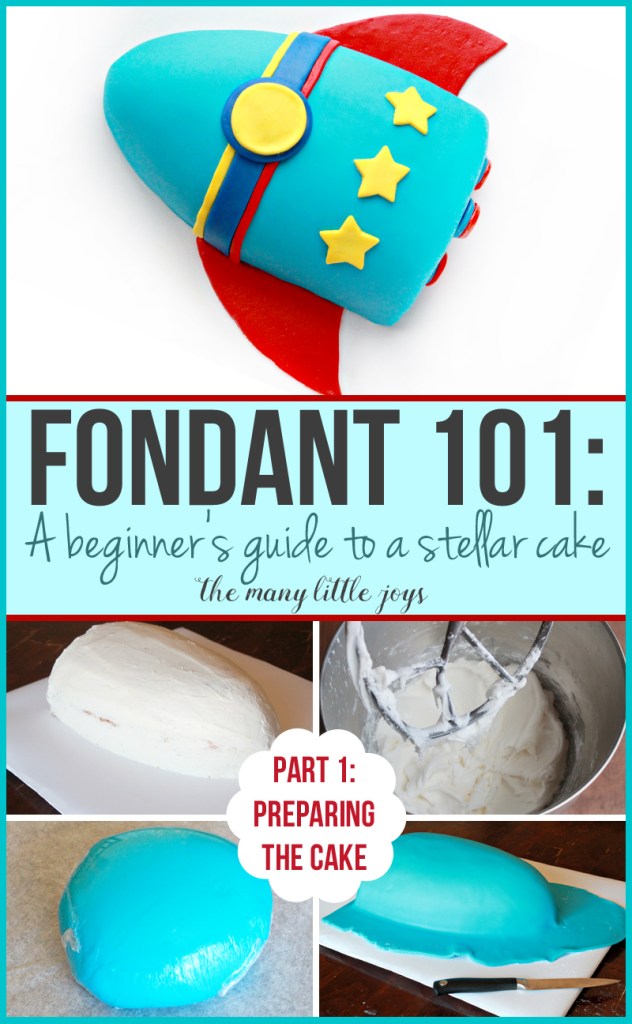
Have you ever marveled at those stunning, smooth cakes adorned with colorful designs? Chances are, they were dressed in cake fondant! Fondant is a versatile icing that transforms ordinary cakes into extraordinary masterpieces. It’s not just for professional bakers anymore; with a simple DIY recipe, you can create beautiful cakes right in your kitchen. Let’s dive into what cake fondant is and how you can make it yourself!
Why Make Fondant at Home?
Making fondant at home comes with a treasure trove of benefits that can elevate your baking game. Here are a few compelling reasons to roll up your sleeves and get started:
- Cost-Effective: Store-bought fondant can be pricey, especially if you need different colors or flavors. By making your own, you can save money and use ingredients you already have!
- Customizable: When you create fondant at home, you can control the flavor and color. Want a chocolate-flavored fondant? Easy! Just add cocoa powder. Prefer a pastel color? Use gel food coloring to achieve the perfect shade.
- Freshness: Homemade fondant tastes better than many commercial options. You can use real ingredients, ensuring that your cakes not only look good but also taste amazing.
- Fun Activity: Making fondant can be a fun baking project! It’s a great way to bond with friends or family, letting everyone get involved in the creative process.
Let’s not forget the satisfaction that comes with saying, “I made that!” Whether you’re preparing for a birthday party, wedding, or just a weekend treat, homemade fondant can take your cake decorating to the next level.
In conclusion, making fondant at home is not just practical; it’s also a rewarding experience that can enhance your baking adventures. So, why not give it a shot? Your future cakes will thank you!
Also Read This: Step-by-Step Guide to Creating a Gmail Account on Dailymotion
3. Essential Ingredients for Homemade Fondant
Making your own cake fondant at home is not only fun but also a great way to customize your cakes. To create the perfect fondant, you'll need a handful of essential ingredients. Here’s what you’ll need:
- Marshmallows: The star of the show! You'll need about 2 cups of mini marshmallows. They provide the sweetness and a chewy texture that makes fondant so delightful.
- Powdered Sugar: This is your main stabilizer. Approximately 2-4 cups will do, depending on how much fondant you're making and the humidity of your kitchen.
- Water: Just a couple of tablespoons are necessary to help melt the marshmallows smoothly.
- Shortening: A couple of tablespoons will help keep your fondant smooth and pliable. It also prevents sticking during the rolling process.
- Flavoring (optional): Add a splash of vanilla extract or any other flavoring you enjoy to enhance the taste of your fondant.
- Food Coloring (optional): If you want to add some flair, get your favorite gel food colors. A little goes a long way, allowing you to create vibrant shades.
With these ingredients, you're all set to create your delicious and versatile fondant. Remember, the quality of the ingredients can greatly affect the end result, so opt for good-quality marshmallows and powdered sugar for the best texture.
Also Read This: Mastering the Art of Lungi Salwar Creation
4. Step-by-Step Guide to Making Cake Fondant
Now that you have everything ready, let’s dive into the step-by-step process of making your own cake fondant. It’s simpler than you might think!
- Melt the Marshmallows: In a microwave-safe bowl, combine the marshmallows and water. Heat them in the microwave for about 30 seconds. Stir and check if the marshmallows are melted. If not, microwave for another 10-15 seconds until they are completely gooey and melty.
- Add Flavoring: If you're using flavoring, now's the time to mix it in. Just stir it into the melted marshmallows until combined.
- Incorporate Powdered Sugar: Gradually add your powdered sugar to the melted marshmallow mixture. Start with one cup at a time, mixing with a spatula or your hands until it starts to come together. This is where it can get a little messy, but don’t worry!
- Knead the Dough: Once the mixture is cool enough to handle, dust your counter with powdered sugar and knead the dough like bread for about 5-10 minutes. The goal is to achieve a smooth, pliable dough. Add more powdered sugar as necessary if the fondant is too sticky.
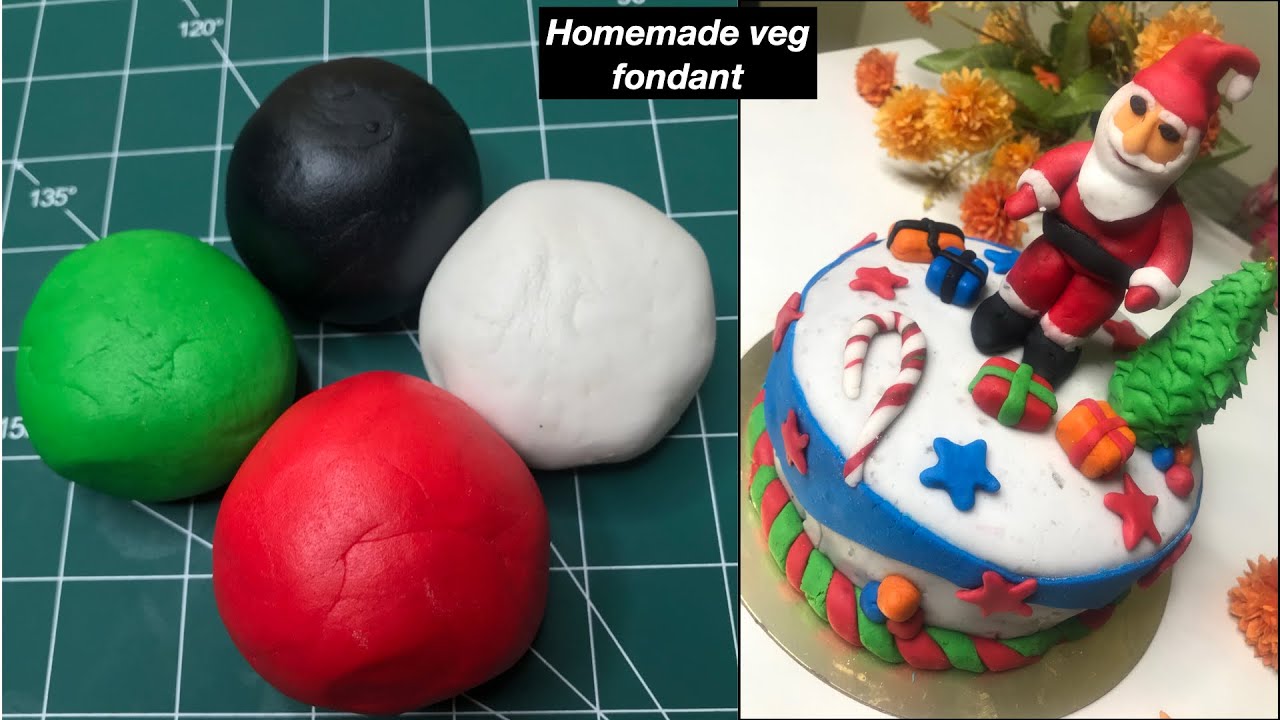
- Add Color (if desired): If you want colored fondant, divide your dough into portions and add a few drops of food coloring. Knead until the color is uniform. You can create multiple colors for different cake designs!
- Wrap and Store: Once your fondant is ready, wrap it tightly in plastic wrap and place it in an airtight container. It can be stored at room temperature for up to two weeks.
And there you have it! With these simple steps, you’ve made delicious and customizable cake fondant right at home. Now you’re ready to cover your cakes, create decorative shapes, or even mold fun figures. Happy baking!
Also Read This: How to Create Simple Hairstyles at Home with Creative Tutorials on Dailymotion
5. Tips for Working with Fondant
Working with fondant can be a delightful yet challenging experience, especially if you’re new to cake decorating. To make your journey a little smoother, here are some handy tips that will help you master the art of fondant:
- Keep it Clean: Always start with a clean workspace. Crumbs and dust can stick to your fondant, ruining its smooth finish. A clean surface helps achieve that professional look.
- Use Cornstarch or Powdered Sugar: When rolling out fondant, sprinkle a little cornstarch or powdered sugar on your surface and rolling pin. This prevents sticking and makes it easier to lift the fondant.
- Temperature Matters: Fondant can be sensitive to temperature. If your kitchen is too warm, the fondant might get sticky. Conversely, if it’s too cold, it can crack when you try to stretch it. Aim for a moderate temperature for the best results.
- Knead Well: Just like dough, fondant needs to be kneaded before use. Spend a few minutes working it with your hands to warm it up and make it pliable. If it feels dry, add a tiny bit of vegetable shortening.
- Use a Fondant Smoother: To achieve that smooth, polished look on your cake, invest in a fondant smoother. It's a simple tool that helps eliminate any imperfections and air bubbles.
Each cake and each batch of fondant is unique, so don’t be discouraged if it doesn’t come out perfect the first time. Practice makes it easier, and soon you'll find your rhythm!
Also Read This: Boost uTorrent Download Speeds with Tips Found on Dailymotion
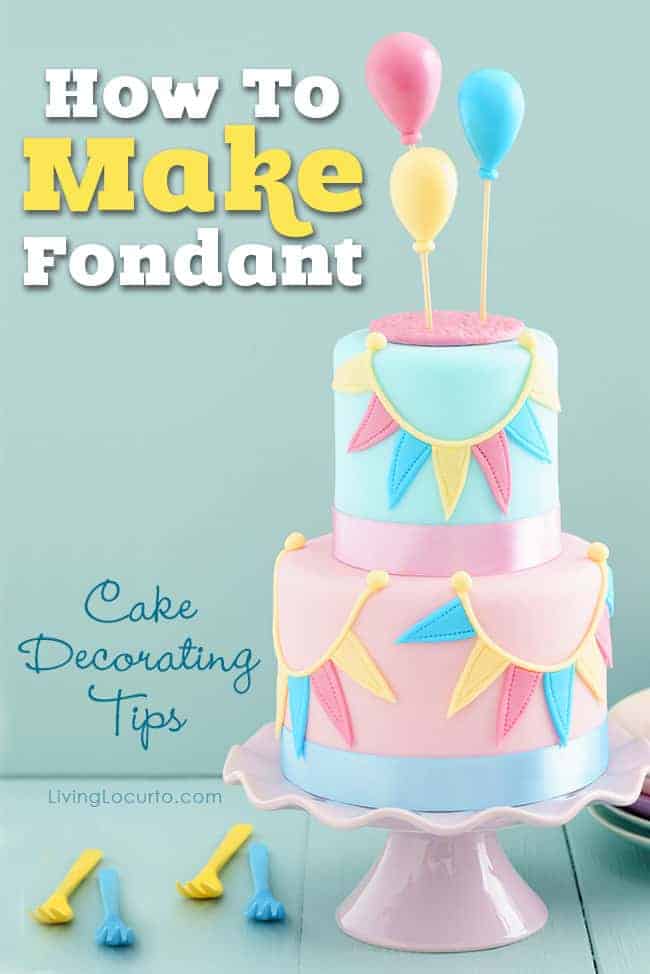
6. Decorating Your Cake with Fondant
Now that you’ve mastered working with fondant, it’s time to transform your cake into a stunning centerpiece! Here’s how you can decorate your cake using fondant:
- Covering the Cake: Start by rolling out your fondant to about 1/8 inch thickness. Lift it gently and drape it over your cake, smoothing it down from the top to the sides. Use your hands or a smoother to get rid of any air bubbles and ensure a tight fit.
- Trimming Excess Fondant: Once your cake is covered, use a sharp knife or pizza cutter to trim off the excess at the base. Make sure to do this carefully to maintain a clean edge.
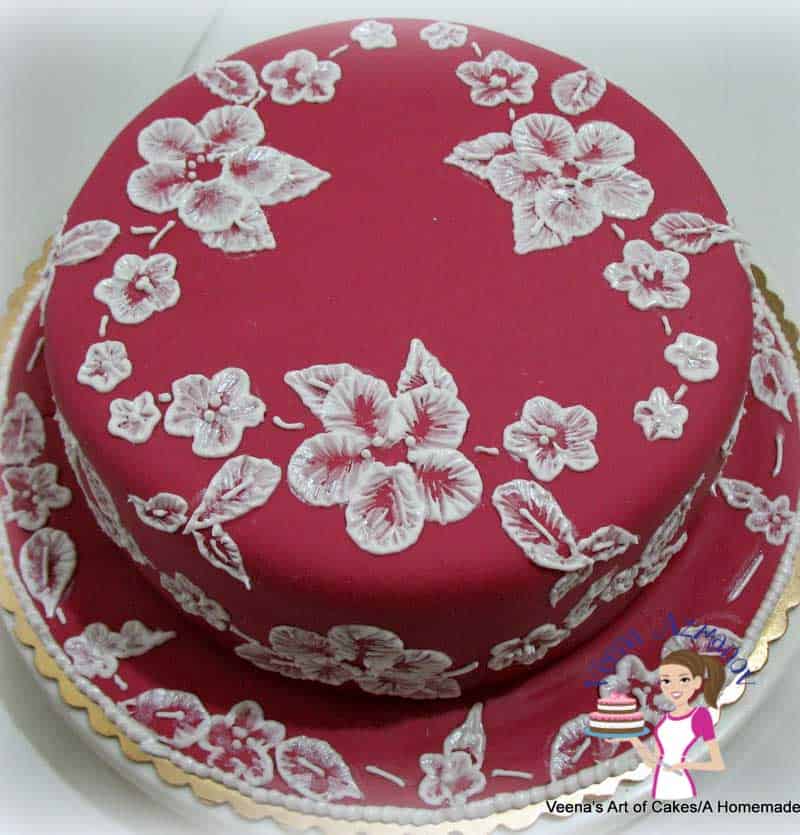
- Adding Details: Fondant is incredibly versatile! You can create flowers, ribbons, or even figures. To attach these decorations, use a little water or edible glue to secure them in place.
- Painting and Airbrushing: If you want to add a splash of color, consider using edible paint or an airbrush. This technique can create beautiful effects, adding depth and texture to your cake.
- Finishing Touches: Don’t forget to add some final details, like edible glitter, pearls, or sprinkles to enhance your design. These little touches can take your cake from lovely to extraordinary!
Remember, decorating with fondant is all about creativity and fun. Don’t be afraid to experiment with colors, shapes, and designs. The only limit is your imagination!
Also Read This: How to Contour and Highlight Your Face with Makeup Tips Featured on Dailymotion
7. Storage and Shelf Life of Fondant
Once you’ve crafted your beautiful cake fondant, it’s essential to know how to store it correctly to maintain its texture and usability. Fondant can be a bit finicky when it comes to moisture and temperature, so here are some tips to keep it fresh!
Storage Tips:
- Cool, Dry Place: Always store fondant in a cool, dry area. Excessive heat or humidity can cause it to become sticky or melt.
- Airtight Container: Wrap the fondant tightly in plastic wrap, making sure there are no air pockets. Place it in an airtight container for added protection.
- Avoid Refrigeration: While it might seem tempting, avoid refrigerating fondant. The moisture from the fridge can ruin its consistency and lead to a sticky mess.
When it comes to shelf life, fondant can last quite a while if stored properly. Here’s a quick breakdown:
| Type of Fondant | Shelf Life |
|---|---|
| Homemade Fondant | 1-2 months at room temperature |
| Store-bought Fondant | 6-12 months (check the expiration date) |
It’s always a good idea to check your fondant for any signs of spoilage before using it. Look for changes in color, texture, or odor. If anything seems off, it’s best to err on the side of caution and make a fresh batch.
When you’re ready to use stored fondant, knead it gently to restore its pliability. If it seems a bit dry, you can add a tiny bit of vegetable shortening to bring it back to life. Just remember, a little goes a long way!
8. Conclusion and Final Thoughts
Making your own cake fondant at home is not only easy but also incredibly rewarding. You can customize colors, flavors, and textures to perfectly suit your cake design. Plus, there’s something special about creating your own decorations from scratch!
Whether you’re preparing for a birthday party or just want to try your hand at cake decorating, this easy DIY cake fondant recipe will become a staple in your baking repertoire. Here are a few final thoughts to keep in mind:
- Practice Makes Perfect: Don’t be discouraged if your first few attempts aren’t perfect. Fondant is an art that gets easier with practice!
- Get Creative: Experiment with different colors and flavors. You can even add extracts like almond or lemon for a twist!
- Share the Joy: Fondant decorating can be a fun family activity. Invite friends or family to join in, and make it a memorable experience.
Ultimately, the goal is to enjoy the process and create something that not only looks amazing but tastes delicious too. So roll up your sleeves, grab your ingredients, and let your inner cake artist shine!
 admin
admin


