Welcome to the colorful world of DIY nail art! Whether you're a beginner or someone looking to improve your skills, creating beautiful nail designs at home is a fun and rewarding activity. With just a few basic tools and a splash of creativity, you can transform your nails into tiny canvases. Not only is it cost-effective, but it's also a fantastic way to express your personality. So, grab your supplies, and let’s dive into the exciting realm of nail art!
Essential Tools and Materials for Nail Art
Before you start painting your nails, it's crucial to have the right tools and materials at your disposal. Here’s a handy list to get you started:
- Nail Polish: Choose a variety of colors, including base coats, top coats, and nail polishes in both cream and glitter finishes.
- Nail Art Brushes: Invest in a set of fine-tipped brushes for intricate designs.
- Dotting Tools: These help create perfect dots and patterns. You can find them in various sizes!
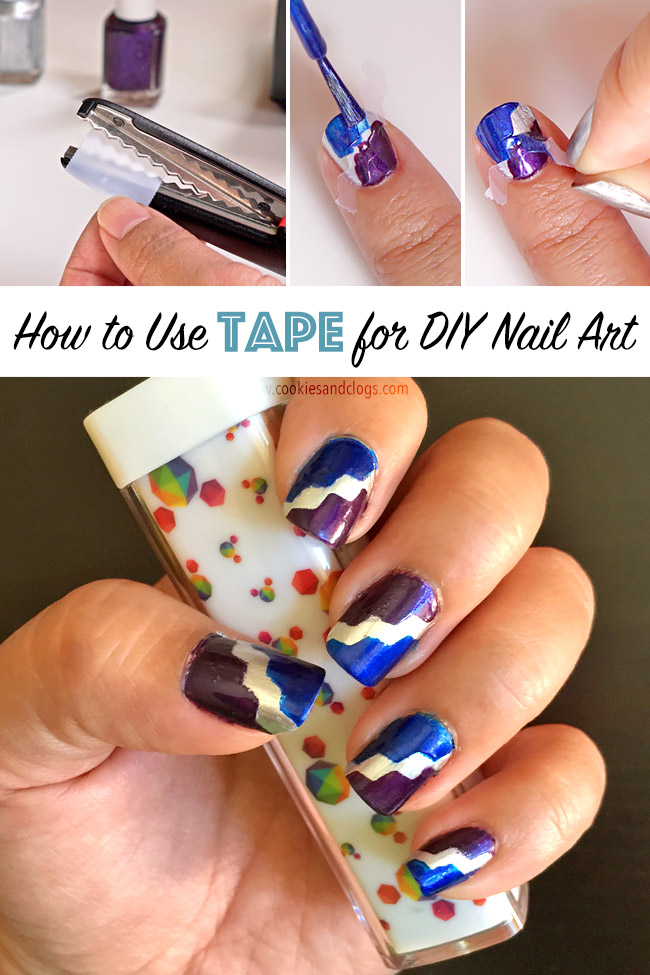
- Nail Striping Tape: Use this for clean lines and geometric designs.
- Sponge: Great for ombre effects; just dab your chosen colors on your nails for a blended look.
- Top Coat: A glossy top coat not only adds shine but also protects your artwork.
- Nail Remover: Keep this handy for any mistakes or touch-ups.
- Paper Plate or Palette: Perfect for mixing colors and creating custom shades.
With these tools in hand, you’re well on your way to creating stunning nail art. The beauty of DIY nail art lies not just in the end result, but in the process itself. So, don’t rush! Enjoy every stroke, and remember—practice makes perfect. Now let’s get painting!
Also Read This: Remove YouTube from Your Smart TV for a Fresh Start
3. Step-by-Step Guide to Creating Stunning Nail Designs

Ready to unleash your creativity and transform your nails into little works of art? Let’s dive into a simple step-by-step guide that will help you create stunning nail designs at home! Grab your supplies, and let’s get started!
What You'll Need:
- Nail polish (base, color, and top coats)
- Nail art tools (dotting tools, striping brushes, or even a toothpick)
- Small sponges for gradient effects
- Tape (for clean lines)
- Rubbing alcohol and cotton pads (for cleanup)
Step 1: Prep Your Nails
Start with clean, dry nails. Remove any old polish and push back your cuticles gently. You can also lightly buff your nails to create a smooth surface for the polish.
Step 2: Apply Base Coat
Always begin with a base coat. This not only protects your nails but also helps the polish adhere better. Apply a thin layer and let it dry completely!
Step 3: Choose Your Design
Decide on a design. For beginners, simple patterns like stripes or polka dots are great. If you’re feeling adventurous, go for a gradient or floral design. Don’t hesitate to look for inspiration on platforms like Dailymotion!
Step 4: Apply Your Base Color
Once your base coat is dry, apply your chosen nail polish color. Use two coats for a vibrant look, allowing each coat to dry before applying the next.
Step 5: Create the Design
Now for the fun part! If you’re doing stripes, use tape to create clean lines. For dots, dip a dotting tool into contrasting polish and gently press onto the nail. For a gradient, use a sponge to dab different colors, blending them for a seamless transition.
Step 6: Top Coat
Once your design is complete and dry, seal it with a top coat for shine and durability. This step is crucial as it protects your artwork and makes it last longer.
Step 7: Clean Up
Use a cotton pad dipped in rubbing alcohol to clean up any edges. This will give your nails a polished look and remove any excess polish around the nails.
And there you have it! Beautiful nail designs that you can show off. Practice makes perfect, so don’t be discouraged if it doesn’t turn out as expected the first time. Keep experimenting!
Also Read This: Can You Download Dailymotion Videos to Your Computer
4. Popular Nail Art Techniques to Try
If you want to elevate your nail game, understanding different nail art techniques can be a game-changer. Here are some popular techniques you can try that will impress everyone:
1. Ombre Nails
The ombre technique creates a beautiful gradient effect. To achieve this, use a makeup sponge to apply two or more colors. Blend them by dabbing the sponge on your nails, starting with the lightest color at the cuticle and transitioning to darker shades towards the tip.
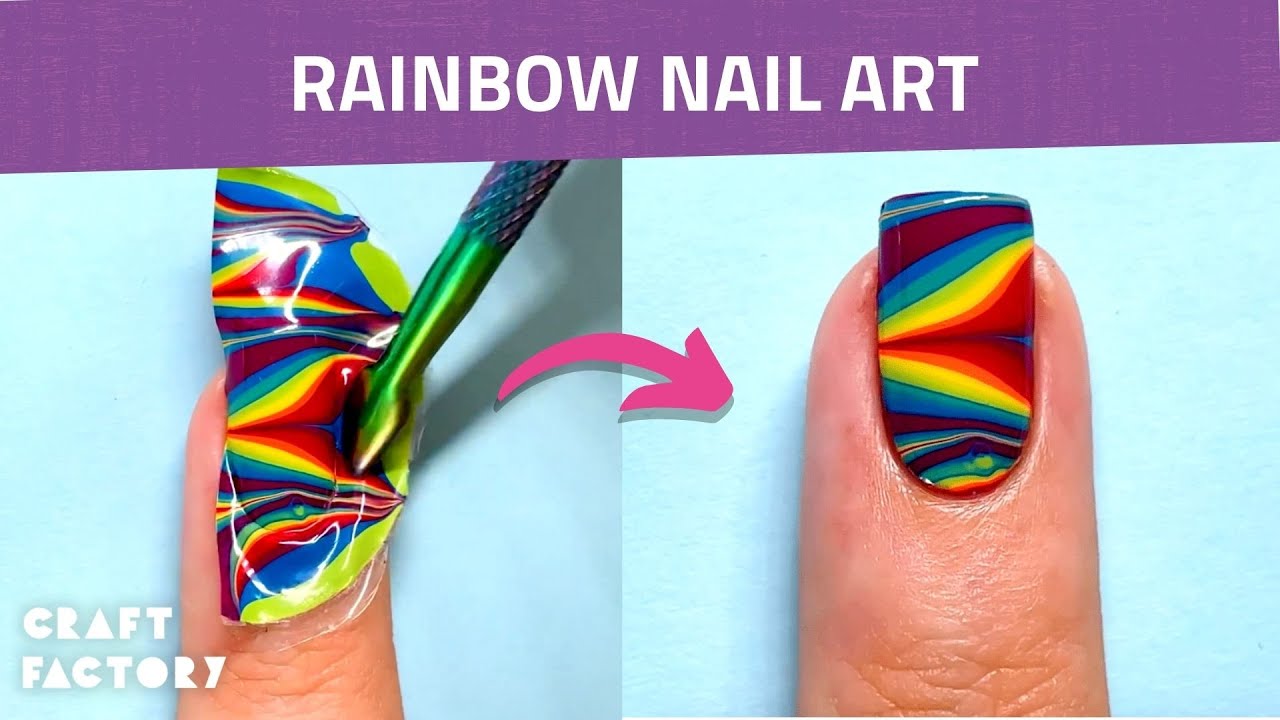
2. Water Marbling
This technique involves swirling nail polish on water to create unique patterns. Simply drop different colors of polish into a bowl of water and use a toothpick to swirl them together before dipping your nails in. It’s messy but incredibly rewarding!
3. Stamping
Nail stamping is a fun way to get intricate designs quickly. You’ll need a stamping kit that includes plates with different designs, a scraper, and a stamper. Apply polish to your chosen design, scrape off the excess, and then press the stamper onto your nail for a perfect impression.
4. Nail Foils
Nail foils add a shiny, metallic finish to your nails. Apply a base coat, let it dry, and then use special foil glue. Once the glue is tacky, gently press the foil onto your nails and peel it off to reveal a stunning design.
5. Negative Space
This trendy technique plays with the lack of polish on your nails. Use tape to create shapes, leaving some areas bare while painting others. It’s a chic way to keep your nails looking fresh and stylish!
Experimenting with these techniques will take your DIY nail art to the next level. Remember, practice makes perfect, so don’t hesitate to try something new! Your nails are just waiting to shine!
Also Read This: How to Hack a WiFi Password – A Guide to Gaining Access on Dailymotion
5. Tips for Maintaining Your Nail Art
So, you've put in the time and effort to create stunning DIY nail art—congratulations! Now, let’s talk about how to keep those beautiful designs looking fresh and fabulous for as long as possible. Here are some essential tips to help you maintain your nail art:
- Use a Top Coat: A good quality top coat is your best friend. It not only adds shine but also protects your nail art from chips and scratches. Consider reapplying it every few days to keep your nails looking newly done.
- Avoid Hot Water: Hot water can weaken the bond of your nail polish. Try to keep your nails away from prolonged exposure to hot baths or showers. If you’re washing dishes, consider wearing gloves to protect your masterpiece!
- Moisturize Your Cuticles: Dry cuticles can lead to peeling and breakage. Regularly apply cuticle oil to keep them hydrated and healthy, which will also help your nail art look sharp.
- Limit Exposure to Harsh Chemicals: Household cleaners can be tough on nail polish. Whenever possible, opt for natural cleaners or wear gloves to protect your nails while cleaning.
- Touch Up as Needed: Don’t be afraid to do small touch-ups on chips or fading areas. A quick dab of polish can save your design and extend its life.
By following these tips, you can enjoy your creative nail art longer and keep your nails looking salon-fresh! Remember, a little care goes a long way in maintaining your stunning DIY designs.
6. Exploring Nail Art Videos on Dailymotion
If you're on the lookout for inspiration or new techniques, Dailymotion is a treasure trove of nail art videos! Whether you’re a beginner or a seasoned pro, you can find a variety of tutorials that cater to all skill levels. Here’s why you should dive into the world of nail art videos on Dailymotion:
- Diverse Techniques: From basic designs to intricate styles, you can find tutorials on everything from ombre effects to 3D nail art. Searching for specific keywords like “nail stamping” or “gel nail art” will yield a plethora of options.
- Real-Time Demonstrations: Watching someone create nail art in real-time helps you understand the process better. You'll pick up tips on brush techniques, application methods, and product choices.
- Community Engagement: Many creators encourage viewer interaction. You can ask questions, share your results, and even suggest themes for future videos. It's a great way to connect with fellow nail art enthusiasts!
- Trending Styles: Keep up with the latest nail art trends by following popular creators. You'll find seasonal designs, holiday specials, and even celebrity-inspired looks that can give your nails a pop of current flair.
- Motivation and Encouragement: Watching others create beautiful nail art can be super motivating. It inspires you to try new things and push your creative boundaries!
So, grab your popcorn and settle in for some nail art inspiration on Dailymotion! With so many creative minds sharing their talents, you’ll never run out of ideas or techniques to explore.
 admin
admin


