Introduction to Scrapbooking
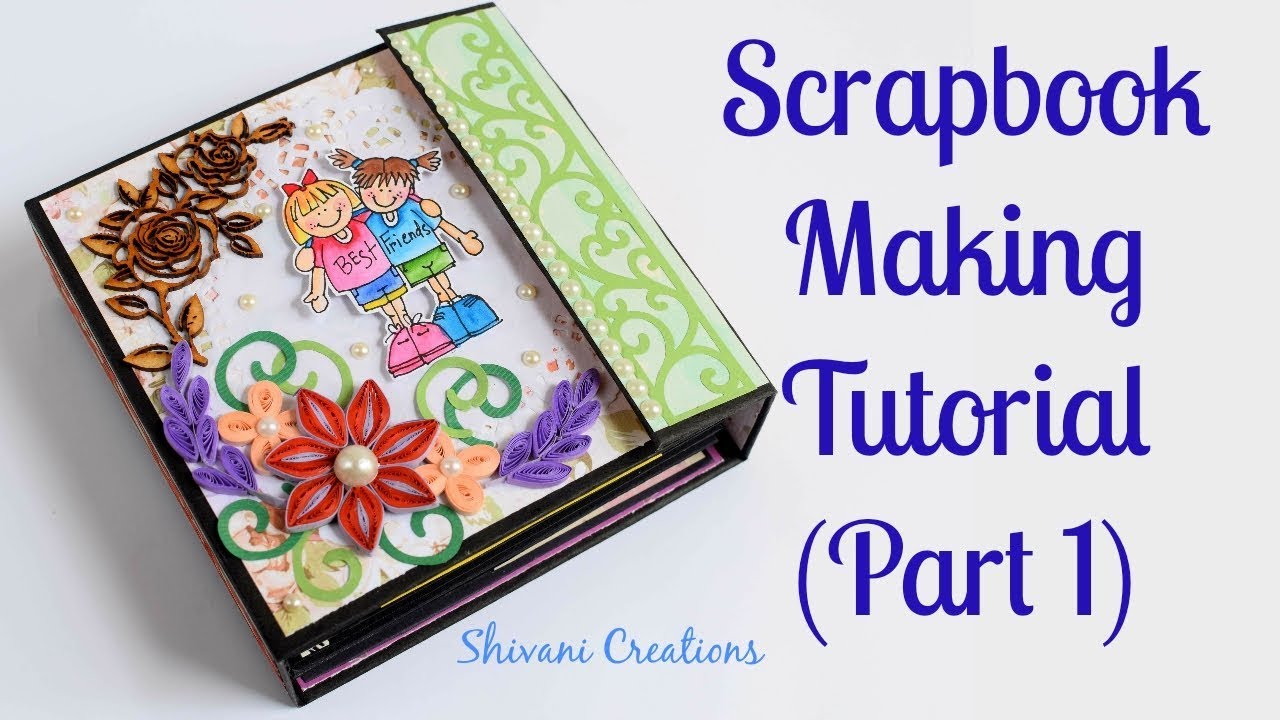
Hey there! Are you ready to unleash your creativity and impress your classmates with a fantastic scrapbook for your school project? Scrapbooking is not just about sticking pictures on a page; it’s about telling a story! This fun and engaging process allows you to express your ideas, showcase your work, and capture memories in a unique way. Whether it’s a history project, a science fair, or just a creative expression of your interests, a scrapbook can make your presentation stand out.
With a few materials and your imagination, you can create a visual masterpiece. Let’s dive into the exciting world of scrapbooking, and I’ll guide you through the first steps to getting started!
Also Read This: How to Do Full Makeup on Dailymotion: A Complete Step-by-Step Tutorial
Choosing Your Scrapbook Theme
Choosing a theme for your scrapbook is like picking the perfect outfit for a special occasion—it sets the tone for everything that follows! Here’s how to make this decision:
- Identify the Purpose: Is your scrapbook for a school project, a personal reflection, or perhaps to document a trip? Knowing the purpose will help narrow down your theme.
- Consider Your Interests: What are you passionate about? Think about hobbies, favorite subjects, or memorable events. For instance, if you love science, a theme could revolve around your latest experiment.
- Get Inspired by Colors: Choose a color palette that resonates with you. Bright colors can evoke fun and excitement, while pastels might bring a calm and reflective vibe.
Here are a few theme ideas to spark your imagination:
| Theme Idea | Description |
|---|---|
| Adventure Awaits | Document a recent trip or hiking adventure, using maps, tickets, and photos. |
| History Highlights | Focus on a historical event or person, incorporating timelines, facts, and images. |
| Science Wonders | Showcase your science project with visuals, diagrams, and experimental notes. |
| All About Me | Create a personal scrapbook that reflects your hobbies, interests, and milestones. |
After selecting your theme, gather materials that align with it—stickers, colored papers, and embellishments that match your chosen colors and style. Remember, the more personal and heartfelt your scrapbook, the more it will resonate with your audience!
Now that you’ve got your theme in mind, let’s move on to the fun part: crafting your scrapbook. Get ready to let your creativity flow!
Also Read This: How to Shape Your Eyebrows with Thread on Dailymotion
3. Gathering Materials for Your Scrapbook
Before diving into the fun of creating your scrapbook, let’s talk about the materials you’ll need. Gather these items so you’ll have everything within arm’s reach when inspiration strikes!
Essential Materials:
- Scrapbook Album: Choose a size that suits your project—8x8 inches is great for smaller collections, while 12x12 inches provides more room for creativity.
- Paper: Get a variety of colored, patterned, and textured papers. This will add depth and visual interest to your pages.
- Adhesives: Use glue sticks, double-sided tape, or scrapbook tape runners. Each has its benefits, so pick what feels comfortable to you!
- Scissors and Craft Knife: A good pair of scissors is essential, but a craft knife can help with intricate cuts.
- Ruler and Pencil: For straight lines and precise measurements, these tools are your best friends.
Optional Fun Add-Ons:
- Stickers and Die-Cuts: Grab some fun stickers that fit your theme; they can really add character!
- Markers and Pens: Use these for writing captions or adding doodles. Choose a variety of colors!
- Photo Corners and Page Protectors: These keep your photos safe and can add a nice touch to your layout.
- Embellishments: Think ribbons, buttons, or even fabric swatches to give your scrapbook a unique flair.
Once you have your materials, find a comfortable workspace. Lay out all your items so you can see everything available. Having an organized workspace can spark creativity and make the process smoother!
Also Read This: How to Make a Paper Machine Gun That Shoots: Dailymotion Crafting Guide
4. Step-by-Step Instructions for Assembling Your Scrapbook
Now that you’ve gathered all your materials, it’s time to bring your scrapbook to life! Follow these steps to create a beautiful and personalized project.
Step 1: Plan Your Layout
Before you start gluing everything down, it’s wise to plan your layout. Consider the story you want to tell with your scrapbook. Will it be chronological, themed, or a mix? Lay out your photos and materials on the pages without adhering them first. This way, you can visualize how everything will come together.
Step 2: Cut and Trim
Once you’re happy with your layout, start cutting your papers, photos, and any embellishments. Use your ruler for straight edges, and don’t be afraid to cut at varying angles for a playful look. Remember, there’s no right or wrong way to create your design!
Step 3: Adhere Your Items
Now comes the fun part! Start by adhering your background papers to the page. Use your adhesive of choice to secure them down. Then, layer your photos and embellishments, giving each item a little space to breathe. Don’t be afraid to overlap elements—this adds dimension to your scrapbook.
Step 4: Add Details
With your main elements in place, it’s time to add details. Write captions, quotes, or stories next to your photos. Use colored pens or markers to make it pop! You can also add stickers, washi tape, or any embellishments you gathered earlier.
Step 5: Review and Finalize
Take a step back and look at your pages. Do they tell the story you want? Make any final adjustments or add more embellishments to ensure everything feels complete. Once you’re satisfied, let everything dry if you used any wet adhesives.
And voilà! Your scrapbook is ready to showcase your school project in style. Enjoy flipping through the pages and sharing your creativity with others!
Also Read This: Is Farewell Available on Dailymotion? Finding and Watching Popular Content
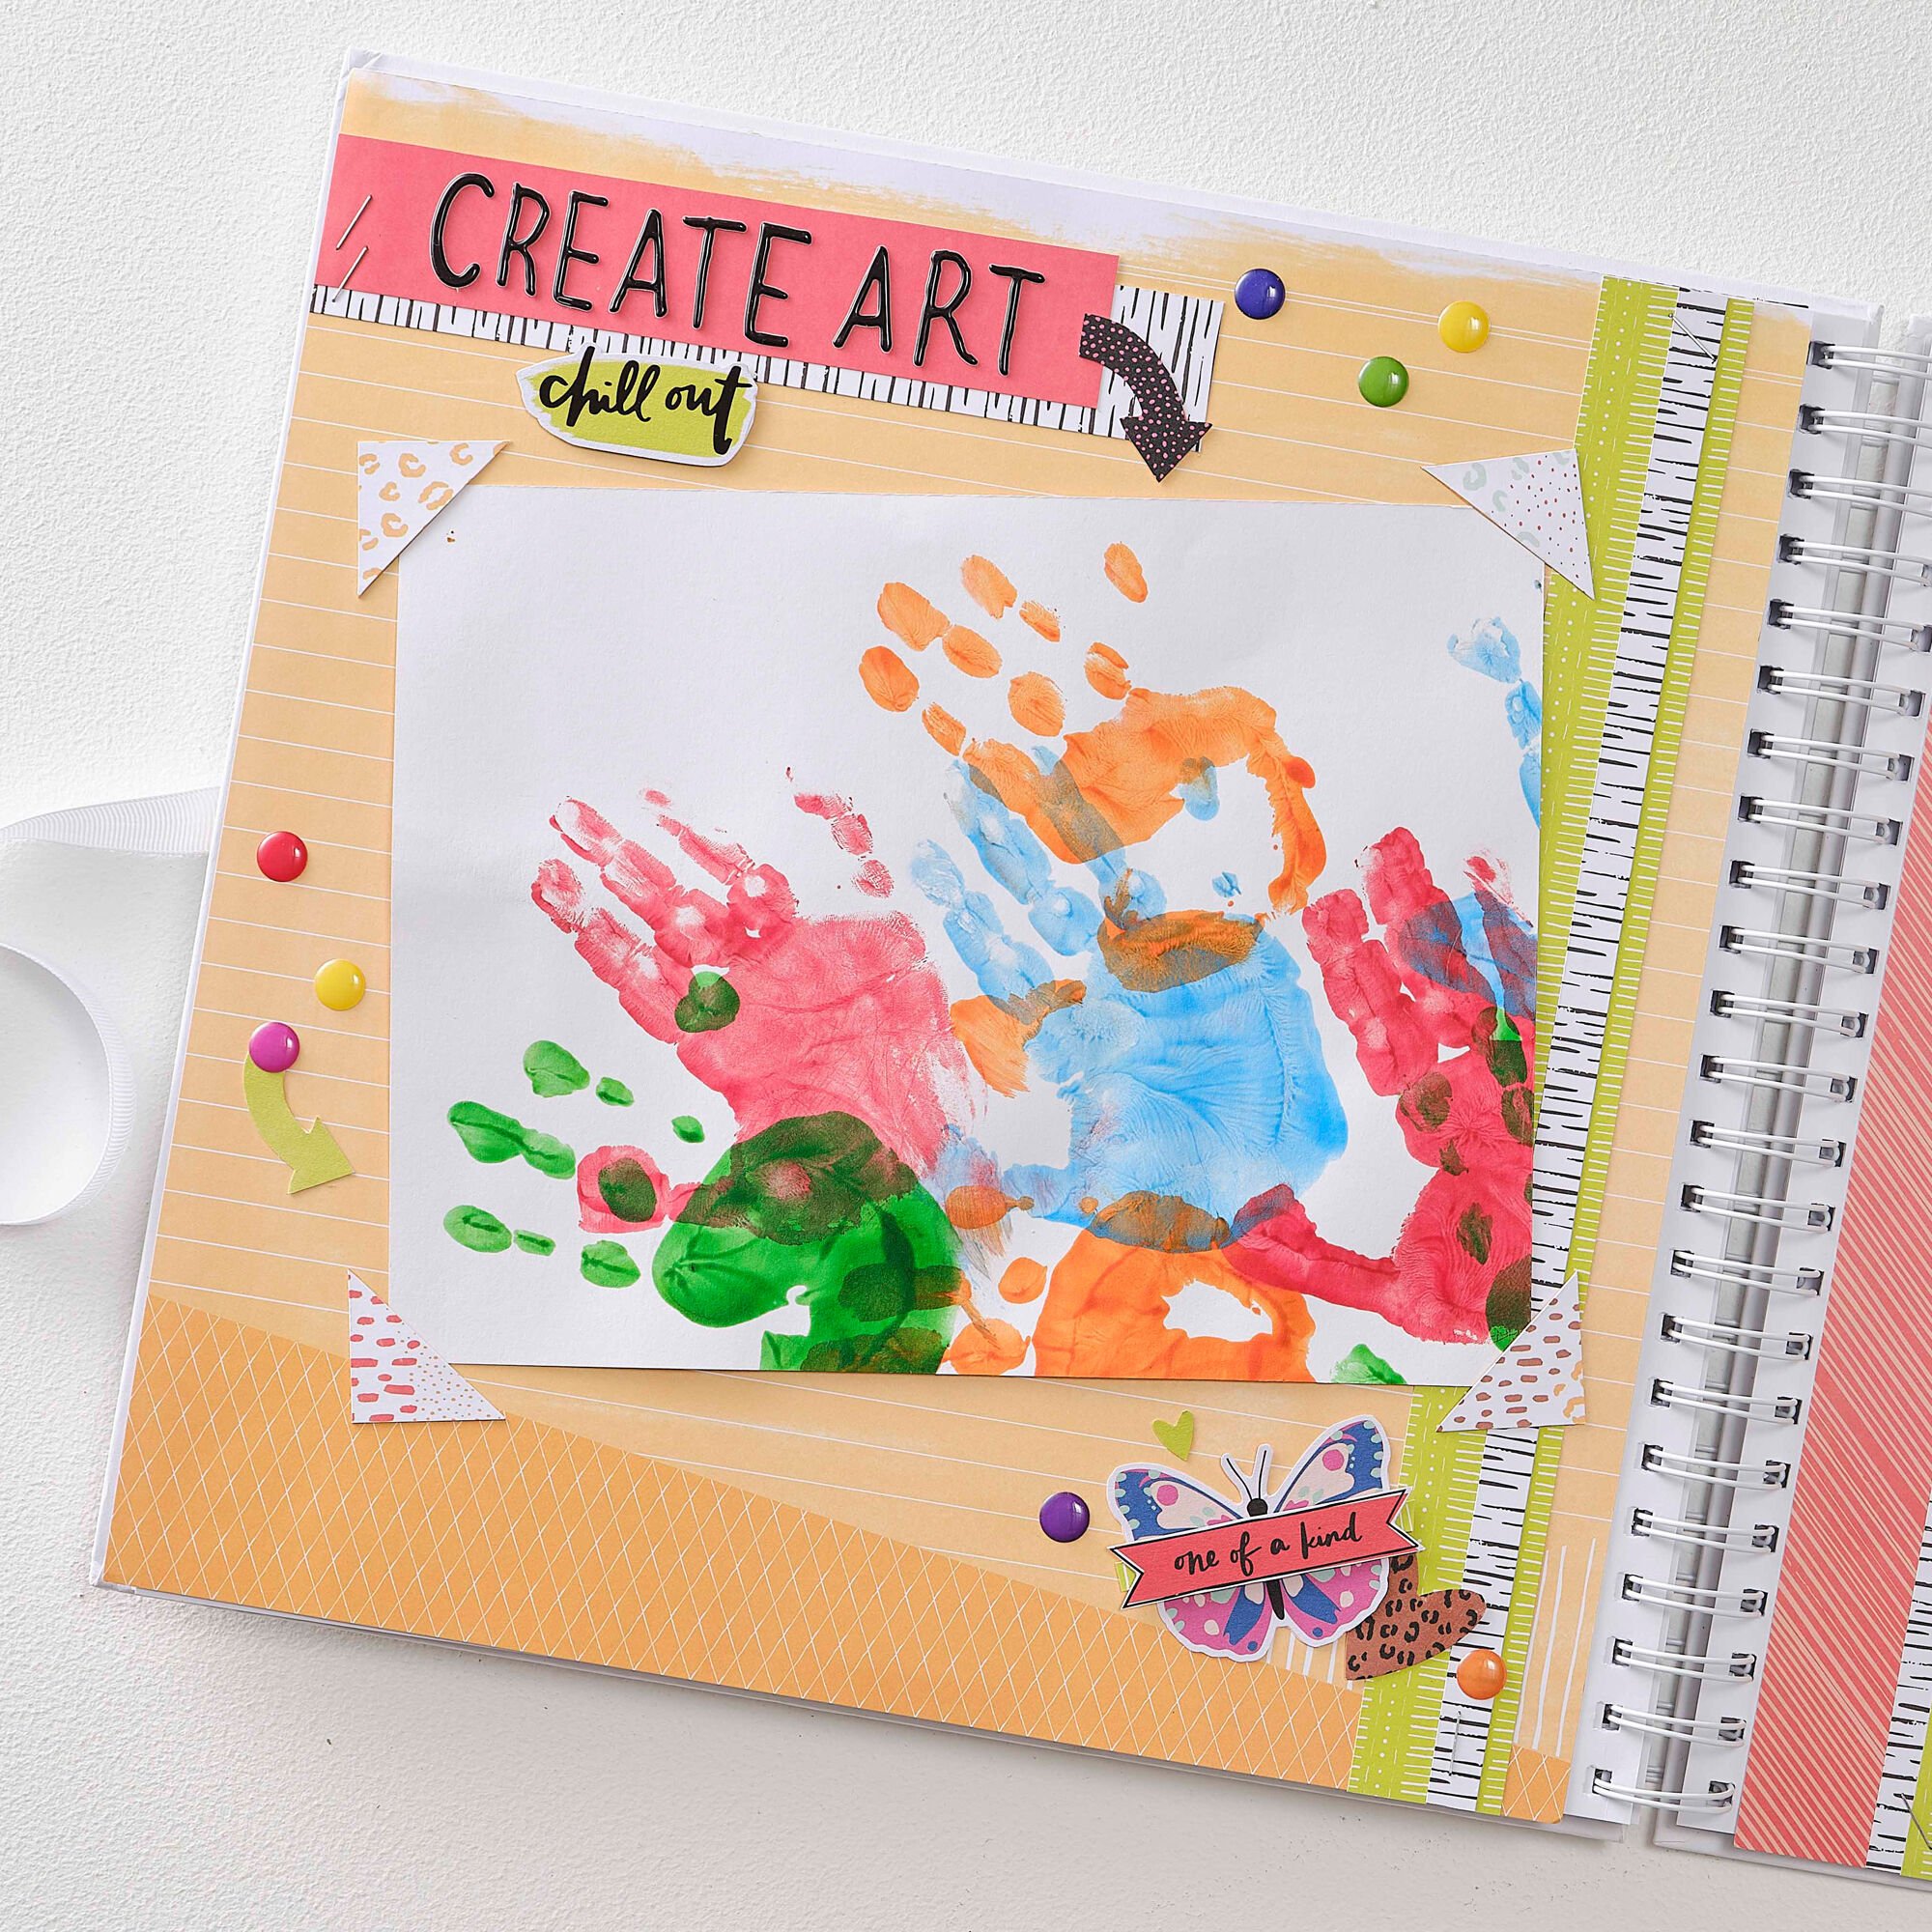
5. Creative Ideas for Scrapbook Pages
Creating scrapbook pages is where your creativity truly shines! There are countless ways to make your scrapbook reflect your unique personality and the theme of your school project. Here are some fun and creative ideas to spark your inspiration:
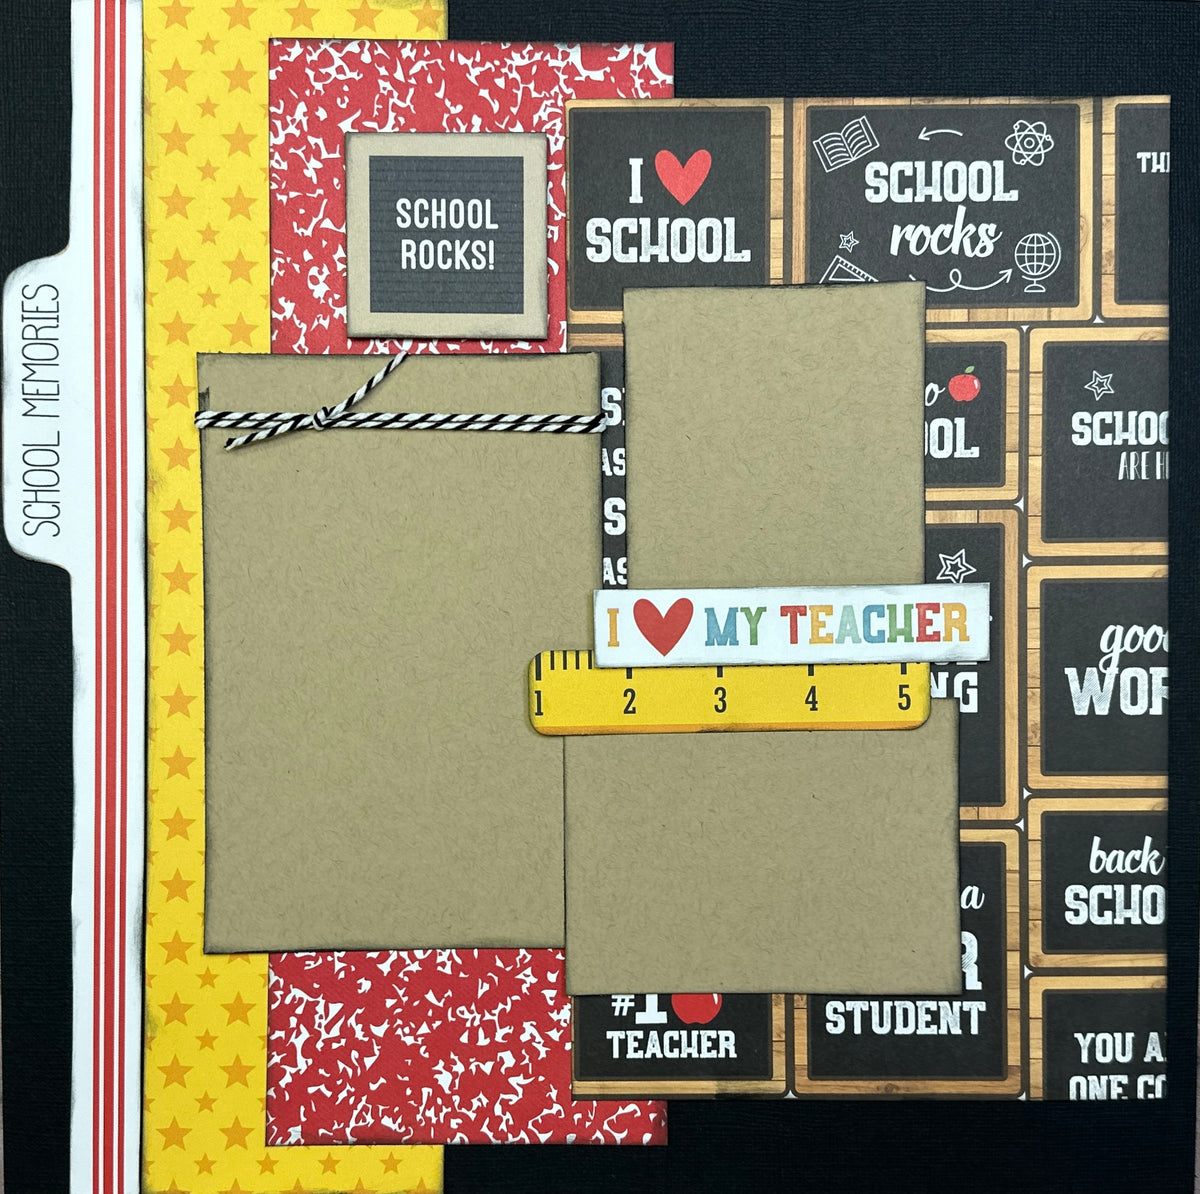
- Photo Collages: Arrange your favorite pictures in a collage style. Use different shapes like circles, hearts, or stars to cut out your photos. This adds a playful touch!
- Themed Pages: Choose themes based on your project. For example, if your project is about space, create a page with a starry background and include images of planets and rockets.
- Interactive Elements: Add flaps or pockets for hidden notes or pictures. This makes exploring your scrapbook a delightful adventure!
- Quotes and Captions: Include inspiring quotes or funny captions related to your project. Use colorful markers or stickers to make them pop.
- Nature Elements: Incorporate real leaves, pressed flowers, or small twigs for a tactile experience. This works especially well for projects based on nature or the environment.
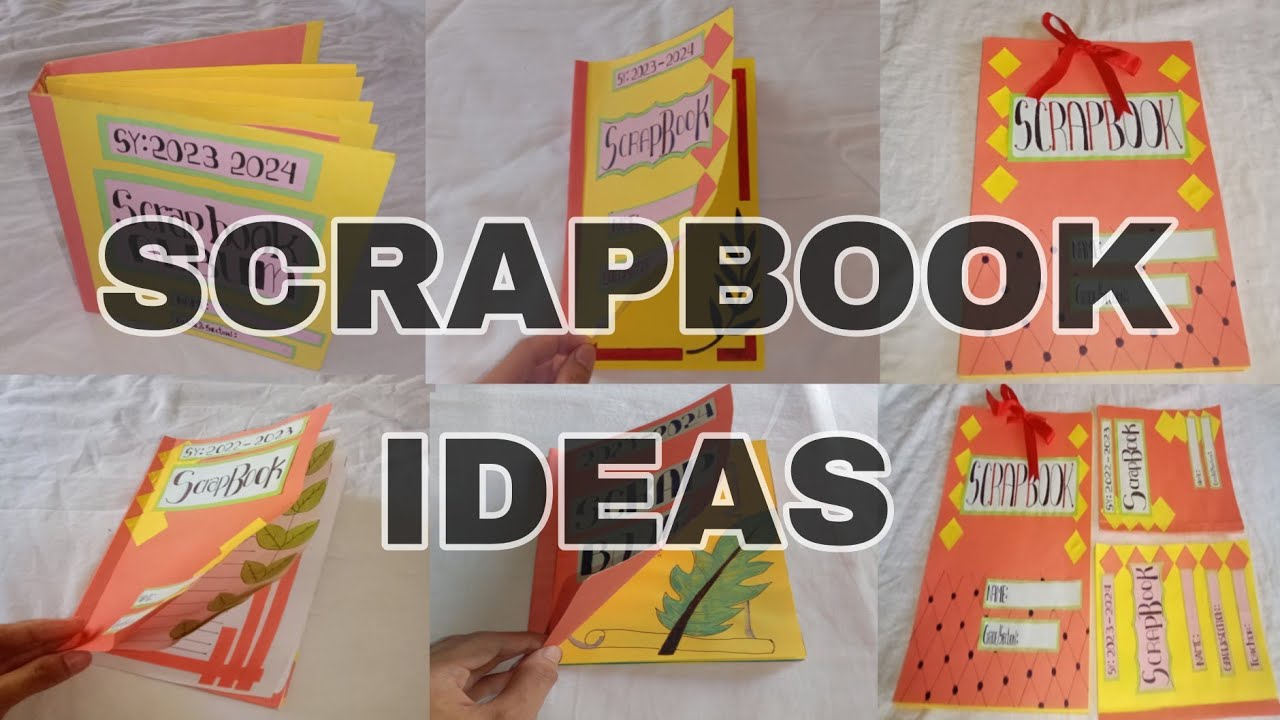
Remember, there’s no right or wrong way to design your pages. Let your imagination run wild! You can even explore different artistic styles like vintage, modern, or whimsical to suit your theme. Check out some examples online to gather more ideas, and don’t hesitate to mix and match these suggestions to create something uniquely yours!
Also Read This: How High Streaming on Dailymotion: Watch the Full Movie
6. Tips for Personalizing Your Scrapbook
Personalization is what makes your scrapbook truly special! It’s your chance to infuse your personality and creativity into every page. Here are some tips to help you personalize your scrapbook effectively:
- Use Your Favorite Colors: Choose a color scheme that resonates with you. Mix and match your favorite hues in backgrounds, embellishments, and text.
- Incorporate Your Handwriting: Write captions, dates, or thoughts in your own handwriting rather than relying solely on printed text. It adds a personal touch that’s uniquely yours.
- Include Personal Memorabilia: Attach items that hold significance, like concert tickets, postcards, or drawings. These items tell your story and make your scrapbook more meaningful.
- Add Personal Stories: Share anecdotes about your experiences related to each page. This not only makes your scrapbook engaging but also creates a lasting memory.
- Use Customized Stickers and Embellishments: Consider making your stickers or embellishments with your designs. You can create prints that reflect your interests or hobbies.
By incorporating these tips, you’ll make your scrapbook a heartfelt expression of who you are. Don't be afraid to experiment and try new things—it's all about having fun and showcasing your unique style!
Also Read This: Educational and Fun Content on Dailymotion Through Stories and Tutorials
7. How to Incorporate Multimedia Elements
In today’s digital age, scrapbooking isn’t just about paper and glue; it’s a fantastic opportunity to blend various multimedia elements that can make your school project pop! Here are some creative ways to do just that:
- Photos and Images: Start by printing high-quality photos related to your project. Use varying sizes to create visual interest. Consider adding polaroid-style frames or fun borders for a vintage touch!
- QR Codes: Why not include QR codes that link to videos or websites? You can use free online QR code generators to create codes that lead to relevant YouTube videos, interviews, or articles. Just add a small note indicating what the code is for!
- Audio Clips: If your project allows, consider adding audio elements. You can record a short overview of your project or include interviews with classmates or teachers. Simply use a small USB drive or a QR code linking to an audio file.
- Drawings and Doodles: Personalize your scrapbook with hand-drawn illustrations! They can be specific to your topic or fun doodles that showcase your personality. This adds a touch of authenticity.
- Stickers and Washi Tape: Incorporate stickers and washi tape that match the theme of your scrapbook. Whether it’s floral patterns, geometric designs, or school-themed stickers, these elements can really enhance the visual appeal.
- Digital Elements: If you’re comfortable with technology, consider creating a digital scrapbook alongside your physical one. Use platforms like Canva or Adobe Spark to design pages and then print them out or keep them digital for presentation.
Incorporating these multimedia elements not only makes your scrapbook visually appealing but also enriches the narrative you’re presenting. Remember, the goal is to engage your classmates and teachers, so feel free to get creative!
8. Presenting Your Scrapbook in Class
Once your scrapbook is complete, it’s time to showcase your hard work! Presenting your scrapbook in class can be both exciting and nerve-wracking, but with a few tips, you can deliver an engaging presentation.
- Practice Makes Perfect: Before the big day, rehearse your presentation. Try to practice in front of friends or family to get comfortable with your material. This will help you speak with confidence!
- Start with a Hook: Begin your presentation with a fun fact or a question to grab your audience’s attention. For example, “Did you know that the first scrapbook dates back to the 15th century?” This sets a fascinating tone right from the start.
- Engage Your Audience: Encourage your classmates to ask questions as you go through your scrapbook. This interaction can make your presentation feel more dynamic and less like a lecture.
- Use Your Multimedia: When you reach the multimedia elements of your scrapbook, make sure to highlight them. If you have QR codes, invite your classmates to scan them and follow along with the audio or video content you created.
- Conclude Strongly: End your presentation with a summary of what you learned and why it matters. This could be a reflection on what you found most interesting about your project or how it relates to current events.
Overall, presenting your scrapbook is your chance to shine and share your creativity! Enjoy the process, and don’t forget to celebrate your achievements with your classmates. Happy presenting!
 admin
admin


