Alamy is a global stock photography agency that caters to photographers and content creators worldwide. With a vast collection of over 200 million images, Alamy stands out for its diverse content, including everything from stunning landscapes to unique cultural moments. If you're looking to manage and view high-quality images for personal or commercial use,
Creating an Account on Alamy
Getting started with Alamy is a breeze, and creating your account is your first step towards accessing their extensive image library. Here’s how you can set it up in just a few simple steps:
- Visit the Alamy website: Head over to Alamy.com. You’ll find a user-friendly interface that makes navigation effortless.
- Sign Up: Click on the “Sign Up” button, usually located at the top right corner of the homepage. You’ll be prompted to fill out some basic information.
- Fill in Your Details: Provide your name, email address, and a strong password. Make sure to choose a password you can remember but is also secure!
- Email Verification: Once you submit your details, Alamy will send a verification email. Check your inbox (and spam folder just in case!) and click the link to verify your account.
- Complete Your Profile: After verification, log in and complete your profile. This step is essential if you plan to sell images on Alamy, as it builds trust with potential buyers.
Don't forget to agree to the terms and conditions to ensure you're familiar with Alamy’s policies.
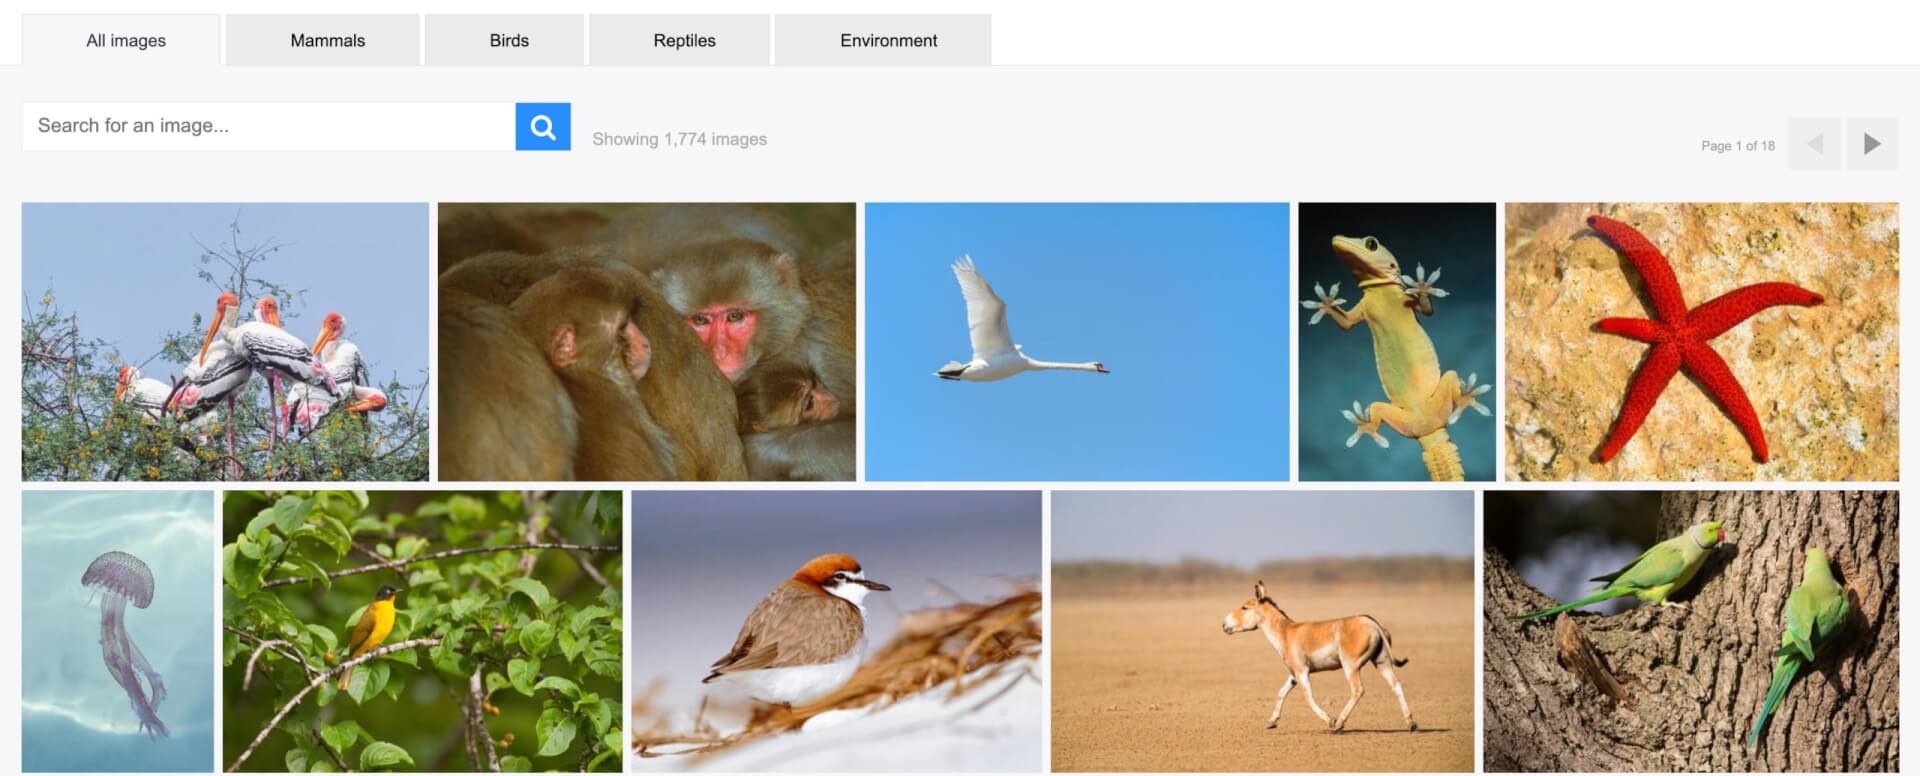
Once your account is set up, you can start exploring Alamy’s extensive library. Use the search bar to find images by keywords, categories, or even colors! You can save your favorite images to collections for easy access later.
In summary, creating an account on Alamy is a straightforward process. With just a few clicks, you can gain access to a wealth of high-quality images for all your projects. Whether you’re a photographer looking to sell or just someone in need of stunning visuals, Alamy is ready to meet your needs!
Also Read This: What Happened to King Alami
How to Upload Your Images
Uploading your images to Alamy is a straightforward process, but a few tips can make it even smoother. Here’s a step-by-step guide to help you get your stunning shots online:
- Create Your Account: If you haven’t already, sign up for an Alamy account. It’s free and gives you access to the platform’s tools.
- Prepare Your Images: Ensure your images meet Alamy's requirements. This includes:
- Minimum resolution of 48 MB for the best quality.
- Formats like JPEG, and ensure they are in RGB color mode.
- Editing your images to enhance their quality, but avoid heavy filters that alter their natural look.
- Title: A catchy title that describes the image.
- Description: Provide a detailed description of the image content.
- Keywords: Use relevant keywords to enhance visibility in searches.
Once submitted, your images will go through Alamy's quality control process. This typically takes up to 24 hours, but once approved, your images will be available for buyers to view. It’s a thrilling moment to see your work out there!
Also Read This: Do You Need to Pay Alamy to Post Your Images? What Contributors Should Know
Viewing Your Image Library
Once your images are uploaded and approved, you’ll want to keep track of them effectively. Here’s how to navigate and view your image library on Alamy:
- Access Your Library: Log into your Alamy account and click on the “My Account” tab. From there, select “My Images” to view your entire library.
- Organize Your Images: The library view allows you to see all your uploaded images. You can sort them by:
- Date uploaded
- Title
- Keywords
- Sales performance
- Edit Metadata: Update any details if needed.
- View Sales Stats: Keep track of how well your images are doing.
- Delete or Archive: Remove images that don’t meet your standards or archive them for future consideration.
By regularly checking your image library, you can stay engaged with your work and identify which shots resonate most with buyers. This insight can guide your future photography endeavors, helping you create even more appealing content!
Also Read This: Have You Found Any June Alamy Images Worth Downloading?
5. Organizing Your Images with Tags and Categories
When it comes to managing your images on Alamy, one of the most effective strategies is to organize them with tags and categories. This not only helps you find your images quickly but also enhances their discoverability by potential buyers. So, how can you effectively tag and categorize your images? Let’s dive in!
Understanding Tags: Tags are short keywords or phrases that describe the content of your images. Think of them as the breadcrumbs that lead buyers to your work. For instance, if you have a stunning sunset photograph, tags might include “sunset,” “landscape,” “nature,” and “sky.”
- Be Specific: Instead of just “sunset,” consider using “sunset over the ocean” or “desert sunset.”
- Use Synonyms: Different buyers use different terms, so think of variations. For “dog,” also consider “puppy” or “canine.”
- Location Tags: If your image is location-specific, include the city or landmark name, like “Eiffel Tower” or “Grand Canyon.”
Categories: Alamy allows you to categorize your images, adding another layer of organization. Categories are broader classifications like “Animals,” “Architecture,” or “Food.” By placing your images in the right categories, you make it easier for buyers to navigate the vast array of options available.
Here’s a quick tip: regularly review and update your tags and categories as trends and search habits change. This way, your images stay relevant and stand out in search results.
In summary, effective organization through tagging and categorization can significantly enhance your visibility on Alamy. It’s about making your images as easy to find as possible. So, roll up your sleeves and start tagging!
Also Read This: Crediting Alamy Images: Understanding Attribution Requirements
6. Managing Image Rights and Licensing Options
Understanding and managing image rights and licensing is crucial when selling your photos on Alamy. It’s not just about protecting your work; it’s about maximizing its potential. Let’s break down the key aspects of image rights and licensing options!
Image Rights: When you upload images to Alamy, you retain the copyright, meaning you still own your work. However, you grant Alamy the right to license your images to buyers. This dual ownership allows you to reach a broader audience while keeping your creative control.
It’s important to clearly understand the types of licensing available:
- Royalty-Free (RF): Buyers can use your images multiple times without additional fees, making it a popular choice for commercial use.
- Rights Managed (RM): This licensing type is more restrictive, allowing you to set specific terms based on the usage, duration, and territory. It usually results in higher payouts but requires more management.
Each licensing option has its pros and cons. If you want steady sales and wider distribution, RF might be the way to go. On the other hand, if your images have unique qualities that could command a premium, RM could be more profitable.
Tip: Regularly review your licensing settings to ensure they align with your marketing strategy and sales goals. Being flexible can lead to more opportunities!
In conclusion, managing image rights and licensing options on Alamy is about striking the right balance between control and opportunity. By understanding these aspects, you're not just protecting your work but also paving the way for success in the competitive world of stock photography.
Also Read This: What Types of Photos Alamy Prefers for Contributors
7. Tracking Image Performance and Sales
Keeping tabs on how your images are performing on Alamy is crucial for maximizing your success. By understanding which images resonate with buyers, you can refine your strategy and make informed decisions about future uploads. Here are some effective ways to track your image performance:
- Use Alamy’s Analytics Tools: Alamy provides built-in analytics that show how often your images are viewed and downloaded. Regularly check these stats to identify trends and patterns.
- Monitor Your Best Sellers: Pay special attention to your top-performing images. What do they have in common? Is it the subject matter, style, or keywords? This can guide your future shoots.
- Track Sales Over Time: Keep a record of your sales over months or years. This helps you understand seasonal trends and how your portfolio is growing.
- Engage with Feedback: If buyers leave feedback, take it seriously! Positive and negative comments can guide you in improving your work and catering to market demands.
Consider setting up a simple spreadsheet to keep track of these metrics. You can include columns for image titles, views, downloads, and sales. This will give you a clear visual of your performance over time, helping you identify which images are worth further promotion.
In addition to tracking your performance, understanding your audience is key. Look at the demographics of who is buying your images. Are they marketers, bloggers, or companies? Tailoring your content to meet their needs can significantly boost your sales.
8. Tips for Optimizing Your Images for Better Visibility
With thousands of images on Alamy, ensuring yours stand out is essential. Here are some practical tips to optimize your images for better visibility:
- Keyword Magic: Use relevant, specific keywords that buyers are likely to search for. Think about what words would describe your image effectively. Use tools like Google Keyword Planner to find popular search terms.
- High-Quality Thumbnails: The thumbnail is often the first impression potential buyers have of your work. Make sure your images are clear and visually appealing, as this can greatly influence click-through rates.
- Diverse Portfolio: Diversify your image offerings. If you typically shoot landscapes, try incorporating portraits or lifestyle shots. A varied portfolio can attract a broader audience.
- Detailed Descriptions: Write thorough descriptions of your images. Include context, techniques used, and the story behind them. This not only aids in SEO but helps buyers understand your vision.
- Stay Current: Trendy topics often sell better. Keep an eye on current events, social movements, or emerging trends and create relevant content that taps into these themes.
Lastly, consider networking with other photographers or joining online communities. Sharing strategies and insights can provide you with valuable tips that you might not have thought of on your own. Remember, optimization is an ongoing process—don't be afraid to experiment and adjust your strategy as needed!
 admin
admin


