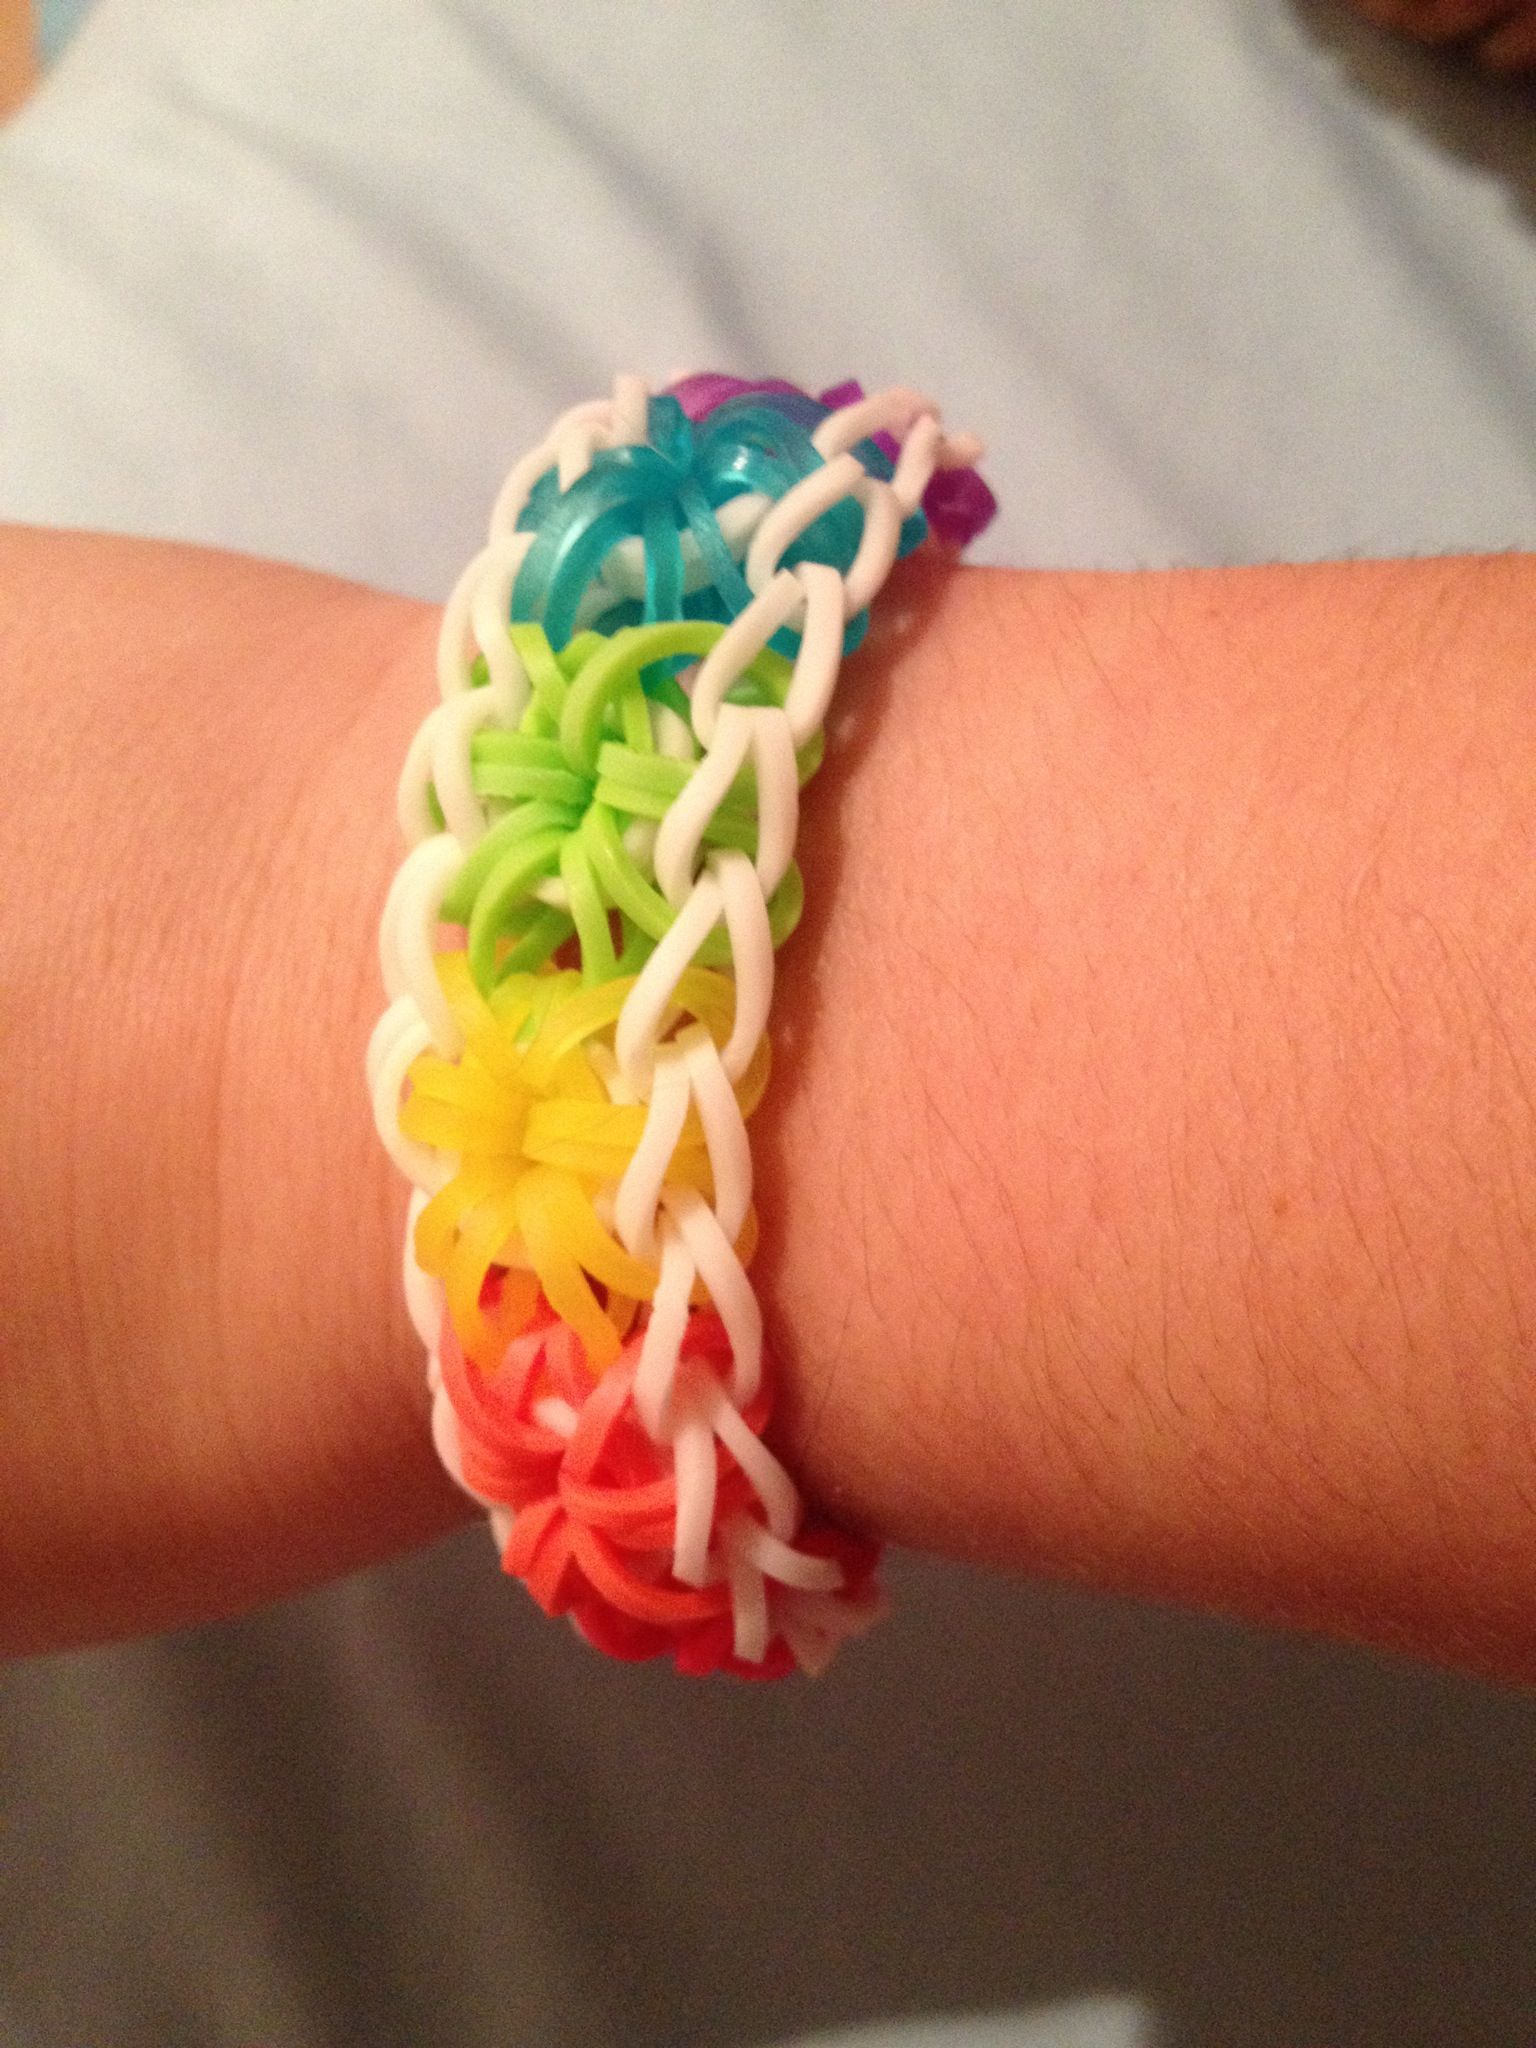
Have you ever admired the colorful, intricate designs of loom bracelets and thought, "I wish I could make one!"? Well, you’re in luck! Loom bracelets are not just a fun craft; they’re also a great way to express your creativity. Whether you're making them for yourself or as gifts for friends, the process is surprisingly easy and enjoyable. In this guide, we'll dive into the world of loom bracelets, specifically focusing on the vibrant Starburst design. Let’s get started!
Materials Needed for a Starburst Loom Bracelet
Before we jump into the crafting process, let's gather all the materials you'll need. Don’t worry; most of these items are readily available at craft stores or online. Here’s a list to help you out:
- Loom Kit: The most important item! A standard loom kit will work, but if you're planning to make several, consider getting a larger one.
- Rubber Bands: You’ll need a variety of colors. For the Starburst design, bright colors like pink, yellow, and blue work wonderfully.
- Hook Tool: This is used to pull and place the rubber bands on the loom. A sturdy hook will make your process smoother.
- Clip or S-Clips: These will hold the bracelet together once you finish. They come in various sizes, but standard clips work best for beginners.
- Scissors: Handy for trimming any excess bands or cutting off the clips if needed.
- Workspace: A flat surface to work on will make your crafting experience much easier.
Once you have everything laid out, you’re ready to start weaving your Starburst loom bracelet! Having all your materials organized will make the process more enjoyable and less stressful. Now, grab your loom kit, pick some colorful bands, and let's get crafting!
Also Read This: The Magical Moments of A Walt Disney Christmas on Dailymotion
3. Step-by-Step Instructions to Create Your Starburst Loom Bracelet
Creating a Starburst Loom Bracelet is not only fun but also a great way to express your creativity! Follow these simple steps, and you’ll have a stunning bracelet in no time.
- Gather Your Materials: You’ll need:
- A loom (either a traditional or mini loom works)
- Colorful rubber bands (at least 100 in various colors)
- A hook tool
- A clip or S-clasp to secure the bracelet
And there you have it! Your very own Starburst Loom Bracelet! With practice, you’ll get quicker and even explore creating different patterns and styles.
Also Read This: Guide to Downloading Videos from Dailymotion on Mac
4. Tips and Tricks for Loom Bracelet Making
Got your loom and bands ready? Let's make your crafting experience even smoother! Here are some handy tips and tricks to help you master the art of loom bracelet making.
- Choose Your Colors Wisely: Planning your color scheme ahead of time can save you a lot of guesswork. Consider using color combinations that complement each other. Bright colors against pastel can create a stunning effect!
- Practice Makes Perfect: Don’t worry if your first few attempts aren’t perfect. Every loom artist started somewhere! Keep practicing your looping technique, and soon it’ll become second nature.
- Keep Your Workspace Organized: Make sure you have a clean, well-lit area to work in. Organize your bands in small containers, so you can easily grab the colors you need without making a mess!
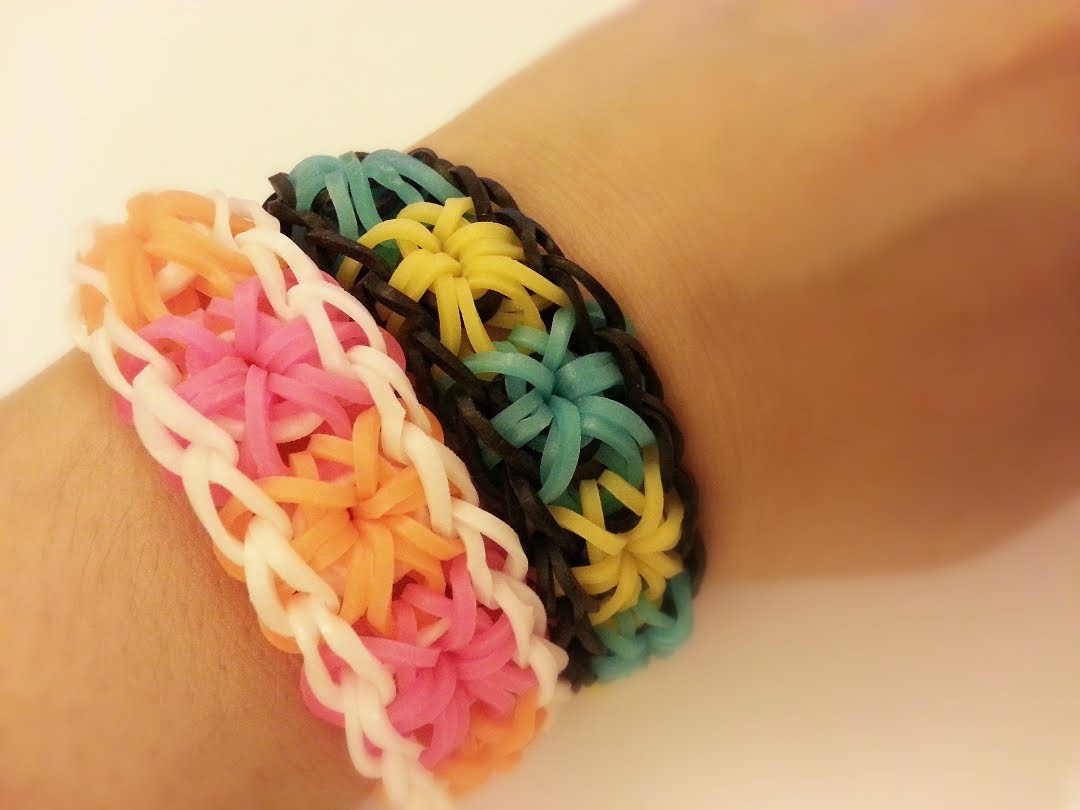
- Experiment with Patterns: Once you’ve mastered the basic Starburst, try experimenting with different patterns and styles. You’ll find that mixing techniques can lead to some truly unique creations!
- Join a Community: Consider joining online groups or local clubs where you can share your creations and learn from others. Sites like Pinterest and YouTube are also fantastic for discovering new ideas!
- Use the Right Tension: When placing bands, be mindful of how tight or loose they are. Too much tension can make it difficult to loop, while too little might cause your bracelet to fall apart.
By keeping these tips in mind, you’ll not only make beautiful bracelets but also enjoy the process! Happy looming!
Also Read This: How to Upload Long Videos on Dailymotion Without Restrictions
5. Common Mistakes to Avoid
Creating a Starburst Loom Bracelet can be a lot of fun, but it’s easy to make a few common mistakes along the way. Let’s explore some pitfalls to watch out for so you can create a beautiful bracelet without any hiccups!
- Too Much Tension: One of the biggest mistakes loomers make is pulling the bands too tight. This can result in a bracelet that’s stiff and uncomfortable. Aim for a happy medium where the bands are snug but not overly tight.
- Incorrect Band Placement: Remember, the Starburst style relies heavily on proper placement. Double-check that you’re following the pattern correctly. A misplaced band can throw off the entire look!
- Ignoring Color Patterns: While it’s tempting to freestyle with colors, sticking to a planned pattern can enhance the aesthetic of your bracelet. Create a color scheme before starting to avoid a chaotic look!
- Forgetting to Use the Right Loom: Not all looms are created equal! Make sure you’re using a loom that’s compatible with the Starburst pattern. A standard loom works best for this design.
- Skipping the Sizing Step: Before you start weaving, measure your wrist! If your bracelet is too small or too large, it’s going to be uncomfortable. Use a measuring tape to ensure you get the right fit.
By being aware of these common mistakes, you can save yourself time and frustration. Remember, practice makes perfect! Don’t be afraid to redo sections if they don’t feel right. Your masterpiece is worth the effort!
6. Creative Variations of the Starburst Loom Bracelet
Once you’ve mastered the classic Starburst Loom Bracelet, why not get a bit creative? Here are some fun variations that can add a unique twist to your loom bracelet-making journey:
- Gradient Color Change: Instead of using solid colors, try a gradient effect! Choose colors that blend into each other and watch your bracelet transform into a stunning piece of art.
- Metallic Bands: For a shiny, eye-catching bracelet, incorporate metallic rubber bands. They can add a bit of glam and sparkle to your creation!
- Charm Additions: Attach small charms or beads to your bracelet for a personalized touch. Whether it’s a favorite animal, letter, or symbol, charms can make your bracelet truly one-of-a-kind.
- Double Starburst: Why not try making a double Starburst? By using two looms or a larger loom, you can create a wider bracelet that showcases more colors and patterns.
- Seasonal Themes: Tailor your bracelet to the seasons! Use colors like pastels for spring, warm tones for autumn, or icy blues and whites for winter. It’s a great way to celebrate the changing seasons!
These variations not only let your creativity shine but also allow you to express your personality through your jewelry. Don’t hesitate to mix and match these ideas, and remember—every bracelet you make is a reflection of your unique style!
 admin
admin


