Uploading videos to YouTube directly from your iPad is a breeze! Whether you're sharing your latest travel adventures, cooking tutorials, or vlogs, the process has never been easier. This guide will walk you through the steps to get your videos uploaded effortlessly, ensuring you can reach your audience without a hitch. Let’s dive into the essentials to prepare your iPad for video uploads!
Preparing Your iPad for Video Uploads

Before you jump into uploading your videos, it's crucial to ensure that your iPad is ready for the task. Here are some steps and tips to help you get set up:
- Update Your iPad: Make sure your operating system is up-to-date. Go to Settings > General > Software Update and install any available updates. This ensures compatibility with the latest apps and features.
- Download the YouTube App: If you haven’t done so already, download the YouTube app from the App Store. This app is optimized for video uploads and offers a user-friendly interface. Simply search for “YouTube” in the App Store and tap Get.
- Check Your Storage Space: Videos can take up a lot of space, so it’s essential to check your available storage. Go to Settings > General > iPad Storage to see how much space you have left. If you're running low, consider deleting unnecessary files or apps.
- Ensure a Stable Internet Connection: A strong Wi-Fi connection is crucial for uploading videos. If you're on a mobile network, ensure you have a good signal. You can test your connection by trying to stream a video on YouTube before uploading.
- Optimize Your Video Settings: Before recording, check your camera settings. Open the Camera app and select the best resolution for your needs. For most users, 1080p HD is ideal. To change settings, go to Settings > Camera > Record Video and choose your preferred option.
- Create an Engaging Thumbnail: Thumbnails can make a huge difference in attracting viewers. Use apps like Canva or Adobe Spark to create eye-catching thumbnails directly on your iPad. Make sure they represent your video content accurately!
With these steps completed, your iPad should be fully prepared for uploading videos to YouTube. Take a moment to double-check everything, and you’ll be ready to share your creativity with the world!
Also Read This: Is the Outdoor Channel Available on YouTube TV? Streaming Options
3. Step-by-Step Guide to Uploading Videos

Uploading videos to YouTube from your iPad is a breeze once you know the steps. Let’s walk through the process together!
- Open the YouTube App: Start by launching the YouTube app on your iPad. Make sure you're logged into your account. If you don’t have the app yet, you can easily download it from the App Store.
- Tap the Create Button: Look for the "+" icon at the bottom center of the screen. This is your gateway to creating and uploading content.
- Select 'Upload a Video': After tapping the create button, choose 'Upload a video' from the options that appear. This will lead you to your camera roll, where all your videos are stored.
- Choose Your Video: Browse through your saved videos and select the one you want to upload. It’s a good idea to pick a video that you’re excited about sharing!
- Add Details: Here’s where the fun begins! You’ll need to fill in some critical details:
- Title: Make it catchy and relevant.
- Description: Give a brief overview of your video. Include keywords to help people find it.
- Tags: Add tags that relate to the content of your video. This enhances discoverability.
- Select Privacy Settings: You can choose between Public, Unlisted, or Private settings. If you’re eager to share with everyone, go Public!
- Thumbnail Selection: You can either choose a frame from your video or upload a custom thumbnail. A vibrant thumbnail can make your video stand out!
- Advanced Settings: If you wish, you can dive into advanced settings for monetization and age restrictions.
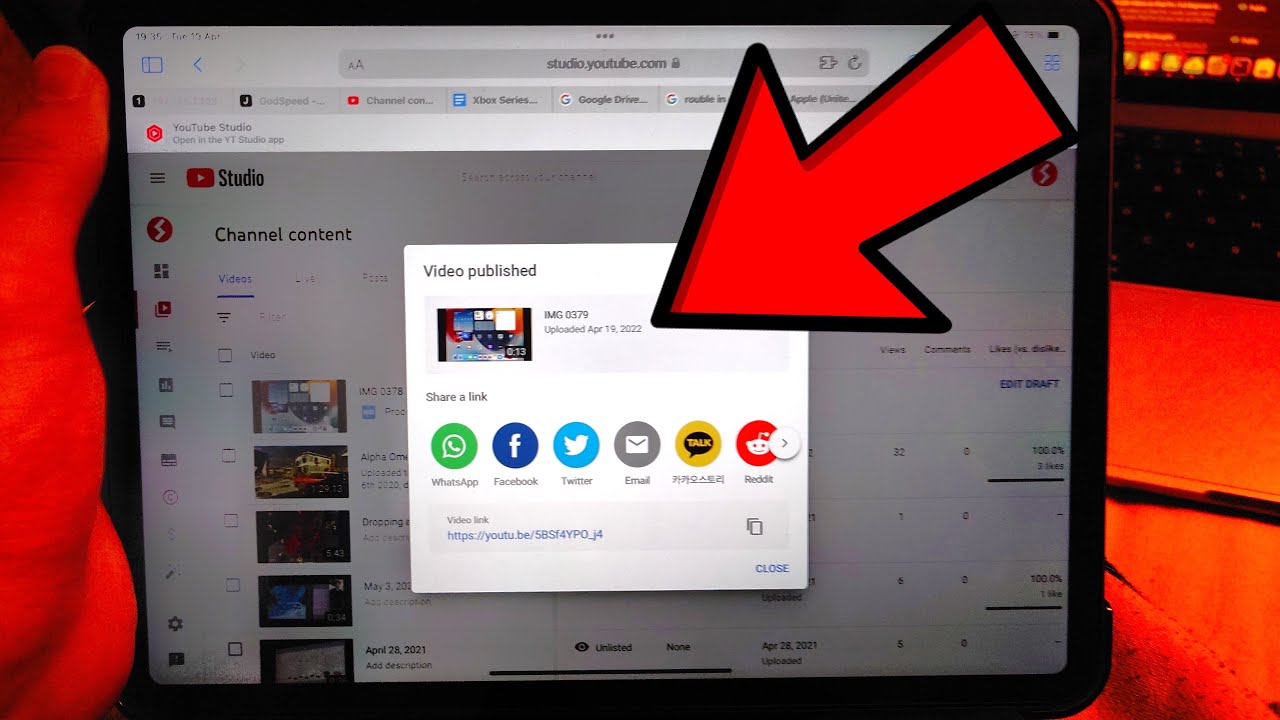
- Hit Upload: Once you’re satisfied with everything, tap 'Upload.' You’ll see a progress bar indicating the upload status, and soon, your creation will be live!
And just like that, your video is on YouTube! Keep an eye on the comments and views to engage with your audience.
Also Read This: How to Access Unlisted YouTube Videos Without a Link
4. Editing Your Video Before Uploading

Before hitting that upload button, you might want to make some edits to your video, and the iPad offers some fantastic options. Let’s explore how to polish your video before sharing it with the world!
Here are some simple editing steps you can follow:
- Use iMovie: If you don’t already have it, download iMovie from the App Store. This app is user-friendly and perfect for quick edits. Here’s how to get started:
- Open iMovie and select 'Create Project.'
- Import the video you want to edit.
- Use the timeline to trim clips, add transitions, and insert music.
- Trim and Cut: If your video has unnecessary parts, trim them down. Focus on keeping the content engaging and concise. A well-paced video retains viewer attention!
- Add Text or Titles: Adding context through text can be beneficial. Maybe a title at the beginning or captions for clarity. iMovie allows you to add these effortlessly.
- Enhance Audio: Check the audio quality. If it’s too quiet or has background noise, iMovie lets you adjust levels and even add soundtracks.
- Apply Filters: To give your video a unique look, try applying filters. Subtle changes in color grading can enhance the overall aesthetic.
Once your edits are complete, save the video back to your camera roll. You’re now ready to upload a polished, professional-looking video to YouTube!
Editing can make a world of difference, so don’t rush through this step. A little effort can go a long way in captivating your audience!
Also Read This: How to Upload Video to YouTube from iPhone: Step-by-Step Tutorial
5. Optimizing Video Details for Better Visibility
Once your video is uploaded to YouTube, the next step is to make sure it gets the visibility it deserves. Optimizing your video details is crucial for attracting viewers and growing your audience. Here are some essential tips to enhance your video's discoverability:
- Title: Craft a catchy, descriptive title. A good title should include relevant keywords while still being engaging. For example, instead of "My Vacation," try "Exploring the Hidden Gems of Bali: A Travel Guide."
- Description: Use the description box wisely. Provide a detailed overview of your video content. Incorporate keywords naturally, and don’t forget to include links to your social media or related videos. Aim for at least 200-300 words for better SEO.
- Tags: Use relevant tags to help YouTube understand your video’s content. Think of keywords that your audience might use when searching for videos like yours. A mix of broad and specific tags can improve your video's reach.
- Thumbnail: Create an eye-catching thumbnail that reflects your video’s content. Thumbnails are like mini-advertisements – make them vibrant and relevant. Tools like Canva can help you design professional-looking thumbnails easily.
- Closed Captions: Adding subtitles or closed captions can enhance accessibility and viewer engagement. Plus, it helps with SEO since YouTube can index the text in your captions.
Remember, the more effort you put into optimizing your video details, the better chance it has of being discovered by viewers. So take the time to get these aspects right!
6. Troubleshooting Common Upload Issues
Uploading videos can sometimes come with its fair share of hiccups. But don’t worry! Here’s a guide to help you troubleshoot some common issues you might encounter while uploading videos directly from your iPad:
- Slow Upload Speeds: If your upload is taking forever, check your internet connection. A shaky Wi-Fi signal can cause uploads to stall. Switching to a stronger network or resetting your router can often do the trick.
- Error Messages: If you receive an error message during upload, make sure your video meets YouTube’s format and size requirements. Common formats like MP4 or MOV work best, and the file size should not exceed 128GB.
- Video Processing Issues: After uploading, your video may take time to process before it’s live. If it seems stuck, refresh the app or check back later. Patience is key, especially for larger files!
- Audio/Video Sync Problems: If your video uploads but the audio and video are out of sync, try editing the video again before uploading. Use apps like iMovie on your iPad to ensure everything is aligned properly.
- App Crashes: If the YouTube app crashes during upload, ensure it’s updated to the latest version. You can also try restarting your iPad to clear any temporary glitches.
If you encounter any issues not covered here, the YouTube Help Center is a great resource. With a little persistence and troubleshooting, you’ll be up and running in no time!
 admin
admin


