Are you tired of receiving a flood of unwanted emails from LinkedIn? You’re not alone! Many users find themselves inundated with notifications that clutter their inbox instead of enhancing their networking experience. Luckily, there are simple steps you can take to reclaim your email sanity. In this post, we’ll explore how to stop these unwanted emails with ease and ensure that LinkedIn serves its purpose without the unnecessary noise.
Understanding LinkedIn Email Notifications

To effectively manage your LinkedIn email notifications, it’s essential to understand what types of emails you might be receiving. LinkedIn sends notifications for various activities, and knowing which ones to keep or toss can significantly declutter your inbox. Here’s a breakdown of the most common types of emails you may receive:
- Connection Requests: Notifications every time someone wants to connect with you.
- Messages: Direct messages from your connections or LinkedIn members.
- Endorsements: Alerts when someone endorses your skills.
- Job Recommendations: Suggestions for job opportunities that might interest you.
- Group Updates: Emails about discussions and activities in groups you’ve joined.
- Newsletters: Updates from companies or influencers you follow.
Understanding these categories is crucial because it allows you to tailor your notification settings to your preferences. Perhaps you love staying in touch with your connections but don't want to hear about every single job recommendation. Or maybe you value insights from industry groups but find group updates overwhelming. Let’s dive deeper into how you can adjust your settings to align with your needs.
Adjusting Your Notification Settings
LinkedIn provides a straightforward way to customize your email notifications. Follow these steps:
- Log into your LinkedIn account.
- Click on your profile picture in the upper right corner, then select “Settings & Privacy.”
- Navigate to the “Communications” tab.
- Under “Email,” you’ll find options for managing notifications.
- Here, you can toggle on or off any type of email notification you want to stop or keep.
By customizing these settings, you can ensure that you only receive the emails that truly matter to you. For example, if you’re not actively looking for a new job, it might be best to turn off job recommendations. Conversely, if you want to stay updated on group discussions, keep those notifications active!
In conclusion, understanding LinkedIn email notifications is the first step toward managing them effectively. By recognizing the types of emails you receive and adjusting your notification settings, you can enjoy a more streamlined and meaningful LinkedIn experience. Say goodbye to unwanted emails and hello to a clutter-free inbox! Keep reading for more tips on managing your
Also Read This: How to Add a Badge to Your LinkedIn Profile Using a Simple Method
3. Step-by-Step Guide to Managing Your Email Preferences
If you're tired of receiving unwanted emails from LinkedIn, managing your email preferences is a straightforward process. Here’s a detailed, step-by-step guide to help you take control of your inbox.
Step 1: Log into Your LinkedIn Account
Start by logging into your LinkedIn account using your preferred browser. Once logged in, you’ll land on your homepage.
Step 2: Access Settings & Privacy
Next, look for your profile picture in the top right corner of the page. Click on it, and a dropdown menu will appear. Select ‘Settings & Privacy’ from this menu. This section is where all the magic happens!
Step 3: Navigate to the Communications Tab
Once you’re in the Settings & Privacy area, you’ll see several tabs on the left side. Click on the ‘Communications’ tab. This is where you can find everything related to how LinkedIn communicates with you.
Step 4: Manage Your Email Preferences
Under the Communications tab, you’ll find options for managing your email preferences. You can choose to receive emails about:
- Job opportunities
- Network updates
- Recommendations
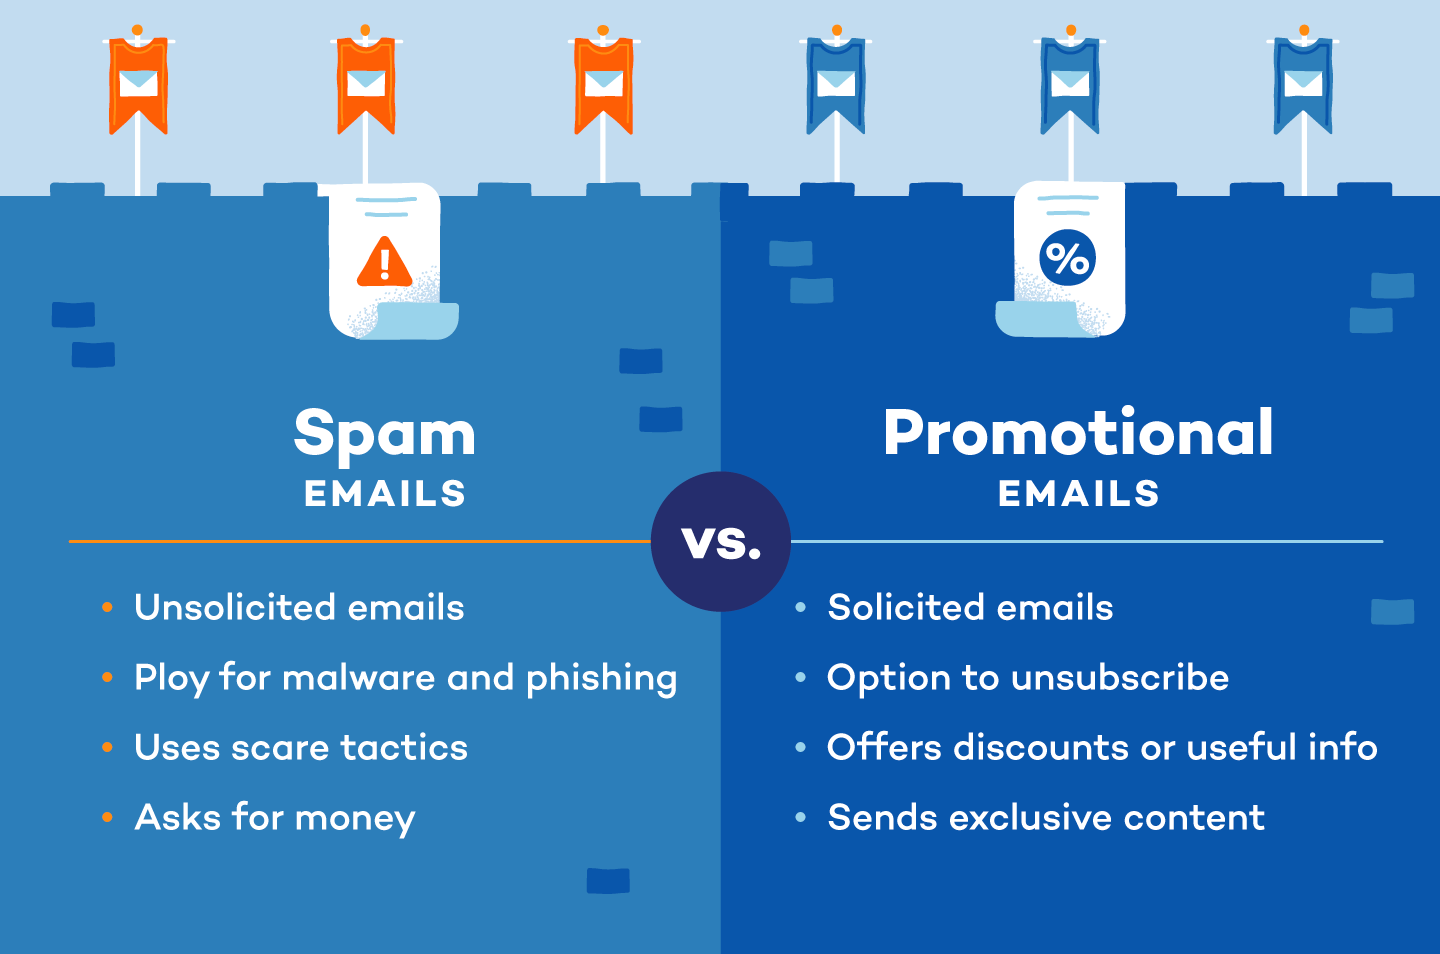
- Promotional content
Uncheck any boxes that you don’t want to receive emails about. LinkedIn will take your preferences into account moving forward.
Step 5: Save Your Changes
After adjusting your preferences, make sure to click on the ‘Save Changes’ button at the bottom. This will ensure that your settings are updated and unwanted emails are minimized.
And voilà! You’ve successfully managed your email preferences. Remember, it’s a good practice to revisit these settings every few months, as LinkedIn sometimes updates its communication strategies.
Also Read This: How to Block People in LinkedIn: A Step-by-Step Guide to Managing Your LinkedIn Network
4. Adjusting Your Privacy Settings
In addition to managing email preferences, adjusting your privacy settings can greatly reduce unwanted communications and enhance your overall LinkedIn experience. Here’s how to do it:
Step 1: Go Back to Settings & Privacy
Just like before, log into your LinkedIn account and navigate back to ‘Settings & Privacy’ from your profile picture dropdown.
Step 2: Visit the Privacy Tab
On the left sidebar, find and select the ‘Privacy’ tab. Here, you’ll find several options regarding your visibility and how others can interact with you.
Step 3: Control Who Can See Your Email Address
Scroll to the section titled ‘How others see your LinkedIn activity’. Here, you can adjust who can see your email address. Opt for ‘Only you’ to keep it private and avoid unsolicited messages.
Step 4: Manage Your Profile Visibility
Next, look for ‘Profile viewing options’. This allows you to control what others see when you view their profiles. Selecting ‘Private Mode’ gives you anonymity, which can help reduce unwanted connection requests and messages.
Step 5: Limit Profile Discovery
You can also restrict how easily people can find you on LinkedIn. Under the ‘How LinkedIn uses your data’ section, you can disable the option that allows others to discover your profile using your email address.
Step 6: Save Changes
Don’t forget to click ‘Save Changes’ after making adjustments. This ensures your privacy preferences are in effect right away!
By tailoring your privacy settings, you’ll not only receive fewer unwanted emails but also enjoy a more secure LinkedIn experience. It's all about creating a space that feels comfortable for you!
Also Read This: How to Add Awards to Your LinkedIn Profile: A Quick Guide
5. Using Filters to Organize Your Inbox
Let’s face it: your inbox can quickly become a chaotic jungle, especially when you’re receiving numerous emails from LinkedIn. But fear not! You can use filters to reclaim order in your digital space. Filters allow you to automatically sort and manage incoming emails based on specific criteria. Here’s how you can set them up:
Step-by-Step Guide to Setting Up Filters:
- Access Your Email Settings: Open your email client (like Gmail, Outlook, etc.) and navigate to the settings menu. Look for an option labeled “Filters” or “Rules.”
- Create a New Filter: Click on “Create New Filter” or a similar option. You’ll typically need to specify criteria such as sender, subject line, or keywords.
- Specify LinkedIn Emails: For LinkedIn, you might want to enter “@linkedin.com” in the sender’s address field. This way, all emails originating from LinkedIn will be filtered.
- Choose an Action: Decide what happens to those filtered emails. You can choose to have them sent directly to a designated folder, marked as read, or even deleted. For instance, you might want to create a folder named “LinkedIn” and direct all related emails there.
- Save Your Filter: Once you’ve set everything up, don’t forget to save your new filter. This will ensure that all future LinkedIn emails are organized according to your preferences.
Why Use Filters?
Filters are not just about decluttering your inbox; they also enhance your productivity. By directing LinkedIn emails away from your main inbox, you can focus on the emails that truly matter. Moreover, when you're ready to check out LinkedIn updates, you can easily navigate to your dedicated folder without the distraction of other emails.
6. Common Issues and Troubleshooting
Even the best systems can encounter hiccups. If you’re experiencing issues with unwanted LinkedIn emails, here are some common problems and how to tackle them:
1. Filters Not Working: If your newly created filters aren’t sorting emails as expected, double-check your filter settings. Ensure that you’ve correctly specified the criteria. Sometimes, a simple typo in the email address can cause issues.
2. Emails Still Arriving: If you’ve opted out of certain emails via LinkedIn settings but continue to receive them, it may take some time for the changes to take effect. If the problem persists, consider contacting LinkedIn support for further assistance.
3. Missing Important Emails: If you find that legitimate emails are being filtered out, revisit your filter settings. You may need to adjust the criteria to ensure you’re not inadvertently hiding important messages.
4. Difficulty in Unsubscribing: Sometimes, LinkedIn emails can be tricky to unsubscribe from. Ensure you’re looking for the “unsubscribe” link at the bottom of the email. If you still can’t find it, consider blocking the sender in your email client.
5. Sync Issues: If you’re using an email client that syncs with LinkedIn, ensure that both platforms are properly connected. Sometimes, disconnecting and reconnecting your accounts can resolve syncing issues.
Staying organized doesn’t have to be a daunting task. With filters and a few troubleshooting tips, you can manage your inbox like a pro and keep unwanted LinkedIn emails at bay!
 admin
admin


