Are you looking to enhance your video projects without spending hours on design? Integrating Adobe Stock templates into Premiere Pro can be a game-changer! These templates offer a range of pre-designed elements, allowing you to focus on creativity while saving time. In this post, we’ll explore what Adobe Stock templates are and how they can elevate your editing experience. Let’s dive in!
Understanding Adobe Stock Templates
Adobe Stock templates are professionally designed assets that can streamline your workflow in Premiere Pro. These templates come in various styles, from simple lower thirds to complex motion graphics. The best part? You can tailor them to fit your project's needs. Here’s a breakdown of what you should know:
- Types of Templates:
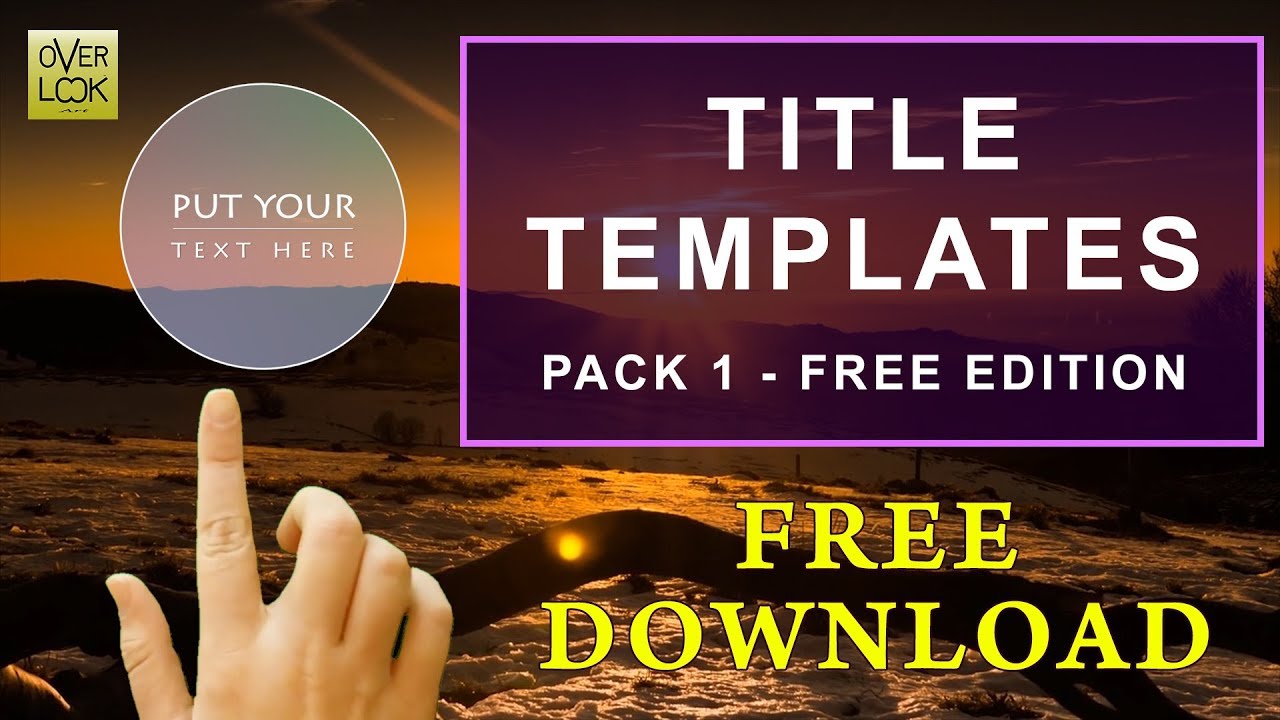
- Motion Graphics Templates (MOGRTs): These are ideal for adding dynamic text, animations, and visual flair.
- Lower Thirds: Perfect for introducing speakers or adding context to your visuals.
- Transitions: Smooth transitions can make your edits feel seamless and professional.
- Benefits of Using Adobe Stock Templates:
- Time-Saving: Templates allow you to quickly apply designs without starting from scratch.
- Consistency: Using templates helps maintain a cohesive look across your project.
- High Quality: These templates are crafted by professionals, ensuring top-notch quality.
- How to Access Adobe Stock Templates:
- Open Premiere Pro and navigate to the Essential Graphics panel.
- Select the Browse tab to explore available templates.
- Search for specific types of templates using keywords like “lower thirds” or “titles.”
Once you’ve found the perfect template, it’s easy to customize it. For instance, you can change colors, fonts, and text to match your branding. Plus, Adobe Stock regularly updates its library, so you’re always in tune with the latest trends. Integrating these templates into your workflow not only enhances your projects but also boosts your efficiency, making it an invaluable tool for both beginners and seasoned editors.
Also Read This: how to sell illustrations on adobe stock
3. Preparing Adobe Premiere Pro for Integration
Before diving into the exciting world of Adobe Stock templates, it’s essential to ensure that your Adobe Premiere Pro is all set for seamless integration. Think of it like prepping your kitchen before cooking a gourmet meal; it makes the process smoother!
First things first: make sure you have the latest version of Adobe Premiere Pro installed. Adobe frequently updates its software, adding new features and enhancements that can significantly improve your editing experience. So, check for any updates by:
- Opening Adobe Creative Cloud.
- Navigating to the 'Apps' tab.
- Clicking on 'Update' next to Premiere Pro if available.
Once you’re up to date, let’s get your workspace ready. Here’s a simple checklist to follow:
- Workspace Configuration: Customize your workspace to fit your editing style. You can choose from options like 'Editing,' 'Color,' or 'Audio,' depending on your project requirements.
- Install Adobe Stock Add-on: Within Premiere Pro, go to the 'Window' menu, select 'Extensions,' and ensure the Adobe Stock panel is active. This will be your gateway to accessing and managing stock templates directly from your editing interface.
- Organize Your Project: Create folders in your Project panel for different assets—like Stock Templates, Footage, and Audio. This helps keep everything tidy and easy to find.
Having your Premiere Pro environment organized and ready is key to a productive workflow. Now that you’re set up, let’s dive into the next section!
Also Read This: How to Put an Image on a Shirt: Step-by-Step Guide for Custom Apparel
4. Steps to Plug in Adobe Stock Templates
Now that your Adobe Premiere Pro is prepped, let’s explore how to integrate Adobe Stock templates into your projects. It’s easier than you might think, and you’ll be amazed at how these templates can elevate your work!
Follow these simple steps to plug in Adobe Stock templates:
- Access the Adobe Stock Panel: In Premiere Pro, if you haven’t already, go to Window > Extensions > Adobe Stock. This will open the Stock panel and provide you with a search bar to find templates.
- Search for Templates: Use keywords to find what you need. Whether you’re looking for a specific style like “dynamic opener” or “slideshow,” typing in descriptive terms will yield the best results.
- Preview and Select: Click on a template to preview it. You can see how it looks and even play around with the animation. If you’re satisfied, click on the License & Download button.
- Import into Your Project: Once downloaded, the template will appear in your Project panel. Simply drag and drop it into your timeline. You can now start customizing it to fit your project needs!
- Edit to Your Heart’s Content: Double-click the template in the timeline to open it in the Essential Graphics panel. Here, you can change text, colors, images, and more to personalize the template.
And there you have it! Integrating Adobe Stock templates into Premiere Pro is not just a time-saver but also a way to enhance your creative storytelling. So, get out there and start creating stunning videos that will captivate your audience!
Also Read This: Is VectorStock a Reliable Resource for Designers and Creatives
5. Customizing Your Templates in Premiere Pro
Once you’ve imported your Adobe Stock templates into Premiere Pro, the real fun begins! Customizing these templates to fit your project’s needs can elevate your video content significantly. Let’s explore how to tweak and personalize these templates effectively.
Start with the Basics: Begin by dragging your template into the timeline. You'll typically see different elements in the Essential Graphics panel, which can be accessed by going to Window > Essential Graphics. This panel is your best friend when it comes to making changes.
Text Changes: One of the simplest yet most impactful ways to customize your templates is by modifying the text. Click on the text layer you want to edit in your timeline. In the Essential Graphics panel, you can change the font, size, color, and alignment. Consider using a font that aligns with your brand’s identity for consistency.
Color Adjustments: Colors can drastically change the mood of your video. To alter the colors in your template, select the graphic or text layer, then go to the Effect Controls panel. Here, you can adjust properties such as Fill Color and Stroke Color. If your video has a specific color palette, make sure to adjust the template colors accordingly.
Adding Your Media: Don’t forget that templates often include placeholders for images or video clips. Replace these placeholders with your own media by dragging your clips into the Project panel, then onto the timeline. Simply select the placeholder in the template and replace it with your media by dragging it into the placeholder.
Fine-Tuning Animation: If your template includes animations, you can customize the timing and effects. To do this, go to the Effect Controls panel and adjust the keyframes for position, scale, or opacity. This lets you ensure smooth transitions that match the pacing of your video.
Lastly, always preview your changes by hitting the spacebar to play your sequence. This gives you a better feel for how the customized template integrates with your overall project.
Also Read This: how to increase color intensity of an image
6. Best Practices for Using Templates
Using templates can save you time, but to maximize their effectiveness, it’s important to follow some best practices. Here are some tips to ensure your Premiere Pro projects shine!
- Choose Wisely: Not all templates will fit every project. Take the time to browse through Adobe Stock and choose templates that align with your video’s theme and tone. For instance, if you’re creating a corporate video, a sleek, professional template will work better than a playful, colorful one.
- Stay Consistent: Consistency is key in video production. Use similar templates across your videos to establish a cohesive look. This helps in building your brand's identity, making your videos easily recognizable to your audience.
- Limit Your Effects: While it’s tempting to use every effect available, less is often more. Overloading your video with animations can distract viewers. Focus on a few impactful effects that enhance your message instead.
- Test Your Edits: After customizing a template, preview your video multiple times. This helps you catch any glitches and see how the elements flow together. Sometimes, what looks good on the timeline might not translate well in the final edit.
- Seek Feedback: Don’t hesitate to share your drafts with colleagues or friends. Fresh eyes can provide valuable feedback on your use of templates and overall video quality.
By following these best practices, you can ensure that your use of Adobe Stock templates elevates your video projects, making them engaging and professional. Happy editing!
Also Read This: How to Contact Behance by Phone Number
7. Common Issues and Troubleshooting
When diving into the world of Adobe Stock templates in Premiere Pro, you might encounter a few hiccups along the way. Not to worry! Here’s a rundown of some common issues and how to troubleshoot them effectively.
1. Template Not Appearing in the Library
If you’ve purchased or downloaded a template but can’t find it in your library, ensure that you’re logged into the correct Adobe account. Sometimes, logging out and back in can refresh your library and display the missing templates. Additionally, check if the template was downloaded properly. You can do this by navigating to Window > Workspaces > Libraries to verify.
2. Template Not Importing
If you’re having trouble importing a template, try restarting Premiere Pro. It’s a simple solution, but it often resolves unexpected glitches. Also, ensure your version of Premiere Pro is up to date, as older versions may struggle with newer templates.
3. Missing Links or Media
Sometimes, when you import a template, media files might not be linked properly. If you see a red “Media Offline” message, right-click on the clip, select Link Media, and navigate to the location of the missing files. This should help reconnect everything smoothly.
4. Performance Issues
Using multiple templates can sometimes slow down Premiere Pro. To tackle this, consider rendering your sequence after applying templates or using proxies for smoother playback. You can also check your system performance and ensure you’re not overloading your RAM.
5. Customization Challenges
When customizing templates, you might find certain elements locked or uneditable. Double-check if the layer is locked in the timeline. If it’s a pre-composed element, you might need to dive into that composition to make your changes.
In conclusion, don’t let these common issues deter you from using Adobe Stock templates in your projects. With a little patience and these troubleshooting tips, you can overcome obstacles and enjoy a seamless editing experience!
8. Conclusion
Integrating Adobe Stock templates into Premiere Pro can be a game changer for your video projects. These templates not only save time but also elevate the quality of your work, giving it that professional touch. By utilizing the extensive library of creative assets, you can focus on storytelling rather than getting bogged down with design elements.
Remember, the key to a successful integration lies in understanding how to navigate the templates, troubleshoot common issues, and customize them to your unique vision. Whether you’re a seasoned editor or just starting out, Adobe Stock templates are a valuable resource that can enhance your workflow.
So, the next time you find yourself in need of captivating graphics or stunning transitions, don’t hesitate to explore Adobe Stock. Embrace the creativity that comes with these tools, and let your projects shine!
Happy editing!
 admin
admin