Welcome to the wonderful world of doll shoe making! If you’ve ever thought about crafting your own doll accessories, you’re in for a treat. Making doll shoes is not only a fun and creative project, but it also allows you to personalize your doll's wardrobe like never before. Whether you're a seasoned crafter or a beginner, this DIY tutorial will guide you through each step with ease. Let’s dive into the materials and techniques you'll need to get started!
Materials Needed for Your DIY Doll Shoes
Before we roll up our sleeves and get crafting, let’s gather all the materials you'll need. Having everything ready will make the process smoother and more enjoyable. Here’s a list of essential items:
- Felt or Fabric: Choose colors that match your doll’s style. Felt is sturdy and easy to work with, making it a popular choice.
- Shoe Template: You can find free templates online or create your own. Make sure it fits your doll’s foot size!
- Scissors: Sharp scissors are a must for cutting out your pieces cleanly.
- Glue or Hot Glue Gun: Fabric glue works well, but a hot glue gun can give you a stronger hold.
- Embellishments: Think beads, ribbons, or buttons to add some flair to your doll shoes.
- Needle and Thread: For those who want to sew their shoes together, a needle and thread are essential.
- Measuring Tape: To ensure accurate dimensions when cutting your fabric or felt.
Optional items that can enhance your project include:
- Craft Foam: Great for adding a cushioned sole to your shoes.
- Paint or Markers: Use them to decorate or personalize your shoes further.
- Craft Knife: Useful for more intricate cuts if you're comfortable using one.
Gather these materials, and you'll be well on your way to creating adorable, one-of-a-kind doll shoes that will surely impress! Next up, we’ll explore the step-by-step process to make these cute accessories. Stay tuned!
Also Read This: Is There an App to Download Dailymotion Videos? A Guide to Legal Downloading Apps
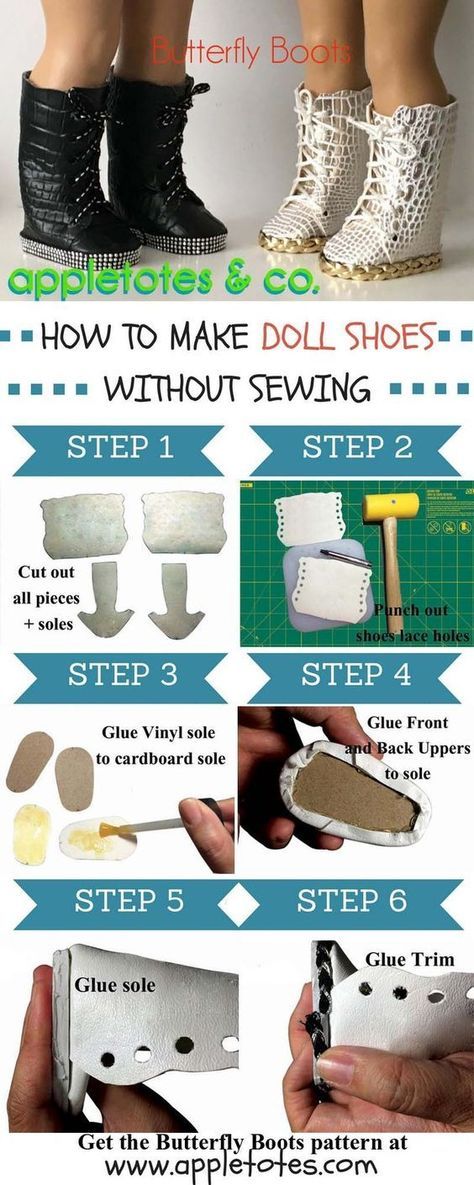
3. Step-by-Step Instructions to Create Doll Shoes
Creating your own doll shoes is not only a fun activity but also a great way to express your creativity! Let’s dive into the step-by-step process to make adorable doll shoes that your little friend will love.
Materials Needed:
- Felt or faux leather
- Scissors
- Hot glue gun (and glue sticks)
- Measuring tape or ruler
- Marker or fabric chalk
- Optional: Embellishments like beads, ribbons, or sequins
Step 1: Measure Your Doll's Feet
Before we get started, grab your measuring tape and measure the length and width of your doll’s feet. This will ensure the shoes fit perfectly. Write down these measurements for reference.
Step 2: Create the Shoe Template
Using your measurements, draw a shoe outline on paper. You can design simple flats or more intricate styles like boots. Cut out the template and place it on your felt or faux leather. Use the marker to trace around the template.
Step 3: Cut Out the Shoe Pieces
Carefully cut out the shoe shapes from the felt or faux leather. You’ll need two pieces for each shoe and additional pieces if you want a sole for durability.
Step 4: Assemble the Shoes
Take one shoe piece and apply a thin line of hot glue along the edge. Place the other shoe piece on top and press them together. Repeat this for the second shoe. If you're adding a sole, glue it to the bottom after the sides are connected.
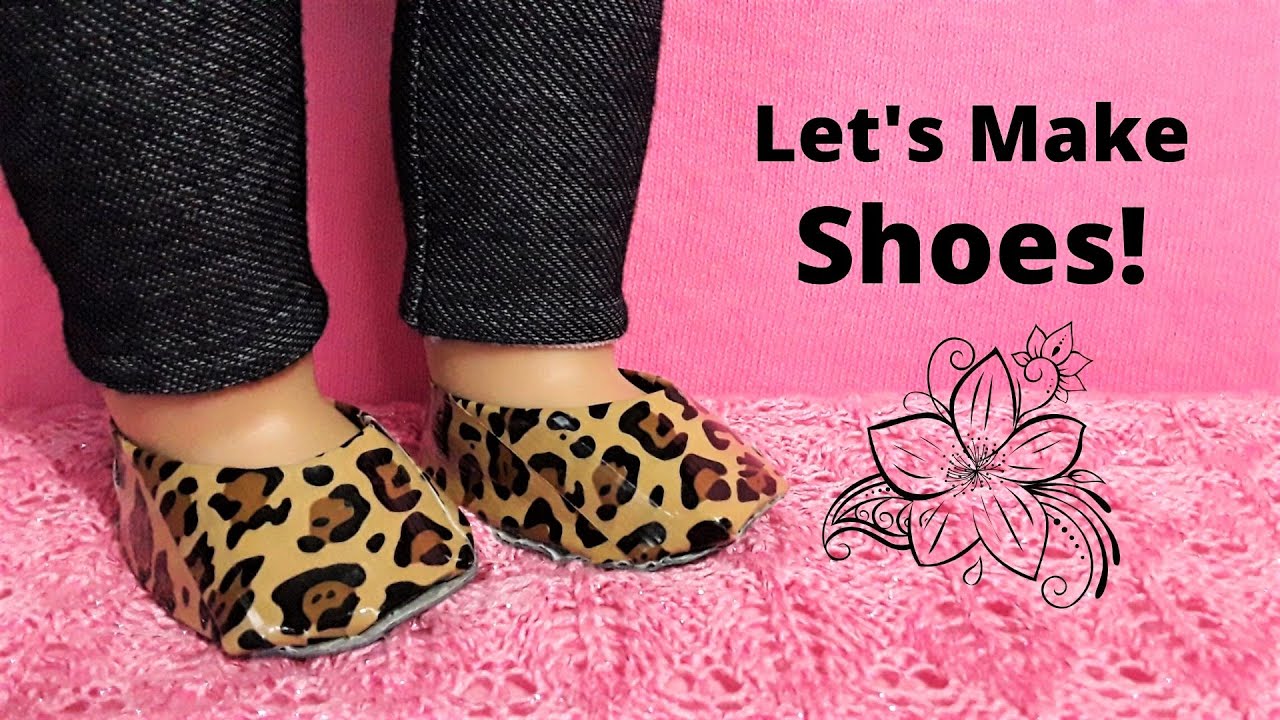
Step 5: Add Embellishments
This is where your creativity can shine! Use beads, ribbons, or sequins to add personality to your doll shoes. Glue these decorations in place, and let everything dry thoroughly.
Step 6: Try Them On!
Once the glue has dried, it’s time for your doll to try on her new shoes! Slip them on and adjust as necessary. If they’re a bit snug, you can always trim them for a better fit.
Also Read This: How to Download Dailymotion Videos in FreeMake: A Quick Tutorial
4. Tips for Customizing Your Doll Shoes
Now that you’ve mastered the basics, let’s explore some fun ways to customize your doll shoes even further! Personal touches can make these shoes truly unique.
Choose Vibrant Colors:
Don’t be afraid to mix and match different colors of felt or faux leather! You can create a color-blocked look by using different shades or even add a patterned fabric for a fun twist.
Experiment with Styles:
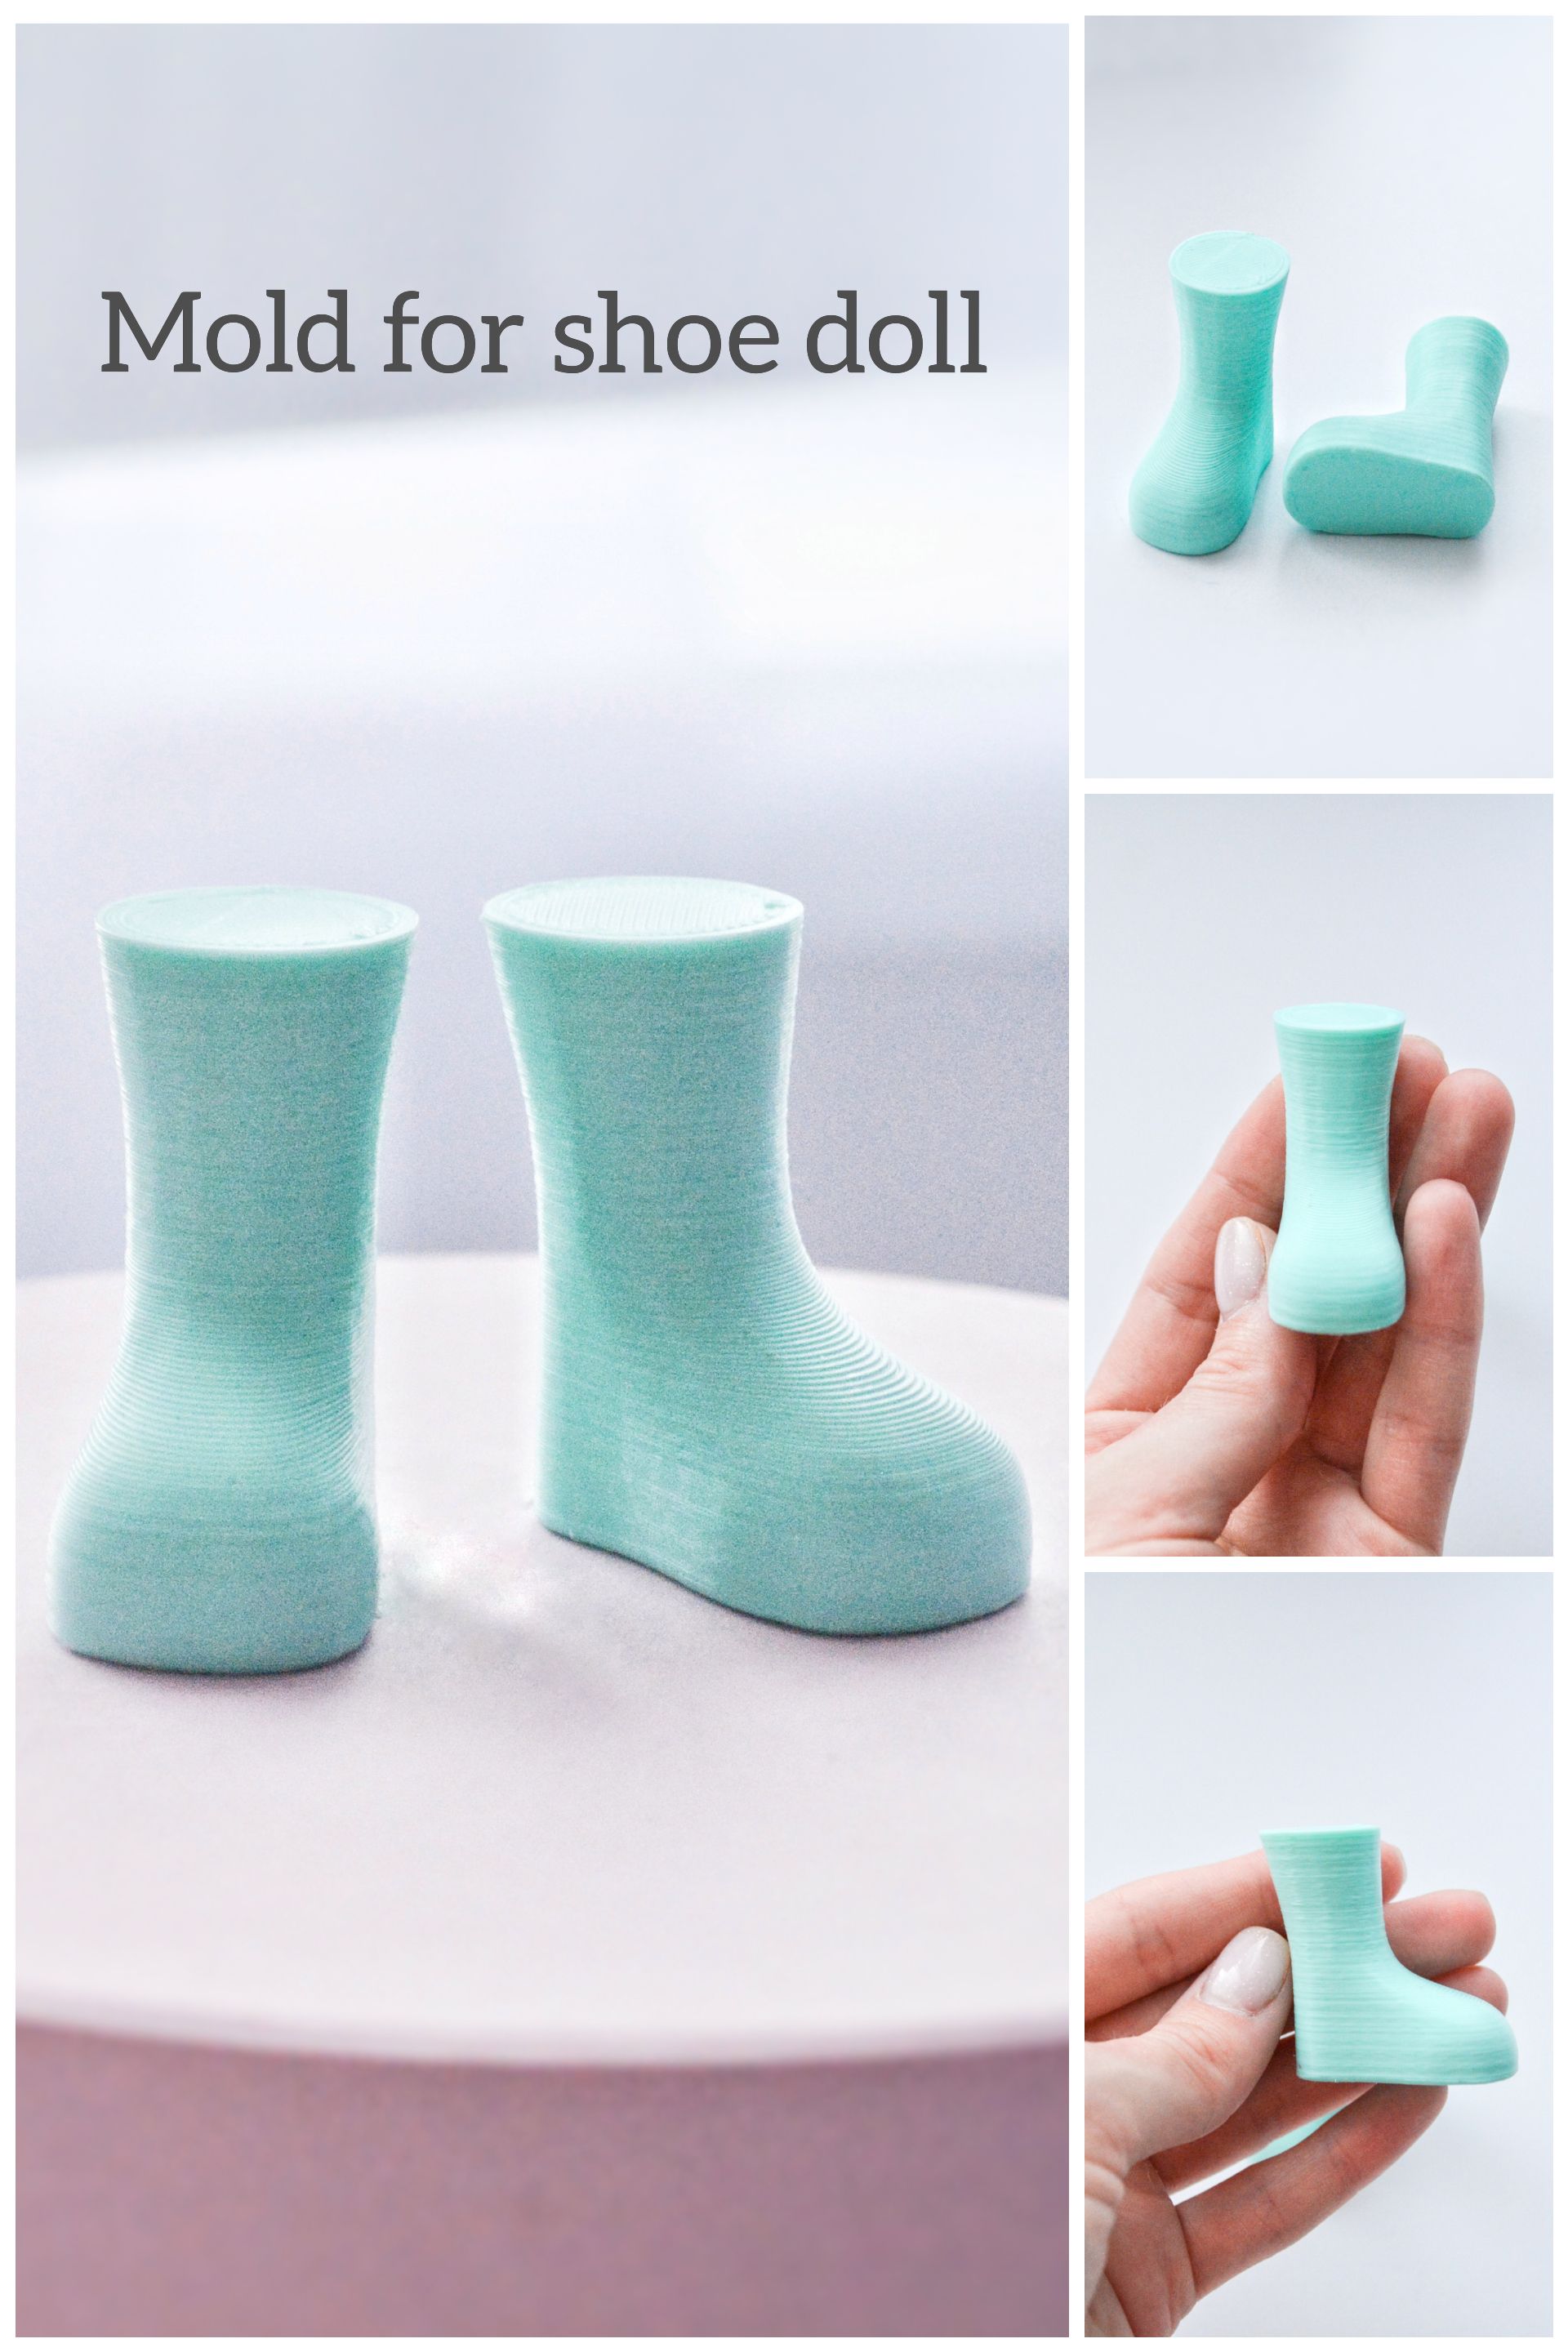
- Boots: Extend the height of your shoe template and add a flap at the top for a boot look!
- Sandals: Cut out additional straps and glue them to the sides for a cute sandal design.
- High Tops: Use a taller piece of fabric and secure it around the ankle for a sporty vibe.
Accessorize:
Consider adding tiny accessories, like bows made from ribbon or fabric flowers. You can also sew on small buttons for added flair. Get creative and make it your own!
Use Stencils:
If you want to get really fancy, try using stencils to add patterns to your shoes. You can create polka dots, stripes, or even floral designs with fabric paint!
Incorporate Texture:
Adding texture can elevate your doll shoes. Consider mixing materials, like using denim with felt or adding a layer of lace for a chic look. This adds depth and visual interest to your creations.
Remember, the best part of DIY is that there are no rules! Let your imagination run wild, and have fun creating the perfect pair of shoes for your doll. Happy crafting!
Also Read This: How to Set Up a Dailymotion API Key for Developers
5. Common Mistakes to Avoid When Making Doll Shoes
Making doll shoes can be a fun and rewarding project, but it's easy to run into some common pitfalls. Here are a few mistakes to watch out for:
- Ignoring Measurements: One of the biggest mistakes is neglecting to take accurate measurements of your doll's feet. Ensure you measure the length and width precisely. A shoe that's too tight or too loose can ruin the entire look.
- Using the Wrong Material: Not all materials are suitable for doll shoes. For instance, using stiff fabric can make the shoes look bulky and unappealing. Opt for lightweight materials like felt or cotton, which are easier to work with and provide a nicer finish.
- Skipping the Prototype: Before diving into your final design, create a prototype. This practice allows you to test the fit and style without wasting your best materials. Think of it as a dress rehearsal for your shoes!
- Neglecting the Finish: A common oversight is not paying attention to finishing touches. Scissors can leave frayed edges, and glue can create unsightly blobs. Take your time to tidy up the edges and use a clean adhesive application.
- Not Considering Style: Remember, your shoe design should reflect the doll's personality or the outfit it's paired with. Don’t just create generic designs; instead, think of themes or trends that would suit your doll's wardrobe.
By avoiding these common mistakes, you'll set yourself up for success in creating beautiful, functional doll shoes. Remember, practice makes perfect, and with each pair you make, you'll become more skilled and confident in your craft!
6. Showcase: Finished Doll Shoe Designs
Now that you’ve learned how to make doll shoes and the common pitfalls to avoid, let’s take a moment to showcase some finished designs that might inspire your next project!
| Design Name | Description | Materials Used |
|---|---|---|
| Chic Sandals | These summer sandals feature a breezy design with open toes and a cute ankle strap. | Felt, ribbon, and Velcro. |
| Classic Mary Janes | A timeless style with a rounded toe and a strap across the instep, perfect for dresses. | Leatherette, buttons, and craft glue. |
| Sporty Sneakers | Casual sneakers with bright colors and fun patterns, great for playtime! | Cotton fabric, elastic, and foam for the soles. |
| Elegant Boots | Dressy boots that go up to the ankle, ideal for winter outfits. | Suede fabric, decorative laces, and beads. |
These designs not only demonstrate the variety in styles you can create but also highlight the importance of choosing the right materials and techniques. Each pair tells a story and adds a unique touch to your doll's wardrobe. So gather your materials, let your creativity flow, and get to crafting your own stunning doll shoes!
 admin
admin


