Nail art is more than just painting your nails; it's a form of self-expression that has gained tremendous popularity over the years. Whether you're looking to make a bold statement or simply have fun with colors and designs, nail art offers endless possibilities. From simple polka dots to intricate patterns, there's something for everyone. In this tutorial, we'll explore how to create stunning nail designs you can proudly showcase on Dailymotion. So, grab your tools and let's dive into the colorful world of nail art!
Essential Tools and Supplies for Nail Art
Before you unleash your creativity, it’s important to have the right tools and supplies at your disposal. Here’s a list of essentials you’ll need to get started:
- Nail Polish: Choose a variety of base colors, and don’t forget to grab a top coat for that perfect finish!
- Nail Art Brushes: These brushes come in various shapes and sizes, perfect for detailed designs.
- Dotting Tools: Great for creating dots, flowers, and other intricate designs with precision.
- Nail Stickers and Decals: These add instant flair and are perfect for beginners who may struggle with freehand designs.
- Striping Tape: Ideal for creating crisp lines and geometric patterns.
- Sponges: Useful for techniques like ombre or gradient nail designs.
- Acetone or Nail Polish Remover: Essential for cleaning up mistakes or changing designs.
- Cuticle Pusher and Nail File: To keep your nails healthy and shaped before you start.
While these are the basics, the beauty of nail art is that you can improvise with what you have. For example, you might use a toothpick for fine details or even a bobby pin for dots! The key is to experiment and have fun with your creations.
Once you’ve gathered your supplies, you’re ready to start practicing different techniques. The world of nail art is vibrant and full of inspiration. Consider checking out trending designs on platforms like Dailymotion, where you can find countless tutorials to guide you. Remember, nail art not only allows you to express your artistic side but also gives you a little boost of confidence every time you look at your stunning nails. Happy painting!
Also Read This: Master the Art of Crafting a 16-Pointed Ninja Star
3. Step-by-Step Guide to Creating Basic Nail Designs
Getting started with nail art can be a thrilling experience, especially when you see your basic designs come to life! In this section, we’ll walk through some easy nail designs that anyone can create at home. Grab your nail polish, a few tools, and let’s dive in!
1. Polka Dots
Polka dots are a classic and super simple way to jazz up your nails. Here’s how to do it:
- Materials Needed: Base coat, two contrasting nail polish colors, dotting tool (or a bobby pin).
- Steps:
- Start with a clean, manicured nail and apply a base coat.
- Once dry, paint your nails with the first color (let's say a soft pink).
- After that’s dry, dip your dotting tool in the second color (like white) and create dots on your nails.
- Finish off with a top coat to seal your design!
2. Stripes
Stripes can add a chic touch to your nails. Here’s how to create them:
- Materials Needed: Base coat, nail tape, two nail polish colors.
- Steps:
- Apply a base coat and your chosen base color (perhaps a vibrant blue).
- Once dry, use nail tape to create stripe patterns on your nails.
- Paint over the tape with a different color (like gold) and carefully remove the tape while the polish is still wet.
- Seal it all with a top coat for a stunning finish!
These basic designs are a fantastic way to start your nail art journey! Don’t be afraid to experiment with colors and patterns until you find what you love.
Also Read This: How to Download Dailymotion Videos Using IDM
4. Exploring Advanced Nail Art Techniques
Once you’ve mastered the basics, it’s time to elevate your nail game with some advanced techniques! These can take your nail art from simple to stunning in no time.
1. Ombre Effect
The ombre effect is all about blending colors seamlessly. Here’s how to achieve it:
- Materials Needed: Two to three nail polish colors, makeup sponge, and a top coat.
- Steps:
- Start with a base coat and your lightest color as the base.
- On a makeup sponge, apply stripes of the lighter and darker colors you want to blend.
- Press the sponge onto your nail in a dabbing motion until you achieve the desired blend.
- Seal it with a top coat for a glossy finish!
2. Nail Stamping
Nail stamping allows you to create intricate designs easily. Here’s a quick guide:
- Materials Needed: Nail stamping kit, base coat, and your choice of nail polish.
- Steps:
- Apply a base coat and your base color.
- Select a design from the stamping plate and apply a contrasting color over it.
- Use the scraper to remove excess polish and transfer the design onto the stamper.
- Press the stamper onto your nail, and voila! Finish with a top coat.
These advanced techniques open up a world of creativity for your nails! Don’t hesitate to mix and match designs or add your personal touch to each style.
Also Read This: How to Block Ads on Dailymotion for an Ad-Free Experience
5. Popular Nail Art Trends to Try
If you’re looking to spice up your nail game, you’re in for a treat! Nail art has evolved into an incredible form of self-expression, and there are so many trends to choose from. Here are some of the most popular nail art trends that you should definitely try:
- Negative Space Nails: This trend embraces the natural nail as part of the design. By leaving sections of the nail bare, you can create geometric patterns or minimalist designs that are incredibly chic.
- Ombre Nails: Ombre nails are all about the gradient! You can transition from one color to another for a soft effect. It’s perfect for blending shades of the same color or creating a colorful rainbow effect.
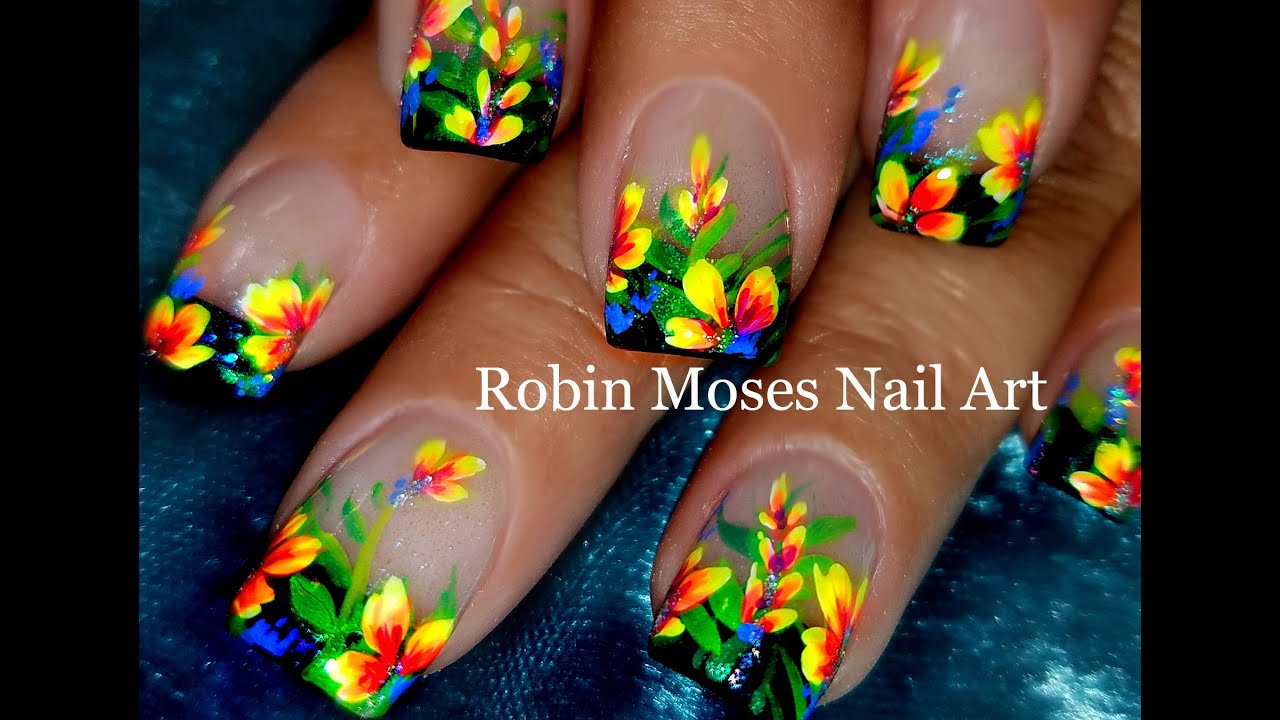
- Floral Designs: Flowers are timeless! Whether you go for delicate daisies or bold roses, floral patterns can add a touch of femininity and elegance to your nails.
- Metallic and Foil Accents: Shine bright like a diamond! Metallic finishes and foils can give your nails a futuristic vibe. Use them as a full coverage color or as accents on a matte base.
- Textures and 3D Elements: From studs to beads and even feathers, adding a tactile element to your nails can make them stand out. Textured nails are playful and can really show off your personality.
Each trend offers a chance to showcase your creativity, so don’t hesitate to experiment! You can mix and match these styles to develop your own signature look. Perhaps start with negative space nails and incorporate floral designs for a unique twist. The possibilities are endless!
Also Read This: Reusing Shoeboxes for Jewellery Boxes: Dailymotion Tutorials
6. Tips for Maintaining Your Nail Art
Once you’ve created stunning nail art, the last thing you want is for it to chip or fade too quickly. Here are some practical tips for maintaining your nail art and keeping those designs looking fresh and fabulous:
- Use a Quality Base Coat: Always start with a good base coat. This not only helps your nail polish adhere better but also protects your natural nails from staining.
- Seal with a Top Coat: After you finish your design, apply a top coat. This adds shine and creates a protective layer that can help prevent chipping.
- Avoid Water for the First Hour: Try to keep your nails out of water for at least an hour after application. This allows the polish to set properly.
- Moisturize Your Hands: Dry hands can lead to brittle nails. Regularly apply hand cream and cuticle oil to keep your nails and skin nourished.
- Be Gentle with Your Nails: Avoid using your nails as tools. Opening cans or scratching surfaces can lead to chips or breaks.
By following these tips, you can enjoy your nail art for longer and keep your nails looking stunning. Remember, a little care goes a long way, so treat your nails with the love they deserve!
Also Read This: How to Download Dailymotion Private Videos
7. Where to Find Inspiration for Nail Designs
Finding inspiration for your next nail design can be both fun and refreshing! With a plethora of resources available, you’ll never run out of ideas. Here are some fantastic places to spark your creativity:
- Social Media Platforms: Instagram and Pinterest are treasure troves for nail art enthusiasts. By following popular nail artists, you can discover a wide range of styles and techniques. Search hashtags like #NailArt or #NailDesigns to explore endless possibilities!
- Nail Art Tutorials on YouTube: Dailymotion isn’t the only video platform! YouTube hosts countless nail art tutorials that break down techniques step-by-step. Watching someone else’s process can inspire you to try new things, so grab your nail polish and get ready to experiment!
- Nail Art Books and Magazines: Sometimes, flipping through a physical book can ignite your imagination. Look for nail art books at your local bookstore or library, or browse fashion magazines that spotlight nail trends. You might stumble upon a unique design that resonates with you.
- Nature and Surroundings: Inspiration often strikes in the most unexpected places! Take a walk outside and observe the colors and patterns in nature. Whether it’s the vibrant hues of flowers or the intricate details of leaves, these elements can translate beautifully into nail art.
- Your Wardrobe: Take a cue from your closet! Consider the colors, patterns, and textures of your favorite outfits. For example, if you love polka dots or floral prints, why not incorporate those styles into your nail design?
Remember, inspiration is everywhere! Keep a notebook handy to jot down ideas or sketch out designs when inspiration hits. The more you explore, the more unique and stunning your nail art will become!
8. Conclusion and Final Thoughts
As we wrap up this creative journey into the world of nail art, it’s essential to remember that nail design is not just about aesthetics; it’s a form of self-expression! Whether you’re opting for a bold, colorful design or a subtle, elegant look, your nails can tell a story about who you are.
Here’s a quick recap of what we covered:
- Tools and Techniques: We explored various tools and techniques that can elevate your nail art game. From dotting tools to striping tape, having the right supplies can make all the difference!
- Creative Ideas: We shared numerous creative ideas to get those artistic juices flowing. Remember, there are no limits when it comes to creativity!
- Finding Inspiration: We discussed how to find inspiration in your surroundings, social media, and beyond. Keep an open mind, and let your creativity soar!
So, grab your nail polish, practice your skills, and let your creativity shine! With a little patience and practice, you can create stunning nail designs that will not only impress others but also make you feel fabulous. Happy painting!
 admin
admin