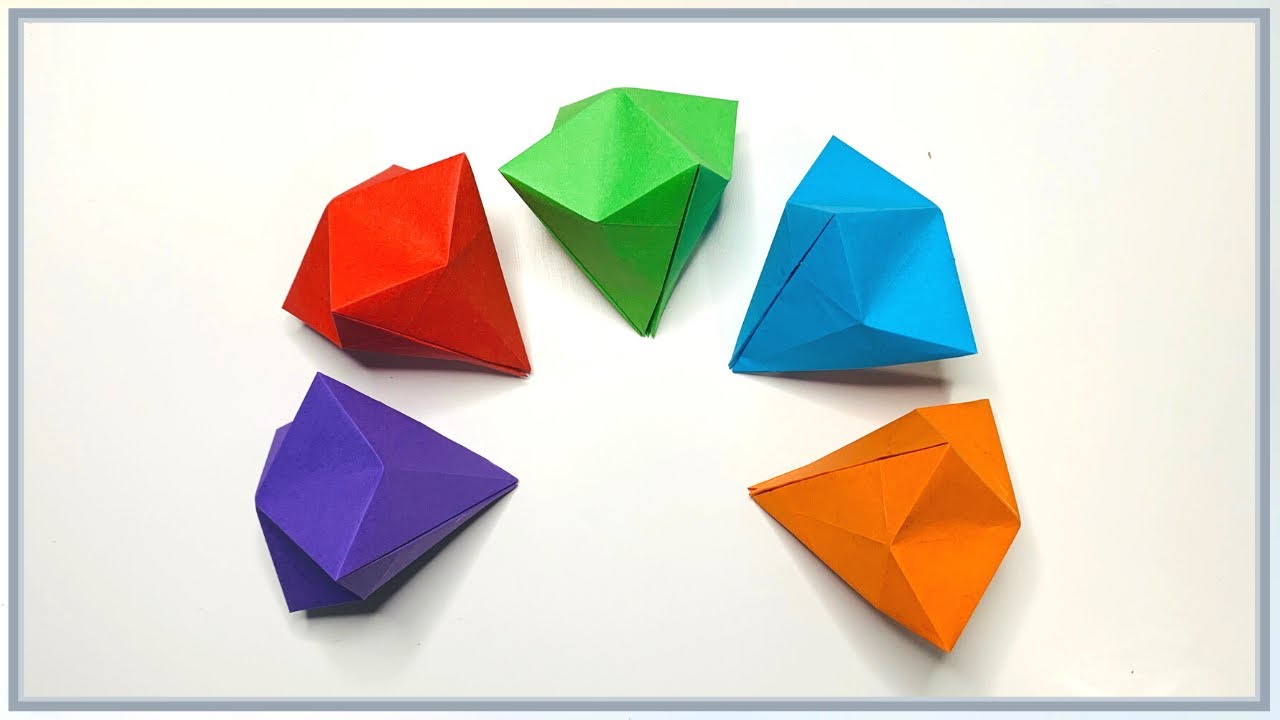
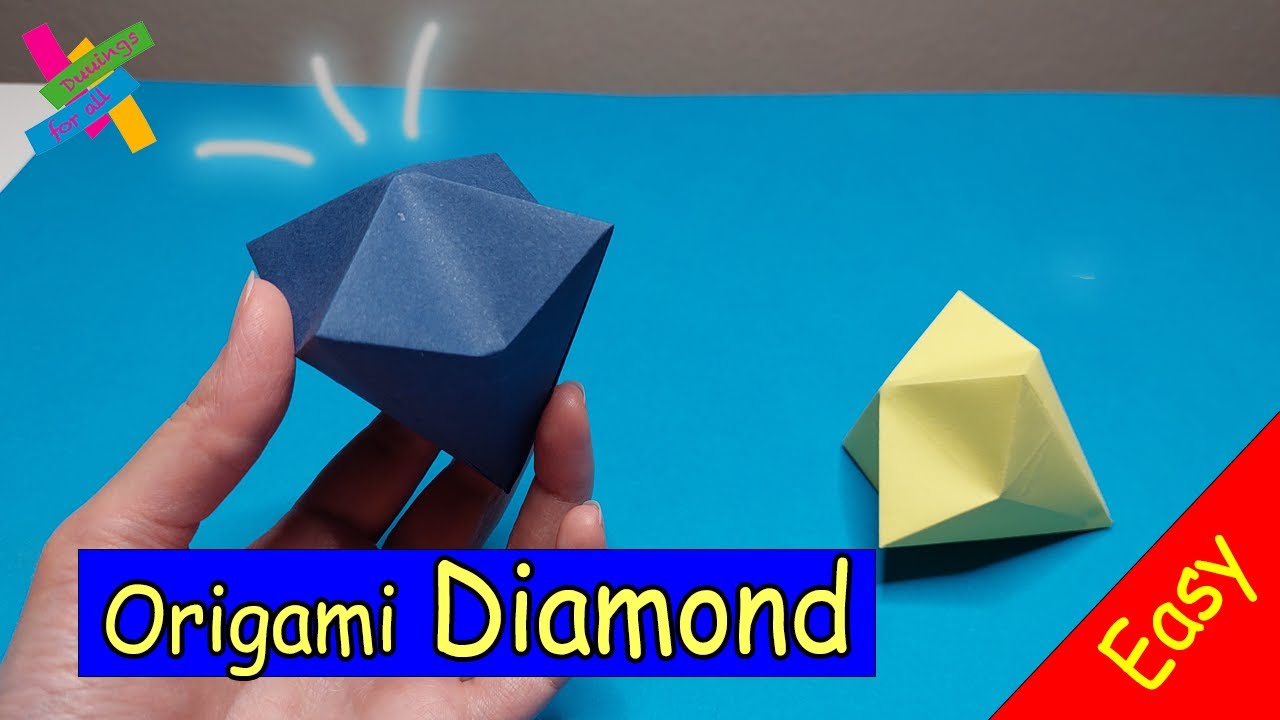
Welcome to the wonderful world of paper crafting! If you’re looking for a fun and creative project, making a paper diamond is a fantastic choice. Not only is it a delight to create, but it also adds a touch of elegance to any space. With just a few materials and some simple steps, you’ll be able to craft your very own stunning paper diamond. Whether you’re a seasoned crafter or a newbie, this guide will walk you through the process smoothly. Let’s dive right in and unleash our inner artists!
Materials Needed for Making a Paper Diamond

Before we get our hands busy, let’s gather all the materials you’ll need. Here’s a handy list to ensure you have everything at your fingertips:
- Colored Paper: Choose vibrant colors for those eye-catching diamonds. You can use origami paper, craft paper, or even wrapping paper.
- Scissors: A sharp pair will help you achieve clean cuts, which is essential for precise folding.
- Glue: A glue stick works great, but liquid glue or double-sided tape can also do the trick.
- Ruler: This will help you measure and create straight lines for your diamond shape.
- Pencil: Perfect for marking measurements before cutting.
- Decorative Items (optional): Stickers, glitter, or washi tape can add a personal touch to your diamonds.
Now that we have our materials laid out, let’s think about the type and size of diamonds you’d like to create. Do you want small, delicate ones for a mobile, or larger ones to use as centerpieces? The choice is yours!
Once you have everything ready, you’re one step closer to creating your fabulous paper diamonds. In the next section, we’ll go through the step-by-step instructions, so stay tuned and prepare to get crafting!
Also Read This: Discovering Fun and Learning with Creative Animal Adventures on Dailymotion
3. Step-by-Step Instructions for Crafting Your Paper Diamond

Ready to dive into the world of paper crafting? Making a paper diamond is not only a fun activity but also a great way to express your creativity! Let’s break this down into simple steps.
What You'll Need:
- Colored paper (your choice of colors)
- Scissors
- Glue stick or tape
- Pencil
- Ruler
- Templates (optional, but they help!)
Step 1: Choose Your Paper
First things first, select the colored paper you want to use. Bright colors like blue, pink, or yellow can really make your diamond pop!
Step 2: Create Your Template
Using your ruler and pencil, draw a diamond shape on your paper. A typical diamond shape consists of two triangles that come together at the top. If you’re unsure, you can easily find diamond templates online and print them out.
Step 3: Cut Out the Shape
Carefully cut along the lines of your diamond template. Take your time here—precision is key to a great-looking diamond!
Step 4: Fold the Paper
Once you have your diamond cut out, you’ll want to fold it along its center line, bringing the two triangles together. Make sure your edges align perfectly for a clean finish!
Step 5: Secure the Shape
Now, apply a bit of glue or tape along the edges of your folded triangle. Press it firmly and hold for a few seconds to ensure it sticks. You can also use a binder clip to hold the edges while they dry.
Step 6: Add Details
Want to jazz up your diamond? Consider adding glitter, stickers, or even drawing patterns with markers! This is your chance to personalize it and make it truly unique.
Step 7: Display Your Creation
Finally, find the perfect spot to showcase your stunning paper diamond! You can hang it as a decoration, use it for a party, or even gift it to someone special.
Also Read This: How to Do Juggling in Soccer on Dailymotion: A Step-by-Step Guide for Beginners
4. Creative Variations and Designs for Your Paper Diamond
Now that you know how to make a basic paper diamond, let’s explore some creative variations that can take your crafting game to the next level!
1. Glitter Diamonds
Add some sparkle to your diamonds by sprinkling glitter on the glue before it dries! This gives a beautiful shimmering effect that catches the light.
2. Patterned Paper
Instead of plain colored paper, try using patterned scrapbook paper. Florals, stripes, or polka dots can give a fun twist to your diamonds.
3. Layered Diamonds
For a more dynamic look, create several diamonds in varying sizes and layer them on top of each other. This adds depth and makes for an eye-catching display.
4. 3D Paper Diamonds
Want to challenge yourself? Try making a 3D paper diamond! This involves cutting out multiple diamond shapes and assembling them in a way that they hold their shape. It’s a bit more complex but totally worth it!
5. Use of Different Shapes
Mix it up by using different geometric shapes to create a diamond-like effect. Incorporate pentagons and hexagons for a more intricate design.
6. Color Schemes
Experiment with color gradients. For instance, you can start with a dark shade at the bottom of the diamond and gradually transition to a lighter shade at the top. This ombre effect is visually stunning!
With these creative variations, you can make your paper diamonds not just a craft, but a piece of art. So grab your supplies and let your imagination soar!
Also Read This: Educational and Fun Content on Dailymotion Through Stories and Tutorials
5. Tips for Perfecting Your Paper Diamond Craft
Creating a stunning paper diamond can be an enjoyable experience, but it can also be a bit tricky if you're new to crafting. Here are some handy tips to help you perfect your paper diamond:
- Choose the Right Paper: Opt for cardstock or heavy paper for durability. You want your diamond to hold its shape and look crisp!
- Precision is Key: Use a ruler and a sharp pencil to mark your cutting lines. The more precise your cuts, the better your diamond will look.
- Score Before Folding: Lightly score your lines with a craft knife before folding. This will help create clean folds and prevent the paper from tearing.
- Use a Bone Folder: If you have one, a bone folder can help you achieve sharp creases that give your diamond a professional finish.
- Experiment with Patterns: Don't be afraid to use patterned paper or even decorate your diamond with stickers or markers! This adds a personal touch.
- Glue Strategically: When assembling your diamond, use a strong adhesive, but be careful not to use too much. A thin layer will work wonders without causing messiness.
- Practice Makes Perfect: If your first attempt doesn’t turn out perfectly, don’t be discouraged. Try again! Each diamond you make will enhance your skills.
Remember, crafting is all about having fun, so enjoy the process and let your creativity shine through. Whether you're making these diamonds for decorations, gifts, or just for fun, these tips will help ensure your projects are a success!
6. Conclusion and Encouragement to Share Your Creations
Congratulations on taking the time to explore the delightful world of paper crafting! Creating a paper diamond is not just about making a beautiful object; it's about expressing your creativity and finding joy in the process. Each diamond you craft is a testament to your skills and imagination.
Now that you’ve learned how to make your own paper diamonds, I’d love to encourage you to share your creations! Post pictures on your favorite social media platforms or share them with friends and family. Consider creating a dedicated crafting group where you can exchange ideas, tips, and inspiration. The crafting community is incredibly supportive and can be a great source of motivation!
If you're looking for even more inspiration, check out some Dailymotion craft videos. They can provide visual guidance and ideas to kick your crafting up a notch. Don't forget to use hashtags like #PaperDiamondCraft or #CraftingCommunity to connect with other crafters.
So, what are you waiting for? Grab your paper, gather your supplies, and let your creativity flow! Happy crafting, and remember, every diamond you create is a unique reflection of you!
 admin
admin


