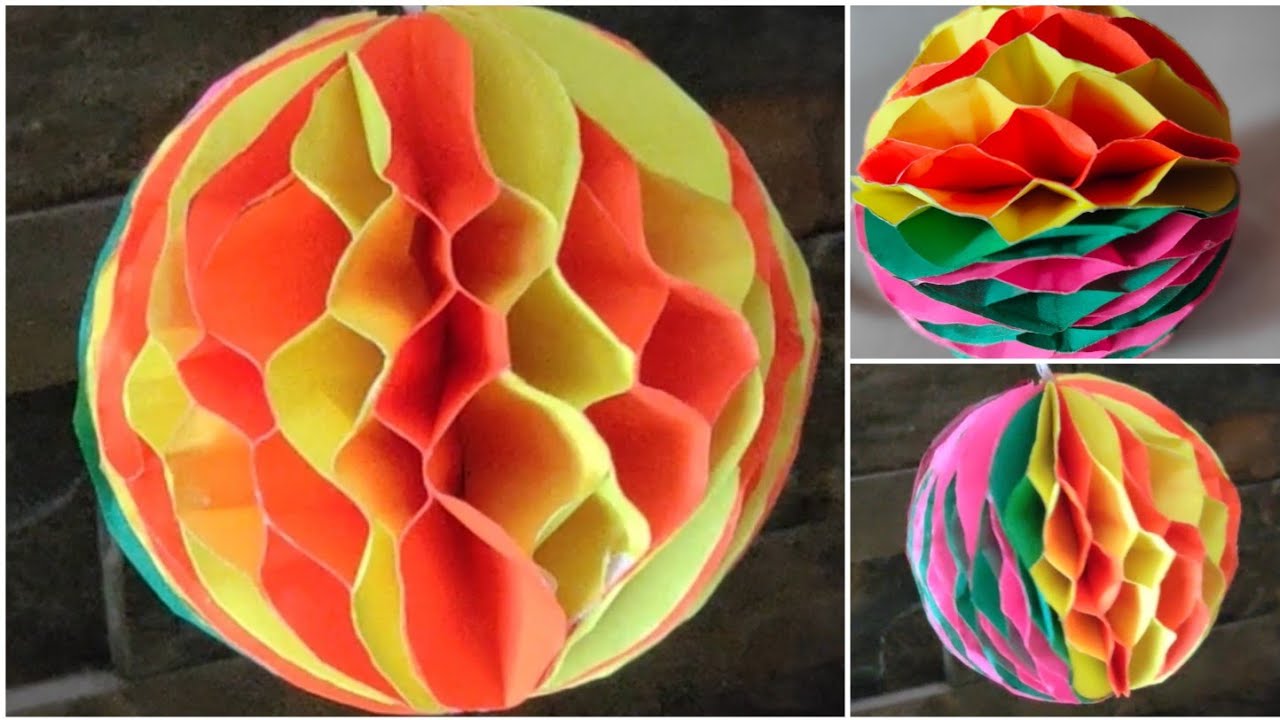
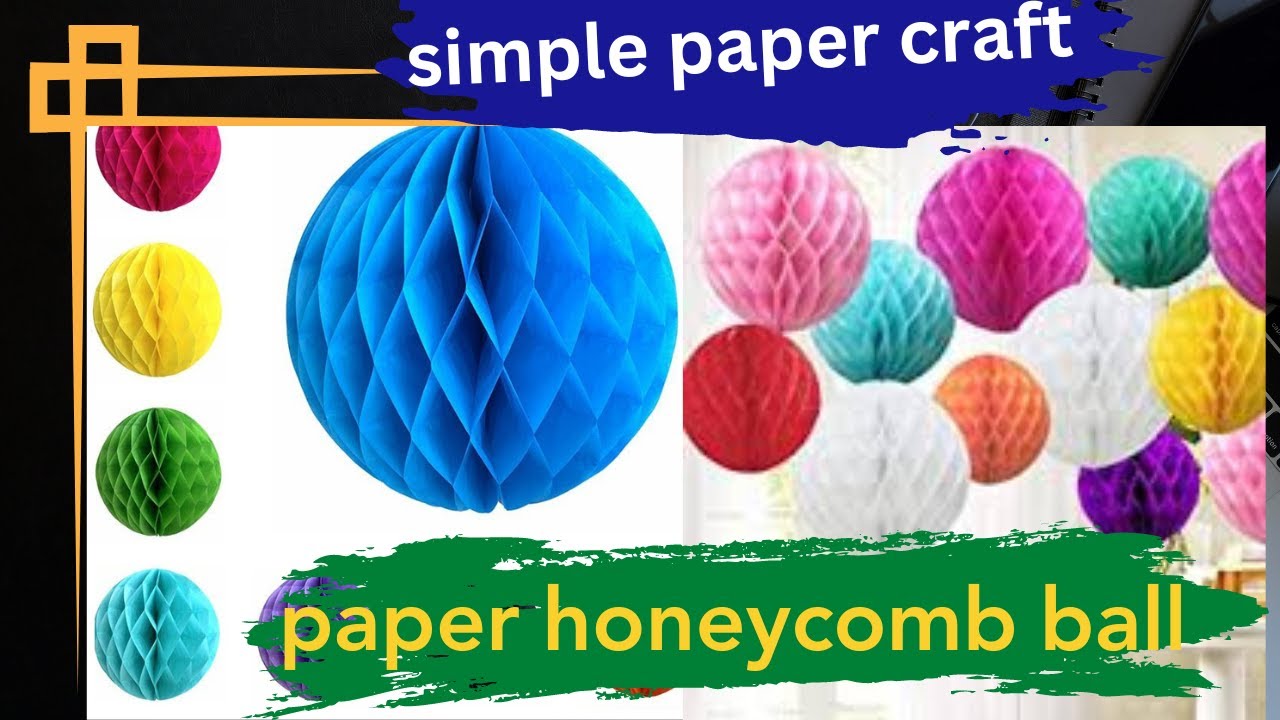
Welcome to the colorful world of honeycomb balls! These delightful decorations are perfect for parties, weddings, or just adding a touch of whimsy to your space. They’re made from lightweight tissue paper and can be found in various sizes and colors. Not only are they visually appealing, but they’re also a fun DIY project that anyone can tackle. In this blog post, we’ll guide you through the simple steps to create your own honeycomb balls, alongside some great tutorials on Dailymotion to inspire your crafting journey!
Materials Needed for Honeycomb Balls
Before you dive into the exciting world of making honeycomb balls, let’s gather the materials you'll need. The best part? Most of these items are easy to find and budget-friendly!
- Tissue Paper: Choose a variety of colors to create vibrant designs. You can go for classic pastels or bold, bright hues!
- Scissors: A good pair of scissors is essential for cutting your tissue paper into the right shapes.
- Glue or Double-Sided Tape: This will help hold the folds together to form the honeycomb shape.
- String or Ribbon: Use this for hanging your honeycomb balls. This adds a charming touch to your decorations!
- Ruler: A ruler helps to measure your tissue paper accurately, ensuring consistent sizes.
- Pencil: Great for marking your measurements on the tissue paper before cutting.
Optional materials include:
- Embossing Tool: For adding some texture to your tissue paper if you want to get creative!
- Decorative Stickers: Personalize your honeycomb balls with stickers for an extra flair.
Now that you have your materials lined up, you’re one step closer to creating stunning honeycomb balls! Grab your supplies, and let’s get crafting!
Also Read This: Learn How to Make Fresh Whipped Cream at Home Using Dailymotion
3. Step-by-Step Guide to Creating Honeycomb Balls
Creating honeycomb balls can be a fun and rewarding DIY project, perfect for parties, decorations, or just a creative afternoon. Let's dive into a straightforward guide that will help you make your own stunning honeycomb balls!
What You’ll Need:
- Creepe paper or tissue paper (in your preferred colors)
- Scissors
- Glue stick or double-sided tape
- Ruler
- Pencil
- String (for hanging)
Step 1: Cut Your Paper
Start by cutting your paper into squares. A good size to begin with is 10x10 inches. Depending on how big you want your honeycomb ball, you can adjust the size accordingly. Make sure you cut several squares—the more you have, the fuller your honeycomb ball will be!
Step 2: Fold the Squares
Now, take each square and fold it accordion-style. Each fold should be about 1 inch wide. Once you’ve completed all your squares, you should have a nice stack of folded paper. This is the base of your honeycomb ball!
Step 3: Glue the Folds Together
Take the stack of folded paper and apply glue on one edge of the folds. Press the other edge onto the glued area. This will hold your folds in place! Let it dry for a few minutes to ensure a solid bond.
Step 4: Shape Your Ball
Once your glued edges are secure, begin to gently separate the individual folds. This will create the honeycomb effect. Take your time with this step—be gentle to avoid tearing the paper.
Step 5: Add a Hanging Mechanism
If you'd like to hang your honeycomb ball, take a piece of string and glue one end to the top of the ball. Make sure it’s secure so you can display your creation proudly!
Step 6: Decorate!
You can leave your honeycomb ball as is, or get creative! Add glitter, paint, or even stickers to personalize your design. This is where your personal flair can really shine through!
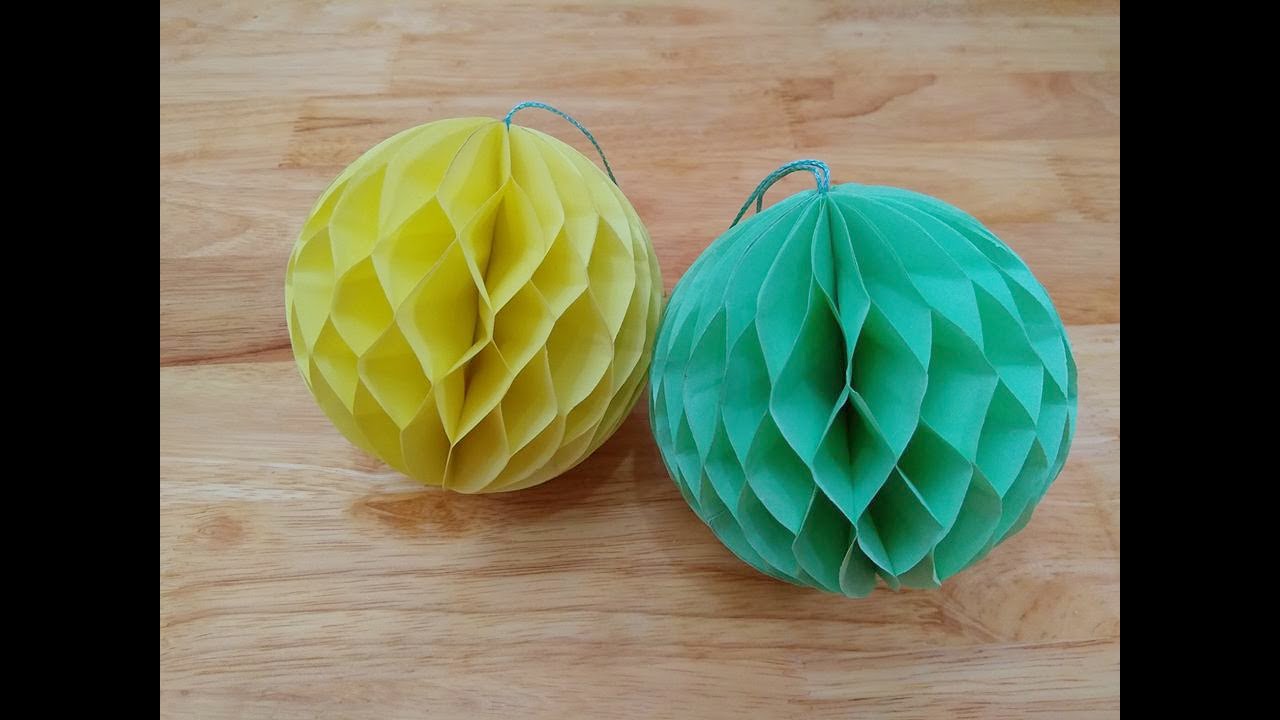
And there you go! You’ve created your very own honeycomb ball. These can be hung up for decoration or used as centerpieces. Enjoy your crafting!
Also Read This: How to Make a Facebook ID Using Yahoo on Dailymotion
4. Different Designs and Variations of Honeycomb Balls
Honeycomb balls are incredibly versatile, allowing for a range of designs and variations that can suit any occasion. Here are some creative ideas to inspire your next project!
1. Color Combinations:
Don’t be afraid to experiment with colors! Try using a gradient effect by choosing shades of the same color or mix contrasting colors for a vibrant look. For instance, a combination of pink, purple, and blue can make a stunning display for a birthday party.
2. Size Matters:
Your honeycomb balls don’t all have to be the same size. Consider creating a variety of sizes to add depth to your decoration. A cluster of small, medium, and large honeycomb balls can create a beautiful visual effect. You might make a giant ball for a centerpiece and smaller ones to hang around the room.
3. Themed Decorations:
- Seasonal Themes: For Halloween, use orange and black paper; for Christmas, go for red, green, and gold.
- Party Themes: Match your honeycomb colors to the overall theme of your party, like using pastels for a spring celebration.
4. Textured Variations:
Mix different types of paper for added texture. Use shiny metallic paper alongside matte tissue paper for a striking contrast. You can also try using patterned paper, like polka dots or stripes, to make each honeycomb ball unique.
5. Artistic Shapes:
Why stick to traditional round shapes? Experiment with different shapes such as hearts or stars. Simply follow the same folding method, but adjust your cutting shape accordingly. This can add an exciting twist to your decorations!
With these design ideas in mind, your honeycomb balls can evolve into something truly special. Let your creativity flow and have fun exploring all the possibilities!
Also Read This: How to Download Videos from Dailymotion Free Online
5. Tips and Tricks for Perfecting Your Honeycomb Balls
Creating honeycomb balls can be a delightful craft project, and with a few tips and tricks, you can elevate your skills to make stunning decorations. Here are some suggestions to help you perfect your honeycomb balls:
- Choose Quality Paper: The type of paper you use can make a significant difference. Opt for tissue paper or lightweight cardstock that holds its shape well. Avoid heavy paper that is difficult to fold.
- Cut Evenly: When cutting your paper circles, ensure they are uniform in size. Use a compass or a template to achieve consistent results. This ensures that your honeycomb balls will look symmetrical and professional.
- Experiment with Colors: Don’t hesitate to mix and match colors and patterns! Using two to three complementary colors can add depth and intrigue to your honeycomb balls.
- Proper Folding Technique: When folding your paper circles, aim for crisp, clean folds. A bone folder can help create sharp edges, giving your honeycomb ball a polished look.
- Adhesive Choice: Use a strong adhesive for assembling your honeycomb balls. Hot glue works wonders, but double-sided tape can be an excellent choice for a cleaner finish without the mess.
- Practice Patience: Don’t rush the process! Take your time to align the folds carefully and let the glue dry thoroughly between steps to ensure your honeycomb balls stay intact.
By keeping these tips in mind, you'll find that each honeycomb ball you create is not just a craft project but a beautiful piece of art that you can proudly display. Happy crafting!
6. Where to Find More Honeycomb Ball Tutorials on Dailymotion
If you're eager to dive deeper into the world of honeycomb ball creation, Dailymotion is a treasure trove of tutorials waiting for you! Here’s how to navigate the platform to find the best resources:
- Search Function: Use the search bar at the top of the Dailymotion homepage. Type in keywords like “honeycomb ball tutorial” or “DIY honeycomb decorations” to get a list of relevant videos.
- Check Popular Channels: Look for channels dedicated to DIY crafts or home decor. Many creators specialize in paper crafts and often post multiple videos about honeycomb balls.
- Suggested Videos: Once you start watching tutorials, check the suggested videos sidebar. Dailymotion will often recommend similar content based on your viewing history, leading you to even more creative ideas!
- Playlists: Some users create playlists that bundle several related videos. Look for playlists titled “Party Decor” or “DIY Decorations” to find numerous honeycomb ball tutorials all in one place.
- Engage with the Community: Don’t hesitate to leave comments or questions on videos. Many creators appreciate feedback and may provide additional tips or resources in their replies.
Now that you know where to find helpful tutorials, you can easily expand your crafting skills and get inspired by other creators. So grab your supplies, get comfy, and let your creativity flow as you explore the wonderful world of honeycomb balls on Dailymotion!
 admin
admin


