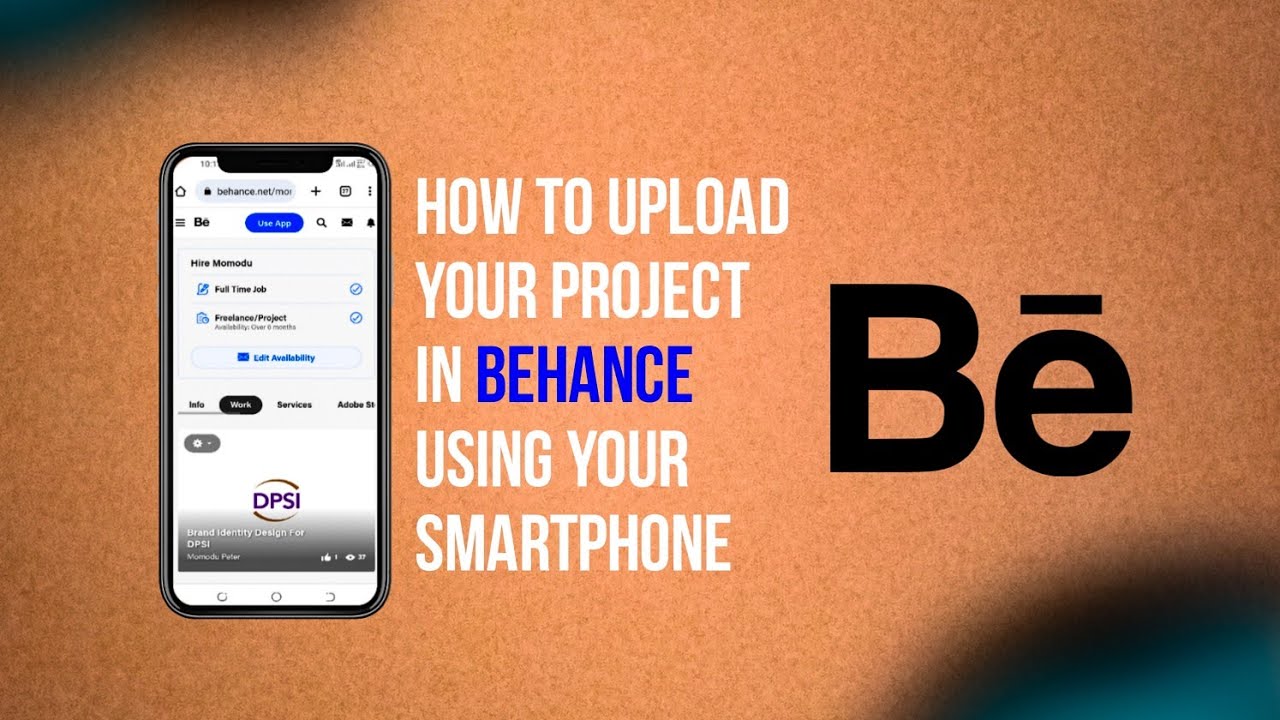
Hey there, creative minds! If you're looking to showcase your projects and connect with other artists, Behance is the place to be. This platform not only allows you to display your work but also helps you gain visibility in the creative community. Imagine having your portfolio seen by potential clients, collaborators, and fellow creatives all over the world. That's the power of Behance! Let’s dive into why it's essential for anyone in the creative field.
Setting Up Your Behance Profile
Alright, let’s get you started on Behance! First things first, you’ll need to create an account. Here’s how:
- Sign Up: Go to the Behance website and click on "Sign Up." You can use your Adobe ID or create a new one.
- Choose Your Username: Pick a username that reflects your brand. This will be your identity on the platform.
- Profile Picture: Upload a clear and professional profile picture. This helps in creating a personal connection with your audience.
- Bio: Write a short bio that highlights your skills, interests, and what you do. Make it engaging!
- Website Links: If you have a personal portfolio or social media accounts, link them! This gives viewers more ways to connect with you.
Now that your account is set up, it’s time to make it shine! Here are some tips for optimizing your profile:
- Showcase Your Best Work: Don't just upload everything. Curate your projects to highlight your best pieces.
- Use High-Quality Images: Ensure that your images are clear and properly lit. Quality matters!
- Project Descriptions: Add engaging descriptions for each project. Share your process, the tools you used, and any challenges you faced.
- Tags: Use relevant tags for your projects. This makes it easier for others to find your work.
Once your profile is complete, don't forget to explore the Behance community. Follow other creatives, appreciate their work, and leave thoughtful comments. Engaging with others can lead to collaborations and even new friendships!
So, are you ready to showcase your creativity to the world? Setting up your Behance profile is just the first step in your journey as a creative professional. Good luck, and happy creating!
Also Read This: Download Bilibili Mp3 Content With This Easy Guide
3. Steps to Add a New Project on Behance
Adding a new project on Behance is a straightforward process, and it's a great way to showcase your creative work. Here’s how to do it step-by-step:
- Log In to Your Account: Start by logging into your Behance account. If you don’t have one yet, go ahead and sign up—it’s free!
- Navigate to Your Profile: Once logged in, click on your profile picture at the top right corner. This will take you to your profile page.
- Click on “Create a Project”: Look for the “Create a Project” button; it’s usually prominently displayed on your profile page. Click it, and you’ll be directed to the project creation page.
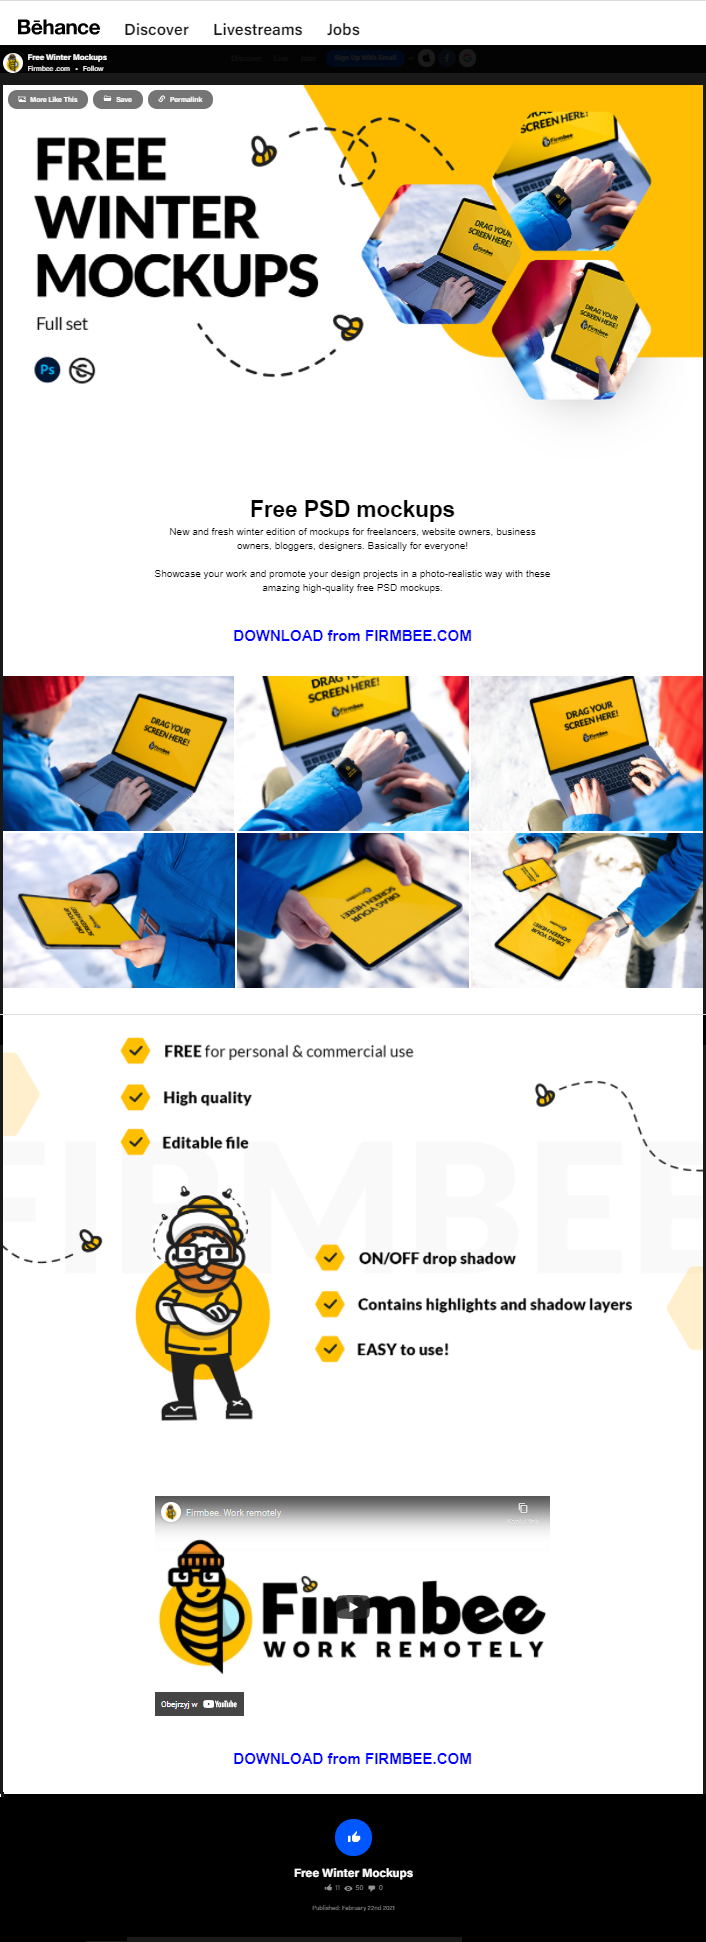
- Upload Your Work: Here’s the fun part! You can drag and drop your images, videos, or even PDFs directly into the upload area. Make sure to select high-quality images to make your project pop!
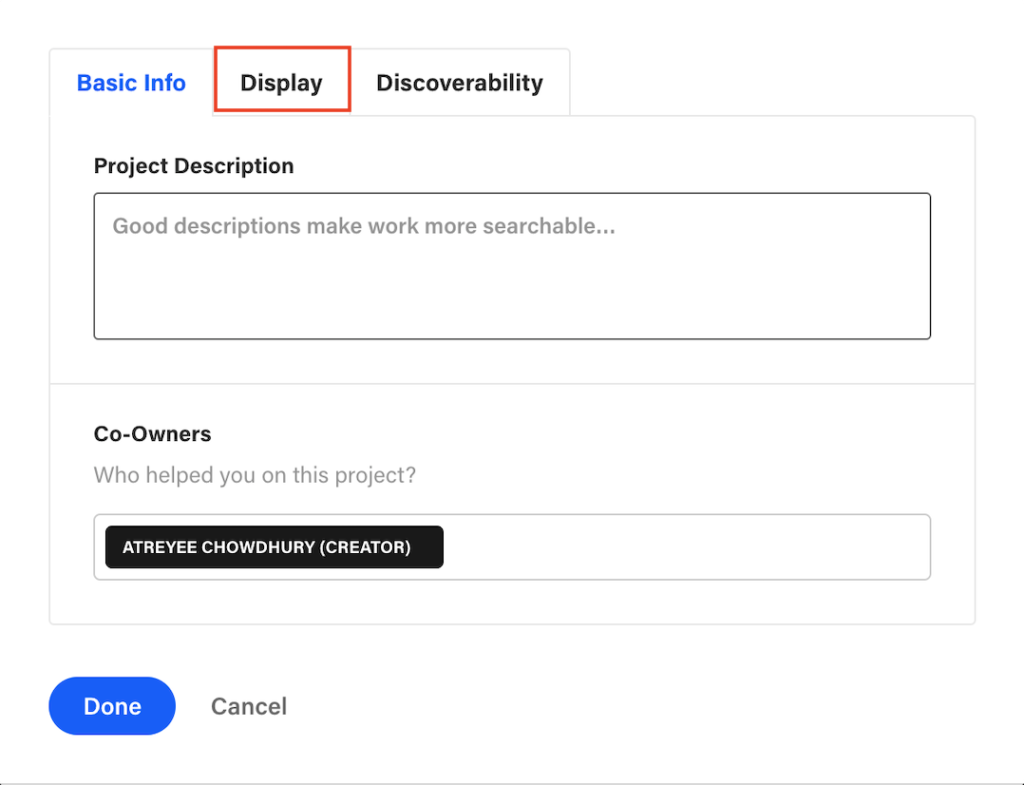
- Add Project Details: This is where you provide context for your work. Fill in the project title, description, and any relevant tags. Aim for a title that captures attention and a description that explains your creative process—this helps viewers connect with your work.
- Customize Your Layout: Behance allows you to choose how your project looks. You can rearrange images, add text, or even embed videos. Play around with different layouts until you find the one that showcases your work best!
- Publish Your Project: Once you’re satisfied with how everything looks, hit the “Publish” button. You’ll have the option to share it with your network, so don’t hesitate to let your followers know!
And voilà! Your project is live for the world to see. Don’t forget to share the link on your social media platforms to attract more viewers.
Also Read This: How to Delete Your Behance Account and Close Your Portfolio
4. Best Practices for Organizing Your Projects
Organizing your projects effectively on Behance can make a significant difference in how your work is perceived. Here are some best practices to keep in mind:
- Consistency is Key: Maintain a consistent style across your projects. This includes using similar fonts, color schemes, and layouts. It helps create a cohesive portfolio that reflects your personal brand.
- Use Clear Titles and Descriptions: Make sure each project has a clear and descriptive title. The description should explain your intent, process, and any challenges you faced. This not only informs viewers but also adds depth to your presentation.
- Group Similar Projects: If you have projects that relate to a specific theme or medium (like photography or graphic design), consider grouping them together. This helps potential clients or collaborators understand your range and expertise.
- Regular Updates: Keep your portfolio fresh by regularly updating your projects. Remove older works that no longer represent your current style or skills and replace them with newer projects that highlight your growth.
- Highlight Your Best Work: Don’t feel the need to showcase every single project you’ve ever done. Instead, focus on your best work that showcases your skills and creativity. Quality over quantity is essential!
By following these best practices, you’ll not only make your portfolio visually appealing but also enhance the viewer's experience, making it easier for them to appreciate your creative journey.
Also Read This: How to Reorder Projects on Behance
5. Uploading Your Work: Tips for High-Quality Images and Descriptions

Uploading your projects to Behance is more than just clicking a button; it’s about showcasing your work in the best possible light. Here are some friendly tips to ensure your images and descriptions stand out!
1. Choose the Right Image Format: Always opt for high-quality formats like JPEG or PNG. JPEG is great for photographs, while PNG works well for graphics with transparent backgrounds. Aim for images that are at least 72 DPI (dots per inch) to ensure clarity.
2. Optimize Image Size: Large files can slow down your project loading time. Compress your images without losing quality. Tools like TinyPNG or ImageOptim can help. A good target size is around 1-2 MB per image, balancing quality and speed.
3. Create a Cohesive Visual Style: Use consistent colors, filters, or styles across your images. This creates a more professional look and helps tie your project together. For example, if you're uploading a series of illustrations, use a similar color palette to unify them.
4. Write Engaging Descriptions: Don’t skimp on descriptions! Tell your audience the story behind your work. What was your inspiration? What challenges did you face? Use compelling language and keep it concise. Break your text into short paragraphs or bullet points for easier reading.
5. Utilize Keywords: Incorporate relevant keywords in your descriptions. Think about what someone might search for when looking for work like yours. This helps improve the visibility of your project on Behance.
By focusing on high-quality images and engaging descriptions, you can create a captivating Behance project that resonates with viewers. Remember, it’s all about making a connection with your audience through your presentation!
6. Promoting Your Behance Projects Effectively
Once you’ve uploaded your stunning projects on Behance, it’s time to get the word out! Here are some effective strategies to promote your work and reach a wider audience.
1. Share on Social Media: Leverage platforms like Instagram, Twitter, and Facebook. Create eye-catching posts with snippets of your project and a link to your Behance page. Use relevant hashtags like #Behance, #Design, or specific to your project type to increase visibility.
2. Engage with the Community: Behance has a vibrant community of creatives. Follow fellow artists, leave thoughtful comments on their work, and participate in discussions. This not only builds relationships but can also lead to reciprocal engagement on your projects.
3. Create a Portfolio Website: If you can, direct traffic from your own portfolio website to your Behance projects. Include links and previews of your Behance work. This can enhance your credibility and give viewers a broader understanding of your skills.
4. Utilize Email Newsletters: If you have an email list, send out a newsletter showcasing your latest projects on Behance. Include engaging visuals and brief descriptions, inviting your subscribers to check it out. This personal touch can drive traffic to your profile.
5. Collaborate with Other Creatives: Team up with other artists or influencers who share a similar audience. Collaborative projects can expand your reach and introduce your work to new viewers. Plus, it’s always fun to brainstorm with others!
Promoting your Behance projects doesn’t have to be daunting. With a little creativity and community engagement, you can effectively showcase your work and connect with an audience that appreciates your talent. Happy sharing!
 admin
admin


