Have you ever wanted to create something unique and personal to wear? Making rings at home is not only a fun and creative project, but it also allows you to express your style and personality. Whether you're looking to craft simple bands or intricate designs, DIY ring making is a rewarding experience. In this tutorial, we'll guide you through the basics, ensuring you can create beautiful pieces that reflect your individuality. So, gather your materials and let’s dive into the world of home ring making!
Materials You Will Need
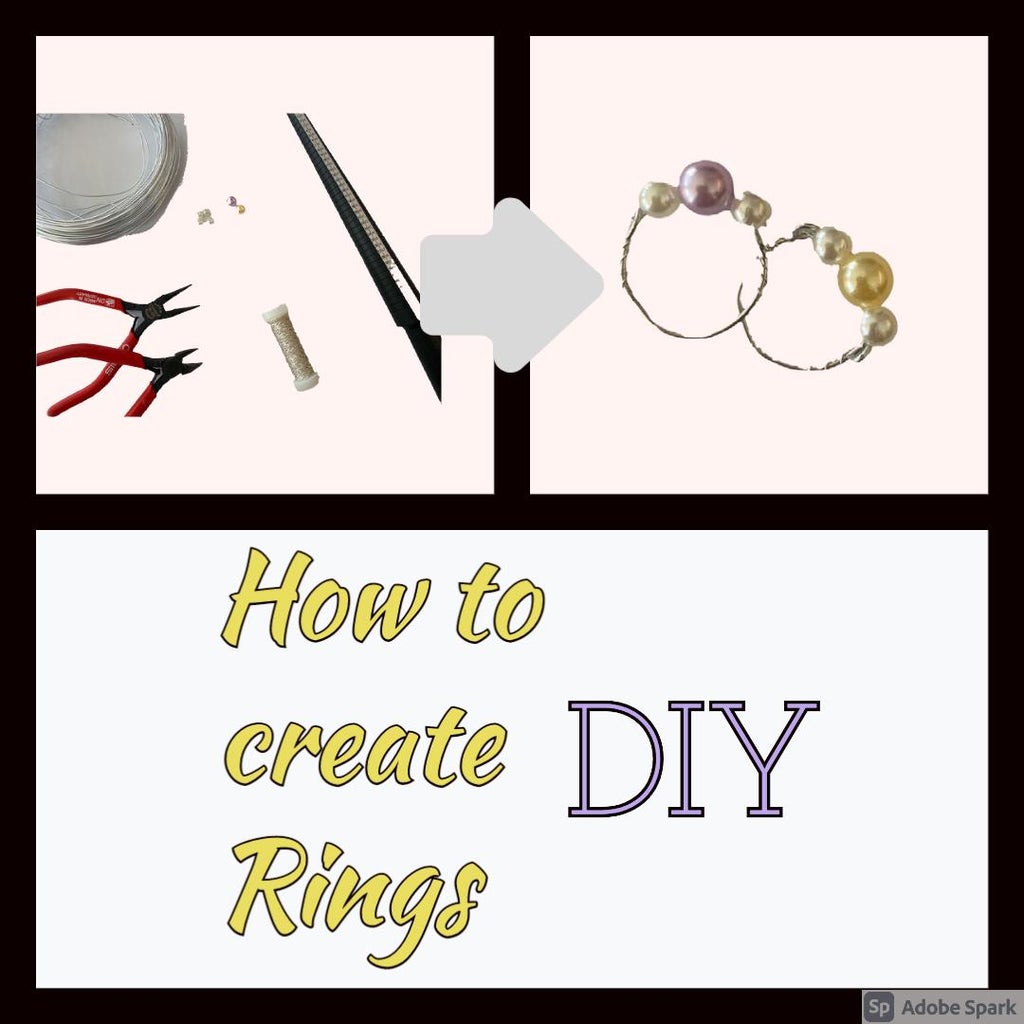
Before you start crafting your stunning rings, it's essential to gather all the necessary materials. Here’s a comprehensive list of what you'll need:
- Wire: Choose between copper, silver, or gold-filled wire. A 20 to 24-gauge wire is ideal for beginners.
- Ring Mandrel: This tool helps shape your rings accurately. If you don’t have one, a cylindrical object like a marker can work in a pinch.
- Wire Cutters: To trim your wire to the desired length.
- Pliers: Both round-nose and flat-nose pliers are useful for bending and twisting the wire.
- File or Sandpaper: To smooth out any rough edges for a comfortable fit.
- Beads or Gemstones: Optional, but they can add a beautiful touch to your rings.
- Measuring Tape: To ensure you get the perfect size for your fingers.
- Jewelry Glue (optional): For securing any embellishments.
Once you have all these materials ready, you’re set to embark on your ring-making adventure! Take your time to familiarize yourself with the tools, as they will help you create stunning pieces in no time. Remember, practice makes perfect, so don’t be afraid to experiment with different designs and techniques!
Also Read This: Ultimate Guide to Photo Editing with Adobe Photoshop 7.0 on Dailymotion
3. Step-by-Step Guide to Creating Your Own Rings

Making your own rings at home can be a delightful and rewarding experience! Whether you're creating a simple band or an intricate design, following these steps will help you craft beautiful rings tailored to your style.
Step 1: Gather Your Materials
- Wire: Choose a metal wire that suits your project—copper, aluminum, or sterling silver are great options.
- Tools: You’ll need wire cutters, round-nose pliers, and flat-nose pliers.
- Measuring Tools: A ring mandrel or a simple measuring tape will help you find the right size.
- Optional Add-Ons: Beads, gemstones, or charms if you want to add some flair!
Step 2: Measure Your Ring Size
Before you begin, it's essential to determine the correct size. Use a ring sizer or a strip of paper to measure the circumference of your finger. Make sure to consider the width of the band you intend to create—wider bands may require a slightly larger size.
Step 3: Cut the Wire
Using your wire cutters, cut a length of wire about 3 inches longer than your desired ring size. This extra length will give you enough material to make loops and secure your ends.
Step 4: Shape the Wire
Take your wire and start shaping it around the mandrel or your finger to form a loop. Use your round-nose pliers to create any curves or designs you want. If you're adding beads or charms, now’s the time to incorporate them!
Step 5: Secure the Ends
Once you’re happy with the shape, use your flat-nose pliers to twist and secure the ends of the wire together. Make sure there are no sharp edges—this will ensure the ring is comfortable to wear.
Step 6: Final Touches
Give your ring a final polish using a soft cloth. If you want a shiny finish, you can gently sand the surface or use a metal polish. Now, try it on and admire your handiwork!
Also Read This: How to Make Biscuits Without Oven: Easy DIY Recipe on Dailymotion
4. Common Techniques for Ring Making
As you dive deeper into ring making, you'll encounter a variety of techniques that can elevate your designs. Here’s a rundown of some common methods that can help you create stunning rings.
1. Wire Wrapping
Wire wrapping involves twisting and looping wire around stones or beads to create intricate designs. This technique allows for personal expression and can be adapted to include different gemstone shapes and sizes.
2. Beading
Incorporating beads into your rings can add color and texture. You can string beads onto wire before forming the ring or attach them later using small loops. Experiment with various bead types—glass, wood, or metal—to find what resonates with you.
3. Soldering
If you're ready to take your skills to the next level, soldering can create more durable and seamless designs. This method involves melting metal to join pieces together, allowing for more complex shapes and styles.
4. Casting
For those interested in a sculptural approach, casting allows you to create rings from molten metal. This technique requires more specialized equipment but offers incredible design possibilities, from detailed motifs to organic shapes.
5. Etching
Etching is a way to add intricate designs to metal surfaces. You can use acid or specialized tools to create patterns. This technique can transform a simple band into a unique piece of art.
As you explore these techniques, remember that practice makes perfect! Start with simple designs and gradually challenge yourself as you gain confidence. Happy crafting!
Also Read This: Stream Don Omar’s Danza Kuduro from Fast Five on Dailymotion
5. Tips for Customizing Your Rings
Making your own rings is not just about the crafting; it’s also about expressing your unique style! Here are some fun and creative tips to help you customize your rings and make them truly one-of-a-kind:
- Choose Unique Materials: Don't just stick to metal! Think outside the box and consider using materials like leather, wood, or even resin. You can embed small items like flowers or glitter in resin for a stunning effect.
- Experiment with Textures: Adding texture can elevate a simple design. Use tools like files or hammers to create grooves or patterns on the surface of your rings. This adds a tactile element that catches the eye.
- Incorporate Colors: Color can transform your ring from ordinary to extraordinary. Use enamel paint, colored resin, or even gemstones to add splashes of color. Try a gradient technique for a more dynamic look!
- Engrave Personal Messages: Whether it’s a significant date, a word that resonates with you, or a small doodle, engraving adds a personal touch. You can use engraving tools or even a simple hand-held engraving pen for delicate designs.
- Mix and Match Styles: Don’t be afraid to blend different styles! Combine chunky and delicate rings on one finger for an eye-catching layered look. You can create a thematic collection, such as nature-inspired rings paired with minimalist designs.
Keep in mind that customization is all about trial and error, so don’t hesitate to experiment. You might stumble upon your next favorite design by accident!
6. Showcasing Your Finished Rings
So, you’ve crafted your beautiful rings—now what? Showcasing your finished creations is the perfect way to celebrate your hard work and creativity. Here are some exciting ideas on how to display your handmade rings:
- Use a Ring Holder: A decorative ring holder can serve as both a practical storage solution and an attractive display piece. Look for holders made from ceramics, glass, or even wood that match your personal style.
- Craft a Shadow Box: For a more artistic approach, consider creating a shadow box display. You can arrange your rings inside with backgrounds that reflect their themes—think natural elements like dried flowers or elegant fabrics.
- Create an Online Gallery: Share your rings with the world! Use social media platforms like Instagram or Etsy to showcase your designs. High-quality photos with creative backgrounds can really make your rings pop. Don’t forget to use good lighting!
- Host a Ring Party: Invite friends or family over to show off your creations. Set up a little “exhibition” where guests can try on different rings. You can even turn it into a fun DIY workshop where others can create their own pieces.
- Make a Ring Display Board: Use a corkboard or a wooden board to display your rings. You can attach them with pins or hooks, allowing for easy access and a stylish showcase. Decorate the board with paint or fabric to match your aesthetic!
Remember, showcasing your rings is about celebrating your creativity, so have fun with it! Whether for yourself or to share with others, these rings deserve to be admired.
 admin
admin


