Welcome to the colorful world of paper flower crafting! Whether you're looking to spruce up your home decor, create unique gifts, or unleash your creativity, making paper flowers is a fun and fulfilling project. This craft is perfect for beginners, as it requires minimal skills and allows for endless creativity. Plus, the materials are easy to find and often inexpensive. So, grab your scissors and let's dive into the vibrant art of crafting paper flowers!
Materials Needed for Paper Flowers
Before we get started on crafting those beautiful blooms, let’s gather our supplies! Here’s a handy list of materials you’ll need:
- Colored Paper: Choose various colors to make your flowers pop. Construction paper, crepe paper, or scrapbook paper all work well.
- Scissors: A good pair of scissors is essential for cutting out flower shapes and leaves.
- Glue: Hot glue guns are great for quick drying, but regular craft glue will also do the trick.
- Wire or Pipe Cleaners: These will serve as the stems for your flowers. Choose green for a natural look.
- Pencil: For tracing flower shapes and leaves on your paper.
- Ruler: Helps in measuring and cutting straight lines, especially for petals and leaves.
- Floral Tape (optional): This will help wrap around the stems for a finished look.
Once you have all these materials, you’re ready to start crafting! Don’t worry if you don’t have everything on hand—be resourceful with what you do have. For example, old magazines can provide beautiful patterned paper for your flowers. The key is to have fun and experiment with different materials!
Also Read This: How to Copy Dailymotion Video URLs: Simple Instructions for Accessing Videos
3. Step-by-Step Instructions to Create Your Paper Flower
Creating your own paper flowers is not only fun but also a fantastic way to add a personal touch to your home décor or gifts. Let’s dive into the simple steps you need to follow to craft a beautiful paper flower!
Materials Needed:
- Colored paper (crepe, tissue, or cardstock)
- Scissors
- Glue or tape
- Floral wire or sticks (optional for stems)
- Pencil
- Ruler
Step 1: Choose Your Flower Type
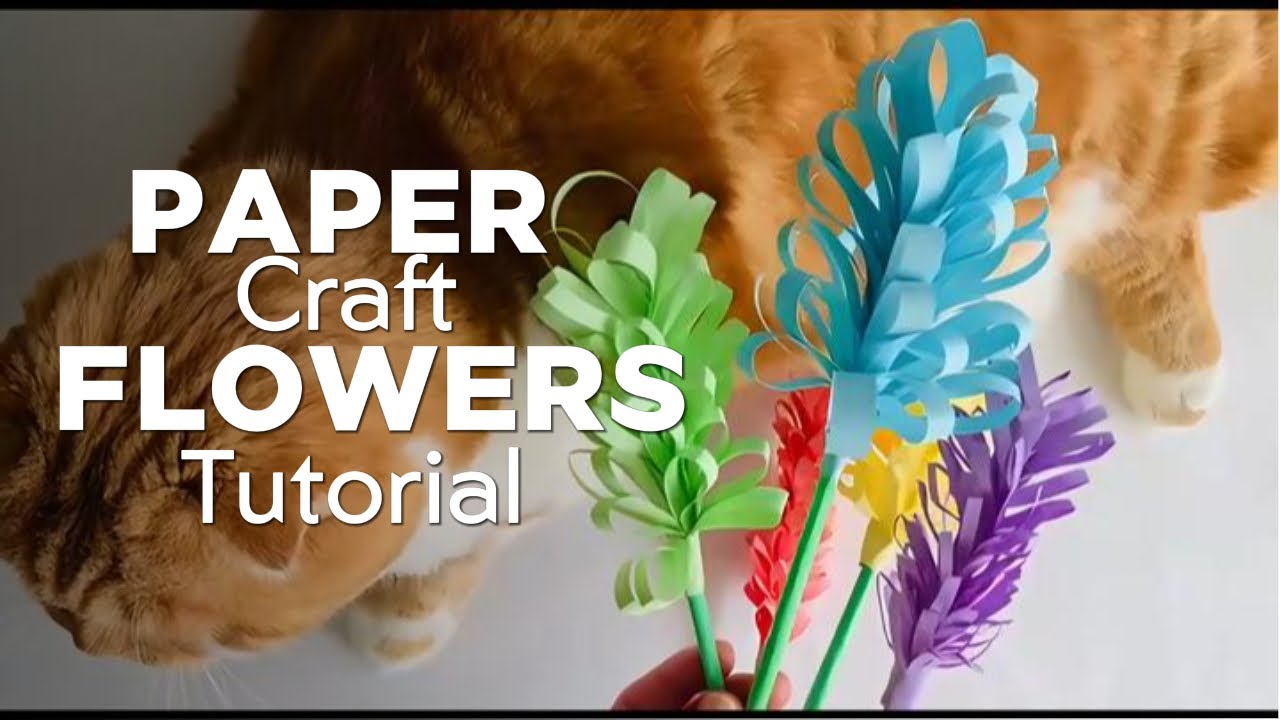
Decide on the type of flower you’d like to create. Common beginner options include daisies, roses, or tulips. Each flower has its unique shape and technique, so pick one that excites you!
Step 2: Cut Your Petals
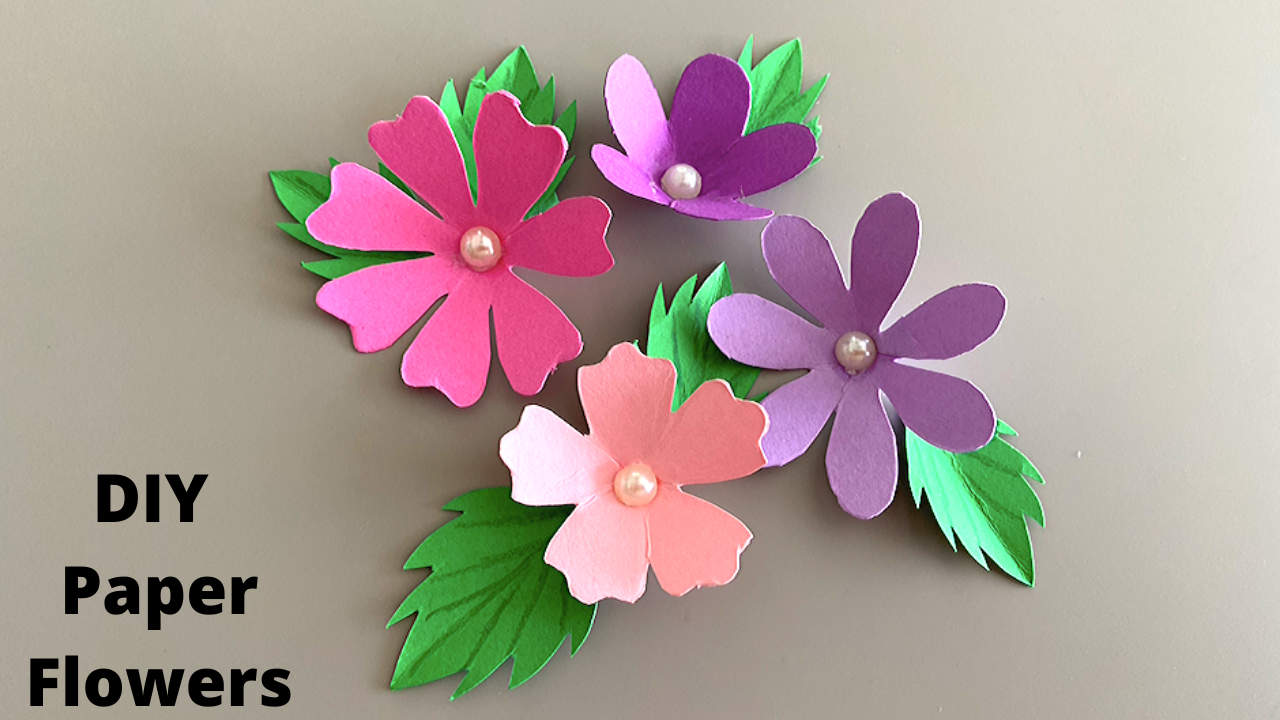
Using your colored paper, measure and cut out petal shapes. For a simple daisy, cut out oval shapes. Make sure to have varying sizes for a more natural look. Aim for about 5 to 7 petals for a single flower.
Step 3: Create the Flower Center
For many flowers, the center can be made from a smaller circle of paper or even a pom-pom made from yarn. Cut out a small circle or make a fluffy pom-pom to attach to the center of your petals later.
Step 4: Assemble the Flower
Take one petal and fold it in half lengthwise. This will help to give your petals some dimension. Repeat this for all the petals. Now, take your center piece and glue all the folded petals around it, securing them with glue or tape. Ensure they are evenly spaced for a lovely look.
Step 5: Add a Stem (Optional)
If you want your flower to have a stem, take the floral wire or stick and attach it to the base of the flower using tape or glue. You can wrap it with green tape to give it a more realistic look!
Step 6: Final Touches
Once your flower is assembled, feel free to add additional decorations, like leaves made from green paper or glitter for a sparkling touch. Your beautiful paper flower is now ready to brighten any space!
Also Read This: How Many People Use Dailymotion? Insights on User Growth and Popularity
4. Tips for Customizing Your Paper Flowers
Now that you’ve mastered the basics of paper flower crafting, why not take it up a notch? Customization is where your creativity can truly shine! Here are some fantastic tips to personalize your paper flowers:
1. Experiment with Colors:
Don’t stick to just one type of colored paper. Mix and match shades for a vibrant bouquet. For instance, create a gradient effect by using various tones of the same color for an ombre flower.
2. Play with Textures:
Try using different types of paper such as shiny cardstock, patterned scrapbook paper, or even recycled paper. The variety in texture adds depth and interest to your flowers.
3. Add Details:
Consider adding intricate details like:
- Stamens made from beads or small pom-poms.
- Glitter or metallic paint on the edges of petals for a shimmering effect.
- Hand-drawn designs on the petals with markers or pens.
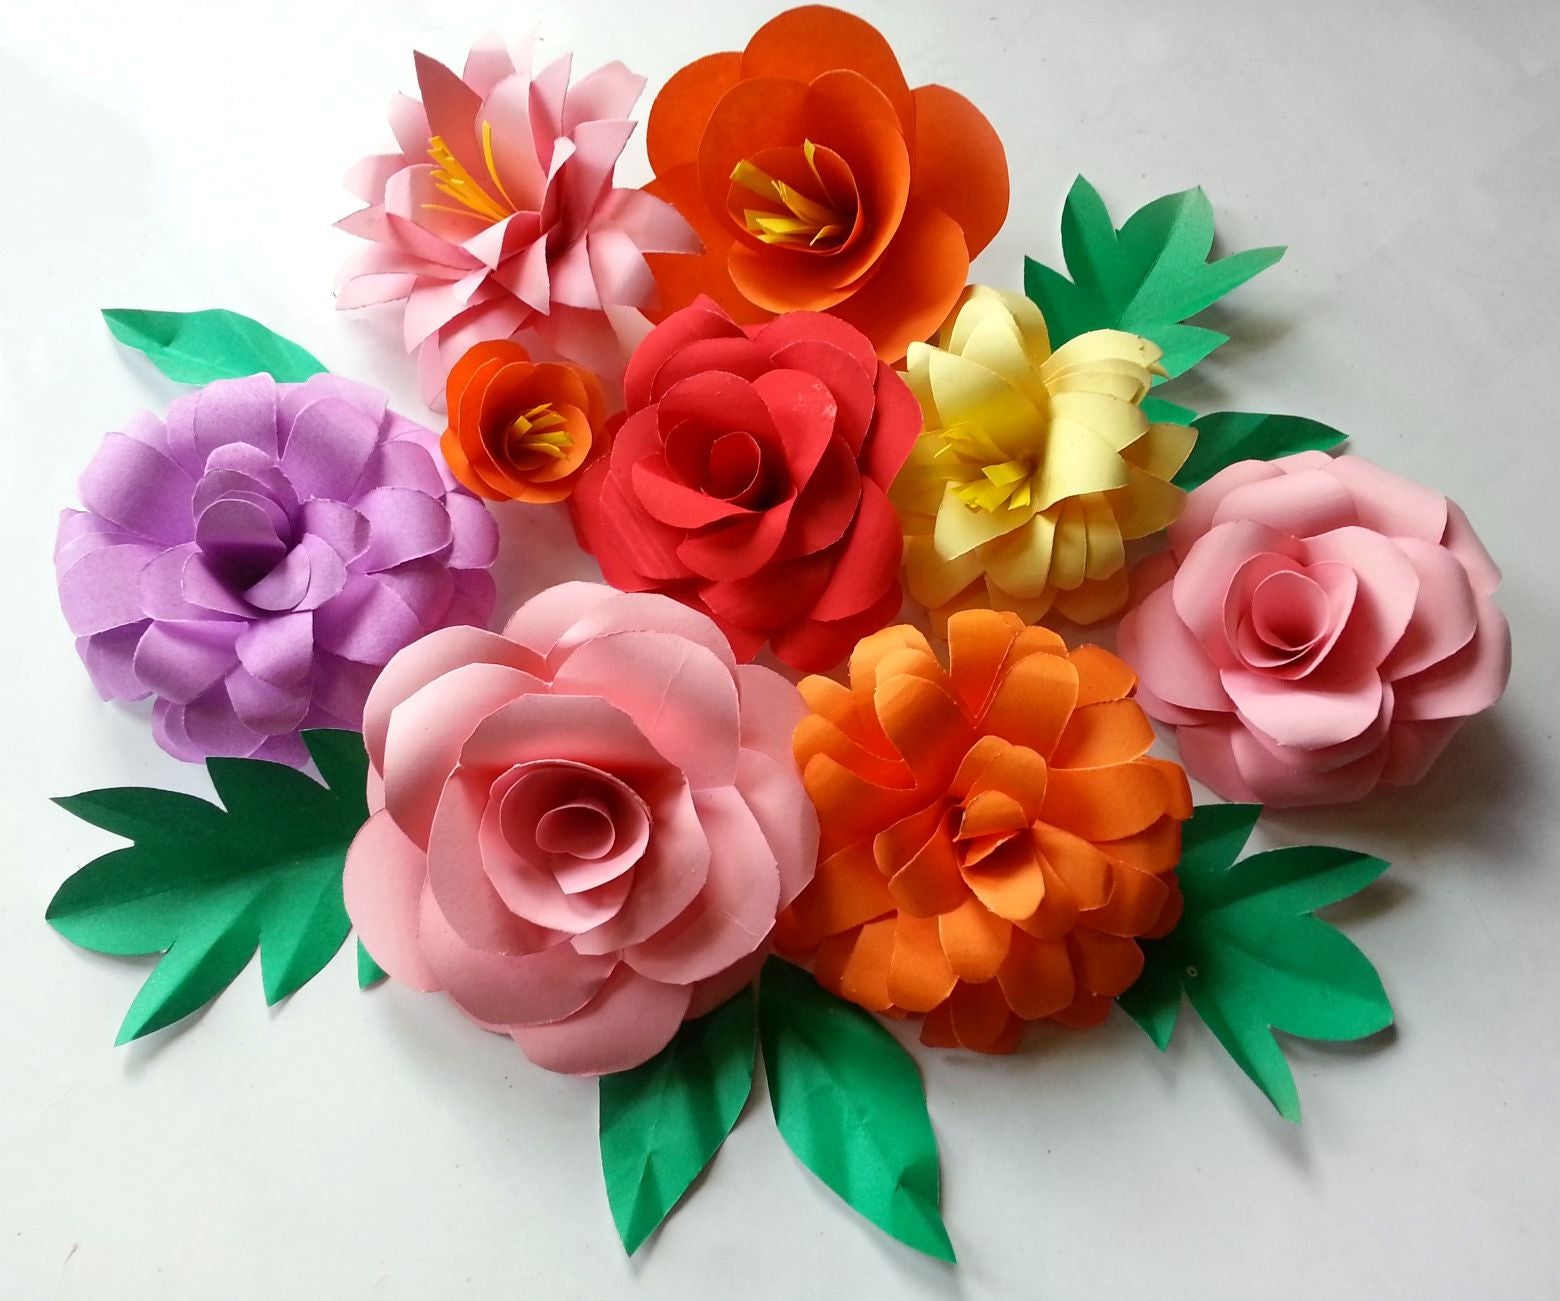
4. Create a Floral Arrangement:
Instead of making a single flower, create a bouquet! Mix different types and sizes of flowers together for a stunning arrangement. You can also include leaves or filler flowers to enhance the look.
5. Use Unique Containers:
Get creative with how you display your flowers. Instead of a traditional vase, consider using jars, teacups, or even a decorative basket. The container adds another layer of charm!
Remember, the more you practice, the better your flowers will become. Each flower you create is a unique piece of art that reflects your personality and creativity!
Also Read This: Learn How to Set Up a Yahoo ID in Urdu Using Dailymotion Videos
5. Showcasing Your Paper Flowers: Creative Display Ideas
Now that you've crafted your beautiful paper flowers, it’s time to show them off! There are countless creative ways to display your floral masterpieces that can transform any space into a vibrant oasis. Here are some fun ideas to inspire your display:
- Table Centerpieces: Arrange your flowers in a vase and use them as a stunning centerpiece on your dining or coffee table. You can mix various sizes and colors for an eye-catching effect.
- Wall Art: Create a floral wall display by attaching your flowers to a canvas or wooden board. You can use a hot glue gun to secure them in place and even add some fairy lights for added sparkle!
- Gift Wrap: Use your paper flowers to add a personal touch to gift wrapping. Adorn wrapped gifts with a single flower or a small bouquet for a special touch that shows you care.
- Floral Wreaths: Craft a beautiful wreath using your flowers. You can hang it on your front door or on a wall as a seasonal decoration. It’s a fantastic way to greet guests with a burst of color!
- Bookmarks: If you’re a book lover, consider turning smaller paper flowers into bookmarks. Just attach them to a sturdy piece of cardstock or string for a charming reading companion.
Let your creativity flow! Mix and match different flowers, sizes, and colors to create unique arrangements that reflect your personality and style. Don’t hesitate to experiment; the beauty of crafting is in the process!
6. Conclusion and Encouragement to Share Your Creations
Congratulations! You’ve completed your paper flower crafting journey. Whether you followed the tutorial to the letter or added your own twist, remember that every creation is a reflection of your unique artistic flair. Get excited about the joy these flowers can bring to your surroundings!
Now, it’s time to share your handiwork with the world. Consider posting your creations on social media or in crafting communities. Here are some simple ways to do that:
- Take Pictures: Capture high-quality photos of your displays. Natural lighting works wonders for showcasing colors and details.
- Join Online Groups: Platforms like Instagram, Pinterest, or Facebook have vibrant crafting communities where you can share your work and get inspired by others.
- Host a Crafting Session: Invite friends over for a crafting party where everyone can make and share their paper flowers. This not only enhances creativity but also builds connections.
Remember, crafting is about joy and expression. Don’t worry about perfection; focus on having fun! Your creations could inspire someone else to pick up crafting, too. So go ahead, show off those beautiful paper flowers, and keep spreading the love for creativity!
 admin
admin


