Have you ever watched a kite soar gracefully in the sky and thought, "I want to make one!"? Kite making is not just a fun activity; it’s a great way to spend time with family or friends, unleashing your creativity while enjoying the outdoors. In this easy guide, we’ll walk you through the basics of making a kite at home, from the materials you’ll need to the steps to bring your creation to life. Let’s get started on this exciting journey!
Materials Needed for Your Kite
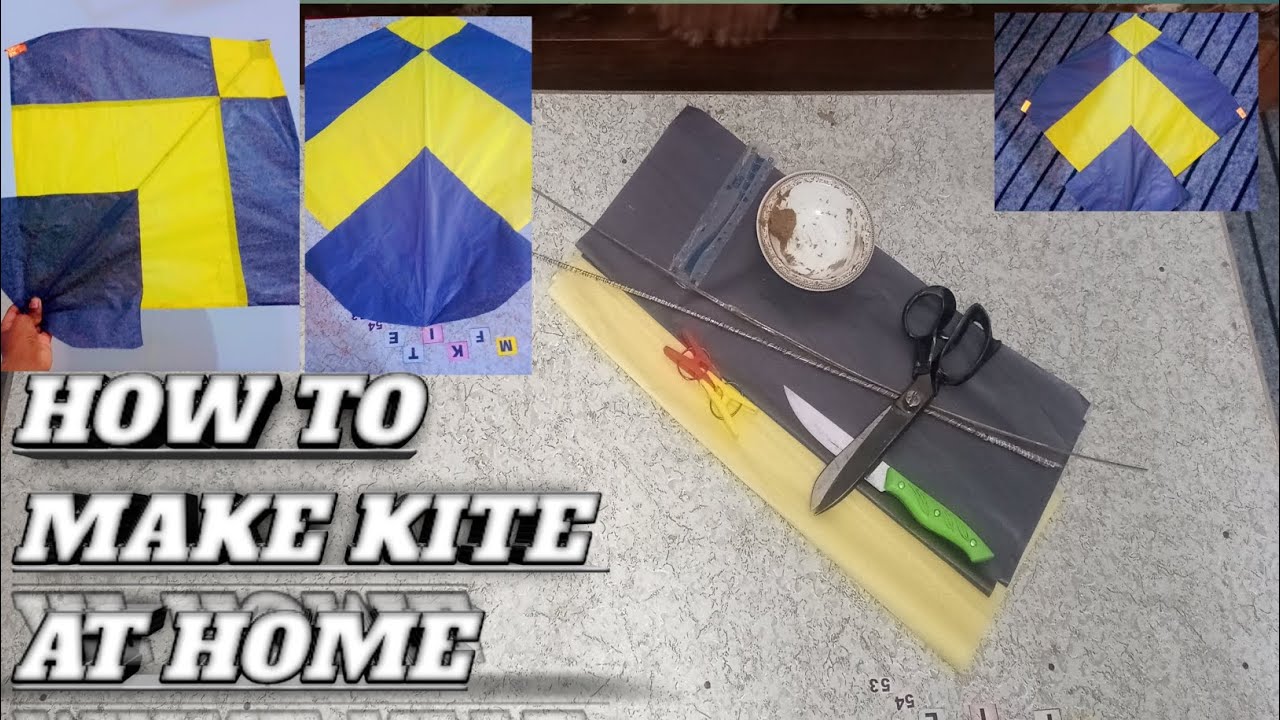
Before diving into the kite-making process, gathering the right materials is crucial. Here’s a handy list of what you’ll need:
- Kite Frame: You can use lightweight wooden dowels, bamboo sticks, or even sturdy paper straws.
- Kite Skin: Choose from materials like plastic garbage bags, old bed sheets, or colorful tissue paper. If you’re feeling artistic, go for painted or patterned paper!
- String: A strong kite string or twine will do the trick. You can even add a spool for easier handling.
- Tape or Glue: Clear tape works well, and a glue stick can help secure any tricky parts.
- Scissors: A good pair of scissors is essential for cutting materials neatly.
- Marker or Paint: For personalizing your kite with fun designs or patterns.
- Ruler: To measure your frame and skin accurately.
Here’s a quick table summarizing the materials:
| Material | Purpose |
|---|---|
| Kite Frame | Provides structure and support |
| Kite Skin | Forms the surface that catches the wind |
| String | Connects you to your kite and allows it to fly |
| Tape or Glue | Secures parts together |
| Scissors | Needed for cutting materials |
| Marker or Paint | For decoration and personal touch |
| Ruler | Ensures accurate measurements |
With these materials at the ready, you’re well on your way to crafting your very own kite! Next, we’ll explore the step-by-step process of putting everything together. Get your creative juices flowing and prepare for some kite-flying fun!
Also Read This: How to Change Your Thumbnail on Dailymotion Easily
3. Step-by-Step Instructions for Crafting Your Kite
Making a kite at home is not just fun; it’s a fantastic way to spend time with family or friends! Ready to get started? Here’s how you can craft your very own kite in just a few steps. Grab your materials and let’s get flying!
Materials You'll Need:
- A large sheet of plastic or a garbage bag (for the sail)
- Two wooden dowels or flexible bamboo sticks (for the frame)
- String
- Scissors
- Clear tape or glue
- Marker or paint (for decoration)
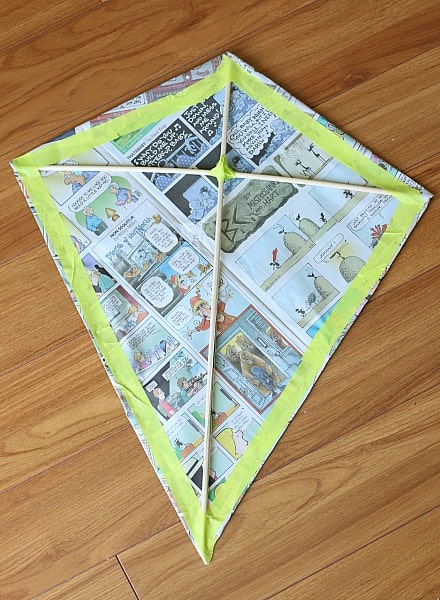
Step 1: Create the Frame
Start by laying your two wooden dowels on a flat surface. You’ll want one dowel to be the vertical spine of the kite and the other to create the crossbar. The vertical dowel should be longer; about 36 inches is a good size. The crossbar should be about 24 inches long.
Now, intersect the two dowels at a 90-degree angle, about one-third down from the top of the vertical dowel. Secure them together with tape or glue to form a T-shape.
Step 2: Cut the Sail
Next, take your plastic sheet or garbage bag and cut it into a rectangle that’s about 48 inches wide and 36 inches tall. This will be the sail of your kite. It doesn’t have to be perfect, so don’t worry too much about the exact measurements.
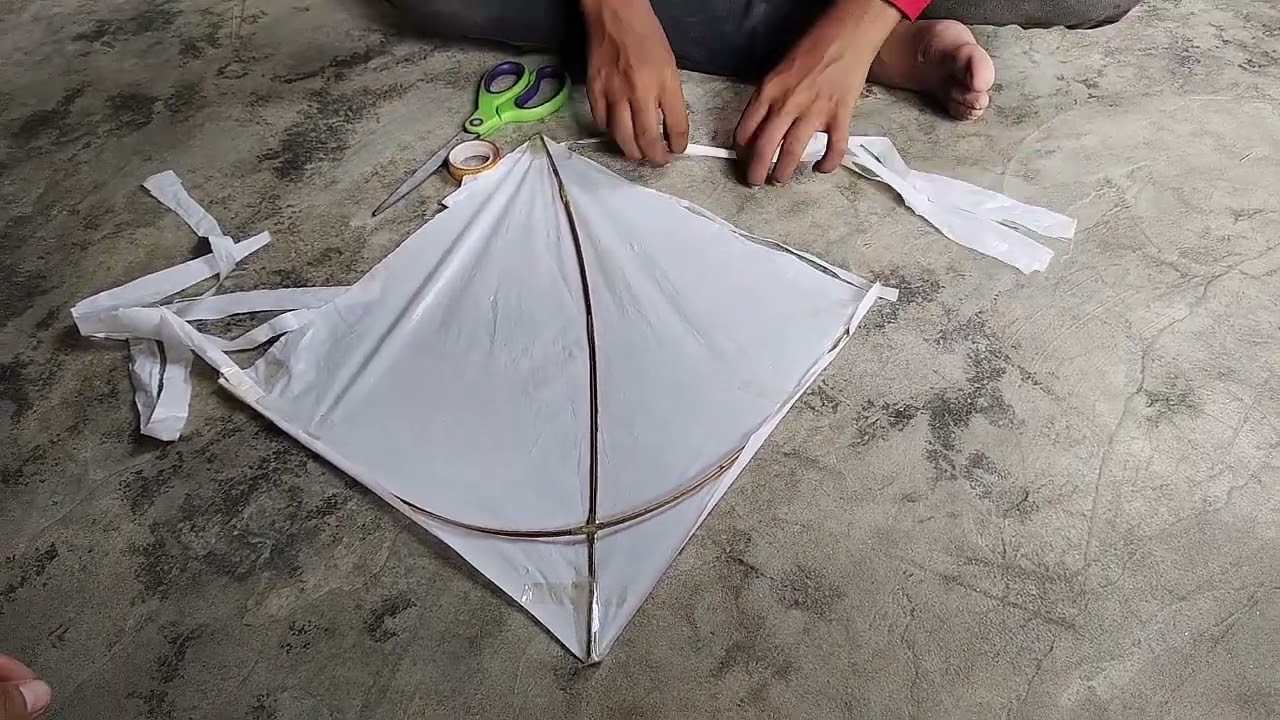
Step 3: Attach the Sail
Place the T-shaped frame on the back of your sail. Fold the edges of the sail over the frame, and use tape or glue to secure it, ensuring it’s tight but not overly stretched. Make sure the top of the sail is aligned with the top of the vertical dowel.
Step 4: Add the Tail
To give your kite stability, you’ll need to add a tail. Cut a strip of plastic about 2 inches wide and 24 inches long. Attach it to the bottom of the vertical dowel with tape or glue. You can also make several smaller strips and attach them to the tail for a fun, fluttery look!
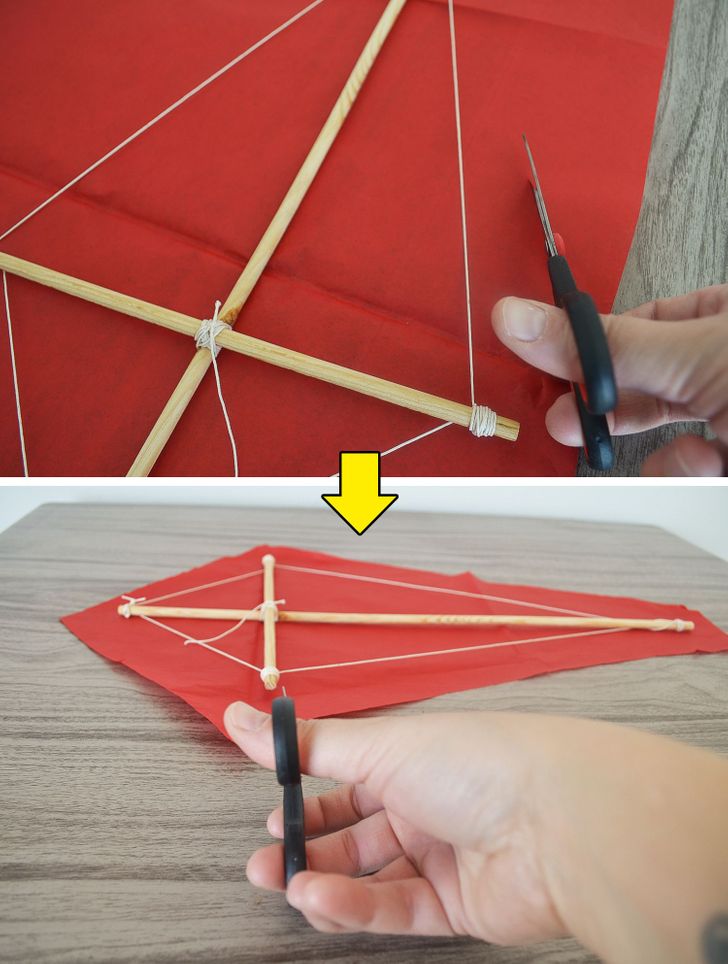
Step 5: Attach the String
Finally, take your string and tie one end around the top of the vertical dowel. Make sure it’s secure, as this will help you control your kite when it’s up in the air. You’re ready to take your kite outside and see it soar!
Also Read This: How to Download Facebook Videos on Dailymotion
4. Decorating Your Kite
Now that you’ve crafted your kite, let’s make it look fabulous! Decorating your kite is where you can let your creativity shine. Here are some fun ways to add a personal touch:
Use Colorful Paints or Markers:
Grab some bright, colorful paints or markers and let your imagination run wild. You can create fun patterns, shapes, or even draw animals and scenes. Remember, the more colorful, the better your kite will look in the sky!
Adding Stickers:
Stickers can add a playful element to your kite. Whether it’s stars, animals, or fun phrases, stick them on your kite for extra flair. Just be careful not to place too many, as this can weigh down the sail.
Fabric and Ribbons:
If you have leftover fabric or ribbons, these can be great for decoration. Cut them into strips and glue or tape them along the edges of the sail or at the tail for a whimsical look that dances in the wind!
Creating a Theme:
Consider making your kite themed. Maybe you want a “beach day” kite with blue waves and sandy colors, or a “space” kite with stars and planets. Whatever theme you choose, it’ll make your kite uniquely yours!
Once you’ve completed the decorations, remember to let everything dry completely before heading outside to fly your masterpiece. Now, you’re not just flying any kite; you’re flying a piece of art!
Also Read This: How to Download Dailymotion Videos to Your Computer: Easy Solutions
5. Tips for Flying Your Homemade Kite
Once you've constructed your homemade kite, the excitement of flying it can be palpable! But before you dash outside, here are some essential tips to ensure your kite-flying experience is both enjoyable and successful:
- Choose the Right Location: Look for an open area free from trees, power lines, and buildings. Parks or wide fields are ideal spots where you can let your kite soar without obstructions.
- Pick the Right Weather: A clear day with gentle winds (around 5 to 15 mph) is perfect for flying kites. Avoid extremely windy or stormy days, as they can make flying difficult or even damage your kite.
- Check Your Kite’s Condition: Before flying, inspect your kite for any damage or loose parts. Make sure everything is securely fastened so you can avoid mishaps mid-flight.
- Get a Friend to Help: Having a buddy can make the experience more fun! One person can hold the kite as the other manages the string and runs with it when it's time to take off.
- Master the Launch: To launch your kite, hold it against the wind at about a 45-degree angle. Once it catches the wind, let out some string gradually, allowing it to climb higher.
- Control the String: Use your hand to control the tension on the string. If the kite starts to dip, gently pull the string to lift it back up. Don’t be afraid to experiment with how much string to let out for optimal flight.
- Stay Safe: Always be mindful of your surrounding environment. Keep an eye on other people, especially children and pets, and be aware of any potential hazards.
By following these tips, you're setting yourself up for a delightful time in the sky with your homemade kite. The joy of watching it dance in the wind is truly rewarding!
6. Conclusion and Additional Resources
Congratulations on making your very own kite! Not only have you tapped into your creativity, but you’ve also engaged in a fun activity that can be enjoyed alone or with friends and family. Flying a kite is more than just a pastime; it’s a wonderful way to connect with nature and embrace the outdoors.
As you wrap up your kite-making journey, here are some additional resources and ideas to explore:
- Books: Check out “The Art of Kites” by James A. Dewitt for a deeper dive into kite history and advanced techniques.
- Online Tutorials: Websites like Kitebuilder.com offer a wealth of information on different kite designs and flying tips.
- Community Groups: Join local kite clubs or online forums to share your experiences, showcase your creations, and learn from fellow kite enthusiasts.
- Experiment with Designs: Once you're comfortable flying your first kite, challenge yourself to design and build different types of kites, such as delta kites or box kites.
Whether you’re flying high or experimenting with new designs, the world of kite-making and flying is expansive and full of surprises. So grab your kite, head outdoors, and enjoy the thrill of flight!
 admin
admin


