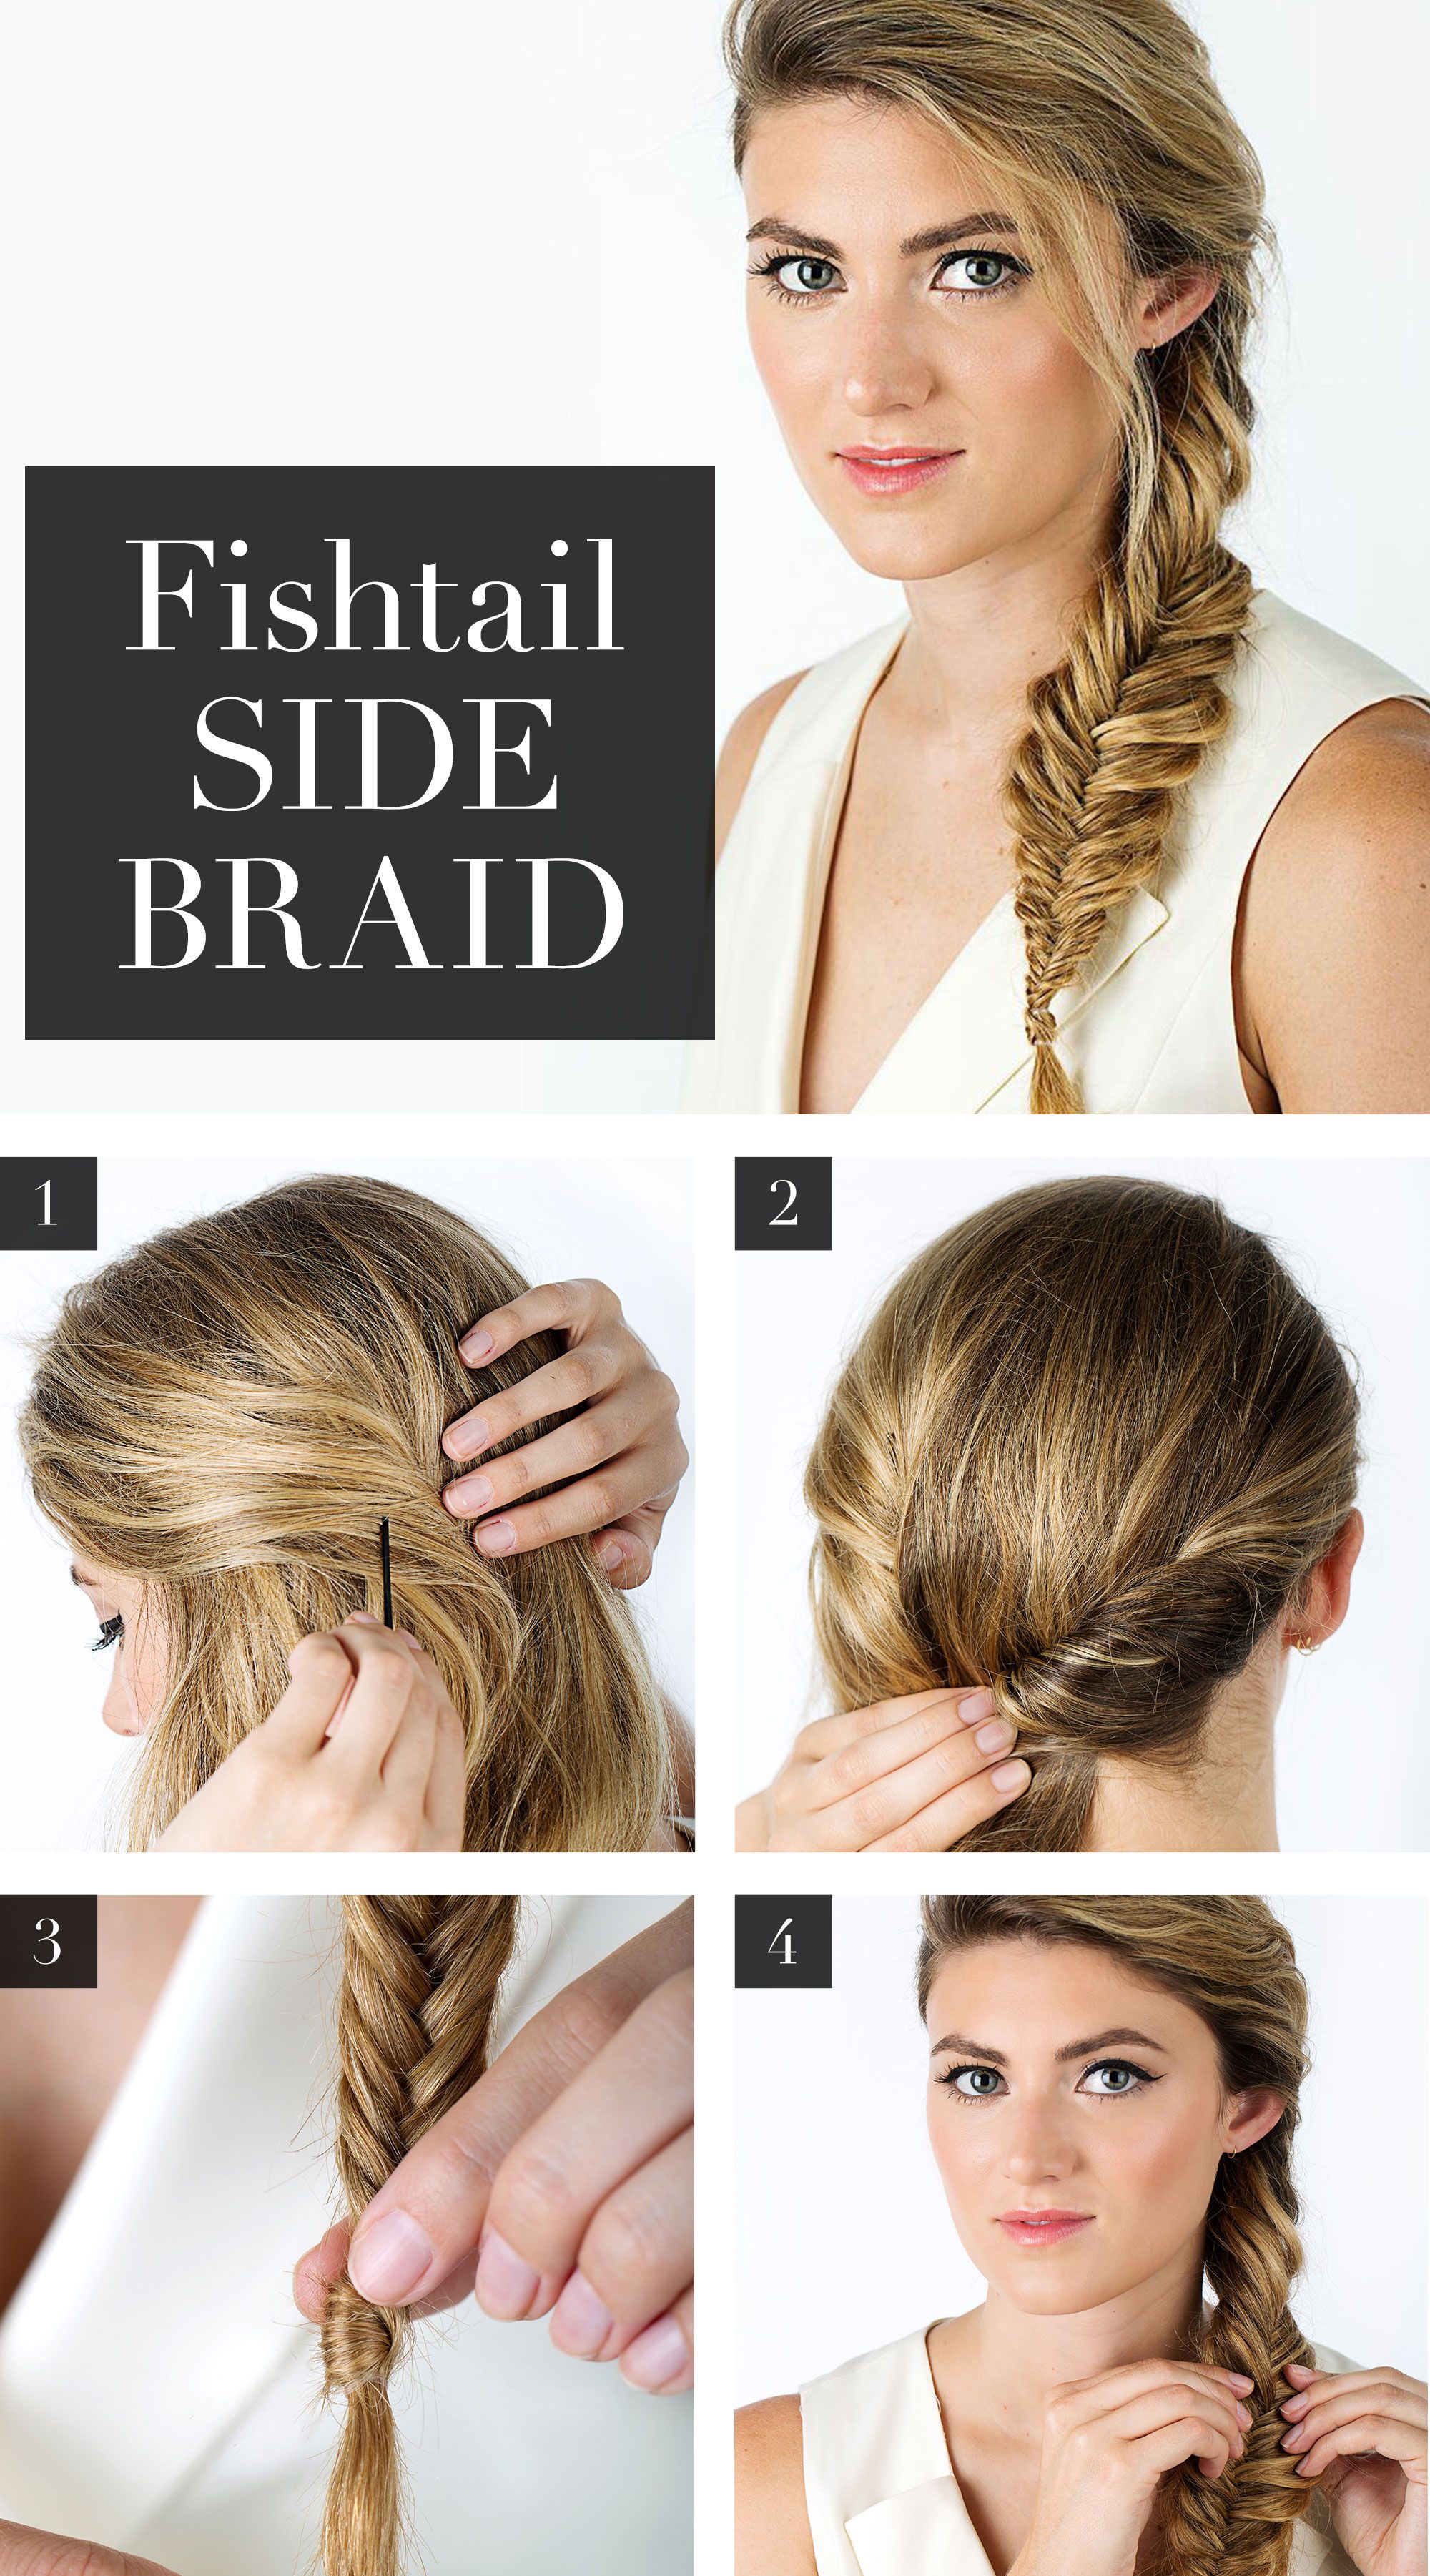
Welcome to the world of twist braids! These gorgeous styles are not just eye-catching but also incredibly versatile and easy to achieve. Whether you're looking for a chic look for a night out or a protective style for everyday wear, twist braids have got you covered. They can be worn loose, pinned up, or even adorned with accessories for that extra flair. In this guide, we’ll walk you through the steps to create stunning twist braids, starting with a solid understanding of what they are and how to prep for the process.
Essential Tools and Products Needed
Before diving into the twist braiding process, it’s crucial to gather the right tools and products. Having everything on hand not only makes the process smoother but also ensures you achieve the best results. Here’s a handy list of what you’ll need:
- Hairbrush or Comb: To detangle your hair and part it neatly.
- Hair Clips: These will keep sections of your hair out of the way while you work.
- Moisturizing Cream or Leave-in Conditioner: This keeps your hair hydrated and makes it easier to manipulate.
- Hair Oil: A little bit of oil will add shine and reduce frizz.
- Styling Gel: For a sleek finish and to help hold the twists in place.
- Extension Hair (optional): If you want added length or volume, choose synthetic or natural hair extensions that blend with your hair color.
Once you have your tools ready, it’s time to prepare your hair. Start with clean, slightly damp hair—this is key to achieving a smooth and defined look. If you’re using extensions, prepare them according to the product instructions, often involving a simple wash and detangle.
Finally, don’t forget about accessories! Hair beads, ribbons, or decorative clips can elevate your twist braids and let your personality shine through. Having these on hand will give you more options for customizing your style.
Also Read This: Discover Top Strategies to Generate Income on Dailymotion
3. Preparing Your Hair for Styling
Before diving into the world of twist braids, it’s essential to prepare your hair properly. This step not only ensures a smoother styling process but also helps maintain the health of your locks. Here’s how to get started:
1. Cleanse Your Hair
Start with freshly washed hair. Use a gentle shampoo to remove any buildup of products or oils. If your hair tends to be on the drier side, consider using a moisturizing shampoo to add some hydration.
2. Condition
Apply a good quality conditioner to keep your hair soft and manageable. Leave it in for a few minutes, then rinse thoroughly. This step will help minimize tangles, making your twist braid easier to create.
3. Detangle
Use a wide-tooth comb or a detangling brush to gently remove any knots. Start from the tips and work your way up to avoid breakage. You can also spray a bit of leave-in conditioner or detangling spray to make this process smoother.
4. Drying Your Hair
Decide whether you want to style your hair wet or dry. If you prefer a smoother finish, blow-dry your hair until it's completely dry. For a more natural texture, let it air-dry until it's slightly damp. This way, your twist braid can hold better and have more volume.
5. Apply Styling Products
Use a light styling product, like mousse or a texturizing spray, to give your hair some grip. This is especially helpful if your hair tends to be slippery or fine. Apply a small amount and distribute it evenly throughout your hair.
Once your hair is prepped and ready, you’re one step closer to achieving that gorgeous twist braid! Remember, taking the time to prepare your hair will make the styling process much easier and more enjoyable.
Also Read This: Creative Invitation Cards for DIY at Home on Dailymotion
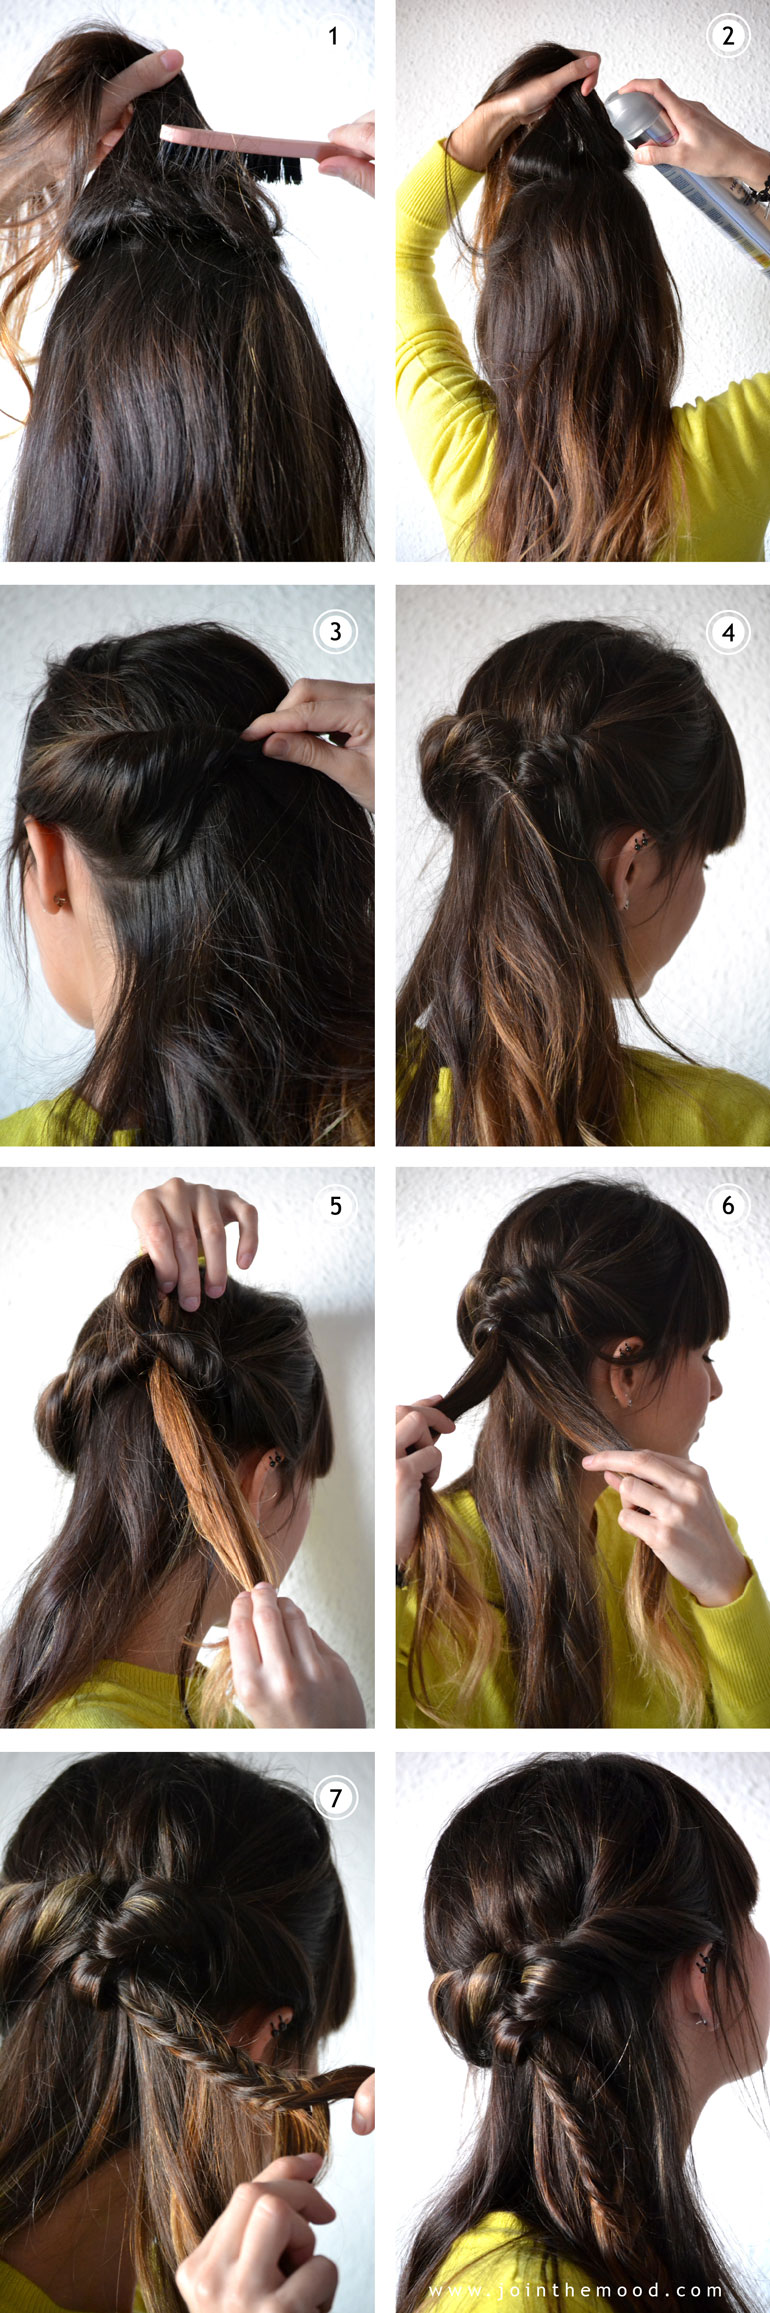
4. Step-by-Step Instructions for Creating a Twist Braid
Now that your hair is prepped, let’s dive into the twist braid technique! Follow these simple steps to create a beautiful twist braid that’s sure to turn heads.
Step 1: Section Your Hair
Start by dividing your hair into two equal sections. You can use a comb for a clean part or your fingers for a more relaxed look. Hold each section separately so they don’t get mixed up.
Step 2: Begin Twisting
Take the right section and twist it away from your face. Hold the twist in place with your fingers. Then, take the left section and twist it around the right section, wrapping it in the same direction. This creates the initial twist.
Step 3: Add More Hair
As you continue twisting, start adding small sections of hair from each side. Grab a small amount of hair from the front of your head and incorporate it into the existing twist. Alternate sides as you go to maintain that beautiful, intertwining effect.
Step 4: Secure the Twist
Once you reach the end of your hair, secure the twist braid with a hair tie. You can use a small clear elastic for a seamless look, or a fabric-covered one for a softer appearance.
Step 5: Fluff and Adjust
Gently pull on the sides of the braid to create a fuller look. This is also a great time to adjust any sections that might seem too tight or loose. The beauty of twist braids is their ability to look effortlessly chic, so don’t be afraid to play around!
Step 6: Final Touches
To finish off your hairstyle, you can spritz a little hairspray to hold everything in place. If you’d like, add a decorative hairpin or some flowers for a bohemian vibe.
And there you have it! Your stunning twist braid is complete and ready to be flaunted. Whether it’s for a casual day out or a special occasion, this hairstyle is sure to impress!
Also Read This: Why I Decided to Delete My YouTube Account and What to Expect
5. Common Mistakes to Avoid When Making Twist Braids
Creating beautiful twist braids can be a fun and rewarding experience, but it’s easy to encounter a few hiccups along the way. Here are some common mistakes to watch out for:
- Skipping the Prep: One of the biggest blunders is not preparing your hair properly. Always start with clean, damp hair. Use a leave-in conditioner or a lightweight styling cream to provide moisture and hold.
- Grabbing Too Much Hair: When twisting, it's tempting to take large sections to speed up the process. However, this can lead to bulky, uneven twists. Aim for sections that are about the size of a pencil. This will help ensure that your twists are neat and defined.
- Neglecting to Twist Tightly: A common mistake is not twisting tightly enough. Loose twists may unravel or fall flat over time. Make sure to twist firmly but not so tight that it causes discomfort or tension on your scalp.
- Ignoring the Direction: Consistency is key when it comes to the direction of your twists. If you alternate the direction of each twist, it can create a messy look instead of the desired uniformity. Stick to one direction throughout your braid for a polished finish.
- Forgetting to Secure the Ends: After completing your twists, don’t forget to secure the ends! A small elastic band can help prevent the twist from unraveling. You can also use small hair ties that match your hair color for a seamless look.
By avoiding these common pitfalls, you can create twist braids that not only look stunning but also last longer. Remember, practice makes perfect!
Also Read This: Guide to Downloading Subtitles from Dailymotion
6. Styling Tips to Enhance Your Twist Braid
Now that you’ve mastered making twist braids, let’s talk about how to style them for maximum impact! Here are some creative tips to elevate your twist braid game:
- Accessorize Wisely: Adding accessories can really amp up the style of your twist braids. Consider using decorative hairpins, beads, or colorful elastics. Just a few strategically placed accessories can transform your look!
- Experiment with Updos: Twist braids don’t have to hang down! Try pulling them up into a bun or a high ponytail for a sophisticated updo. This look is perfect for formal occasions or a chic day out.
- Mix and Match: Don’t be afraid to combine twist braids with other styles. You could weave in some cornrows on the sides or try a half-up, half-down look. Mixing different techniques can create an eye-catching style that's uniquely yours.
- Play with Volume: If you want to add some volume to your twists, gently tug at the twists after securing them. This creates a fuller, more textured appearance that’s both playful and stylish.
- Use Hair Products Wisely: To keep your twists looking fresh, apply a light hair oil or serum to add shine and moisture. Just remember to avoid heavy products that can weigh your hair down!
With these styling tips, you can take your twist braid hairstyle from simple to stunning in no time. Get creative, have fun, and let your personality shine through your hairstyles!
Also Read This: How to Apply for Ads on Dailymotion: A Complete Guide
7. How to Maintain and Care for Your Twist Braid
Once you've created your stunning twist braid, the next step is to ensure it stays looking fabulous for as long as possible. Proper maintenance is key to both the longevity of your hairstyle and the health of your hair. Here are some essential tips to keep your twist braid in tip-top shape:
- Moisturize Regularly: Your hair can become dry, especially in a protective style like a twist braid. Use a lightweight leave-in conditioner or a natural oil (like jojoba or argan oil) to keep your strands hydrated. Focus on the scalp and the ends of the braids.
- Avoid Over-Manipulation: While it might be tempting to play with your braid, try to limit how often you touch or adjust it. This prevents frizz and keeps your braid looking neat.
- Wash Gently: If your scalp gets itchy or your hair feels dirty, it’s important to wash it. Use a diluted, sulfate-free shampoo to cleanse your scalp without disrupting your braid. A good method is to apply the shampoo with a spray bottle directly to your scalp, massaging gently with your fingertips.
- Protect at Night: To prevent frizz and breakage while you sleep, wrap your twist braid in a silk or satin scarf, or use a silk pillowcase. This reduces friction and helps maintain moisture.
- Refresh the Look: If you notice some frizz or your braid is losing its shape, you can lightly mist your hair with water and re-twist any loose areas. This will help revive your hairstyle without needing to redo the entire braid.
By following these simple maintenance tips, you can keep your twist braid looking fresh and beautiful for weeks. Remember, the healthier your hair is while in this style, the better it will look when you decide to take the braids out!
8. Conclusion and Final Thoughts
Creating a twist braid is not just about crafting a beautiful hairstyle; it's about embracing a versatile and stylish way to express yourself. Whether you’re dressing up for a special occasion or simply enjoying a casual day out, a twist braid can elevate your look effortlessly.
To recap, we’ve covered:
- The essential tools and products needed for creating your twist braid.
- A step-by-step guide on how to create the perfect twist braid.
- Tips for maintaining and caring for your braid to keep it looking fresh.
Remember, practice makes perfect! The more you experiment with twist braids, the more comfortable you’ll become. Don’t hesitate to try different sizes, styles, and combinations to find what best suits you. And most importantly, have fun with it! Hair is a canvas for creativity, so let your personality shine through your braids.
As you embark on your twist braid journey, remember that the ultimate goal is to enjoy the process and feel confident with your hairstyle. Now grab those tools, put on some music, and let’s get twisting!
 admin
admin


