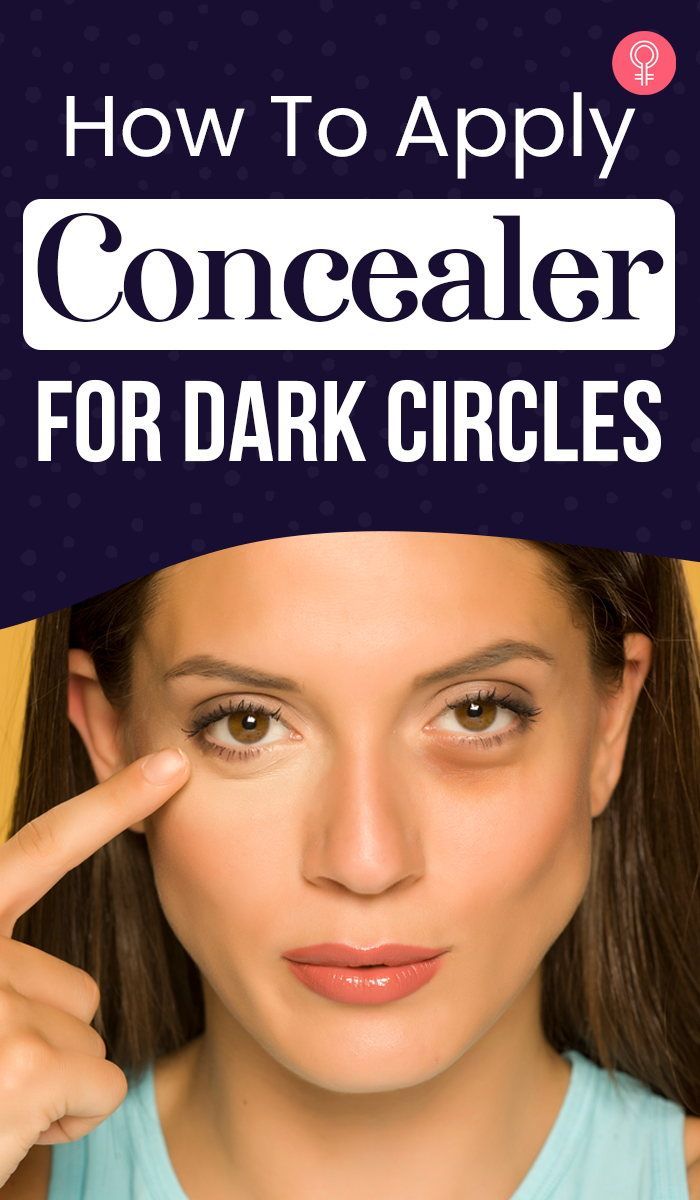
Welcome to the ultimate guide on using concealer for dark circles! If you've ever looked in the mirror and wished for a brighter, more refreshed appearance, you're not alone. Dark circles can be a pesky issue, making you look tired and drained. But fear not! With the right techniques and products, you can easily camouflage those shadows and bring your eyes back to life. Let’s dive into understanding dark circles and how to tackle them effectively!
Understanding Dark Circles
Dark circles are not just a cosmetic concern; they can be a reflection of various factors affecting your body.
Here’s a breakdown of common causes:
- Lack of Sleep: One of the most common reasons for dark circles is simply not getting enough sleep. When you’re sleep-deprived, your skin can become pale, making dark blood vessels under your eyes more noticeable.
- Genetics: Sometimes, you just inherit those lovely dark circles from your parents. If they have them, chances are you might too. It’s all in the genes!
- Age: As we age, our skin loses collagen and becomes thinner. This can make dark circles more prominent as the skin under our eyes becomes more translucent.
- Dehydration: Not drinking enough water can lead to a lackluster complexion, causing the area under your eyes to appear darker.
- Allergies: Allergies can cause your body to release histamines, leading to swelling and dark circles. Rubbing your eyes can also worsen the situation!
Now, let's explore the anatomy of dark circles:
| Type of Dark Circles | Description |
|---|---|
| Blue/Purple Circles: | Often caused by poor circulation or thin skin, these shades indicate blood pooling under the eyes. |
| Brown Circles: | These are often a result of pigmentation issues, often linked to sun exposure or can be hereditary. |
| Red Circles: | Usually a sign of allergies or fatigue, red circles may also indicate irritation or inflammation. |
Understanding these nuances is crucial for selecting the right concealer and technique to effectively conceal those circles. Each type may require a different approach, so knowing what you’re dealing with will help you achieve that bright-eyed look effortlessly!
Also Read This: How to Make a Starburst Bracelet Step by Step: Dailymotion’s Loom Band Guide
3. Choosing the Right Concealer

When it comes to tackling dark circles, the right concealer can be your best friend. But with so many options on the market, how do you choose one that suits your needs? Here are a few key points to consider:
- Type of Formula: Concealers come in various formulas – liquid, cream, stick, and even crayon. For dark circles, liquid or cream formulas are usually the best because they tend to blend easily and provide good coverage without looking cakey.
- Coverage Level: Decide whether you want full, medium, or sheer coverage. For dark circles, a full coverage concealer is often ideal. Look for products labeled as "high coverage" to ensure you get the opacity you need.
- Shade Selection: Choosing the right shade is crucial. If your dark circles have a bluish tint, opt for a peach or orange-based concealer to neutralize the color. For brownish circles, a lighter concealer that matches your skin tone or has yellow undertones works best.
- Finish: Consider the finish of the concealer. A matte finish can help absorb oil and provide a longer-lasting look, while a dewy finish can create a more youthful glow. For the under-eye area, a satin finish is often a sweet spot, balancing both worlds.
- Hydration: Look for concealers that contain hydrating ingredients like hyaluronic acid or vitamin E, especially if you have dry skin. These ingredients not only help with coverage but also keep the delicate under-eye area moisturized.
Some popular concealers that fit these criteria include:
- The Tarte Shape Tape – known for its full coverage and wide range of shades.
- The NARS Radiant Creamy Concealer – offers great hydration with a radiant finish.
- The Maybelline Instant Age Rewind – a budget-friendly option with good coverage and a sponge applicator for easy blending.
Ultimately, the best way to find your match is to test a few options. Don’t hesitate to ask for samples at beauty counters or check out mini sizes to find your perfect concealer!
Also Read This: How to Make Black Smokey Eyes: Easy Makeup Tutorial on Dailymotion
4. Preparing Your Skin
Before applying concealer, prepping your skin is essential for achieving that bright and refreshed look. Here’s a step-by-step guide to ensure your under-eyes are ready:
- Cleanse: Start with a clean canvas. Use a gentle cleanser to remove any impurities and excess oil from your face, particularly around the eye area.
- Moisturize: The under-eye area is delicate and can easily become dry. Apply a light eye cream or moisturizer to hydrate this area. Look for products with ingredients like caffeine to reduce puffiness.
- Prime: Using an eye primer can make a significant difference. It helps your concealer adhere better and last longer. A small amount goes a long way, so pat it gently onto the under-eye area.
- Color Correct (If Needed): If your dark circles are particularly severe, you might want to use a color corrector before applying concealer. For blue-toned circles, a peach or orange corrector can neutralize the color, while yellow works well for brownish tones. Apply this sparingly and blend seamlessly.
Once you've prepped your skin, you're all set to apply your concealer! Remember, a good base will not only enhance the performance of your concealer but will also help you achieve that bright-eyed look we all desire.
Also Read This: How to Become a Verified Dailymotion Partner with Easy Steps
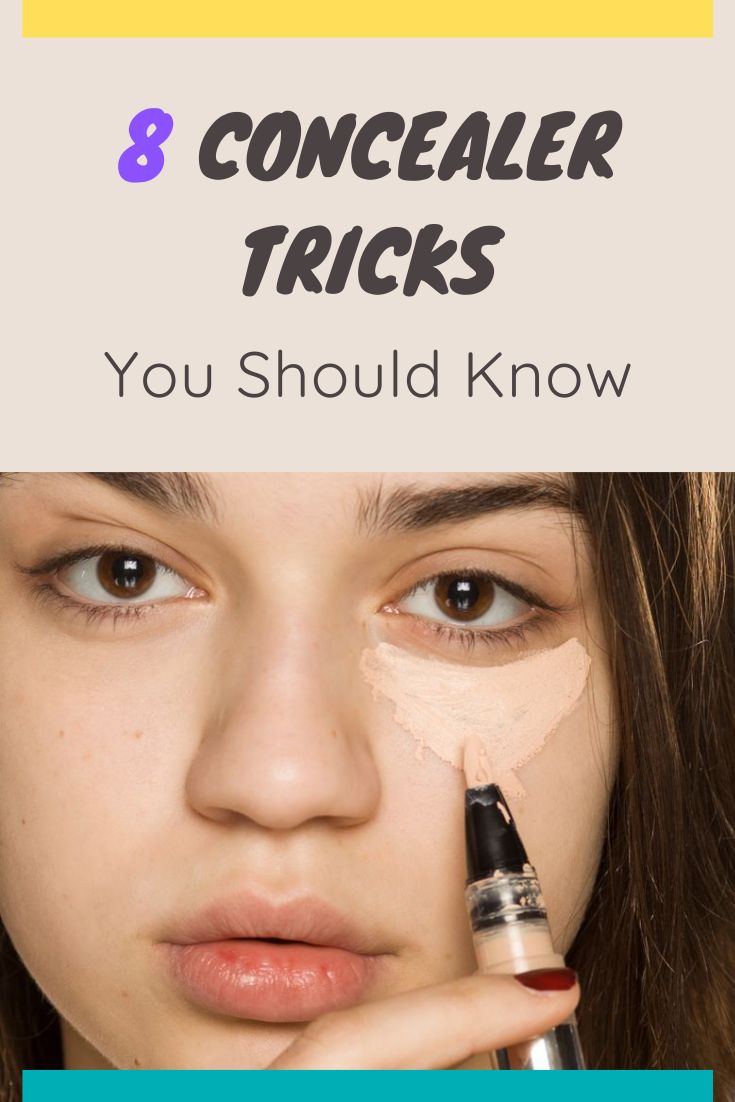
5. Step-by-Step Application Process
Applying concealer might seem straightforward, but the technique can make all the difference in achieving that flawless look. Here’s a simple step-by-step guide to help you master the art of concealing dark circles:
- Prep Your Skin: Start with a clean and moisturized face. Use an eye cream that suits your skin type to hydrate the delicate under-eye area. This step helps ensure smooth application and prevents the concealer from settling into fine lines.
- Choose the Right Concealer: For dark circles, opt for a creamy formula that offers good coverage without being too thick. Shades with a peachy undertone can counteract blue or purple tones, while a brighter shade can lift the area.
- Apply a Primer: If you want your concealer to last all day, apply an eye primer to the under-eye area. This will create a smooth canvas and enhance the concealer's longevity.
- Use a Brush or Your Finger: You can use a concealer brush, a makeup sponge, or even your fingertip for application. If you prefer using your finger, gently tap the concealer onto the skin—this warmth helps blend it seamlessly.
- Start with a Small Amount: Less is more! Use a tiny amount of concealer and gradually build coverage. Start from the inner corner of your eye and move outward in a triangular shape, which not only conceals but also brightens the area.
- Blend, Blend, Blend: Use a tapping motion to blend the concealer into your skin. Ensure there are no harsh lines, and it merges well with your foundation.
- Set with Powder: To prevent creasing, lightly dust a translucent setting powder over the concealer. Use a fluffy brush and avoid applying too much product, as this can make the area look cakey.
- Finish with a Brightening Product: For an extra pop, consider applying a highlighter or a brightening cream in the inner corners of your eyes to further lift and open them up.
Using these steps will not only help in concealing dark circles but also make your eyes appear brighter and more awake. Practice makes perfect, so don't hesitate to experiment with different techniques and products until you find what works best for you!
Also Read This: Creative Ways to Flip Videos on Dailymotion for Enhanced Viewing
6. Tips for Long-Lasting Coverage
Now that you’ve mastered the application process, here are some essential tips to ensure your concealer stays put and looks fresh throughout the day:
- Choose the Right Formula: Creamy concealers are great for coverage, but if you’re prone to oily skin, consider a matte formula that controls shine without looking dry.
- Layer Wisely: If you need extra coverage, layer your concealer instead of applying a thick coat all at once. This helps avoid the cake-y look and ensures it stays in place.
- Use a Setting Spray: After finishing your makeup, spritz a setting spray over your face. This creates a protective barrier that helps your makeup, including concealer, last longer.
- Touch Up as Needed: Carry a small concealer stick or pen in your makeup bag for quick touch-ups throughout the day. A light dab can keep your look fresh without needing a full reapplication.
- Avoid Rubbing Your Eyes: Be gentle with the under-eye area. Avoid rubbing or pulling at your skin, which can cause makeup to smudge and settle into fine lines.
- Consider Your Environment: If you’re in a humid environment, opt for waterproof or long-lasting formulas. These products are specifically designed to withstand sweat and humidity.
By following these tips, you can enjoy bright, refreshed eyes all day long without the worry of your concealer fading or settling into fine lines. Remember, makeup is all about experimenting and finding what feels best for you!
Also Read This: Can You Make Money with Dailymotion Videos?
7. Common Mistakes to Avoid
When it comes to concealing dark circles, even the most seasoned beauty enthusiasts can fall prey to some common missteps. Avoiding these pitfalls will ensure you achieve that bright-eyed look without the telltale signs of makeup mishaps. Here are some of the most frequent mistakes to steer clear of:
- Choosing the Wrong Shade: One of the biggest blunders is picking a concealer that’s too light or dark for your skin tone. A shade that’s too light can create a stark contrast, making your dark circles more noticeable. Instead, opt for a concealer that is one or two shades lighter than your foundation.
- Skipping Moisturizer: Applying concealer on dry skin can lead to an uneven application and accentuate fine lines. Always hydrate the under-eye area with a good eye cream or moisturizer before applying concealer.
- Over-applying Product: Less is often more when it comes to concealer. Overloading on product can result in a cakey appearance. Start with a small amount, and build up coverage as necessary.
- Using the Wrong Application Method: Rubbing your concealer in can irritate the delicate under-eye skin. Instead, gently dab it on with your ring finger or a damp beauty sponge for a more seamless blend.
- Neglecting Set Powder: Failing to set your concealer can lead to creasing throughout the day. A light dusting of translucent setting powder can help lock your concealer in place and maintain that fresh look.
- Ignoring the Color Wheel: If your dark circles have a bluish hue, using a peach or orange corrector can neutralize the color. Don’t be afraid to incorporate color theory into your concealer routine!
By avoiding these common mistakes, you’ll be well on your way to flawlessly concealing dark circles, leaving you looking refreshed and vibrant.
8. Conclusion
Mastering the art of concealing dark circles can truly transform your look, giving you that well-rested, radiant appearance. With the right techniques and products, you can effectively combat fatigue and brighten your under-eye area. Remember to prioritize skin care, choose the right shades, and apply your concealer thoughtfully.
To recap:
- Always prep your skin with moisturizer.
- Select a concealer that complements your skin tone.
- Use the right application technique to avoid tugging at the skin.
- Set your makeup to keep it in place throughout the day.
Ultimately, the goal is to enhance your natural beauty and feel confident in your skin. Experiment with different products and techniques until you find what works best for you. With a little practice, you’ll become a pro at banishing those dark circles and will radiate confidence wherever you go. Here’s to bright eyes and a brighter you!
 admin
admin


