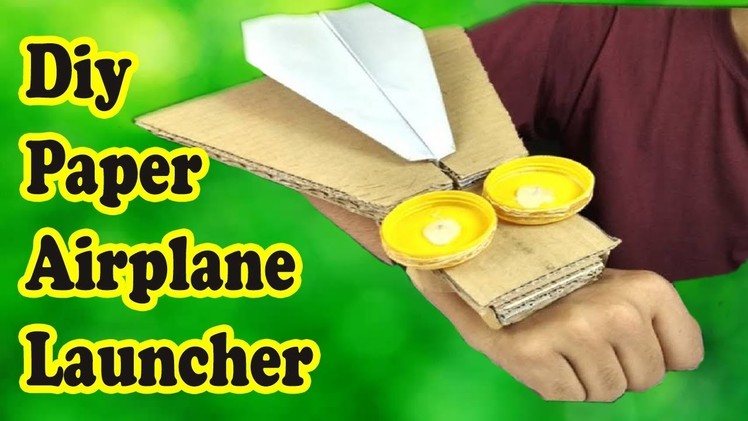
Welcome to the exciting world of DIY science projects! Have you ever dreamed of launching your own rockets without leaving your backyard? A paper rocket launcher is a simple yet thrilling way to explore the basics of aerodynamics and propulsion. It’s perfect for kids and adults alike, providing hours of fun and learning. Plus, the best part? You can make one with materials you probably already have at home. Let's dive into the materials you’ll need to get started on your rocket-launching adventure!
Materials Needed for Your Paper Rocket Launcher
Before we start building our paper rocket launcher, let’s gather some materials. Don’t worry; you won’t need any fancy equipment or expensive gadgets. Here’s a handy list of what you’ll need:
- Paper or cardstock: This will be used to create your rockets. Cardstock is sturdier and works better for rocket bodies.
- Straw: A standard drinking straw will serve as the launcher tube. You can use a wider straw for larger rockets.
- Scissors: You'll need these to cut your paper into the right shapes for your rockets.
- Tape or glue: To assemble your paper rockets and secure any loose parts.
- Marker or crayons: To decorate your rockets and make them uniquely yours!
- Small plastic bottle (optional): This can be used to create a more advanced launcher system using air pressure.
Now, let's break down how each material plays an important role:
- Paper or cardstock: Choose colorful patterns or plain paper—let your creativity shine! A cone shape works great for the nose of the rocket.
- Straw: The straw acts as the launch track. You’ll want it to be straight and unobstructed for a successful launch.
- Scissors: Make sure to use child-safe scissors if kids are helping out, and always supervise while cutting.
- Tape or glue: This ensures your rocket stays together during flight, so don’t skimp on securing those parts!
- Marker or crayons: Decorating your rockets adds a personal touch. You can draw flames, stars, or even your favorite cartoon characters.
- Small plastic bottle: If you want to take things up a notch, use this for an air pressure launcher that can propel your rockets even higher!
With these materials in hand, you’re ready to launch into the exciting process of building your paper rocket launcher. The best part? Once you’ve crafted your rockets, you can experiment with different designs to see which one flies the highest. Get ready for some high-flying fun!
Also Read This: How to Add Dailymotion to Roku: Quick Installation Steps
3. Step-by-Step Instructions to Build Your Paper Rocket Launcher

Building your very own paper rocket launcher is not just a fun project; it’s a fantastic way to learn about physics while having a blast! Let’s dive right into it. Here’s what you’ll need:
- Materials:
- Plastic bottle (empty, 1 or 2-liter)
- Straw (preferably a sturdy one)
- Cardstock or heavy paper (for the rockets)
- Scissors
- Tape or glue
- Water (optional, for added weight)
Now, follow these steps to make your launcher:
- Prepare the Bottle: Start by taking your empty plastic bottle. If you want to add some weight for stability, fill it partially with water. This will help the launcher stay grounded when you launch your rockets.
- Cut the Straw: Take your straw and cut it to about 6 inches in length. The straw will act as the launch tube for your rockets. Make sure the end you’ll insert into the bottle is clean and straight to ensure a smooth launch.
- Insert the Straw: Push one end of the straw into the mouth of the bottle. Depending on the size of your bottle, you might need to use tape to secure it in place so that no air escapes during the launch.
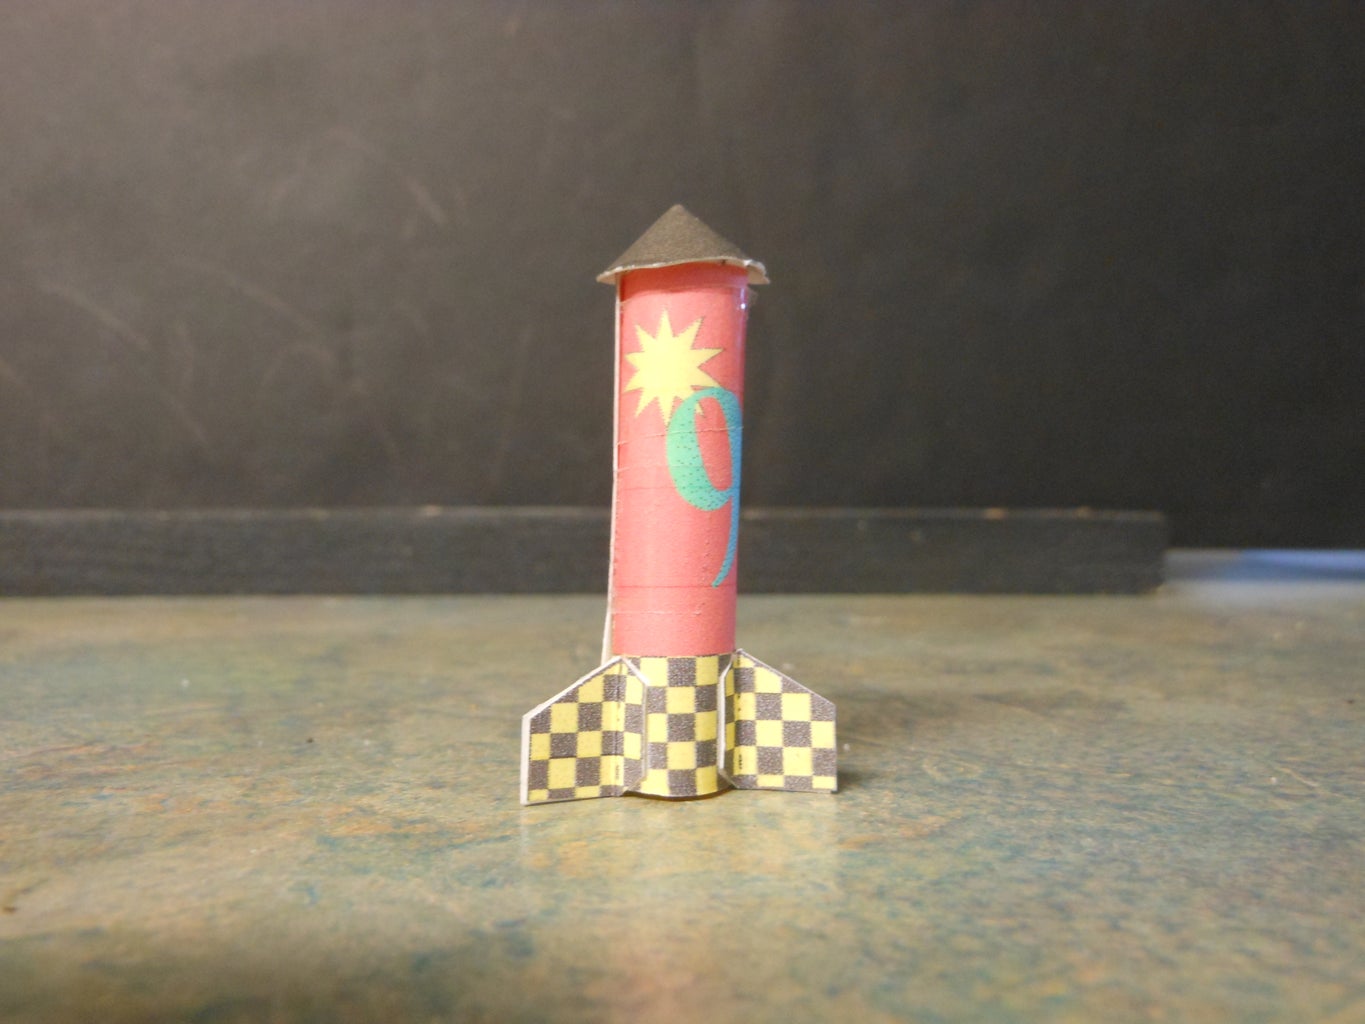
- Create the Rocket: Now it’s time to make your rockets! Cut a rectangle from your cardstock (about 6 inches by 4 inches). Roll it into a tube shape and secure it with tape. This tube will be your rocket's body.
- Add Fins: To make your rockets more aerodynamic, cut out some triangular shapes from the leftover cardstock. Attach these fins to the base of the rocket using tape or glue.
- Final Assembly: Your rocket is almost ready! Place it on the straw launcher and make sure it fits snugly—this will ensure a good launch.
And there you have it! Your paper rocket launcher is officially built. Now that you’re all set, let’s move on to how to create and launch your paper rockets.
Also Read This: DIY Loom Band Rings: Tutorials on Dailymotion
4. How to Create and Launch Your Paper Rockets
Creating and launching your paper rockets is where the real excitement begins! Let’s go through some fun ways to make your rockets and the best practices for launching them.
First, let’s enhance our rocket designs:
- Experiment with Sizes: Try cutting your cardstock in different sizes. Larger rockets can hold more air pressure, while smaller rockets might have faster launches!
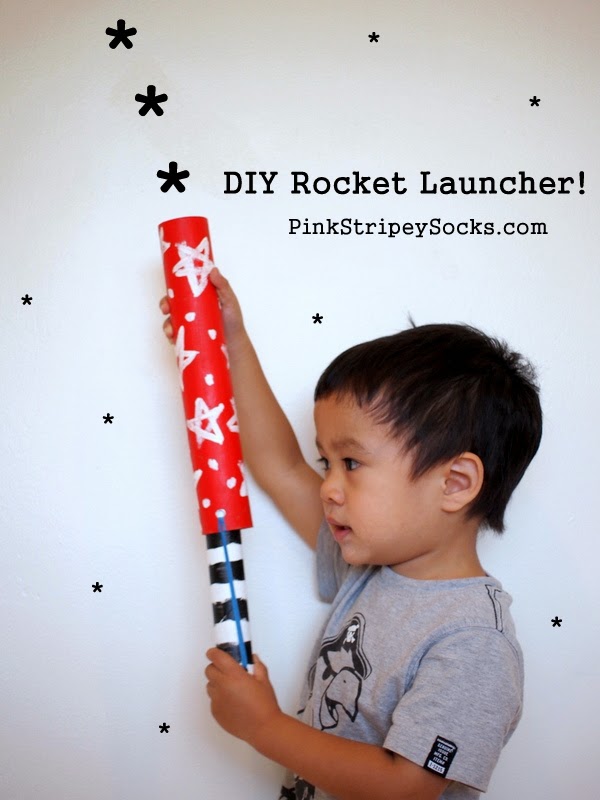
- Decorate Your Rockets: Use markers, stickers, or colored tape to personalize your rockets. Who wouldn’t want to launch a rocket that looks awesome?
- Try Different Weights: You can add small paperclips or coins inside your rocket for extra weight. This can affect how high and far your rockets go!
Now, let’s talk about launching:
- Load the Rocket: Carefully place your rocket on the straw. Make sure it fits well but doesn’t get stuck.
- Get Ready to Launch: When you’re ready, give the bottle a quick squeeze. This will send a burst of air through the straw and propel your rocket into the sky!
- Observe and Adjust: Watch how your rocket flies. If it doesn’t go as high as you expected, try adjusting the weight, size, or fins for better aerodynamics.
- Time the Launch: Make it a fun challenge! See how high and far you can launch your rockets. Consider timing each launch to see which design is the fastest!
Don’t forget to celebrate your successes and learn from your failures. Each launch is a chance to improve your rocket design and master the art of flight!
So grab your materials, gather your friends or family, and enjoy the thrilling world of DIY paper rocket launching. Remember, the sky's the limit!
Also Read This: How to Make a Ladder Bracelet: Creative Loom Band Guide on Dailymotion
5. Tips for Improving Rocket Flight Performance
Ready to take your paper rocket launching game to the next level? Here are some handy tips to enhance the performance of your rockets and watch them soar even higher!
- Perfect Your Rocket Design: Experiment with different rocket shapes. A streamlined body can significantly reduce air resistance. Try adding fins for stability and a nose cone for a better aerodynamic shape.
- Optimize Propulsion: Test various launch methods. If you’re using a simple straw launcher, consider using a wider straw for more air pressure. You can also try different launch angles—45 degrees is often ideal, but don’t hesitate to test others!
- Weight Management: The weight of your rocket can impact its flight. Use lightweight materials for construction and avoid adding unnecessary embellishments. If your rocket is too heavy, it may not reach great heights.
- Air Pressure Matters: If you’re using a balloon or air pump for propulsion, ensure it’s fully inflated before launch. A well-inflated balloon will provide more thrust. Don’t forget to practice your timing for the best release!
- Launch Surface: Choose a smooth, flat surface for launching. Uneven ground could affect the trajectory and cause your rocket to veer off course.
By keeping these tips in mind, you can fine-tune your rockets for spectacular flights that amaze your friends and family. Remember, the fun lies in experimenting!
6. Fun Variations and Challenges to Try
Once you’ve mastered the basics of your DIY paper rocket launcher, it’s time to get creative! Here are some exciting variations and challenges that will add a whole new level of fun to your rocket launching experience.
- Colorful Rockets: Why not decorate your rockets with markers, stickers, or colored paper? Adding vibrant designs can make the launching experience more enjoyable and visually appealing!
- Timed Launch Challenges: See how many rockets you can launch in one minute! This can be a fun competition among friends or family members. Keep track of your scores for some friendly rivalry!
- Distance Competitions: Measure how far each rocket flies. Use a tape measure to see who can get their rocket to fly the farthest. This variation encourages strategic thinking about rocket design and launch techniques.
- Obstacle Course: Set up a mini obstacle course for your rockets to navigate. Use cups, books, or any household items to create barriers. This challenge will test your rocket’s stability and your launching accuracy!
- Themed Launch Days: Pick a theme for your launch day, like space exploration or superheroes. Encourage everyone to design rockets that fit the theme, complete with matching decorations.
These variations and challenges will keep the excitement alive and inspire endless creativity. The best part? Each launch is a chance to learn something new, so keep launching and enjoy every moment!
 admin
admin


