Introduction to Tissue Paper Roses
Have you ever wanted to brighten up your space with some beautiful, handcrafted decor? Tissue paper roses are not only charming but also incredibly simple to make! Perfect for parties, weddings, or just as a fun craft project, these flowers add a pop of color and creativity to any setting. In this guide, we'll walk you through the easy steps to create your own stunning tissue paper roses, ensuring that you can impress friends and family with your artistic flair!
Also Read This: Exploring the Topic of Sex After Death on Dailymotion
Materials Needed for Making Tissue Paper Roses
Before diving into the crafting process, gathering your materials is key. Here's a list of what you'll need:
- Tissue Paper: Select colors that suit the occasion—vibrant shades for celebrations or soft pastels for a more subdued look.
- Scissors: A sharp pair will help you cut your tissue paper neatly.
- Floral Wire: This will serve as the stem for your roses. You can find it at craft stores.
- Floral Tape: To wrap around your wire and secure the petals in place.
- Optional: Glue or double-sided tape: Useful for securing layers if you prefer a more stable rose.
As you gather your materials, consider these tips:
- If you want more realistic-looking roses, opt for a variety of tissue paper textures.
- Experiment with different sizes of tissue paper sheets to create roses of varying sizes.
- Don’t be afraid to mix and match colors for a vibrant bouquet!
With these materials in hand, you’re ready to unleash your creativity! Let’s move on to the fun part—creating those beautiful tissue paper roses!
Also Read This: Is Dailymotion Bad? Evaluating the Platforms Reputation and Features
3. Step-by-Step Instructions to Create Tissue Paper Roses
Creating beautiful tissue paper roses can be a fun and rewarding craft project! With just a few materials and some simple steps, you’ll be able to make stunning flowers that can brighten up any space or serve as thoughtful gifts. Let’s dive right into the step-by-step process!
What You’ll Need:
- Tissue paper (in your favorite colors)
- Scissors
- Floral wire or pipe cleaners
- Floral tape (optional)
- Green tape or ribbon for stems (optional)
Step 1: Prepare Your Tissue Paper
Start by cutting your tissue paper into squares. A good size to aim for is around 10x10 inches, but you can adjust this based on how large you want your roses to be. You can use multiple layers of tissue paper—about 4 to 6 layers will give your rose more volume and a fuller look.
Step 2: Stack the Tissue Paper
Once you have your squares cut, stack them neatly on top of each other. Layer colors for a multi-toned rose or stick to one color for a classic look. Make sure the edges are aligned for a smooth finish.
Step 3: Fold the Tissue Paper
Now, it’s time to fold the stacked tissue paper. Start at one edge and fold it like a fan, making about 1-inch folds back and forth. Make sure each fold is even to create a uniform look for your petals.
Step 4: Secure the Center
Once you’ve finished folding, pinch the center of the folded tissue paper and secure it with floral wire or a pipe cleaner. This will be the base of your rose and hold all the petals together.
Step 5: Shape the Petals
Now comes the fun part! Gently pull each layer of tissue paper away from the center, starting from the top layer. Fluff and shape the petals to create a full, blooming rose effect. Be careful not to tear the paper as you do this.
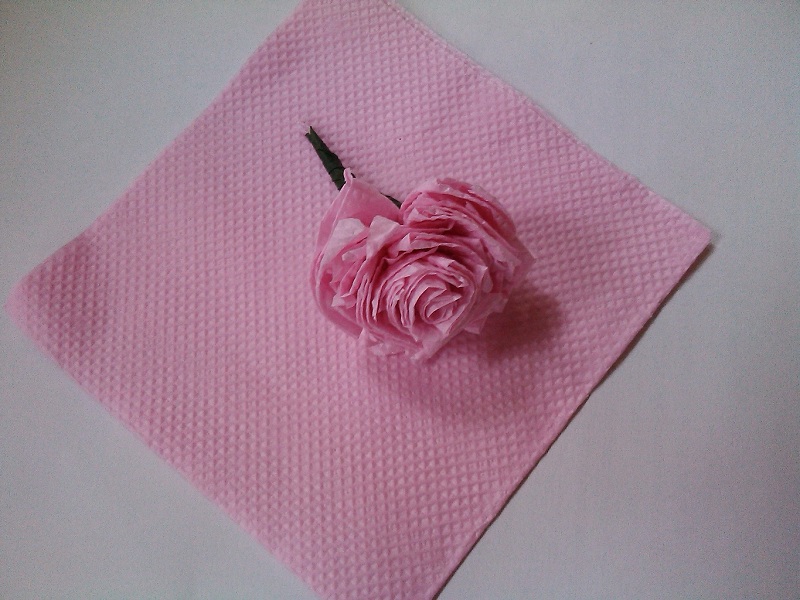
Step 6: Create the Stem
If you want a stem, wrap the floral wire or pipe cleaner around the base of the flower. You can cover this with green tape or ribbon for a polished look. And there you have it—a gorgeous tissue paper rose!
Also Read This: Troubleshooting Issues on Dailymotion
4. Tips for Perfecting Your Tissue Paper Roses
Now that you know how to make tissue paper roses, let’s go over some tips to help you perfect your craft. After all, the little details can make a big difference!
Choose Quality Tissue Paper: Using high-quality tissue paper can significantly enhance the look of your roses. Look for thicker paper that holds its shape well and doesn’t tear easily.
Vary Petal Shapes and Sizes: Experiment with different petal shapes by cutting the edges of your squares into soft curves or points. This will give a more natural and whimsical look to your roses.
Practice Your Fluffing Technique: Don’t be afraid to take your time when fluffing the petals. The more you fluff, the more lifelike your rose will appear. Use your fingers to gently crumple the edges for a more organic look.
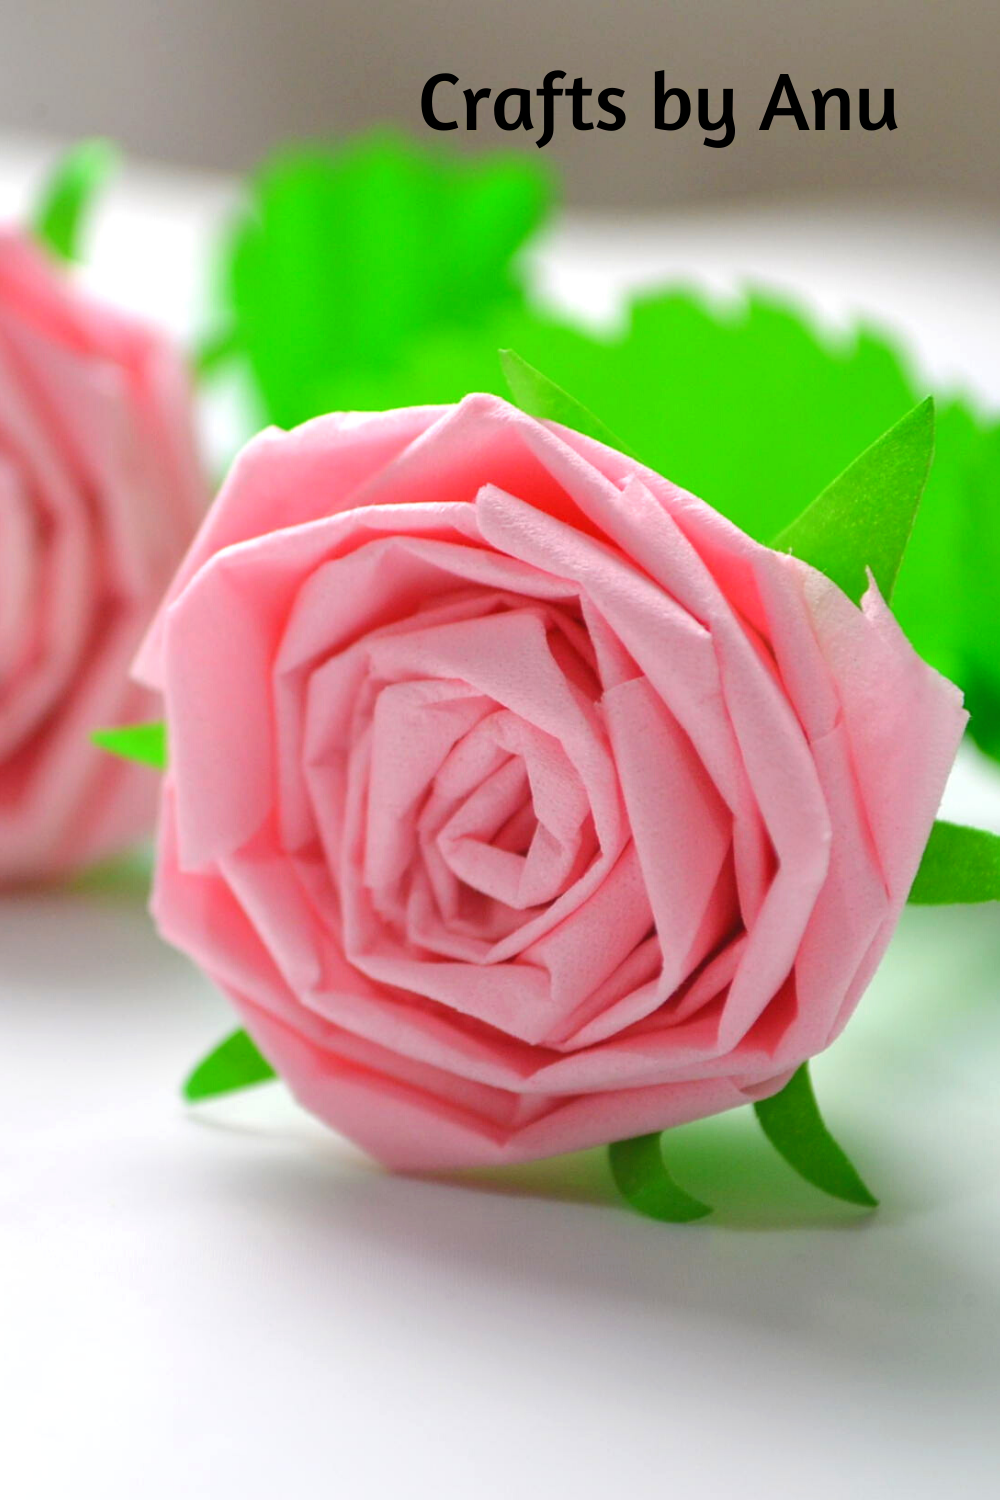
Experiment with Colors: Mixing and matching colors can create beautiful gradients. Try using complementary colors for a stunning visual effect. For instance, a light pink center with deeper red outer petals can look striking!
Use Floral Tape Wisely: If you’re using floral tape, make sure to stretch it as you wrap it around the stem. This ensures it sticks well and gives a neat finish.
Keep Practicing! Like any craft, practice makes perfect! Don’t be discouraged if your first few roses don’t turn out exactly as you envisioned. Keep experimenting, and you’ll find your unique style.
With these steps and tips, you’re well on your way to creating stunning tissue paper roses that will impress everyone. Happy crafting!
Also Read This: Learn to Create Paper Rose Flowers: Watch Step-by-Step on Dailymotion
5. Creative Ways to Use Tissue Paper Roses
Now that you’ve mastered the art of making stunning tissue paper roses, let’s explore some creative ways to showcase your beautiful creations! These versatile flowers can brighten up various occasions and spaces. Here are some fun ideas to inspire you:
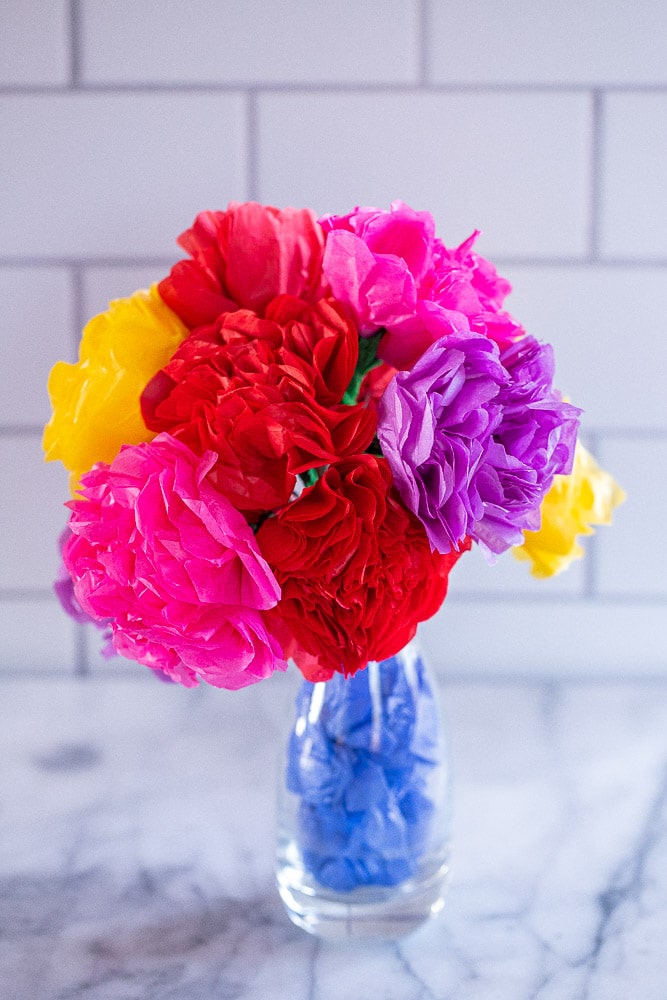
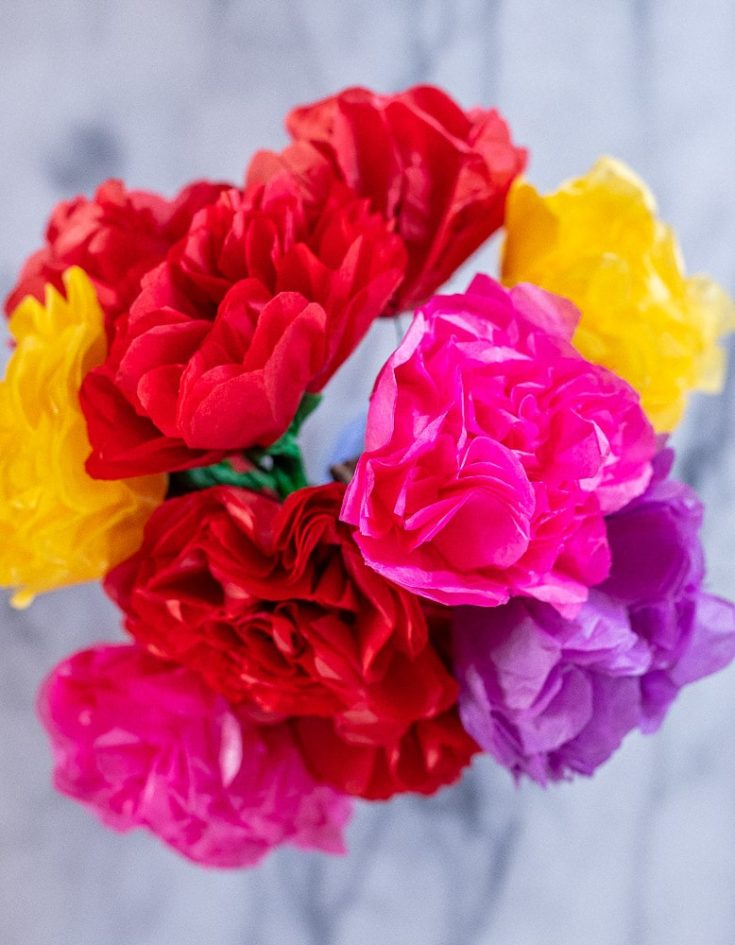
- Floral Bouquets: Combine your tissue paper roses with greenery or other flowers to create vibrant bouquets. They make excellent centerpieces for weddings, birthday parties, or any festive gathering!
- Home Decor: Use tissue paper roses to brighten up your living space. Arrange them in a decorative vase or create a stunning wall display. They're perfect for adding a pop of color to any room.
- Gift Wrapping: Add a touch of charm to your gifts by attaching a tissue paper rose as a decorative element. It’s a beautiful way to personalize your presents and make them feel extra special.
- Party Decorations: Planning a celebration? Hang tissue paper roses as part of your decorations! You can create a stunning backdrop or string them together to make a lovely garland that guests will adore.
- Hair Accessories: For a fun and quirky twist, use tissue paper roses to make hair clips or headbands. They’re perfect for costumes, festivals, or just a day when you want to feel fabulous!
- Scrapbooking: Incorporate your tissue paper roses into scrapbooking projects. They add a handmade touch to your pages, making your memories even more special.
The possibilities are endless! With a bit of creativity, your tissue paper roses can become a unique element in various projects. So, let your imagination run wild and find new ways to use these delightful blooms!
6. Conclusion: Enjoy Your Handmade Tissue Paper Roses
Congratulations! You’ve successfully learned how to create stunning tissue paper roses. Not only are they enjoyable to make, but they also serve as a fantastic way to express your creativity. Whether you’re decorating for a special event, sprucing up your home, or crafting unique gifts, these flowers will surely bring joy.
As you continue to experiment with your tissue paper roses, remember to:
- Try different colors and patterns to create your own unique style.
- Mix and match sizes for a more dynamic floral arrangement.
- Share your creations with friends and family—they’ll love seeing your artistic flair!
Take a moment to appreciate the beauty of your handiwork. These roses, though simple in their creation, can carry a lot of meaning and joy. Whether for yourself or as a thoughtful gift, your handmade tissue paper roses are sure to brighten anyone's day. Happy crafting!
 admin
admin


