Creating an ID on Facebook is your gateway to connecting with friends, family, and the wider world. Whether you're looking to share your thoughts, photos, or find communities that share your interests, Facebook is a powerful platform. This quick guide will walk you through the steps needed to set up your Facebook account effortlessly. Let's dive in!
Creating a Facebook Account
Getting started with Facebook is a breeze! Just follow these simple steps:
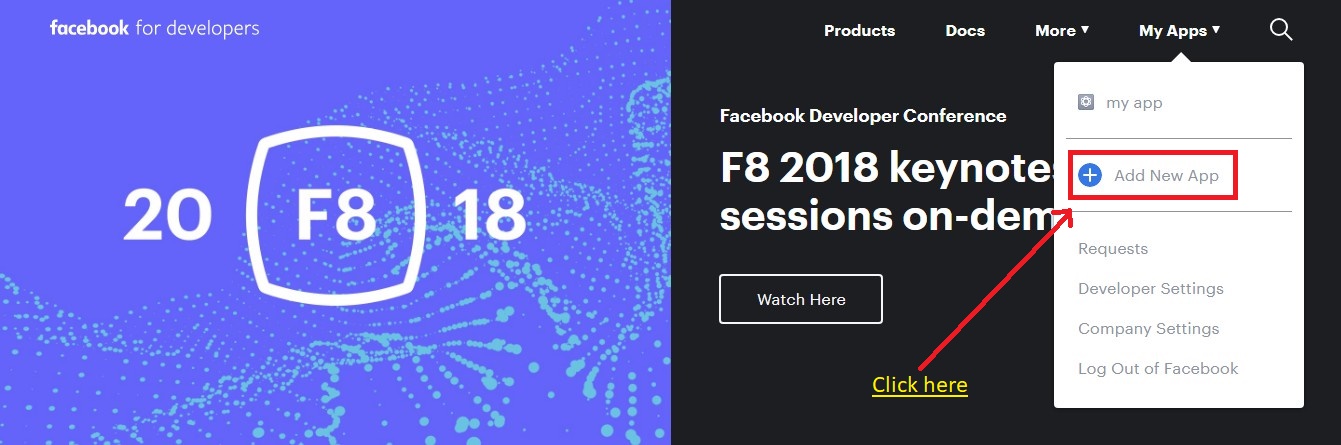
- Visit the Facebook Website: Open your preferred web browser and go to www.facebook.com. You'll see the sign-up form right on the homepage.
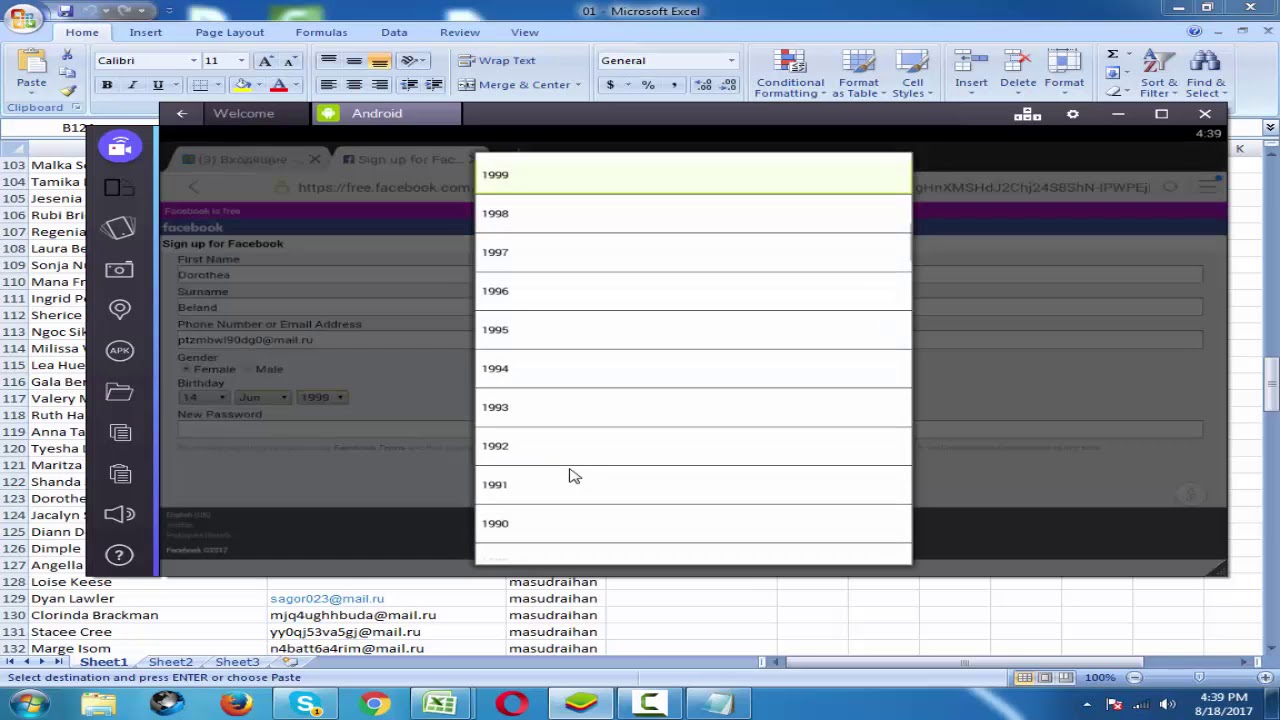
- Fill Out the Registration Form: Here’s what you need to enter:
- First Name: Your real first name.
- Last Name: Your real last name.
- Email or Phone Number: Use a valid email address or mobile number.
- Password: Create a strong password (at least 8 characters, including letters and numbers).
- Date of Birth: Select your birth date from the dropdown menus.
- Gender: Choose your gender.
And voilà! You now have your very own Facebook account. Feel free to explore the platform and start connecting with others!
Also Read This: How to Download Dailymotion Videos Online Free and Easily
3. Verifying Your Account
So, you’ve set up your Facebook account, but did you know that verifying it can add an extra layer of credibility? It’s like putting a shiny badge on your profile that says, "I’m real!" Here’s how you can do it:
- Log into Your Account: Start by logging into your Facebook account using your credentials.
- Go to Settings: Click on the downward arrow in the top right corner, and select Settings & Privacy, then Settings.
- Find Verification: In the left sidebar, look for General. You might see an option for Verification or Verify Your Account.
- Submit Your Information: Facebook will ask you for some identification. This could be a government-issued ID or a utility bill with your name and address.
- Wait for Confirmation: After you submit your info, Facebook will review it. This may take a few days, so hang tight!
Once verified, you’ll notice a checkmark beside your name. This not only enhances your trustworthiness but can also unlock additional features, like being able to live stream or access certain groups. It’s definitely worth the effort!
Also Read This: How to Create Games for PC on Dailymotion
4. Setting Up Your Profile

Your Facebook profile is like your digital handshake—it’s how you introduce yourself to the world. Here’s how to make it shine:
- Profile Picture: Choose a clear, friendly photo that represents you. Ideally, it should be a headshot where you’re smiling. This helps others connect with you!
- Cover Photo: This is the large banner image at the top of your profile. Use something that reflects your personality or interests, like your favorite place or a hobby.
- About Section: Fill this out with relevant information. You can include your bio, education, work, and interests. This section helps people find common ground with you.
- Privacy Settings: Take a moment to adjust your privacy settings. Decide who can see your posts and personal information. You can choose between public, friends, or only you.
- Interests and Hobbies: Don’t shy away from adding your interests. Whether you love hiking, books, or cooking, share those passions! It invites interaction and connection.
Remember, your profile is a reflection of you. Keep it updated and engaging, and watch how it enhances your Facebook experience!
Also Read This: How to Download Videos from the Dailymotion App
5. Understanding Privacy Settings
When creating an ID on Facebook, one of the most important steps is to understand your privacy settings. These settings allow you to control who can see your posts, your profile information, and even who can send you friend requests. Ignoring these settings can lead to unwanted attention or a compromised experience on the platform.
Here’s a breakdown of key privacy settings you should consider:
- Profile visibility: Decide who can view your profile. You can choose from options like 'Public', 'Friends', or 'Only Me' to keep your profile private.
- Post visibility: Each time you share a post, you can set its visibility. Make it 'Public' for everyone, 'Friends' for only those you’ve added, or customize it for specific friends.
- Friend requests: You can limit who can send you friend requests—choose between 'Everyone' or 'Friends of Friends'.
- Timeline and tagging: Control who can post on your timeline and tag you in photos. You can set this to 'Friends' or even require your approval before being tagged.
By taking the time to configure your privacy settings, you can enjoy a safer and more personalized Facebook experience. Make sure to revisit these settings regularly, as Facebook sometimes updates features that might change your default privacy options.
Also Read This: How to Create Your Own Spiderman Web Shooters with a Fun DIY Video
6. Exploring Dailymotion Integration
Integrating Dailymotion with your Facebook ID can enhance your social media experience by allowing you to share and discover videos seamlessly. Dailymotion, known for its vast library of videos, can be a great way to engage your audience on Facebook.
Here’s how you can explore this integration:
- Sharing Content: Once you’ve created your Facebook ID, you can easily share Dailymotion videos directly on your Facebook timeline. Just copy the video link and paste it into your status update. Your friends can watch it without leaving Facebook!
- Using Dailymotion’s Facebook App: Dailymotion offers an app that allows you to log in with your Facebook ID. This makes it easier to share your favorite videos and engage with your followers.
- Embedding Dailymotion Videos: You can embed Dailymotion videos in your Facebook posts. Just click on the 'Share' button on Dailymotion, select 'Embed', and paste the code into your Facebook post.
By exploring Dailymotion integration, you not only amplify your video content but also keep your audience engaged with fresh and exciting media. Take advantage of this integration to enrich your social media presence!
How to Make an ID on Facebook - A Quick Guide on Dailymotion
Creating a Facebook ID is a straightforward process that allows you to connect with friends, share content, and engage with communities. This guide will walk you through the essential steps to set up your Facebook account and provide tips for optimizing your profile.
Follow these steps to create your Facebook ID:
- Visit the Facebook Website: Go to www.facebook.com or download the Facebook app on your mobile device.
- Fill Out the Sign-Up Form: You’ll need to provide the following information:
- First Name
- Last Name
- Email Address or Mobile Number
- Password
- Date of Birth
- Gender
- Click on ‘Sign Up’: After completing the form, click the ‘Sign Up’ button to proceed.
- Verify Your Account: Facebook will send a verification code to your email or mobile number. Enter this code to confirm your account.
- Customize Your Profile: Add a profile picture, cover photo, and any other personal details to make your account unique.
Quick Tips:
- Choose a strong password to keep your account secure.
- Be mindful of your privacy settings to control who can see your information.
Here’s a quick comparison of Facebook ID creation with other platforms:
| Platform | Ease of Sign-Up | Verification Method |
|---|---|---|
| Easy | Email/Mobile Verification | |
| Easy | Email/Mobile Verification | |
| Moderate | Email Verification |
By following these steps, you can easily create a Facebook ID and start engaging with friends and content on the platform. Enjoy your new social media journey!
 admin
admin


