TIFF, or Tagged Image File Format, is a versatile image format widely used in photography and graphic design. It retains high-quality images without any data loss, making it a favorite among professionals. Unlike JPEGs, which compress data to save space, TIFF files maintain all the
Tools Needed for Editing TIFF Images
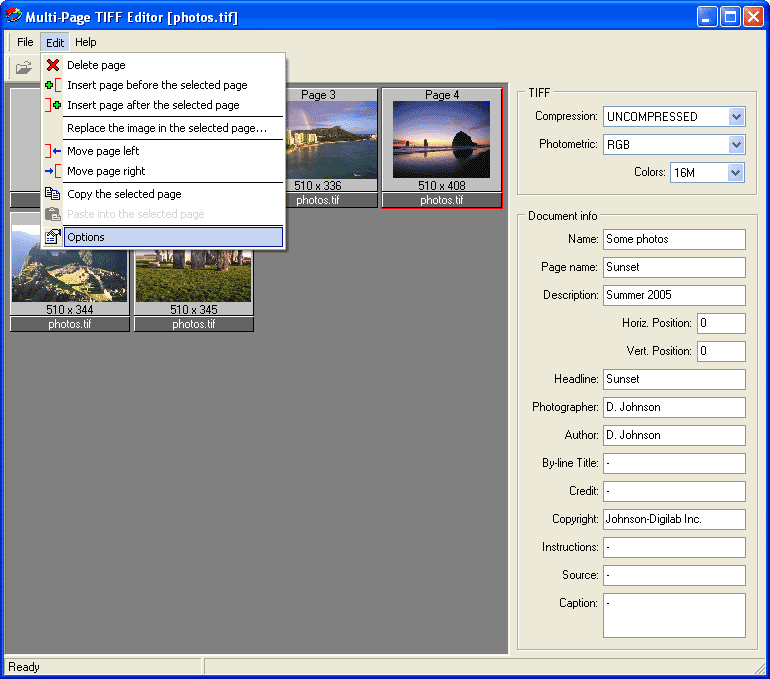
Editing TIFF images requires specific tools to fully leverage their potential. Here are some essential tools you might consider:
- Adobe Photoshop: A leading software for image editing, Photoshop offers robust support for TIFF files. Its extensive features allow for color correction, layering, and special effects.
- GIMP: A free alternative to Photoshop, GIMP supports TIFF files and provides a range of editing tools. It's perfect for users on a budget who still want powerful editing capabilities.
- Affinity Photo: This cost-effective software is gaining popularity for its user-friendly interface and comprehensive editing tools, making it a great choice for TIFF editing.
- PaintShop Pro: Known for its intuitive layout, PaintShop Pro also supports TIFF editing with various filters and effects.
Moreover, if you're looking for online options, tools like Pixlr and Photopea allow you to edit TIFF images directly in your browser without needing to download software. Just remember, the right tool can significantly enhance your editing process, so choose one that suits your specific needs!
Also Read This: Making Money through Adobe Stock or Shutterstock
3. Step-by-Step Guide to Edit TIFF Images
Edit TIFF images can seem daunting, but with the right tools and a simple approach, you can achieve stunning results. Here’s a straightforward, step-by-step guide to help you navigate through the editing process:
- Choose Your Software: Before editing, select a suitable program. Popular choices include Adobe Photoshop, GIMP, or Corel PaintShop Pro. Each offers unique features tailored for TIFF files.
- Open the TIFF File: Launch the software and open your TIFF image. In most programs, you can do this by clicking on File > Open and navigating to your file.
- Adjust Image Size and Resolution: If necessary, resize your image by going to Image > Image Size. Here, you can change the dimensions and resolution, ensuring your image maintains quality.
- Make Basic Enhancements: Use tools like brightness, contrast, and saturation adjustments to enhance your image. These options are typically found under Adjustments or Basic Corrections.
- Utilize Layers: If your software supports layers, use this feature for non-destructive editing. This allows you to make changes without altering the original image.
- Apply Filters and Effects: Experiment with filters to add a creative touch. Most software offers various options for stylizing your TIFF image.
- Save Your Work: Once satisfied with your edits, save the file by selecting File > Save As. Ensure to save it in TIFF format to retain quality.
Also Read This: Uncover the Benefits of Adding Subtitles to Instagram Reels and How to Do it Effortlessly
4. Common Editing Techniques for TIFF Files
Editing TIFF files opens up a world of possibilities, and certain techniques can help you achieve professional-looking results. Here are some common editing techniques to consider:
- Color Correction: Adjust the color balance, temperature, and tint to create a more natural look. This is particularly useful for photographs taken under unusual lighting conditions.
- Sharpening: Enhance the details in your image by applying a sharpening effect. This technique helps in making textures more pronounced, adding a crispness to your work.
- Crop and Straighten: Remove unwanted elements and straighten horizons to improve composition. Cropping can also help to focus on the subject of your image.
- Noise Reduction: TIFF images can sometimes exhibit noise, especially in low-light conditions. Use noise reduction tools to smooth out grainy areas while preserving details.
- Retouching: Fix blemishes or unwanted spots using cloning or healing tools. This technique is great for portrait editing, enhancing the overall quality.
- Adding Text and Graphics: Incorporate text or additional graphics to your image. This is particularly useful for creating posters or informative images.
By mastering these common editing techniques, you can transform your TIFF images into stunning works of art that capture attention and convey your vision.
Also Read This: How to Create a Colorful Rainbow Cake
5. Saving and Exporting Edited TIFF Images
Once you've finished editing your TIFF images, the next crucial step is saving and exporting them properly. TIFF, known for its high quality, offers various options when it comes to saving your images. Here’s how to ensure you do it right:
- Choose the Right Format: When saving, you can choose to keep the file as a TIFF. This is important if you want to maintain the quality and layers of your image.
- Compression Options: TIFF files can be large, so consider using compression. You can choose between LZW (lossless) or ZIP compression to reduce file size without sacrificing quality.
- Flattening Layers: If you’ve used multiple layers in your editing software, think about whether you want to flatten them before saving. Flattening merges layers into one, which can save space but removes the ability to edit them later.
- Saving for Web: If you plan to use your TIFF images online, consider exporting them to a more web-friendly format like JPEG or PNG. This will reduce the file size and ensure faster loading times.
To export, simply navigate to the 'File' menu, select 'Export,' and choose the desired format and settings. Remember, it’s good practice to keep a backup of your original TIFF files in case you need to revisit your edits in the future!
Also Read This: Stacking Images in Photoshop for Astrophotography
6. Troubleshooting Common Issues
Editing TIFF images can sometimes lead to a few bumps in the road. Let’s tackle some common issues you might encounter and how to resolve them:
- File Not Opening: If a TIFF file won't open, ensure your editing software supports TIFF format. If it does, the file may be corrupted, and you might need to recover it using specialized software.
- Loss of Quality: If your edited image appears pixelated or blurry, check your export settings. Ensure you're not using excessive compression and that you're saving in the right resolution.
- Software Crashes: Unexpected crashes can be a pain. Make sure your software is updated and consider increasing your system’s RAM or using a lighter editing software for larger files.
- Color Issues: If colors look off, it could be a color profile problem. Ensure you're using the same color profile for both editing and exporting.
Don’t forget, a little patience goes a long way, and troubleshooting is just part of the creative process!
How to Edit TIFF Images
TIFF (Tagged Image File Format) is a versatile image format widely used for high-quality graphics, particularly in photography and desktop publishing. Editing TIFF images requires specific tools and techniques to maintain their quality and integrity. Here’s a guide on how to effectively edit TIFF files.
To begin editing TIFF images, you need to choose the right software. Here are some popular options:
- Adobe Photoshop: Industry-standard software with extensive features for editing TIFF files.
- GIMP: A free and open-source alternative that supports TIFF editing.
- Adobe Lightroom: Excellent for batch processing and photo enhancement.
- PaintShop Pro: A user-friendly option with robust editing capabilities.
Once you have selected your software, follow these steps to edit your TIFF images:
- Open the TIFF file: Use your chosen software to load the TIFF image.
- Adjust image settings: Modify brightness, contrast, and color balance to enhance the image.
- Crop and resize: Trim the image to focus on the subject and resize it as needed.
- Add filters and effects: Experiment with various filters to achieve the desired look.
- Save your work: Save the edited image in TIFF format to retain quality, or export to other formats as needed.
Remember to always work on a copy of the original TIFF file to prevent any loss of data.
In conclusion, editing TIFF images is a straightforward process with the right tools and techniques. By following the steps outlined above, you can enhance your images while preserving their high quality.
 admin
admin


