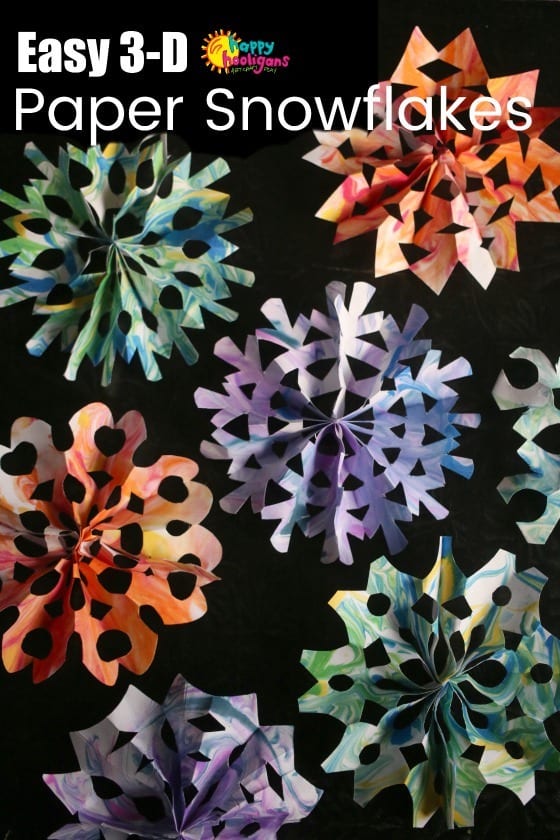
Making 3D snowflakes is a delightful and artistic way to bring the winter season indoors! These whimsical decorations not only capture the beauty of real snowflakes but also allow you to unleash your creativity. Whether you're preparing for the holidays, hosting a winter-themed party, or simply enjoying a crafty afternoon, creating 3D snowflakes is both fun and rewarding. Plus, they can be made from readily available materials, making it an accessible project for crafters of all ages. So, grab your supplies, and let’s dive into this snowy adventure together!
Materials Needed for Crafting
To craft beautiful 3D snowflakes, you'll need a few key materials. Don't worry; most of these can be found around your home or at your local craft store. Here's a handy list to get you started:
For hanging your snowflakes, have some ribbon or string on hand. It adds a charming finishing touch! To help with measuring and drawing patterns on the paper before cutting. Consider adding glitter, sequins, or markers to embellish your snowflakes and make them sparkle.
Gather these materials, and you’ll be well on your way to creating stunning 3D snowflakes that will brighten any space!
Also Read This: Watch Playdough Recipe Ideas: Step-by-Step Guide on Dailymotion
Step-by-Step Instructions
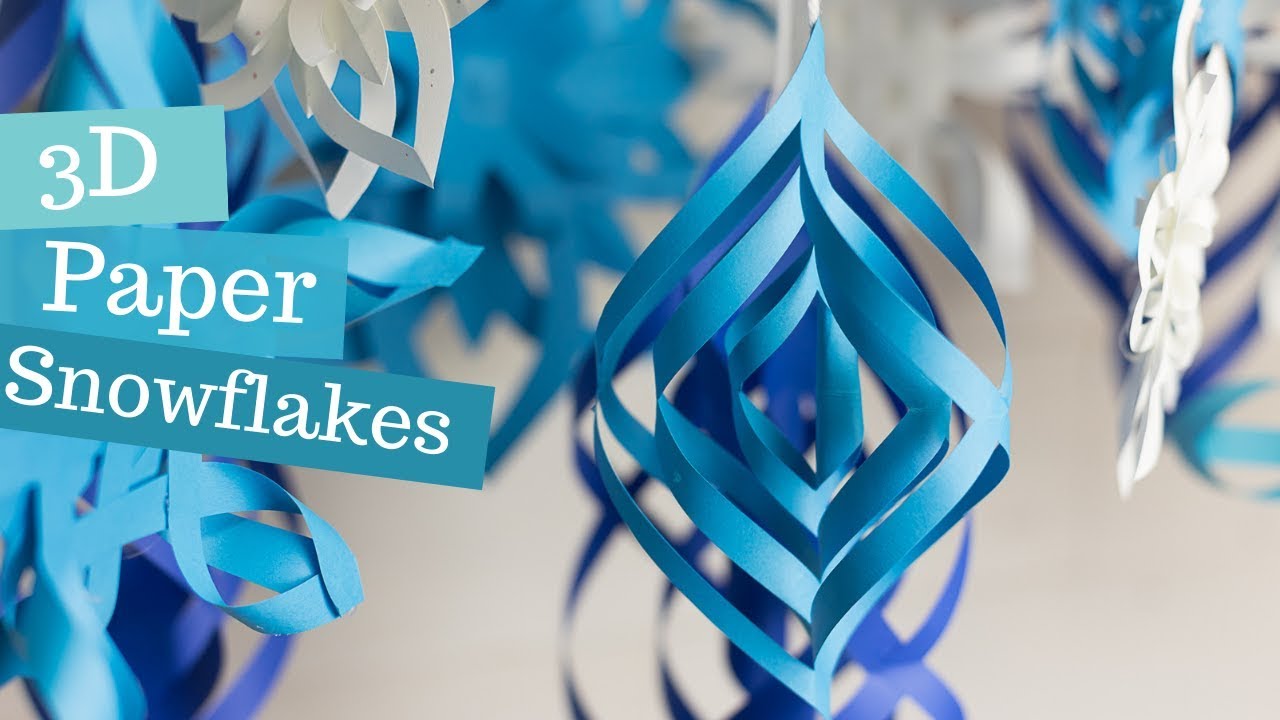
Making 3D snowflakes is a delightful activity that sparks creativity and adds a festive flair to your home. Let’s dive into the step-by-step process that will have you crafting beautiful snowflakes in no time!
- Gather Your Materials: You will need paper (preferably white or blue), scissors, a ruler, a pencil, and a stapler or glue.
- Cut the Base Squares: Start by cutting your paper into squares. A 6-inch or 8-inch square works great. Use your ruler and pencil to mark it before cutting for precision.
- Fold the Squares: Take one square and fold it diagonally to form a triangle. Then, fold it again diagonally, bringing the two corners together. You should have a smaller triangle now.
- Create Your Design: While holding the triangle, use scissors to cut shapes along the edges. Be creative! You can make small triangles, curves, or other patterns. Just be sure not to cut too close to the center.
- Unfold the Snowflake: Gently unfold your paper to reveal the intricate design. This is the magic moment!
- Repeat the Process: Make several snowflakes, varying the designs and sizes to create a stunning display.
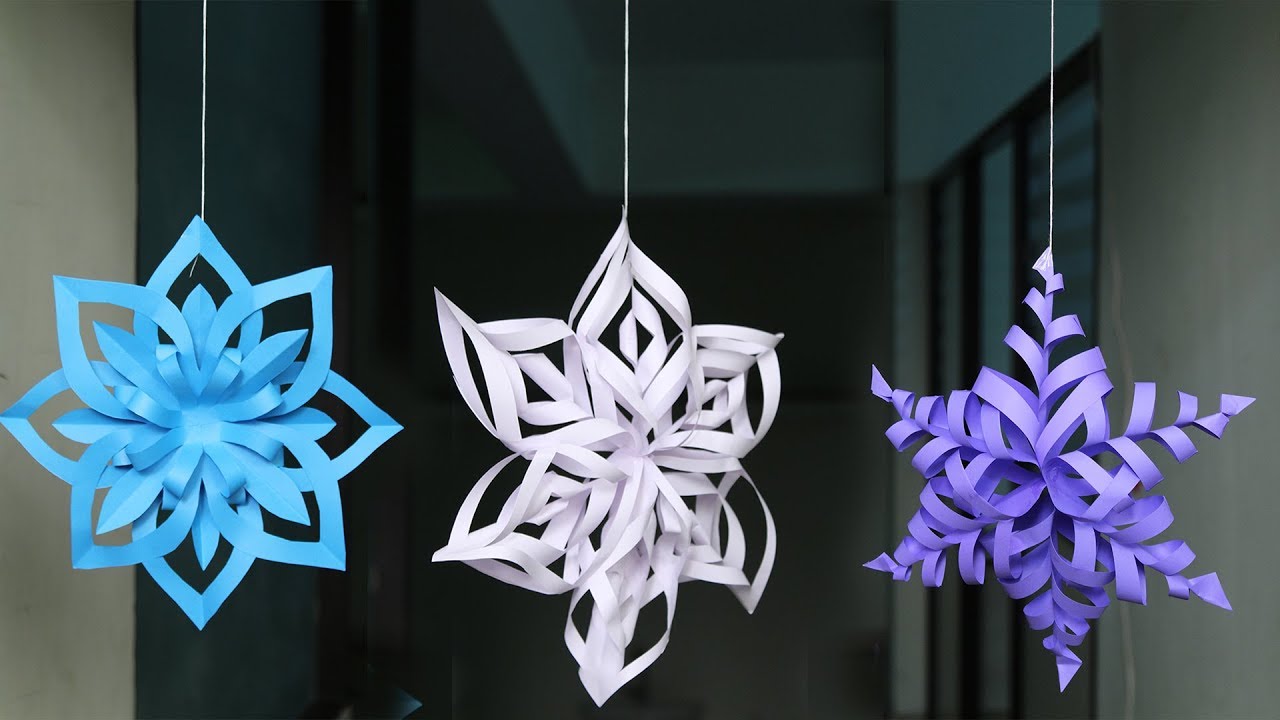
- Assemble Your 3D Snowflakes: To make them 3D, take three identical snowflakes. Pinch the center of each one and staple or glue them together at the pinched point. You can also attach a string to hang them.
And there you have it! A beautiful 3D snowflake ready to brighten your space.
Also Read This: Learn How to Open a Parachute in GTA San Andreas Using Dailymotion Videos
Tips for Customizing Your Snowflakes
Now that you've learned how to create stunning 3D snowflakes, it’s time to personalize them! Here are some creative tips to make your snowflakes uniquely yours:
- Experiment with Colors: While classic white is beautiful, try using colored paper or glitter to add a fun twist. Pastel hues can create a soft, whimsical look, while metallics add a touch of glam.
- Incorporate Patterns: Use patterned paper (like polka dots or stripes) to give your snowflakes a distinctive style. The pattern will add depth and interest to your designs.
- Add Embellishments: Consider gluing on sequins, beads, or even small buttons to give your snowflakes some sparkle. A little bling goes a long way!
- Try Different Sizes: Mix and match sizes to create a dynamic display. Larger snowflakes can serve as focal points while smaller ones can fill in gaps.
- Use Stencils: If you're not confident in your cutting skills, use stencils to create uniform shapes. This can be especially helpful for intricate designs.
- Hang with Style: Instead of just string, consider using colorful ribbons or twine to hang your snowflakes. This adds another layer of customization.
With these tips, your 3D snowflakes will be a true reflection of your creativity and style!
Also Read This: Don’t Deport My Luna on Dailymotion Watch the Video
5. Creative Ways to Display Your 3D Snowflakes
Once you've crafted your stunning 3D snowflakes, the next fun step is figuring out how to showcase them! Here are some creative ideas to display your frosty creations:
- Hanging Mobile: Create a whimsical mobile by stringing your snowflakes from a coat hanger or a wooden dowel. Hang it in a window or from the ceiling to catch the light and create a beautiful floating effect.
- Winter Wonderland Window: Adorn your windows with a cluster of snowflakes. Use tape or removable adhesive to stick them on, creating a magical winter scene that can be enjoyed from inside and outside!
- Table Centerpiece: Arrange your snowflakes in a bowl or along the center of your dining table. You can even sprinkle some faux snow or glitter around them for an extra sparkle.
- Wall Art: Use washi tape to create a snowflake collage on your wall. This is a fun way to personalize your space and can easily be changed up for different seasons or holidays.
- Gift Wrapping: Incorporate your snowflakes into gift wrapping! Attach them to presents as unique gift tags or use them to embellish wrapped gifts for a festive touch.
Don't be afraid to get creative! Your 3D snowflakes can become a part of your home decor in ways you might not have imagined.
6. Conclusion and Final Thoughts
Creating 3D snowflakes is more than just a fun craft; it's a wonderful way to unleash your creativity and bring a little winter magic into your life. Whether you're decorating for the holidays, hosting a winter-themed party, or just enjoying a cozy afternoon, these snowflakes are sure to add charm and beauty to any setting.
As you experiment with different designs and display methods, remember that the most important part is to enjoy the process. Here are a few final thoughts to keep in mind:
- Experiment: Don’t hesitate to try new patterns or sizes. Each snowflake can be unique, just like in nature!
- Get Others Involved: Invite family or friends to join you in making snowflakes. It's a great bonding activity!
- Seasonal Change: As the seasons change, so can your snowflakes! Create different designs as winter transitions to spring.
So grab your materials, let your imagination run wild, and enjoy crafting your very own 3D snowflakes!
 admin
admin


