Creating a frame in Photoshop is a fantastic way to enhance your images and give them a polished, professional look. Whether you’re looking to add a simple border or craft something more intricate, mastering the art of framing can elevate your visual content significantly. In the context of Dailymotion, where eye-catching thumbnails are essential for grabbing viewers' attention, a well-designed frame can make your video stand out in a crowded space. Let’s dive into the basics of framing and how it can transform your images!
Tools Required for Frame Creation
To create stunning frames in Photoshop, you'll need a few essential tools and features that the software offers. Here's a handy list to get you started:
- Adobe Photoshop: Ensure you have the latest version installed for the best features and updates.
- Selection Tools: Use tools like the Marquee Tool for simple shapes or the Lasso Tool for more complex selections.
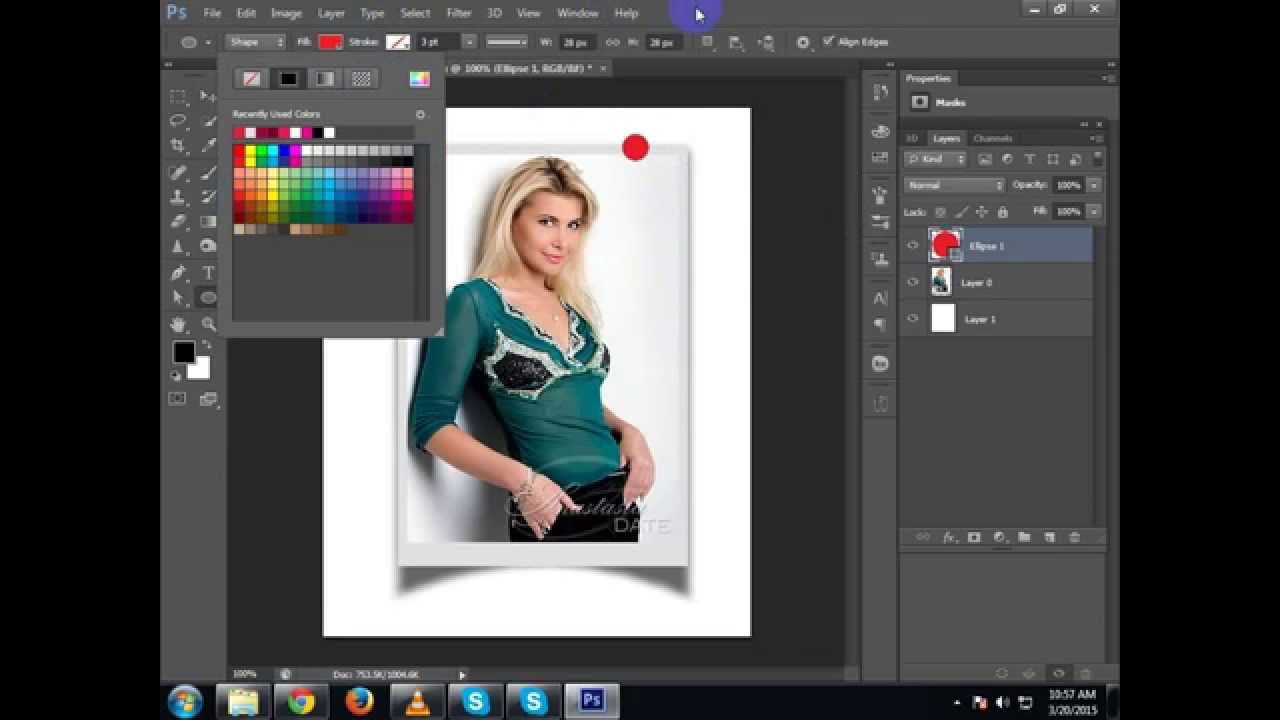
- Shape Tool: This is perfect for creating rectangular or custom-shaped frames.
- Layer Styles: Utilize features like Stroke, Drop Shadow, and Bevel & Emboss to add depth to your frame.
- Brush Tool: For adding artistic elements or textures to your frame.
- Guides: Using guides can help position your frame accurately around your image.
- Color Picker: This tool allows you to choose precise colors for your frame, ensuring it matches your overall design.
With these tools at your disposal, you’ll be well-equipped to create dynamic and visually appealing frames that will draw attention and make your content shine on platforms like Dailymotion!
Also Read This: How to Make Lip Gloss at Home: Watch on Dailymotion
3. Step-by-Step Guide to Making a Frame
Creating a frame in Photoshop might sound a bit daunting, but once you break it down into easy steps, it becomes a breeze! Let’s dive into the process:
- Open Photoshop: Launch Adobe Photoshop on your computer. If you don’t have it installed, you can download a trial version from the Adobe website.
- Create a New Document: Go to File > New. Set your desired dimensions (for example, 1920 x 1080 pixels for a standard HD video frame).
- Choose a Background Color: Select the Paint Bucket Tool (G) and fill the background layer with a color of your choice. This will be the base of your frame.
- Add a Border: Use the Rectangle Tool (U) to draw a rectangle around the edges of your document. Adjust the stroke size and color in the options bar to create your frame's border.
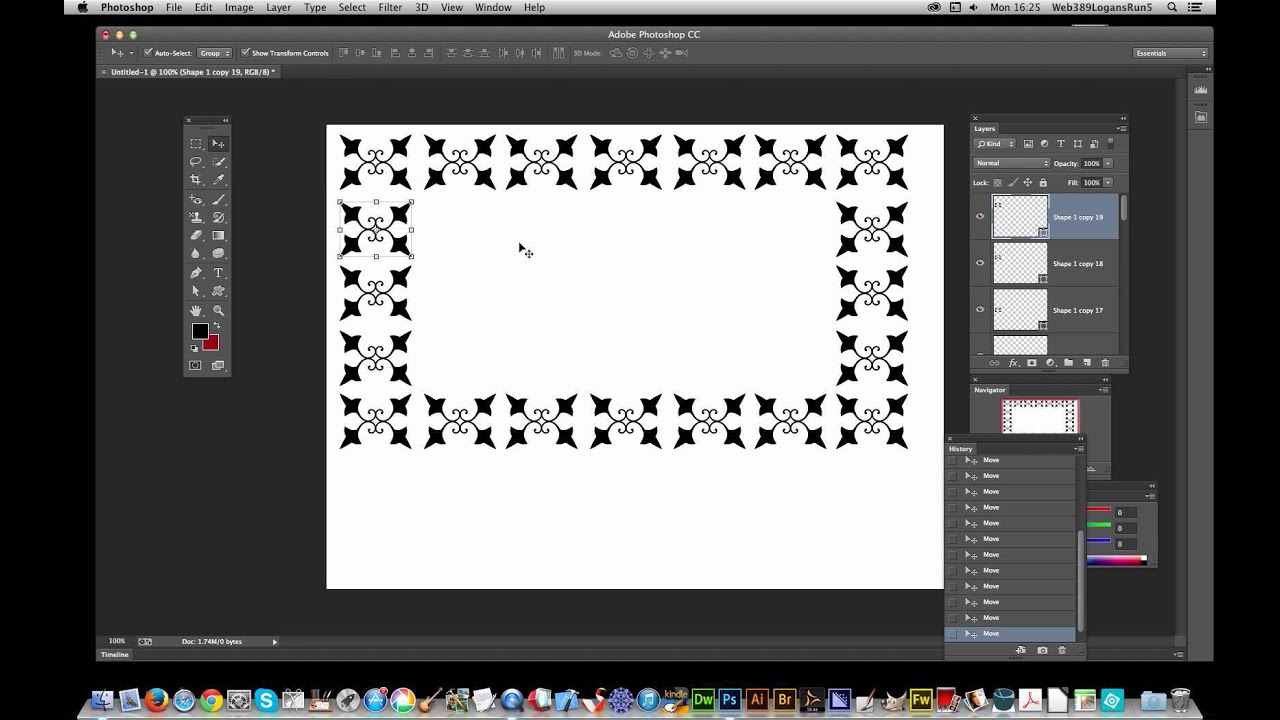
- Customize Your Frame: Add textures or patterns by dragging images into your document. Use Layer Styles (by double-clicking on the layer) to add shadows or glows for a three-dimensional effect.
- Save Your Frame: Once you're happy with your design, go to File > Save As and choose PNG or PSD format to preserve transparency.
And there you have it! You’ve made your very own frame in Photoshop. Now, let’s see how to add that frame to your Dailymotion videos!
Also Read This: How to Make Pizza in a Microwave Oven: Tutorials on Dailymotion
4. Adding Your Frame to Dailymotion Videos
Now that your frame is all set, it’s time to spice up your Dailymotion videos with it. Here’s how to do it:
- Log into Dailymotion: Visit the Dailymotion website and sign in to your account. If you don’t have an account yet, creating one is a simple process!
- Upload Your Video: Click on the Upload button located at the top. Select the video you want to upload from your computer.
- Edit Video Settings: While your video is uploading, you’ll have the option to edit various settings. This is where you can add your frame!
- Add the Frame: Use video editing software of your choice (like iMovie, Final Cut Pro, or even Photoshop for basic overlay) to layer your frame over the video. Make sure to adjust the position to fit the video dimensions perfectly.
- Finalize and Save: Once satisfied with how it looks, finalize your edits and save the video. After saving, you can return to Dailymotion to finish the upload process.
And that's it! Your Dailymotion video now features your custom frame, ready to grab viewers' attention!
Also Read This: How to Make Cake Fondant at Home: Easy DIY Tutorial on Dailymotion
5. Tips for Customizing Your Frame
Creating a frame in Photoshop is just the beginning! Customizing it to suit your style can make all the difference in your Dailymotion videos. Here are some handy tips to get you started:
- Choose Your Colors Wisely: Select colors that complement your video content. Use the color picker tool to experiment with different palettes. For instance, if your video has a vibrant theme, consider using bold, contrasting colors for the frame.
- Incorporate Text: Adding text to your frame can enhance its message. Try using catchy phrases or your brand name. Make sure the font is readable and aligns with your video’s vibe. For example, a modern sans-serif font can give a sleek look.
- Utilize Layer Styles: Photoshop offers various layer styles like drop shadows or glows. Applying these can add depth and make your frame pop. Try a subtle shadow to create a 3D effect.
- Add Graphics or Icons: Personalize your frame with graphics or icons that reflect the content. If your video is about travel, for instance, consider adding small icons of airplanes or compasses.
- Keep It Simple: While it’s tempting to go all out, remember that less is often more. A cluttered frame can distract viewers. Aim for a clean and professional look.
6. Conclusion and Additional Resources
Creating a frame in Photoshop for your Dailymotion videos not only enhances their visual appeal but also strengthens your brand identity. With the tips shared, you can create a frame that truly represents your style and content.
As you embark on this creative journey, don’t forget to explore additional resources that can further assist you:
- Adobe Photoshop Tutorials - A treasure trove of tutorials for mastering Photoshop.
- YouTube Frame Tutorials - Watch videos that guide you through various framing techniques.
- Dailymotion Help Center - Get insights on video customization and best practices for your content.
So, roll up your sleeves, get creative, and make your Dailymotion videos stand out with a stunning, customized frame! Happy editing!
 admin
admin


