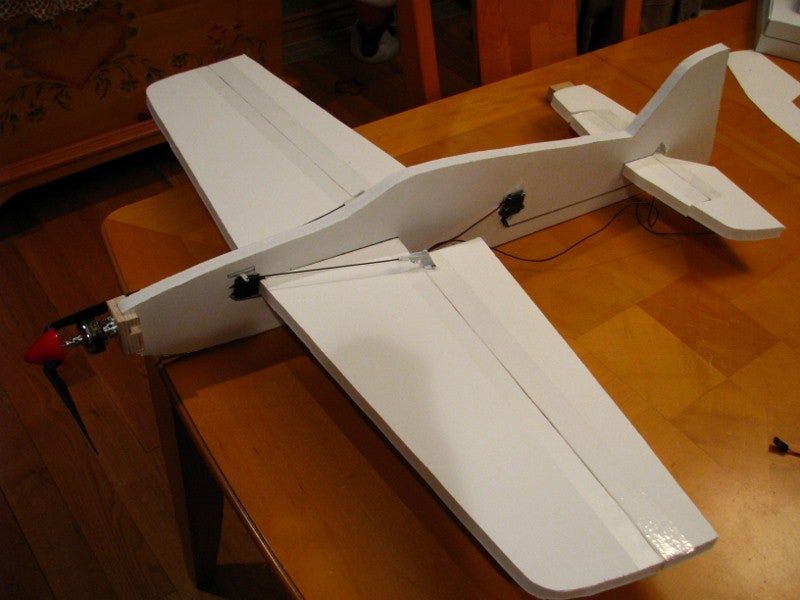
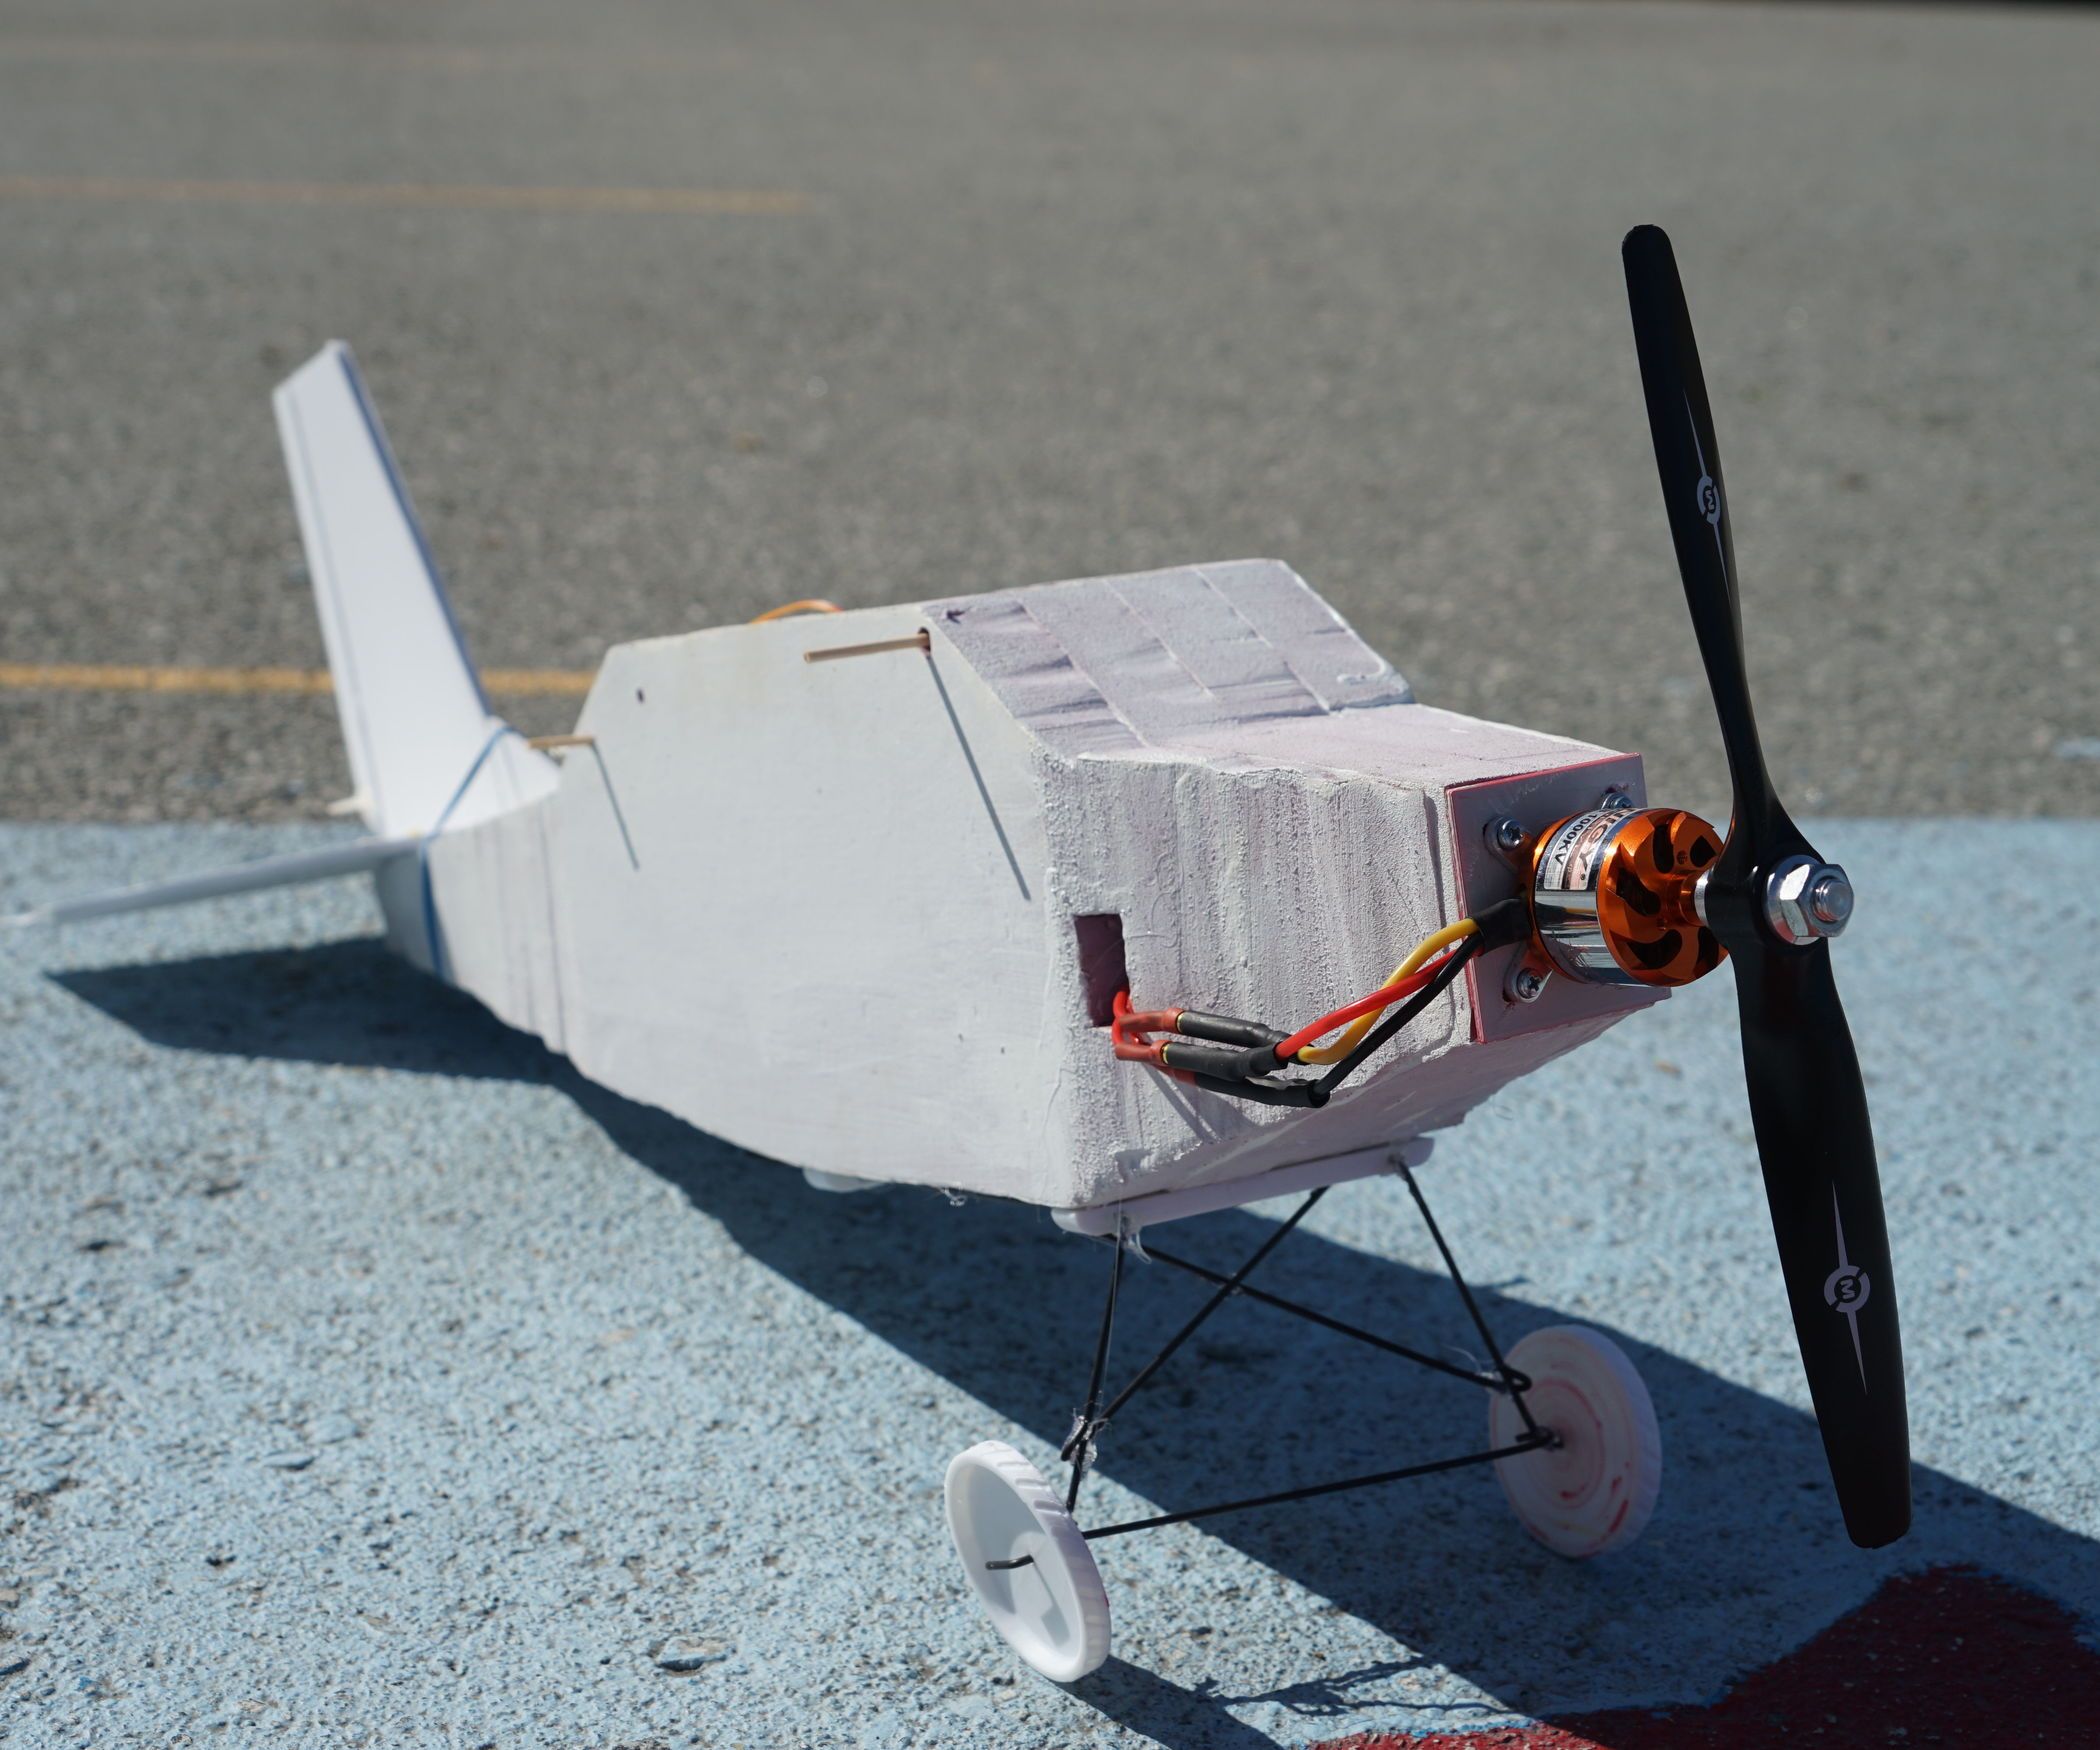
Building your own RC (Radio-Controlled) plane at home can be an incredibly rewarding experience! Not only do you get to develop some nifty DIY skills, but you also get the thrill of flying something you've crafted with your own hands. Whether you're a seasoned hobbyist or just starting out, this guide will walk you through the essential steps to make your own RC plane. The best part? You don't need to have a degree in engineering to pull this off—just a bit of patience, creativity, and the right materials!
Materials Needed

Before you dive into building your RC plane, it’s crucial to gather all the necessary materials. Having everything on hand will streamline the process and make construction smoother. Below is a list of the basic materials you’ll need, as well as a brief description of each:
- Foam Board:
This lightweight material is perfect for crafting the airframe. It's sturdy yet easy to cut and shape. You can usually find foam board at craft stores or online.
- RC Plane Kit:
If you want a head start, consider purchasing a basic RC plane kit that includes essential components like the motor, ESC (Electronic Speed Controller), and servos.
- Battery:
A lithium-polymer (LiPo) battery is commonly used in RC planes due to its high energy density and lightweight properties.
- Radio Transmitter and Receiver:
These will allow you to control your plane remotely. Look for a 2.4 GHz system for reliable performance.
- Propeller:
A suitable propeller matches your motor size and type. Ensure you select one that is compatible with your RC setup.
- Glue and Tape:
You’ll need strong adhesive, like hot glue, and tape to assemble the various parts of your plane securely.
- Tools:
Have a hobby knife, scissors, and a ruler on hand. These tools will help you measure and cut accurately.
With these materials gathered, you're ready to embark on your RC plane-building adventure! So, let’s roll up our sleeves and dive into the exciting world of model aviation!
Step-by-Step Instructions

Building an RC plane at home can be a thrilling project that sparks creativity and hands-on engineering skills. Here’s a straightforward guide to help you through the process. Grab your materials and let’s get started!
- Gather Your Materials: Before you dive in, ensure you have the following materials ready:
- Foam board or balsa wood
- Glue or hot glue gun
- RC motor and ESC (Electronic Speed Controller)
- Propeller
- Battery (LiPo recommended)
- Receiver and servos
- Control surfaces (elevator, ailerons, rudder)
- Paint or markers (optional)
- Design Your Plane: Sketch a simple design of your plane. Start with measurements that match your foam board or wood. Basic designs like a glider or trainer planes are a good start.
- Cut the Wings and Fuselage: Using a hobby knife, carefully cut out the wings and fuselage according to your design. Be precise with these cuts—they are crucial for balance and stability!
- Assemble the Body: Use glue to attach the wings to the fuselage. Make sure everything is aligned properly. Allow time for the glue to dry.
- Attach Electronics: Install the motor to the front of the fuselage, connect the ESC and servos, and ensure all wiring is secure. Double-check connections!
- Add Control Surfaces: Attach ailerons and elevators using small hinges. Ensure they move freely so you can control the plane effectively.
- Final Touches: Paint or decorate your plane as desired. Then, attach the battery and receiver. Conduct a final check of all components.
Tips for Successful Assembly
Now that you’re ready to assemble your RC plane, here are some handy tips to ensure everything goes off without a hitch.
- Take Your Time: Rushing can lead to mistakes. Enjoy the process and give yourself ample time for each step.
- Double-Check Measurements: Miscalculations can lead to imbalance. Use a ruler or measuring tape to ensure each part matches your design.
- Practice Safe Cutting: Always cut away from your body and use a cutting mat. Safety should be your priority!
- Test Electronics Before Final Assembly: Before you glue everything down, connect your electronics to test functionality. This helps avoid headaches later.
- Seek Help if Needed: Don’t hesitate to ask for advice in online forums or from friends who have experience with RC planes. Community knowledge is invaluable!
- Balance Your Plane: A well-balanced plane is key to flying. Make sure batteries and components are positioned evenly.
- Enjoy the Process!: Remember, building is just as fun as flying! Take breaks if you feel frustrated and keep a positive mindset.
By following these steps and tips, you’ll not only build an RC plane but also gain knowledge and confidence in your skills. Happy flying!
5. Testing Your RC Plane
Testing your RC plane is an exhilarating phase that brings all your hard work to fruition! But before you take it to the skies, there are some important steps you need to follow to ensure everything is in tip-top shape.
First and foremost, perform a ground check. Inspect all components such as the wings, fuselage, and tail to ensure they are securely attached. Additionally, check your electronics. Here are the steps to follow:
- Battery Check: Ensure your battery is charged and properly connected. A low battery can lead to poor performance during flight.
- Control Surfaces: Manually move the control surfaces (ailerons, elevator, and rudder) to confirm they are functioning correctly. The movements should correspond to your transmitter inputs.
- Range Test: Walk away from your plane while keeping an eye on how far you can move before losing control. This is crucial to avoid flyaways!
Once you're satisfied with the ground checks, it’s time for a test flight. Choose a calm day with minimal wind and follow these tips:
- Start Slow: Begin with small test flights and monitor how your plane responds. Don’t rush; it’s better to be cautious!
- Observe Flight Behavior: Pay attention to how the plane behaves in the air—make notes on any adjustments needed.
Lastly, have a landing strategy in mind. A smooth landing will help in assessing the aircraft's durability and performance after flight!
6. Common Issues and Troubleshooting
Great! You’ve completed your first few test flights, but things don't always go smoothly. It’s perfectly normal to encounter some hiccups along the way. Let’s go over some common issues and how to troubleshoot them effectively.
| Issue | Possible Causes | Solutions |
|---|---|---|
| Plane Won't Take Off | Déconnecté battery or insufficient thrust | Check battery connections and ensure the motor is functioning properly. |
| Unresponsive Control Surfaces | Faulty servos or incorrect setup | Inspect servos and connections; recalibrate controls if necessary. |
| Drifting in Flight | Center of gravity off or asymmetric surfaces | Adjust weight distribution and ensure symmetrical alignment of the wings. |
| Frequent Crashes | Poor pilot control or unstable design | Practice your flying techniques and consider reinforcing your plane’s structure. |
When troubleshooting, remember to take a step back. Sometimes, a fresh perspective is all it takes to solve the problem. Keep experimenting, learning, and most importantly, enjoying your time flying!
How to Make an RC Plane at Home
Building a remote-controlled (RC) plane at home is an exciting and rewarding project for hobbyists and enthusiasts. Whether you're a beginner or have some experience, this guide will walk you through the steps necessary to create your own flying masterpiece. Below are the key components and steps involved in constructing an RC plane:
Materials Required
- Lightweight Foam - For the fuselage and wings.
- RC Components - Receiver, transmitter, servos, and electronic speed controller (ESC).
- Battery - A lithium polymer (LiPo) battery is recommended for optimal performance.
- Propeller - Choose one based on the size of your plane.
- Glue - Foam-safe adhesive to secure parts together.
- Tools - Hobby knife, ruler, cutting mat, and screwdriver.
Steps to Build Your RC Plane
- Design Your Plane: Sketch a basic design, keeping aerodynamics in mind.
- Cut the Foam: Use the hobby knife to cut foam according to your design. Create the fuselage and wings with appropriate dimensions.
- Assemble the Body: Glue the fuselage sections together and attach the wings securely.
- Install RC Components: Mount the servos in the wings and connect the receiver and ESC in the fuselage.
- Connect the Battery: Securely place the battery in the designated area to ensure balance.
- Final Checks: Ensure all parts are securely attached and double-check all electronics.
Testing Your RC Plane
Before the maiden flight, conduct short test runs to verify the responsiveness of the controls and make adjustments as necessary. It is advisable to test in an open area away from obstacles or people.
Conclusion
Building an RC plane at home is a fulfilling hobby that combines creativity with engineering skills. With the right materials, patience, and attention to detail, you can create a plane that soars through the skies, providing hours of enjoyment.


