Are you a fan of streaming videos on YouTube but want a unique way to do it? If so, using a Raspberry Pi 4 might just be the perfect project for you! The Raspberry Pi 4 is a compact, powerful little computer that opens a whole new world of possibilities. With its robust performance, you can actually set it up to stream YouTube videos seamlessly. Whether you're interested in learning how to code, building your own media center, or simply enjoying videos from your favorite content creators, this tiny device can deliver. In this guide, we’ll walk through the easy setup instructions that will have you streaming
Requirements for Streaming YouTube

Before diving into the setup process, it’s crucial to gather everything you need to make your YouTube streaming experience on the Raspberry Pi 4 smooth and enjoyable. Let’s break down the requirements:
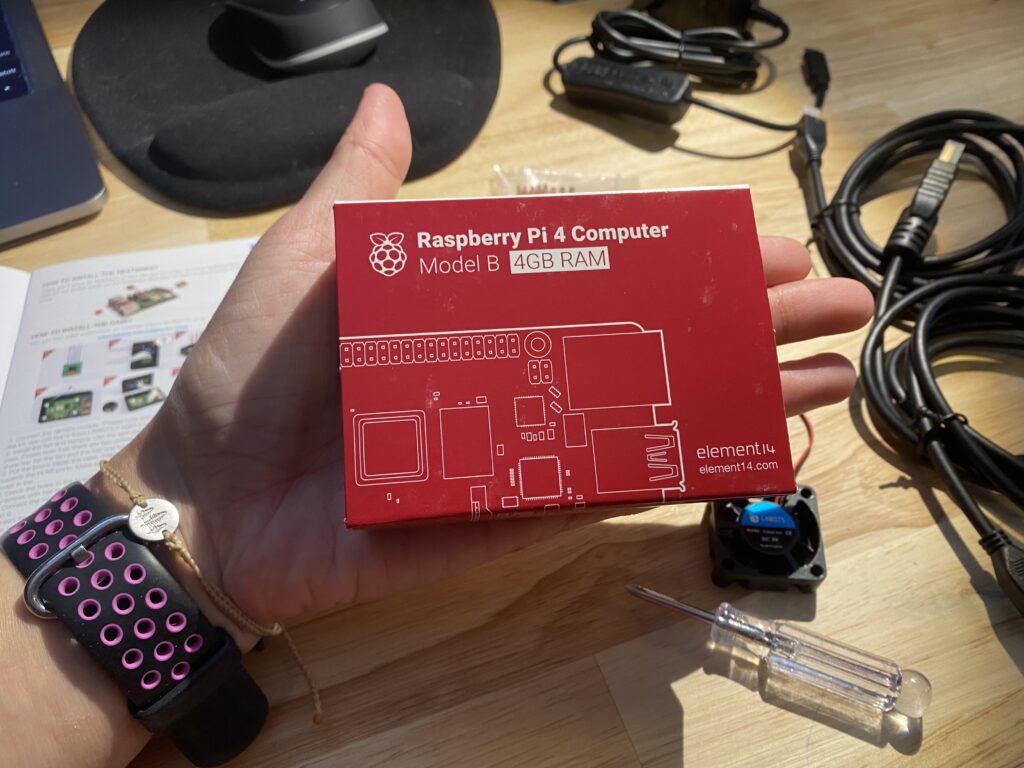
- Raspberry Pi 4: Of course, you’ll need the Raspberry Pi 4 itself. It’s highly recommended to have at least 2GB of RAM for better performance.
- MicroSD Card: A Class 10 microSD card (minimum 16GB) is essential for installing the operating system and applications.
- Power Supply: Ensure you have the official Raspberry Pi 4 power supply to provide adequate power, crucial for stable operation.
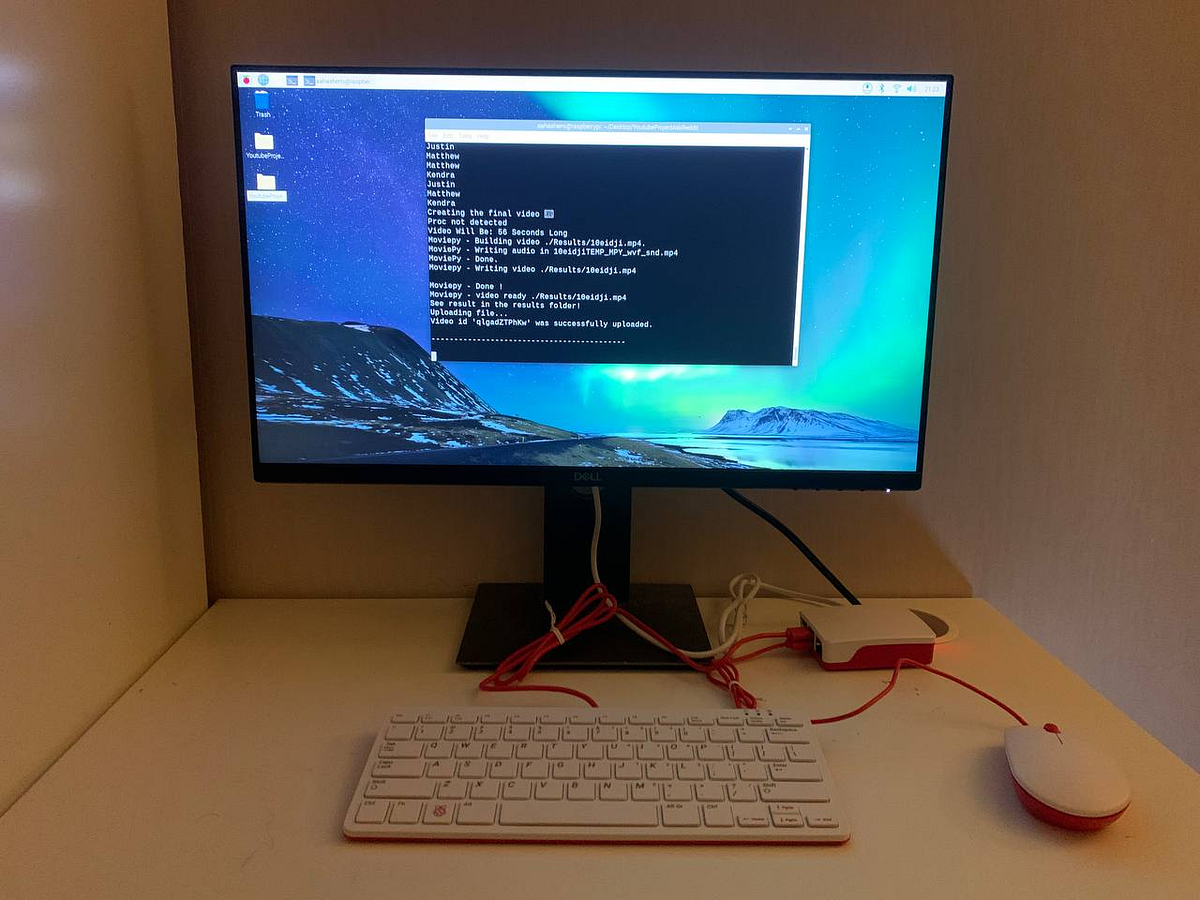
- HDMI Cable: You’ll need an HDMI cable or a micro HDMI to HDMI adapter to connect the Raspberry Pi 4 to your TV or monitor.
- Keyboard and Mouse: These peripherals are necessary for the initial setup unless you choose to use SSH. A wireless option can reduce clutter.
- Internet Connection: A stable Wi-Fi or Ethernet connection is required to stream YouTube content without buffering issues.
- Operating System: Raspberry Pi OS is the most popular option, but you might also consider media-focused distributions like LibreELEC.
Once you have all the components ready, you’re just a few steps away from enjoying your favorite YouTube videos on a Raspberry Pi 4!
Installing the Operating System on Raspberry Pi 4

Before diving into the world of YouTube on your Raspberry Pi 4, you first need to get the operating system up and running. Don’t worry; it’s easier than it sounds! The most popular choice for Raspberry Pi is Raspberry Pi OS, but feel free to explore other options like Ubuntu if you prefer.
Here’s a simple step-by-step guide to installing Raspberry Pi OS:
- Download Raspberry Pi Imager: Head over to the official Raspberry Pi website and grab the Imager tool. This will help you flash the OS to your SD card.
- Prepare Your SD Card: Insert your SD card into your computer. Make sure it’s formatted correctly. The Imager tool will guide you through this process if needed.
- Choose OS: Open the Imager and select “Choose OS.” You’ll see a list of available operating systems. Pick Raspberry Pi OS Lite for a minimal setup, or Raspberry Pi OS with Desktop for a full graphical interface.
- Select SD Card: Now, click on “Choose SD Card” and select the one you’ve just prepared.
- Write the Image: Hit “Write” and wait for the process to complete. This will take a few minutes, so it’s a good time to grab a snack!
- Initial Setup: Once written, eject the SD card and insert it into your Raspberry Pi. Power it on, and follow the setup prompts on your first boot!
And just like that, you have your Raspberry Pi ready to go! You’re one step closer to streaming YouTube!
Setting Up a Web Browser for YouTube

Now that you have your Raspberry Pi 4 all set up with the operating system, it’s time to install a web browser! YouTube is best enjoyed in a browser, and luckily, there are several options available. Let's go through a couple of popular choices:
- Chromium: This is the default web browser for Raspberry Pi OS and is well-optimized for it. It offers great performance, especially for streaming videos.
- Firefox: An alternative that some users prefer due to its customizability and privacy features.
Here’s how to install Chromium, since it’s generally the recommended choice:
- Open Terminal: Click on the Terminal icon on the desktop.
- Update Packages: Type
sudo apt updateto ensure your package list is current. - Install Chromium: Enter
sudo apt install chromium-browserand hit Enter. This will download and install Chromium on your Pi. - Launch the Browser: Once installed, you can find Chromium in the menu. Open it up, and you’re ready to navigate to YouTube!
Tip: Make sure to keep your system updated for the best performance and security while browsing. You’re all set now! Enjoy streaming YouTube on your Raspberry Pi 4!
5. Optimizing Your Raspberry Pi for Smooth Streaming
When it comes to streaming YouTube on your Raspberry Pi 4, optimization is key to ensuring a seamless experience. Here are several tips and tricks to help you get the most out of your Raspberry Pi while watching videos online.
- Use a Wired Connection: If possible, connect your Raspberry Pi to your router via an Ethernet cable. Wired connections generally offer more stability and faster speeds than Wi-Fi, which can help reduce buffering.
- Install Lightweight Operating System: Using a lightweight OS, such as Raspberry Pi OS Lite, can free up valuable resources on your device, allowing it to focus better on streaming.
- Adjust Resolution: Lowering the video resolution can significantly smooth out playback. You can usually find this option in the settings of the YouTube player. Try starting with 720p or even lower if you're experiencing lag.
- Close Unnecessary Applications: Running multiple applications can affect performance. Close any background apps that you don't need while streaming to free up CPU and memory.
- Enable Hardware Acceleration: Make sure hardware acceleration is enabled in your web browser, as this can offload video processing to the GPU, resulting in smoother playback.
By following these simple optimization steps, you can enhance your YouTube streaming experience on your Raspberry Pi 4, allowing you to enjoy your favorite videos with minimal interruptions.
6. Troubleshooting Common Issues
Now that you've set everything up to watch YouTube on your Raspberry Pi 4, you might run into a few hiccups along the way. Don't worry! Here’s a quick troubleshooting guide for some common issues you may encounter.
| Problem | Potential Solution |
|---|---|
| Video Buffers or Lags | Check your internet connection speed. Switch to a wired connection if possible, or lower the video quality. |
| No Sound | Ensure that audio is not muted. Check the volume settings in your Raspberry Pi and YouTube. |
| Browser Crashes | Clear your browser cache or try using a more lightweight browser like Midori or Chromium in its minimal configuration. |
| Installation Issues | Double-check your installation steps, and make sure you are using the latest version of software required for playback. |
If you're still facing issues after trying these solutions, don't hesitate to search online forums or communities dedicated to Raspberry Pi. There’s a strong chance someone else faced the same problem and found a solution!
Conclusion and Tips for an Enhanced Viewing Experience
In summary, watching YouTube on the Raspberry Pi 4 is not only possible but can also be a rewarding experience with the correct setup. By following the easy instructions provided throughout this post, you can transform your Raspberry Pi into a media hub that allows you to enjoy your favorite videos effortlessly. Here are a few tips to enhance your viewing experience:
- Optimize Your Internet Connection: Ensure you have a stable and high-speed internet connection, either through Wi-Fi or Ethernet, for seamless streaming.
- Use a Compatible Browser: While Chromium is the most recommended, consider using other lightweight browsers if you experience performance issues.
- Adjust Video Quality: If you encounter buffering, reduce the video quality by selecting a lower resolution in the YouTube settings.
- Utilize Hardware Acceleration: Enable hardware acceleration in your browser settings to improve video playback performance.
- Consider Using YouTube Apps: Explore third-party YouTube clients available for Raspberry Pi, which can provide a tailored experience.
By taking these additional steps, you will ensure that your viewing experience on YouTube via Raspberry Pi 4 is smooth, enjoyable, and tailored to your preferences. Happy streaming!


