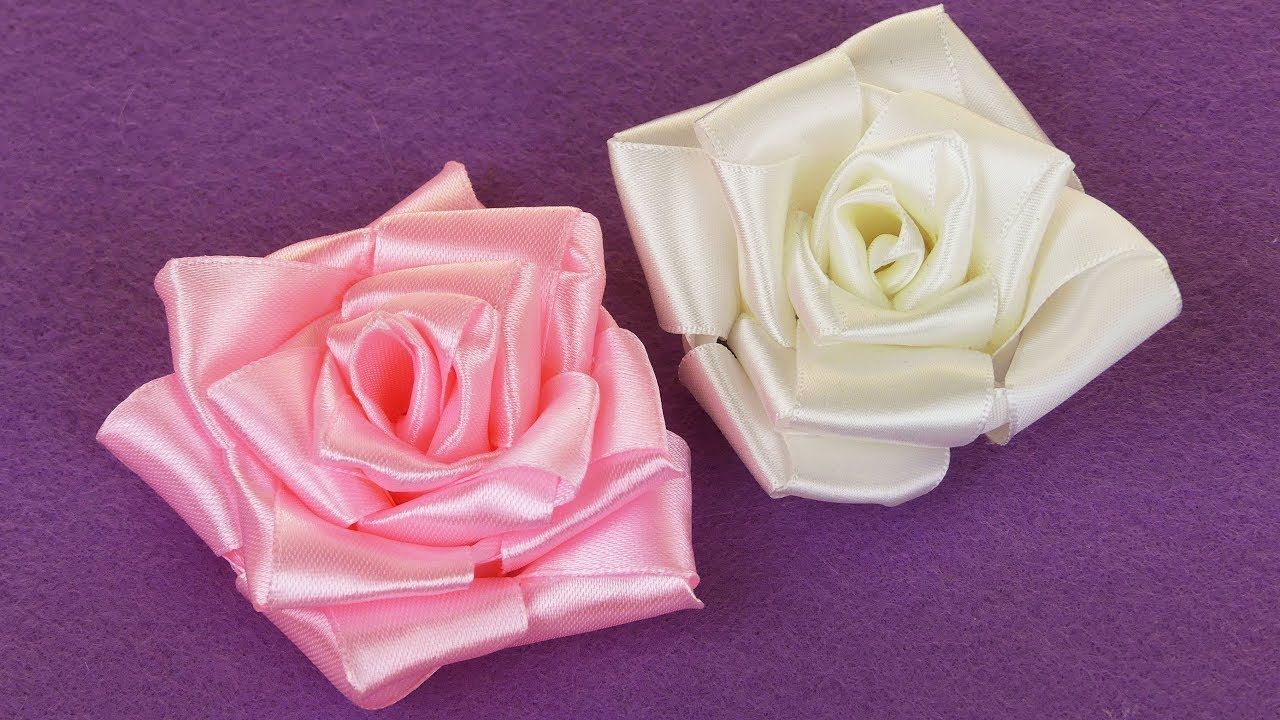
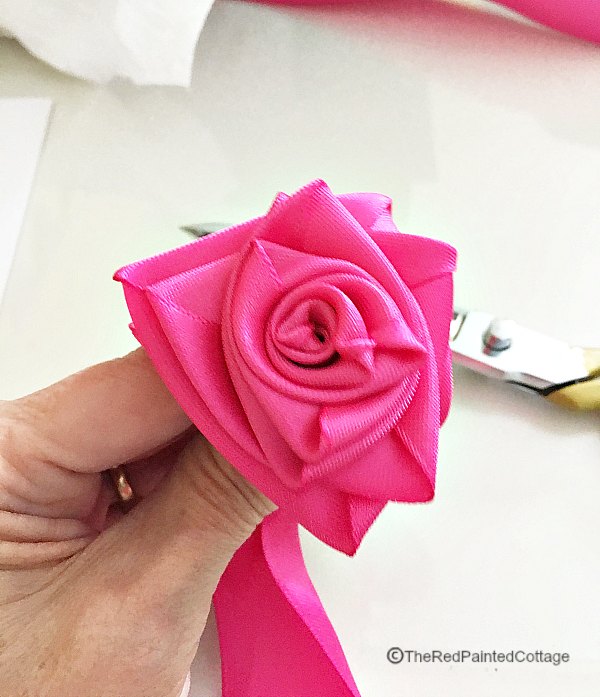
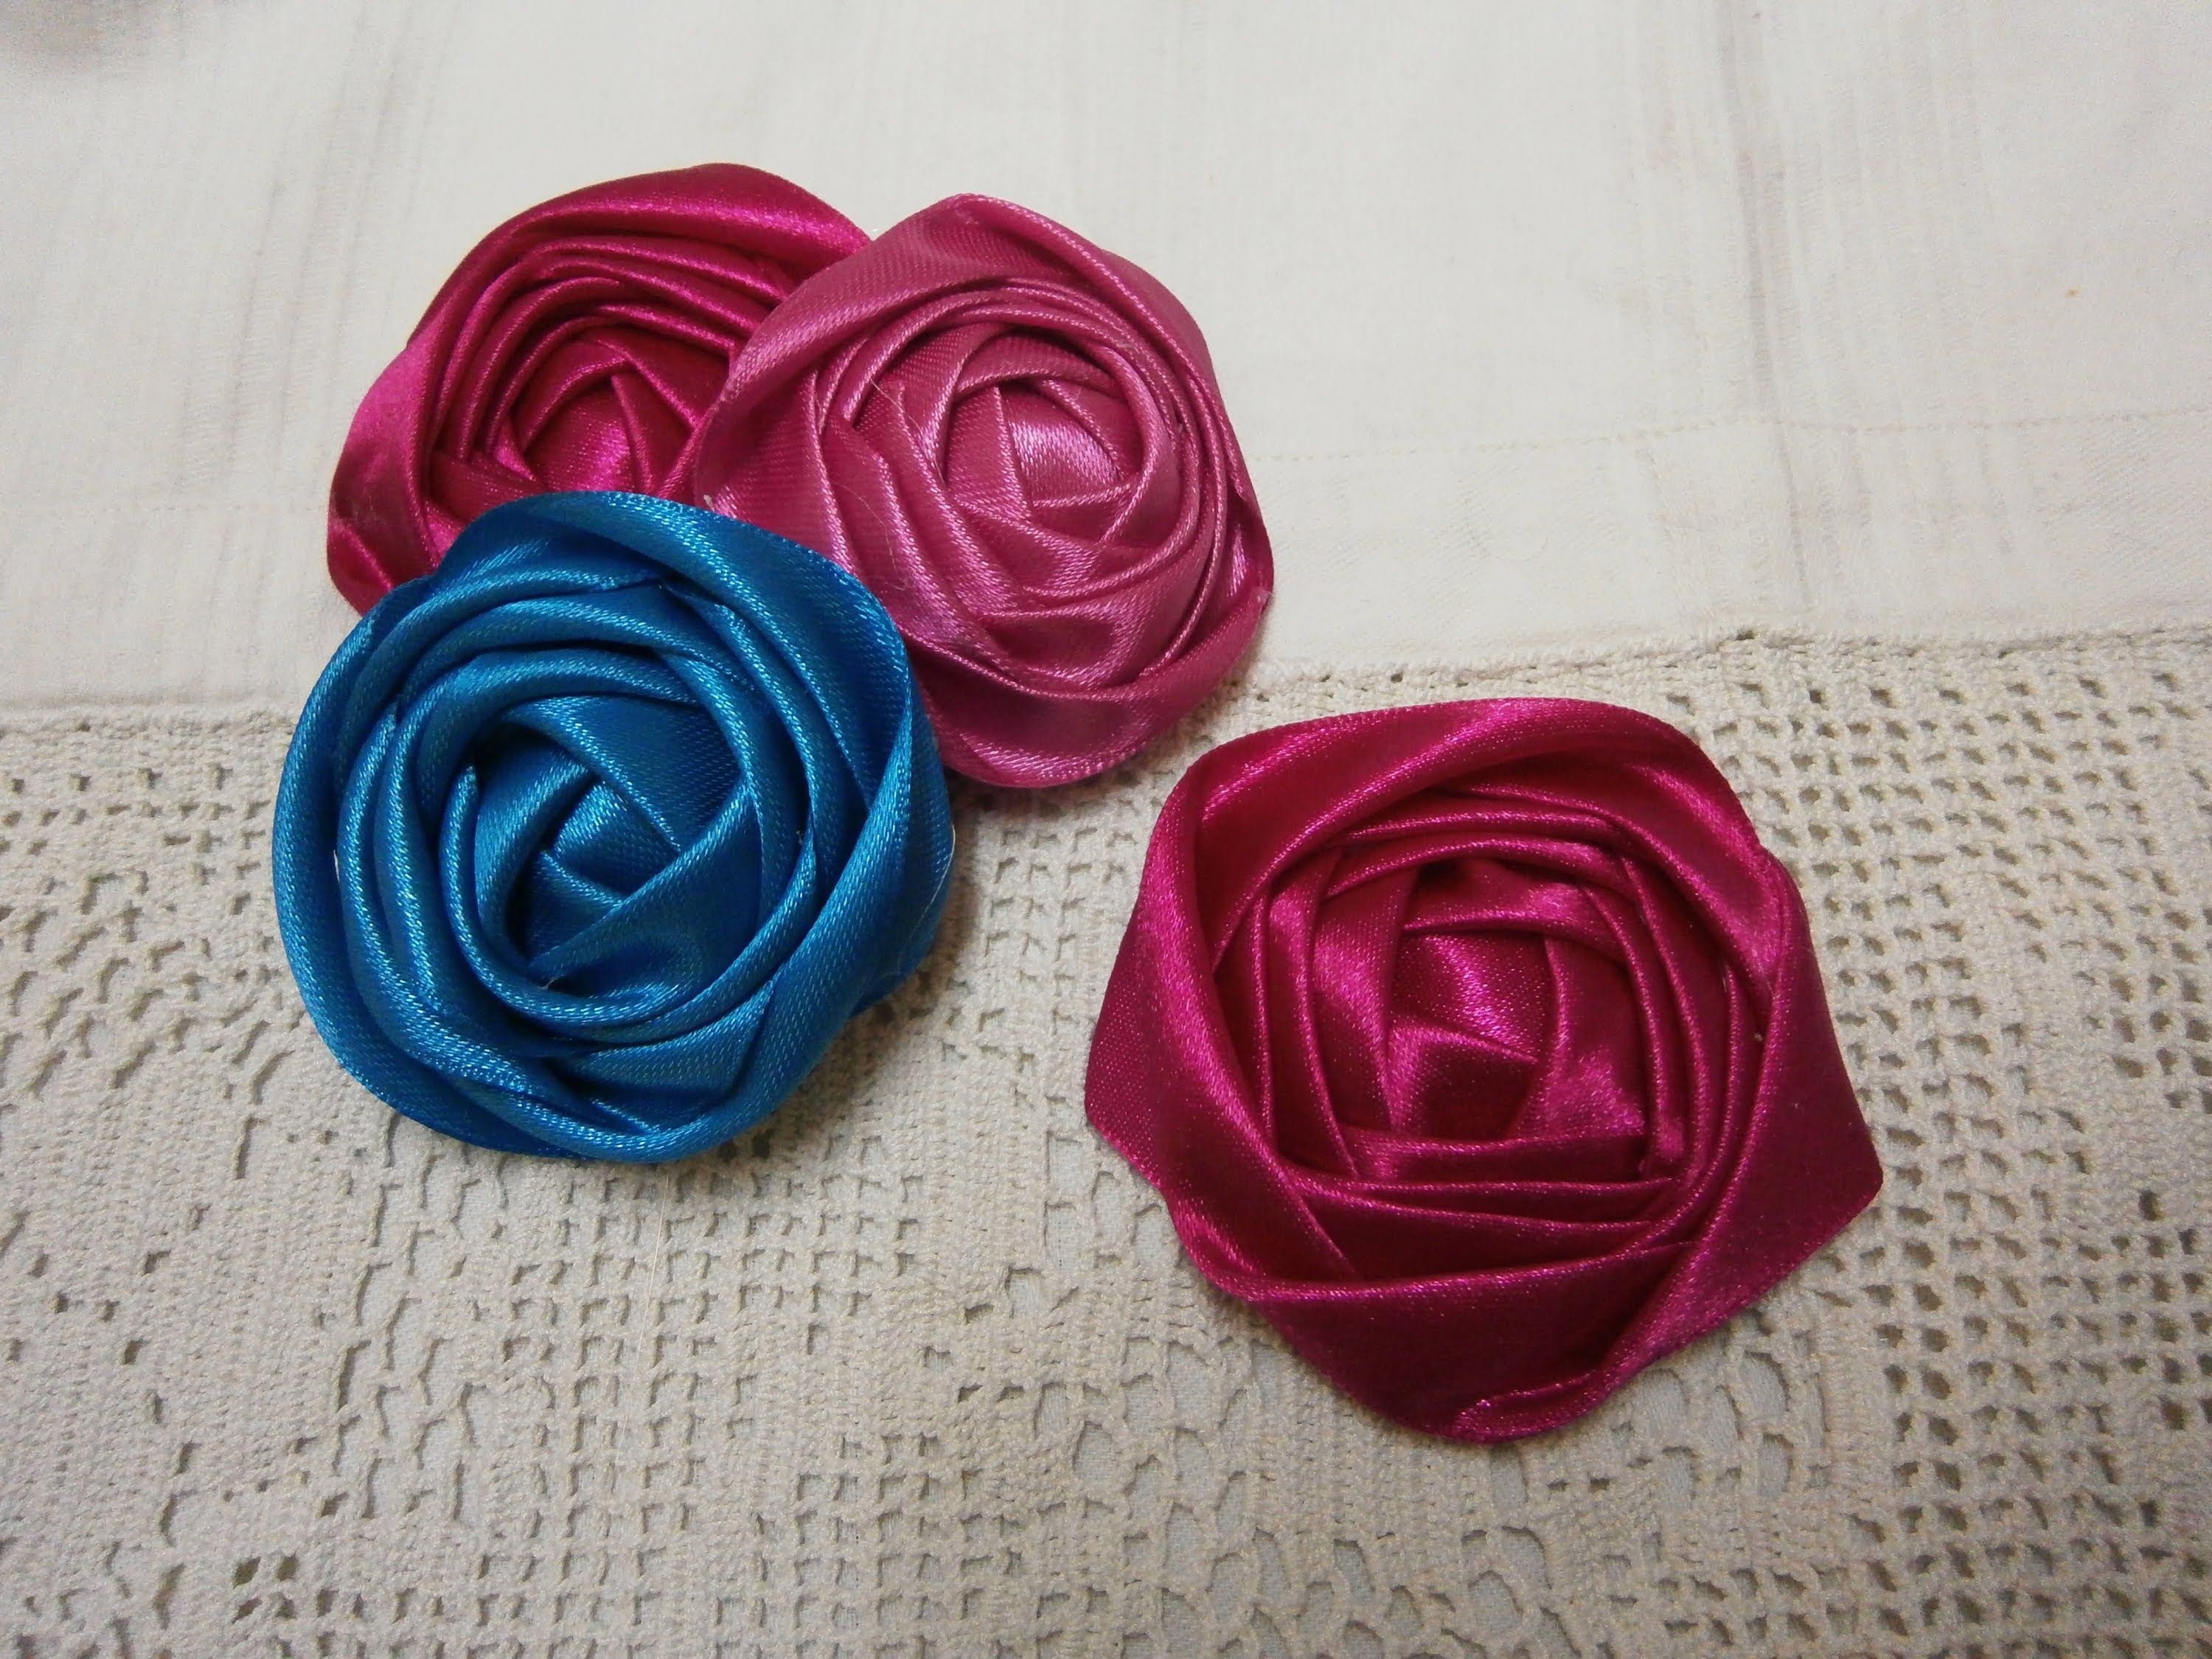
Welcome to our easy DIY video guide on making small ribbon roses! Whether you’re looking to spice up your craft projects or want to create beautiful embellishments for gifts, these charming little ribbon roses are perfect for any occasion. In this guide, we'll walk you through each step of the process, making it simple and enjoyable for both beginners and experienced crafters. So grab your materials, and let’s dive into the art of ribbon rose-making!
Materials Needed

Before we jump into crafting our lovely ribbon roses, let’s gather everything we need. Having the right materials on hand will make the process smoother and more enjoyable. Here’s a list of what you’ll require:
- Ribbons: Choose satin or silk ribbons for a beautiful finish. A 1-inch wide ribbon is ideal. You can pick any color that sparks joy!
- Scissors: A good pair of scissors will help you cut the ribbon cleanly and accurately.
- Hot glue gun: This is essential for securing the roses together. Make sure you have enough glue sticks!
- Wire (Optional): If you want to create stems, floral wire is excellent for this purpose.
- Needle and Thread: For extra security and durability, you might consider sewing the layers together. A thread that matches your ribbon will give a seamless look.
- Circle Template (Optional): To help cut uniform circles of ribbon. A cap or lid can work well!
- Beads or Pearls (Optional): To embellish the center of your roses for that extra touch of elegance.
With your materials ready, you’re all set to start crafting those delightful ribbon roses. Let’s get creative!
3. Step-by-Step Instructions

Ready to dive into the world of making small ribbon roses? Let’s break it down into simple steps that will make you feel like a crafting pro!
- Gather Your Materials: First things first! You’ll need:
- 1/4 inch wide satin ribbon (any color you desire)
- Scissors
- Hot glue gun and glue sticks
- Fabric stiffener (optional)
- A small button or bead (for the center of the rose)
- Cut the Ribbon: Cut a length of ribbon about 18 inches long. This will give you enough material to create a lovely rose.
- Start Wrapping: Begin by making a small fold at one end of the ribbon. This will be the center of your rose. Hold it tightly between your fingers.
- Twist and Wrap: As you move along the ribbon, twist it slightly and wrap it around the center fold. Ensure each wrap is tight enough to hold its shape but not so tight that it loses its softness.
- Secure with Glue: As you wrap, apply a small dab of hot glue periodically to keep your rose secure. Don't skimp on the glue; it will help your creation stay intact!
- Finish It Off: Once you’ve reached the desired size, cut off any excess ribbon, fold it underneath the rose, and glue it to secure. Attach the button or bead at the center for a lovely touch.
And there you have it! Your very own small ribbon rose that's ready to be used for decorations, gifts, or just because.
4. Tips for Perfecting Your Ribbon Roses

Every crafter has that moment when they wish they could tweak a project just a bit more. Here are some handy tips to help you perfect your ribbon roses!
- Experiment with Different Ribbons: Not all ribbons are created equal. Try satin, organza, or velvet to see which one gives you the look you love most.
- Vary the Length: Adjust the length of your ribbon to create larger or smaller roses! Longer ribbons yield bigger blooms, while shorter ones are great for tiny accents.
- Practice Makes Perfect: Don’t be discouraged if your first few roses don’t come out as perfectly as you hoped. Keep practicing, and you’ll notice improvement!
- Use Fabric Stiffener: If you want your roses to hold their shape better, consider applying a little fabric stiffener before you start. This adds durability and a structured look.
- Get Creative with Colors: Don't limit yourself to just one color. Mix a couple of shades or even patterns for a unique flair.
By keeping these tips in mind, you’ll not only create beautiful ribbon roses but also have a fun time while doing it. Happy crafting!
5. Creative Uses for Your Ribbon Roses
Once you've mastered the art of making small ribbon roses, the possibilities for their use are nearly endless! These charming little flowers can add a touch of elegance and creativity to various projects. Here are some fun and innovative ways to incorporate your ribbon roses:
- Hair Accessories: Use ribbon roses as beautiful embellishments for hair clips, headbands, or hairbands. They can brighten up any hairstyle and make it look more polished.
- Gift Wrapping: Add a personal touch to your gifts by using ribbon roses as decorative elements. They make for lovely accents on presents and can also double as a keepsake for the recipient.
- Cards and Scrapbooking: Enhance your handmade cards or scrapbook pages with ribbon roses. They are a perfect addition for birthdays, weddings, or other occasions, adding depth and texture.
- Home Decor: Create stunning decorative arrangements by attaching ribbon roses to vases, frames, or even as part of a wreath. You can use them to match the color scheme of any room.
- Jewelry Making: Why not go a little bold and use your ribbon roses in handmade jewelry? You can create beautiful brooches, pendants, or even charm bracelets that showcase your handiwork.
With just a little creativity, your small ribbon roses can be transformed into stunning pieces that elevate your projects and make them uniquely yours!
6. Conclusion
Creating small ribbon roses is an enjoyable and rewarding craft that allows even beginners to tap into their artistic side. As we've explored, these charming little flowers can serve multiple purposes, bringing beauty and personalization to a wide array of items.
Whether you're making accessories for yourself, enhancing gifts for loved ones, or adding a touch of flair to your home decor, small ribbon roses are the perfect finishing touch. Plus, it’s a great way to repurpose any leftover ribbon you might have lying around!
If you’ve enjoyed this easy DIY project, don’t hesitate to share your creations with friends and family. Who knows? You might just inspire them to try their hand at making their own ribbon roses. Remember, crafting should be fun, so let your imagination run wild and experiment with colors, sizes, and styles!
So get crafting, and happy ribbon rose making!


