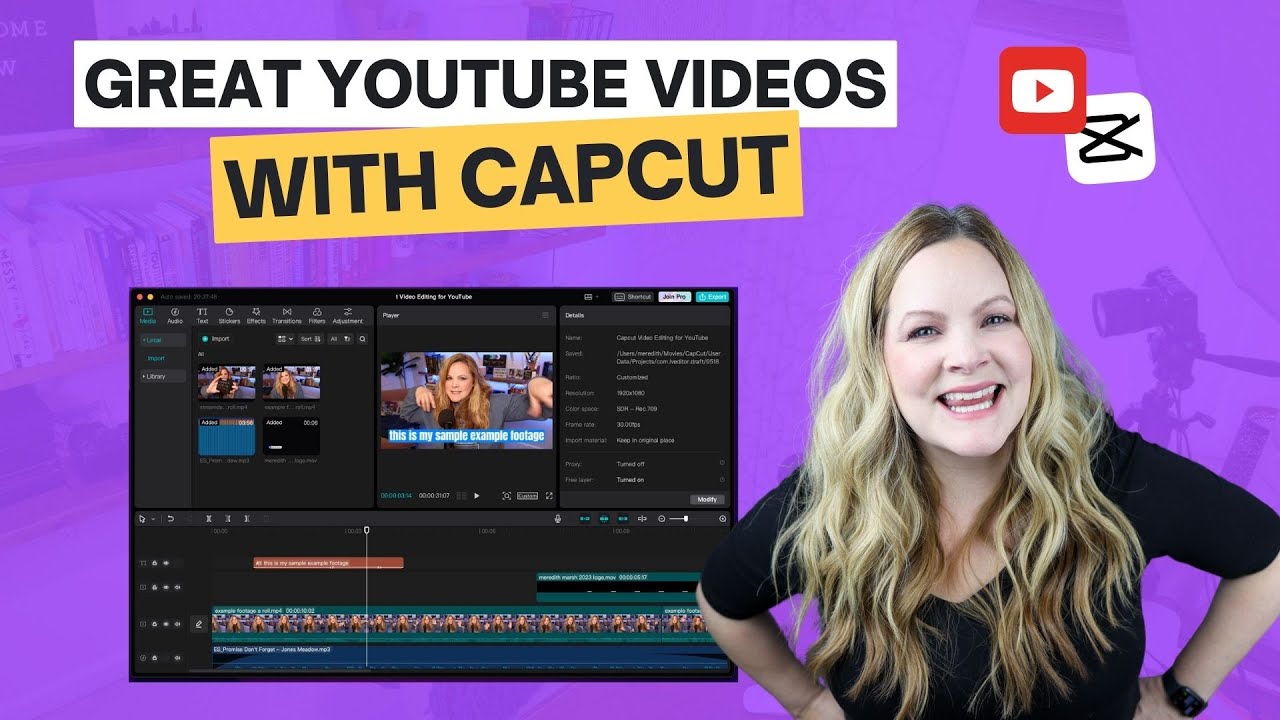
As a content creator, you're always on the lookout for tools that can elevate your video editing game. If you’ve been wondering how to seamlessly integrate YouTube videos into your editing workflow, CapCut is a fantastic option. This user-friendly editing app caters to creators of all skill levels and offers powerful features that can enhance your videos. In this post, we'll explore why you should consider using CapCut, especially when working with YouTube content.
Why Use CapCut for Editing YouTube Videos?

CapCut has quickly become a go-to editing tool for many content creators, particularly those focused on YouTube. Here are some compelling reasons to choose CapCut for your video editing needs:
- User-Friendly Interface: Even if you're a beginner, CapCut's intuitive layout makes it easy to navigate and access various editing features without feeling overwhelmed.
- Rich Editing Features: You get access to a wide array of editing options, including text overlays, filters, and transitions that can make your videos truly stand out.
- High Animation and Effects: With CapCut, you can utilize trendy effects and animations that grab viewers' attention, perfect for that engaging YouTube content.
- Music and Sound Effects: The built-in library offers a range of royalty-free music and sound effects to enhance the audio quality of your videos without any copyright concerns.
- Export Options: CapCut allows you to export your videos in various resolutions, making it easy to upload them directly to YouTube with the optimized quality you need.
- Mobile Compatibility: As a mobile application, you can edit your videos on-the-go, ensuring you're always ready to create content anytime inspiration strikes.
In summary, CapCut simplifies the editing process, providing you with everything you need to create professional-quality YouTube videos from start to finish. Whether you are creating tutorials, vlogs, or montages, using CapCut can enhance your creative journey significantly!
Also Read This: Fixing Image Quality in GIMP for a Professional Look
Preparing to Import YouTube Videos

Now that you're ready to add YouTube videos to CapCut, the first step is to prepare for the import process. This part is crucial because it sets the foundation for your editing journey. Let's break it down!
Here’s what you need to do:
- Identify Your Content: Before importing, have a clear idea of the YouTube videos you want to use. Are you focusing on tutorials, vlogs, or perhaps reaction videos? Knowing your content theme will help streamline your editing process.
- Ensure Permissions: Make sure you have the appropriate rights to use the videos, especially if you plan to publish your work. This might mean getting permission from the original content creator or checking if the video is under a license that allows reuse.
- Select the Right Format: CapCut supports various video formats, but it’s a good practice to download in a common format like MP4 to avoid compatibility issues later.
- Organize Your Files: Create a dedicated folder on your device where you’ll store the downloaded YouTube videos. This will make it easier to locate files while you’re editing, keeping things tidy and efficient.
By preparing properly, you're setting yourself up for a smoother editing experience in CapCut. Let’s move on and figure out how to download those YouTube videos safely!
Also Read This: A Complete Guide to Using Adobe Stock Efficiently
How to Download YouTube Videos Safely

Now that you’ve got everything lined up, let’s talk about the step that makes all this possible: downloading YouTube videos safely. There are many ways to do this, but safety and legality should always be at the forefront of your mind.
Here’s a simple guide to download YouTube videos without the risk:
- Use Trusted Software: Choose reputable software or websites specifically designed for downloading videos. Look for options with good reviews. Some popular choices include:
- 4K Video Downloader
- YTD Video Downloader
- ClipGrab
Following these steps ensures that you can safely download your chosen YouTube videos and import them into CapCut, paving the way for creative editing. Ready to dive in? Let’s get started!
Also Read This: Learn How to Sell Photos to Shutterstock
5. Importing Videos into CapCut
So you've got your YouTube videos ready, and now you want to bring them into CapCut for some snazzy editing? You're in luck! Importing videos into CapCut is super straightforward. Here’s how to do it:
- Open CapCut: First, fire up the CapCut app on your device.
- Create a New Project: Tap on the “New Project” button to get started on a fresh editing journey.
- Select Media: You’ll see an option to add media. Tap on that, and you’ll be directed to your file explorer.
- Find Your YouTube Video: Search for your downloaded YouTube video. Make sure it's saved in a location you can easily access, like your downloads folder.
- Import the Video: Once you find your video, simply tap on it, and it will automatically be imported into your project.
And voilà! Your YouTube video is now in CapCut, ready for you to unleash your creativity. Keep in mind that importing multiple videos at once can also streamline your editing process, so don't hesitate to select several clips if needed!
Also Read This: How to Reach a Getty Images Photographer for Licensing and Permissions
6. Editing Tips for YouTube Content Creators
Editing is where the magic happens, especially for YouTube content creators like you! Here are some fun and effective tips to help refine your videos in CapCut:
- Keep It Engaging: Start your video with a hook—something exciting to grab your audience's attention right away.
- Use Transitions Wisely: Smooth transitions can keep the flow intact. Experiment with different styles—CapCut offers tons to choose from!
- Incorporate Text and Stickers: Add text overlays to emphasize key points. Stickers can add a fun and personal touch!
- Audio is Key: Pay attention to your background music and sound effects. CapCut allows you to import your music and adjust volumes easily.
- Don’t Overdo Effects: While it's tempting to use every cool feature, less can often be more. Keep things clean and focused on your message.
And remember, practice makes perfect! The more you play around with CapCut’s features, the more you'll discover what makes your style unique. Happy editing!
Also Read This: A Comprehensive Guide to Submitting Your Photos to Getty Images
7. Exporting Your Final Video
Once you've finished editing your video in CapCut, the next logical step is exporting it so you can share your hard work with the world. This process is quite straightforward and is vital for getting your content out there. Here's a simple guide to help you through:
- Click on the Export Button: After completing your edits, look for the export or share button, usually located at the top right corner of your screen. It looks like a little upward arrow or a 'share' icon.
- Select Your Settings: CapCut allows you to choose different export settings. You can adjust the resolution, frame rate, and quality. A 1080p resolution at 30fps is generally great for most platforms.
- Choose the Format: Most content creators stick with the standard MP4 format for its compatibility across various platforms, including YouTube. Ensure this is selected to avoid any issues.
- Set the Destination: Decide where you’d like to save your video. It could be your phone’s gallery or an external storage device.
- Finalize and Export: Once you're satisfied with your settings, hit that export button! Depending on the length and complexity of your video, it might take a little time, so be patient.
As soon as the export is complete, you’ll receive a notification. Now your video is ready for uploading to YouTube or any other platform of your choice!
8. Conclusion
And there you have it! Adding YouTube videos to CapCut and exporting your final content is a simple yet effective process that can elevate your creative projects. As a content creator, mastering these tools not only enhances your editing skills but also improves the quality of your videos, giving you a competitive edge.
It's essential to remember a few key points:
- Always ensure you have permission to use any content you include in your edits.
- Take full advantage of the editing features CapCut offers to make your videos stand out.
- Exporting settings matter! Adjust them according to your project needs for optimal quality.
So, whether you’re creating vlogs, tutorials, or any other type of video content, CapCut has got your back. Don’t hesitate to experiment with different features and find a style that resonates with your audience. Keep creating, keep sharing, and most importantly, have fun doing it!
 admin
admin


