Oil painting is a timeless art form that has captivated artists for centuries. Its unique characteristics, such as rich color, versatility, and blending capabilities, make it a favorite among many. Whether you’re a seasoned painter or a curious beginner, oil paints offer endless possibilities for creativity and expression.
What sets oil paints apart is their slow drying time, which allows you to work with the paint longer. You can blend colors seamlessly or build layers for depth and texture. Plus, the vibrancy of oil paints results in stunning artworks that can evoke a wide range of emotions. In this guide, we’ll dive into the essentials of using oil paints on canvas, starting with the right supplies.
Choosing the Right Supplies

When it comes to oil painting, having the right supplies can make all the difference in your artistic journey. Here’s a breakdown of what you’ll need to kickstart your oil painting adventure.
- Oil Paints: Start with a basic set of high-quality oil paints. Look for well-known brands that offer a range of colors. A starter palette might include primary colors, white, black, and a few earth tones.
- Canvas: Choose a pre-stretched canvas for convenience. You can find them in various sizes. If you’re feeling adventurous, consider primed canvas boards or wooden panels.
- Brushes: Invest in a variety of brushes made specifically for oil paints. Look for stiff bristles for bold strokes and softer brushes for blending. A typical beginner's set could include flat, round, and filbert brushes.
- Palette: A wooden or glass palette works great for mixing your oil paints. Make sure it’s large enough to accommodate your color mixing needs.
- Mediums: Experiment with different mediums like linseed oil or turpentine. These can alter the thickness and drying time of your paint.
- Rags & Solvents: Keep some rags handy for cleaning brushes and removing excess paint. Use odorless mineral spirits or turpentine for cleaning your tools.
- Easel: An easel will give you a comfortable working position. You don’t need a fancy one; even a simple tabletop easel can work wonders.
With the right supplies in hand, you’ll be well-equipped to dive into the world of oil painting. Remember, the journey is just as important as the final artwork, so take your time to explore your creativity!
Also Read This: How to Create a Waterfall Braid on Yourself for an Easy DIY Hairstyle
Preparing Your Canvas

Before you dive into the world of oil painting, it's crucial to prepare your canvas properly. This step not only enhances your painting experience but also ensures that your artwork stands the test of time. Let's break down the process of preparing your canvas.
- Choosing the Right Canvas: You can opt for pre-stretched canvases or canvas boards. Pre-stretched canvases are great for beginners since they come ready to paint, whereas canvas boards are more portable and affordable.
- Applying Gesso: This is where the magic begins! Gesso creates a barrier between the canvas and the paint, preventing the oils from seeping into the fabric. If your canvas isn't primed yet, grab a brush and apply a layer of gesso evenly across the surface. Let it dry completely; this might take a few hours.
- Sanding for Smoothness: After your gesso is dry, lightly sand the surface with fine-grit sandpaper. This gives your canvas a smoother finish, making it easier for the paint to glide on.
- Final Touches: You can apply a second layer of gesso for extra smoothness. Just repeat the sanding process afterward. This helps achieve that perfect surface texture for your artwork.
With your canvas prepped and primed, you're now ready to start your painting adventure!
Also Read This: Increasing Image Rating in BSG
Understanding Oil Paints

Oil paints have a rich history and a unique place in the art world thanks to their versatility and depth of color. But what makes oil paints so special? Let’s break down the essentials.
- Composition: Oil paint is made from pigments suspended in oil, usually linseed. This composition gives oil paints their characteristic texture and ability to blend well.
- Drying Time: One of the standout features of oil paint is its slow drying time. This can be a double-edged sword: it allows for smooth blending and layering, but you’ll need to plan your painting sessions since it can take days to weeks to dry completely.
- Mixing Colors: Oil paints are exceptionally vibrant and lend themselves to mixture. You can achieve different shades by mixing colors together or adding mediums to adjust the consistency.
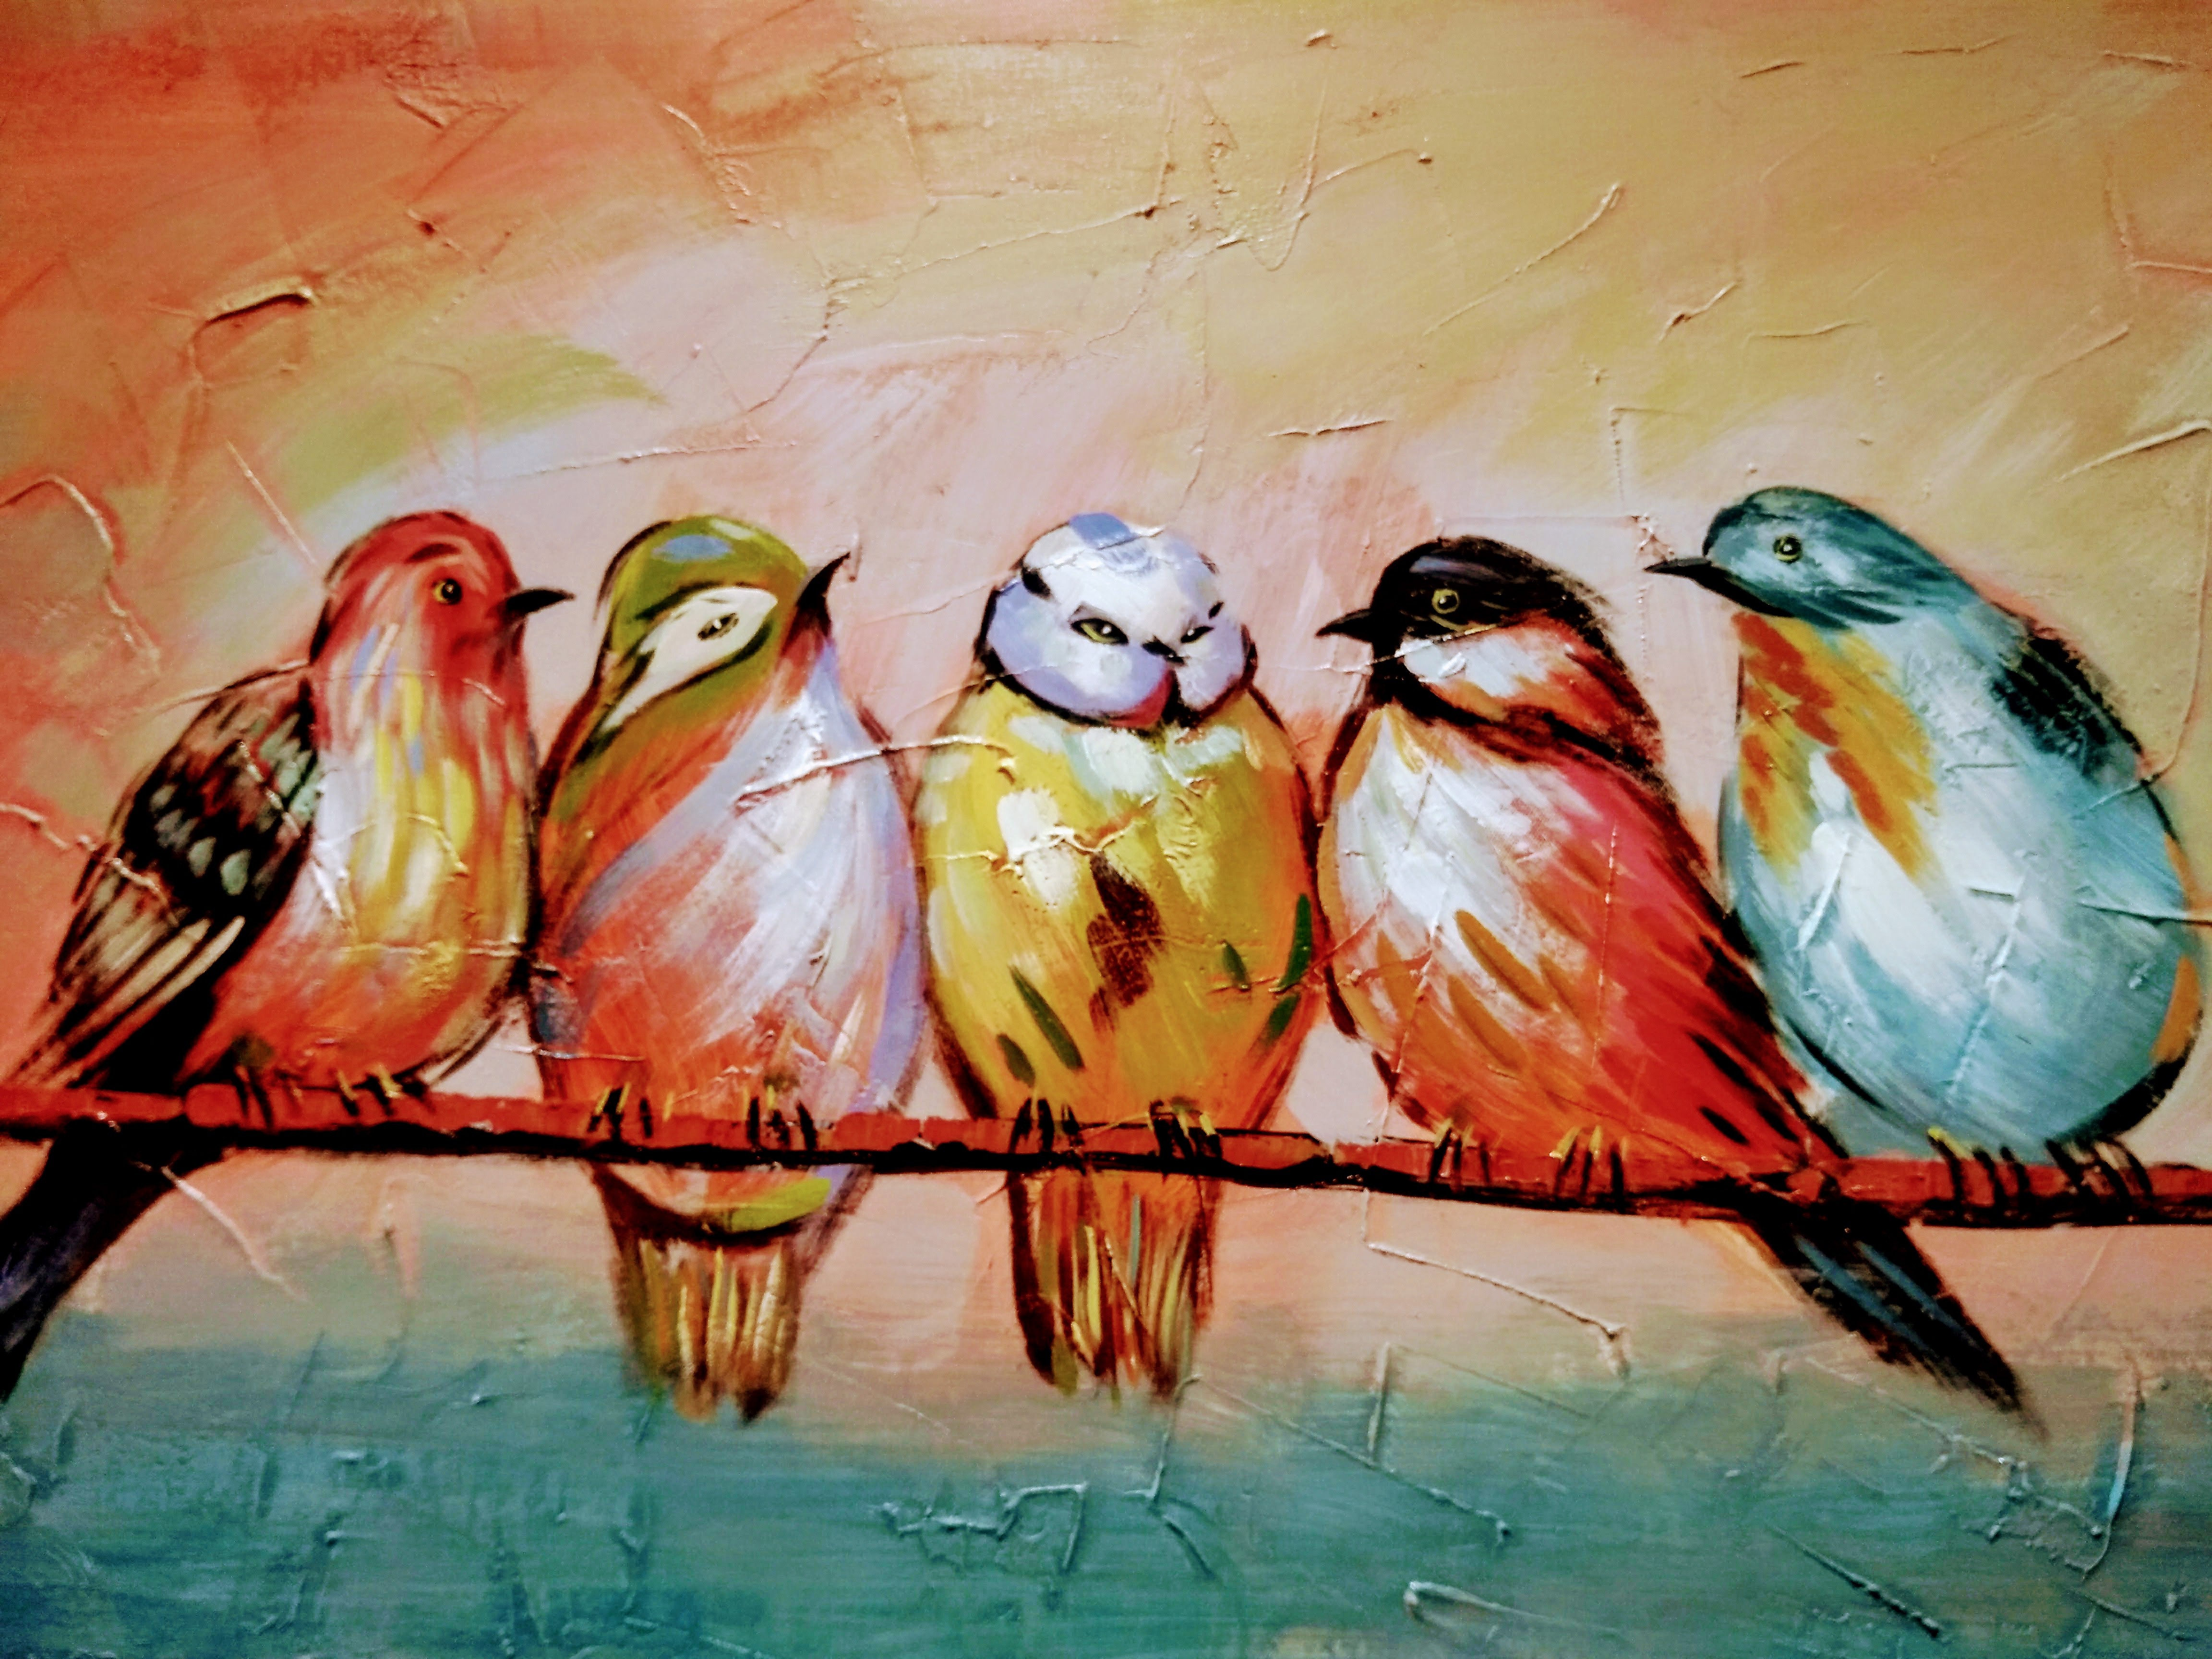
- Mediums and Impastos: You can enhance your paintings by adding mediums like linseed oil or turpentine. These additions can change the texture and drying time of your oils, allowing for various techniques such as impasto for a thick, textured effect.
Understanding these features will enable you to use oil paints effectively, so you can create stunning pieces that truly express your artistic vision!
Also Read This: Best Techniques to Wrap Text Around an Image in Canva
Step-by-Step Painting Techniques

Using oil paints can seem daunting at first, but once you get the hang of it, you'll be amazed at the vibrant art you can create! Let's break down a few essential painting techniques to help you get started on your canvas.
1. Preparing Your Canvas: Before diving into painting, make sure your canvas is primed. You can use acrylic gesso to create a smooth surface that encourages the oil paint to adhere properly.
2. Sketch Your Design: Lightly sketch your design with a pencil or thin brush and paint. This approach helps to outline your composition, ensuring that all elements are in place before applying the oil paint.
3. Underpainting: This initial layer, often in a monochromatic color, gives depth and can establish basic values in your artwork. It's a good way to lay down the groundwork without focusing too heavily on color.
4. Building Layers: After your underpainting is dry, start building colors gradually. Remember, oil paint dries slowly, so you can easily manipulate the layers. Use a large brush for base colors and a smaller brush for details.
5. Glazing: Once your layers are established, consider glazing. This involves applying a thin, transparent layer of oil paint over dried paint. It's a wonderful way to create rich, luminous effects!
6. Final Touches: Assess your painting at a distance and make any final adjustments. This could include adding highlights, refining details, or deepening shadows. And don’t forget to step back frequently to observe the overall composition.
Also Read This: Creating Beautiful Hands and Feet with Easy At-Home Tips
Tips for Layering and Blending
Layering and blending are crucial techniques that can elevate your oil paintings to new heights. Let's dive into some handy tips to get you smooth transitions and sumptuous depth in your artworks!
1. Fat Over Lean: Remember the golden rule: always apply 'fat' (more oil) paint over 'lean' (less oil) paint. This ensures that layers dry correctly and reduces the risk of cracking.
2. Use the Right Brushes: Different brushes can make a world of difference. Use bristle brushes for thicker applications and softer, round brushes for blending. Experiment with different sizes to see what works best for you!
3. Blending Techniques:
- Dry Brushing: Lightly drag a dry brush over the surface to soften edges without adding more paint.
- Sgraffito: Scratch into wet paint to mix colors or reveal the base layer, creating texture.
- Scumbling: Apply a thin, opaque layer of paint over dried paint, allowing the underlayer to show through slightly.
4. Palette Knife Techniques: Don't shy away from using a palette knife! It can add texture and create sharp lines that brushes may not achieve.
5. Keep Your Palette Wet: To prolong blending time, create a wet palette or cover your paints with a plastic wrap when taking a break. This helps keep the oils from drying out too quickly.
Remember, practice makes perfect! Have fun with the process and celebrate the unique textures and colors that oil paints can create.
Also Read This: Stunning Graphics for Wedding Planners with VectorStock
Caring for Your Finished Artwork
Caring for your finished oil painting is essential to ensure it remains vibrant and preserved for years to come. Here are some valuable tips to help protect your masterpiece:
- Allow Sufficient Drying Time: Oil paints can take a long time to dry completely—sometimes weeks or even months. Ensure your artwork is fully dry before applying any protective coatings or hanging it up. A blend of lead white or certain hues may extend drying time, so be patient!
- Use a Proper Varnish: After your painting is dry, consider applying a varnish to enhance its depth and sheen, while also providing a protective layer against dust and UV light. When selecting a varnish, you can choose between gloss, satin, or matte finishes based on your desired look.
- Store Carefully: If you’re not displaying your artwork right away, store it upright in a cool, dry place. Avoid stacking canvases directly on top of one another to prevent scratches or pressure marks. Use bubble wrap or cloth for added protection.
- Avoid Direct Sunlight: Display your painting away from direct sunlight and harsh lighting to prevent fading. Consider using UV-filtering glass or acrylic when framing, which provides additional protection.
- Clean with Caution: Use a soft, dry brush or a microfiber cloth to remove dust. Avoid water, as it can disintegrate the paint over time. If a deep clean is needed, consult a professional conservator.
By implementing these care tips, your oil painting can remain stunning and intact, allowing you to enjoy it for a lifetime.
Conclusion and Final Thoughts
Creating beautiful art with oil paints on canvas can be an incredibly satisfying journey. As we’ve explored throughout this post, there are myriad techniques, tools, and materials at your disposal to elevate your art-making experience.
From understanding the basics—like how oil paints work, the tools you’ll need, and the techniques to apply—forging ahead with your own creative expression is what's most vital. Remember, art is personal; it should reflect your individuality and style.
Reflecting on our discussion, here are a few closing thoughts:
- Experiment: Don’t shy away from mixing colors, trying new brushes, or varying your techniques. The beauty of art lies in exploration!
- Practice Patience: Oil painting can be time-consuming but allows for corrections and layering in ways other mediums can’t. Enjoy the process.
- Seek Inspiration: Whether it’s from nature, photography, or other artists—always be open to new sources of inspiration that ignite your creativity.
In conclusion, using oil paints on canvas opens a world of possibilities for stunning artwork. Equip yourself with knowledge, embrace your creativity, and most importantly, have fun while painting!
 admin
admin


