Changing your WiFi password in Windows 7 can elevate your network security and keep unauthorized users at bay. It’s a straightforward process, but it’s something many people overlook. Whether you’re looking to secure your network after a guest visit or want to refresh your password regularly, knowing how to do this can save you from unwanted access. Let’s dive into the steps you need to follow to change your WiFi password seamlessly.
Step-by-Step Guide to Changing Your WiFi Password
Follow these simple steps to ensure your WiFi password is updated quickly and accurately. Grab your laptop, make sure it's connected to the WiFi network, and let’s get started!
- Open Network and Sharing Center:
Click on the network icon located in the lower-right corner of your screen. From there, select "Open Network and Sharing Center." This will take you to a menu where you can manage network settings.
- Select Wireless Network:
In the Network and Sharing Center, find your active WiFi connection. It will usually be displayed right at the top. Click on the name of your WiFi network next to "Connections."
- Access Wireless Properties:
A new window will pop up. Click on the "Wireless Properties" button. This is where all your network settings are stored.
- Go to the Security Tab:
In the Wireless Network Properties window, navigate to the "Security" tab. Here, you’ll see the network security key, which is your current WiFi password.
- Change the Password:
In the "Network security key" box, erase the old password and type in your new one. It’s good practice to use a combination of letters, numbers, and special characters to create a strong password.
- Save Your Changes:
After entering your new password, hit “OK” and then “Close” to exit the Wireless Properties. Voila! Your WiFi password is now updated.
Remember to update the password on all your devices that connect to this WiFi network. That way, you ensure a seamless browsing experience without interruptions!
Accessing Network and Sharing Center
Changing your WiFi password in Windows 7 starts with a few straightforward steps. The first step is to access the Network and Sharing Center. But where do you find this elusive center?
Well, don't worry; it's right within your reach! Here’s how you can get there:
- First, click on the *Start button located at the bottom-left corner of your screen. This opens up the Start Menu.
- Now, look for the Control Panel option in the list and click on it. You’ll feel like you’re stepping into the control room of your computer!
- Once you're in the Control Panel, find and select Network and Internet. It's like finding the link to your WiFi world.
- Next, click on Network and Sharing Center. Voila! You’ve made it!
In the Network and Sharing Center, you'll see a simple layout of your network connections. It’s here you can manage your networks, see who’s connected, and make changes like updating your WiFi password. If you ever feel overwhelmed, don’t hesitate to explore the options here; it’s user-friendly and intuitive!
And there you go! You’re all set to dive deeper into managing your WiFi settings. Ready to move on?
Finding Your Wireless Network
Now that you’ve accessed the Network and Sharing Center, the next step is to identify your wireless network. Understanding which network you’re connected to is crucial since you’ll need to modify its settings, including the password.
Let’s break it down:
- In the Network and Sharing Center, look for the section titled View your active networks.
- Here, you will see a list that displays your current connections. Under the Connections* heading, you should see your WiFi name (SSID). It typically resembles a friendly name — like "HomeWiFi" or "CoffeeShop_WiFi".
- Click on your network name, which should be highlighted or underlined. This takes you to the status page of your wireless network.
On this page, you'll find essential details about your connection. It will also give you options to troubleshoot or make changes. If you're unsure if this is the right network, you can check with your router's label or settings. Once confirmed, you’re one step closer to changing that WiFi password!
And just like that, you’re on your way to keeping your network secure. Excited to change that password now?
5. Changing the WiFi Password
Changing your WiFi password is essential for maintaining network security. If you suspect that unauthorized individuals might be using your connection or if you’ve recently changed roommates, it’s a good idea to update your password. Plus, it’s always refreshing to change it periodically! Let's go through the steps to change your WiFi password in Windows 7.
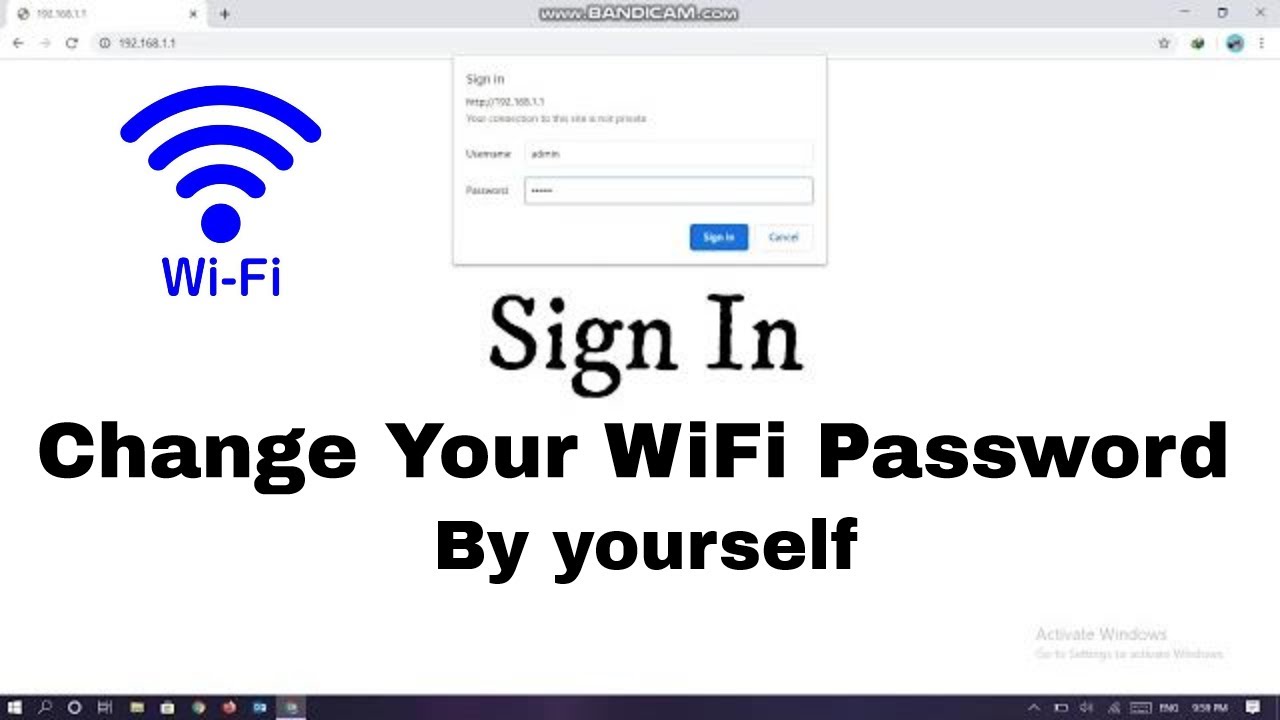
First, you need to access your router's settings. Here’s how you do that:
- Connect to your network: Ensure your computer is connected to the WiFi network you want to modify.
- Open a web browser: Type in your router's IP address into the address bar. Common IP addresses are
192.168.1.1or192.168.0.1. If unsure, check the back of your router for the correct address. - Log in: Enter the router's admin username and password. If you haven't changed these, they may still be the defaults. Again, these can usually be found on your router or in the manual.
- Locate the WiFi settings: Look for tabs or sections titled "Wireless", "WiFi", or "Wireless Security". This is where you can set your new password.
- Change the password: Find the field labeled "Wireless Password", "Passphrase", or something similar. Enter your new password. Make it strong – a mix of letters, numbers, and symbols is best!
- Save changes: Don’t forget to click “Save” or “Apply” to confirm your new password. Your router may restart, and you’ll need to reconnect using your new credentials.
And that’s it! You’ve successfully changed your WiFi password. Don’t forget to update the password on any devices that use your network!
6. Conclusion and Tips for Securing Your WiFi Network
Changing your WiFi password is just one step in securing your network. By following the steps we’ve discussed and implementing further security measures, you can protect your data and ensure that your internet connection remains private and secure.
Here are some additional tips to help you reinforce your WiFi security:
- Use WPA3 encryption: If your router supports it, choose WPA3 over older protocols like WEP or WPA, as it offers better protection.
- Change your router's default admin login: Often, routers come with default usernames and passwords. Change these to something unique to prevent unauthorized access.
- Hide your SSID: This prevents your network from being easily discovered by others. You'll need to manually connect devices, but it adds an extra layer of security.
- Enable MAC address filtering: This allows only specified devices to connect to your network, adding an additional barrier for unauthorized users.
- Regularly update router firmware: Manufacturers frequently release updates to improve security and performance. Make sure your router is always running the latest version.
By keeping your password fresh and implementing these tips, you'll help ensure that your WiFi network stays secure for you and your devices. Happy surfing!
 admin
admin


