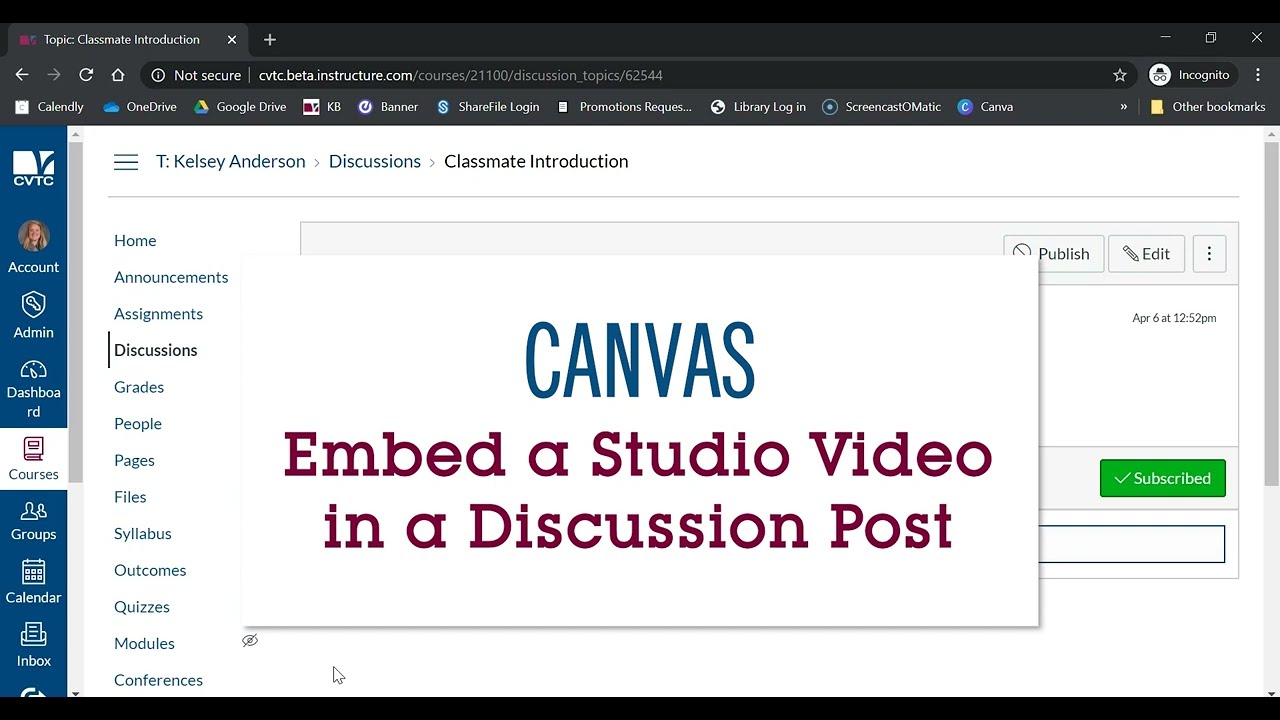
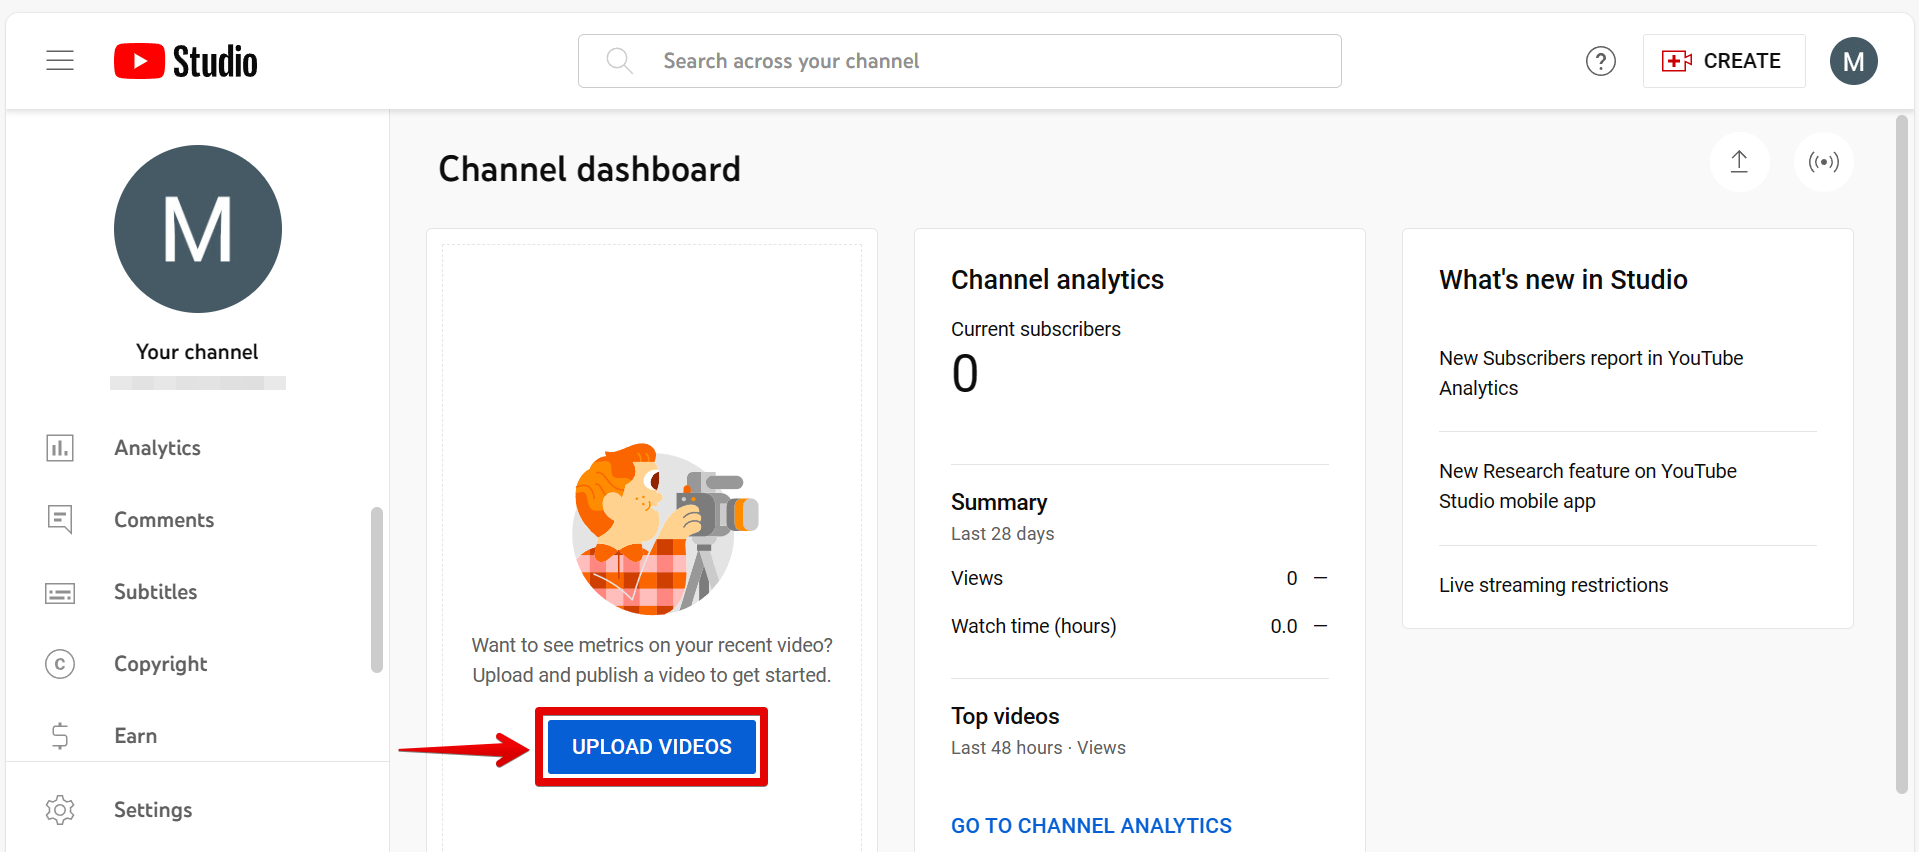
Uploading a YouTube video to Canvas can seem tricky at first, but don't worry! In this guide, we'll walk you through the entire process step by step, making it super easy to share your video content with your students or audience. Whether you're an educator wanting to enrich your courses or a creator aiming to integrate your content into your learning management system, following these steps will have you uploading those videos in no time. Let’s dive right in!
Step 1: Prepare Your YouTube Video

Before you can upload your YouTube video to Canvas, you need to ensure that your video is ready and accessible. This preparation phase is crucial as it sets the foundation for a smooth integration. Here's how to go about it:
- Choose the Right Video: Start by selecting the video you want to upload. This could be one of your own creations or a video you have permission to use.
- Check Your Video Settings: Make sure the video on YouTube is either set to 'Public' or 'Unlisted'. Keep in mind that 'Private' videos cannot be embedded in Canvas.
- Gather Essential Info: Note down the URL of your YouTube video. You can find this by going to your video on YouTube and copying the link from the address bar.
- Prepare a Thumbnail (Optional): If you want your video to look professional, consider creating a custom thumbnail that will attract viewers. YouTube gives you the option to upload a custom thumbnail when you upload the video.
- Get Permission (If Needed): If you are planning to use someone else's video, ensure you have permission to share or embed it. It’s always better to respect copyright and intellectual property rights.
Once you’ve completed these preparatory steps, you’re all set to head into the actual upload process. Remember, a well-prepared video will help make your Canvas course more engaging and interactive!
Also Read This: Inspiring DIY Handicrafts Ideas to Watch on Dailymotion
Step 2: Access Your Canvas Account

Before diving into the world of video uploads, you need to access your Canvas account. This step is pretty straightforward, but let’s break it down a little to ensure you don’t miss anything important!
First things first, open your favorite web browser and head over to your institution's Canvas login page. Here’s how you can do it:
- Type in the URL that your school or organization provided. This could be something like canvas.yourschool.edu.
- Once the page loads, look for the login fields. You’ll typically see a place to input your username and password.
If you’re using a single sign-on (SSO) method, you might need to click on an SSO button instead. Just follow the prompts that appear!
After filling in your login credentials, hit Enter or click the Log In button. Machine learning might even help you out here: if you had the “Remember Me” option selected last time, you might be whisked straight into your account!
And voila! You’re in. If you experience any issues, don’t hesitate to contact your institution’s IT support – they’re there to help you!
Also Read This: Taking Photos from Alamy to a Print Shop What You Should Know
Step 3: Navigate to the Course Where You Want to Upload

Now that you’re logged into your Canvas account, it’s time to find the specific course you want to upload your YouTube video to. This is pretty intuitive, but let’s go through it step-by-step.
Here’s how to get to your course:
- On the Canvas dashboard, you will see a list of courses you are enrolled in. It might look something like this:
| Course Name | Course Code | Status |
|---|---|---|
| Introduction to Psychology | PSY101 | Active |
| Statistics 101 | STA101 | Active |
| World History | HIS201 | Inactive |
To proceed, just click on the name of the course where you want to upload your video. If it’s not immediately visible on your dashboard, you can use the search bar at the top and type in the course name.
Once you’ve clicked into the right course, check out the sidebar located on the left-hand side. You’ll find various options, such as Assignments, Discussions, and Modules. This is where you start to really find your way towards uploading your video!
Also Read This: How to Wrap Text Around an Image Using CSS
Step 4: Use the Rich Content Editor

Alright, now we’re diving into the exciting part—using the Rich Content Editor! This handy tool in Canvas lets you customize how your content looks and feels. It’s super user-friendly, so don’t worry if you’ve never used it before.
To kick things off, navigate to the assignment or page where you want to embed your YouTube video. Once you’re there, look for the Rich Content Editor. You’ll recognize it by its familiar toolbar—that’s where all the magic happens!
- Text Formatting: You can easily adjust fonts, sizes, and colors to match your style. Want your text to pop? Use bold or italics!
- Add Links: If you want to add resources or related content, just highlight the text and click the link icon in the toolbar.
- Insert Multimedia: Besides videos, you can add images and audio clips here. Just click on the “Insert” menu to explore options!
- Preview Your Content: Canvas allows you to see how your content will look. Don’t forget to use this feature to ensure everything is just right.
Remember, it’s all about enhancing the learning experience. So feel free to get creative and make your content as engaging as possible!
Also Read This: How to Create a Waterfall Braid on Yourself for an Easy DIY Hairstyle
Step 5: Embed the YouTube Video
Now that you've got your Rich Content Editor set up and ready to go, it's time for the easiest part of all: embedding your YouTube video. This is where you transform your course material into a multimedia experience!
Here’s how to do it:
- Copy the YouTube URL: Head over to your video on YouTube. Click on the “Share” button beneath the video and copy the provided link. This is your golden ticket!
- Return to Canvas: Back in the Rich Content Editor, find a spot where you’d like the video to appear.
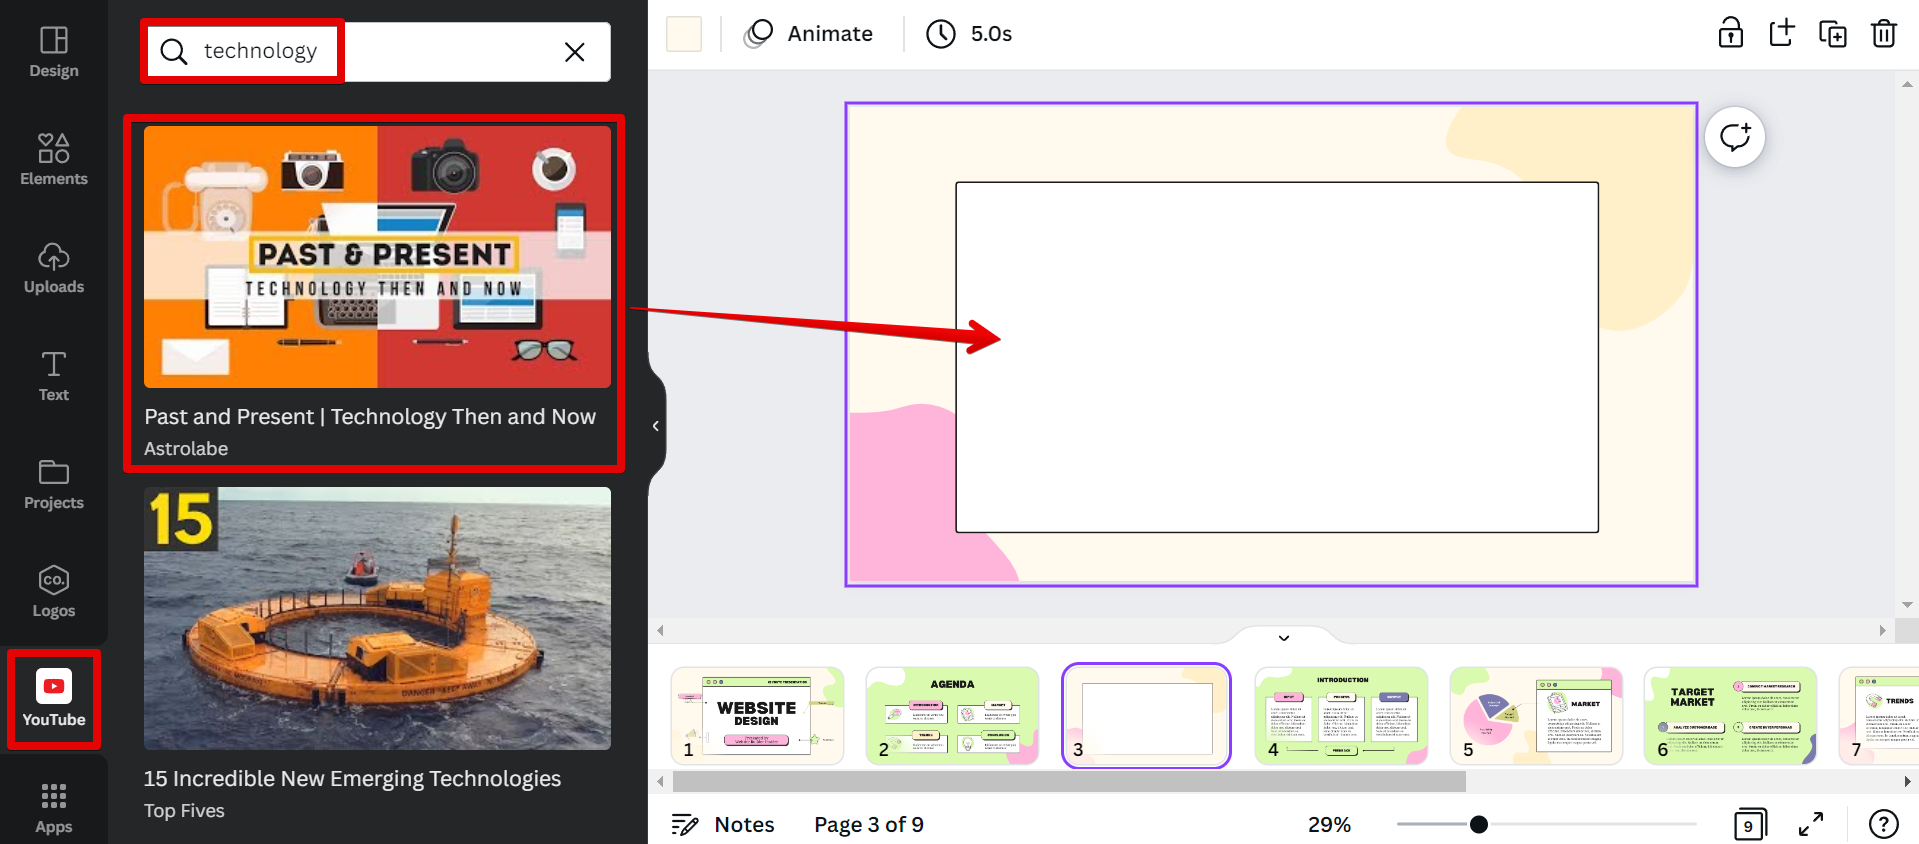
- Insert the Video: Click on the “Embed” icon (it looks like a little film strip) in the toolbar. You can paste your video URL here. Canvas will do the heavy lifting for you!
- Adjust Settings: Before finalizing, check the settings. You can adjust the width and height or choose if the video should autoplay. Anything that fits your course vibe!
- Save Your Changes: Don’t forget this crucial step! Hit that 'Save' button to ensure everything is stored and visible to your students.
Voila! You’ve successfully embedded a YouTube video into Canvas. Now your students can enjoy an immersive learning experience that can really make concepts come alive. Happy teaching!
Also Read This: Understanding Why YouTube Brightens in Fullscreen Mode
Step 6: Save and Publish
Once you’ve inserted your YouTube video into Canvas, the next logical step is to save your work and publish it so that your students can view it. This is where all your hard work starts to take shape!
Let’s break down the steps involved in saving and publishing your content:
- Review Your Content: Before saving, take a moment to review your video placement, title, and any additional context you’ve provided. It's crucial to ensure everything looks just right for your audience.
- Click the “Save” Button: Once you're satisfied with your video and any accompanying text, locate the “Save” button typically found at the bottom or top right of the Canvas editor. Clicking this will ensure your current edits won't be lost.
- Publish Your Content: To make your video visible to your students, you’ll need to hit the “Publish” button. This option might appear as “Post” or “Publish” depending on your specific settings. It’s essential to do this step; otherwise, only you will see the content!
- Confirmation: After clicking publish, you should see a confirmation message indicating that your content is now live. Take a quick moment to double-check that everything is functioning as intended.
And there you have it! Your YouTube video is now officially part of your Canvas course. Bear in mind that you can always go back and edit or update these settings if necessary, ensuring your materials remain fresh and engaging.
Conclusion
Uploading a YouTube video to Canvas doesn’t have to be a daunting task. By following the simple steps we've outlined, you can seamlessly integrate multimedia into your course, significantly enriching the learning experience for your students.
Here’s a quick recap of the process:
- Create a new page or edit an existing one.
- Use the YouTube embed link to add your video.
- Customize the video settings for accessibility.
- Save and publish your content to share with students.
With the right approach, your course can benefit from the engaging qualities of multimedia, promoting greater student interaction and understanding. Remember, the integration of video into education is one of the most effective methods to capture attention and convey complex concepts.
As you move forward, don’t hesitate to explore other multimedia options, like quizzes or discussions, to further enhance your Canvas courses. Happy teaching!
 admin
admin


