Have you ever wondered what goes into the nail polish you use? While commercial brands can be fun, making your own homemade nail polish opens a world of possibilities! Not only can you customize your colors, but you also have control over the ingredients—something that many people are increasingly interested in. Imagine creating a unique shade that matches your outfit perfectly or making a fun glitter polish for a special event. In this guide, we’ll explore everything you need to know about homemade nail polish, from the basic ingredients to tips for perfecting your formula!
Benefits of Making Your Own Nail Polish

So, why should you dive into the world of DIY nail polish? Let’s break down some of the exciting benefits:
- Customization: When you make your own nail polish, you get to mix and match colors and finishes. Want a bold fuchsia with a hint of gold shimmer? You can create it!
- Control Over Ingredients: Many commercial nail polishes are packed with chemicals that can be harmful. Making your own means you can choose natural, less toxic ingredients, which is especially appealing to those with sensitivities or allergies.
- Cost-Effective: Buying nail polish can add up quickly. By making it at home, you can save money in the long run, especially when you create larger batches or use leftover pigments from other crafts.
- Creativity: The process of making nail polish is creative and fun! Experimenting with different colors and finishes lets you unleash your artistic side.
- Perfect for Gifting: Homemade nail polish makes a thoughtful and personal gift. You can mix up a special batch based on your friend's favorite colors!
Overall, making your own nail polish is not just a fun project; it’s a way to express yourself and take charge of what goes on your nails!
Essential Ingredients Required

Creating your own homemade nail polish can be an exciting and rewarding experience. To get started, you’ll need a few essential ingredients. Let’s break it down:
- Base (Clear Nail Polish): This will serve as the primary foundation for your coloring. Clear nail polish is easy to find and is key to achieving that smooth application.
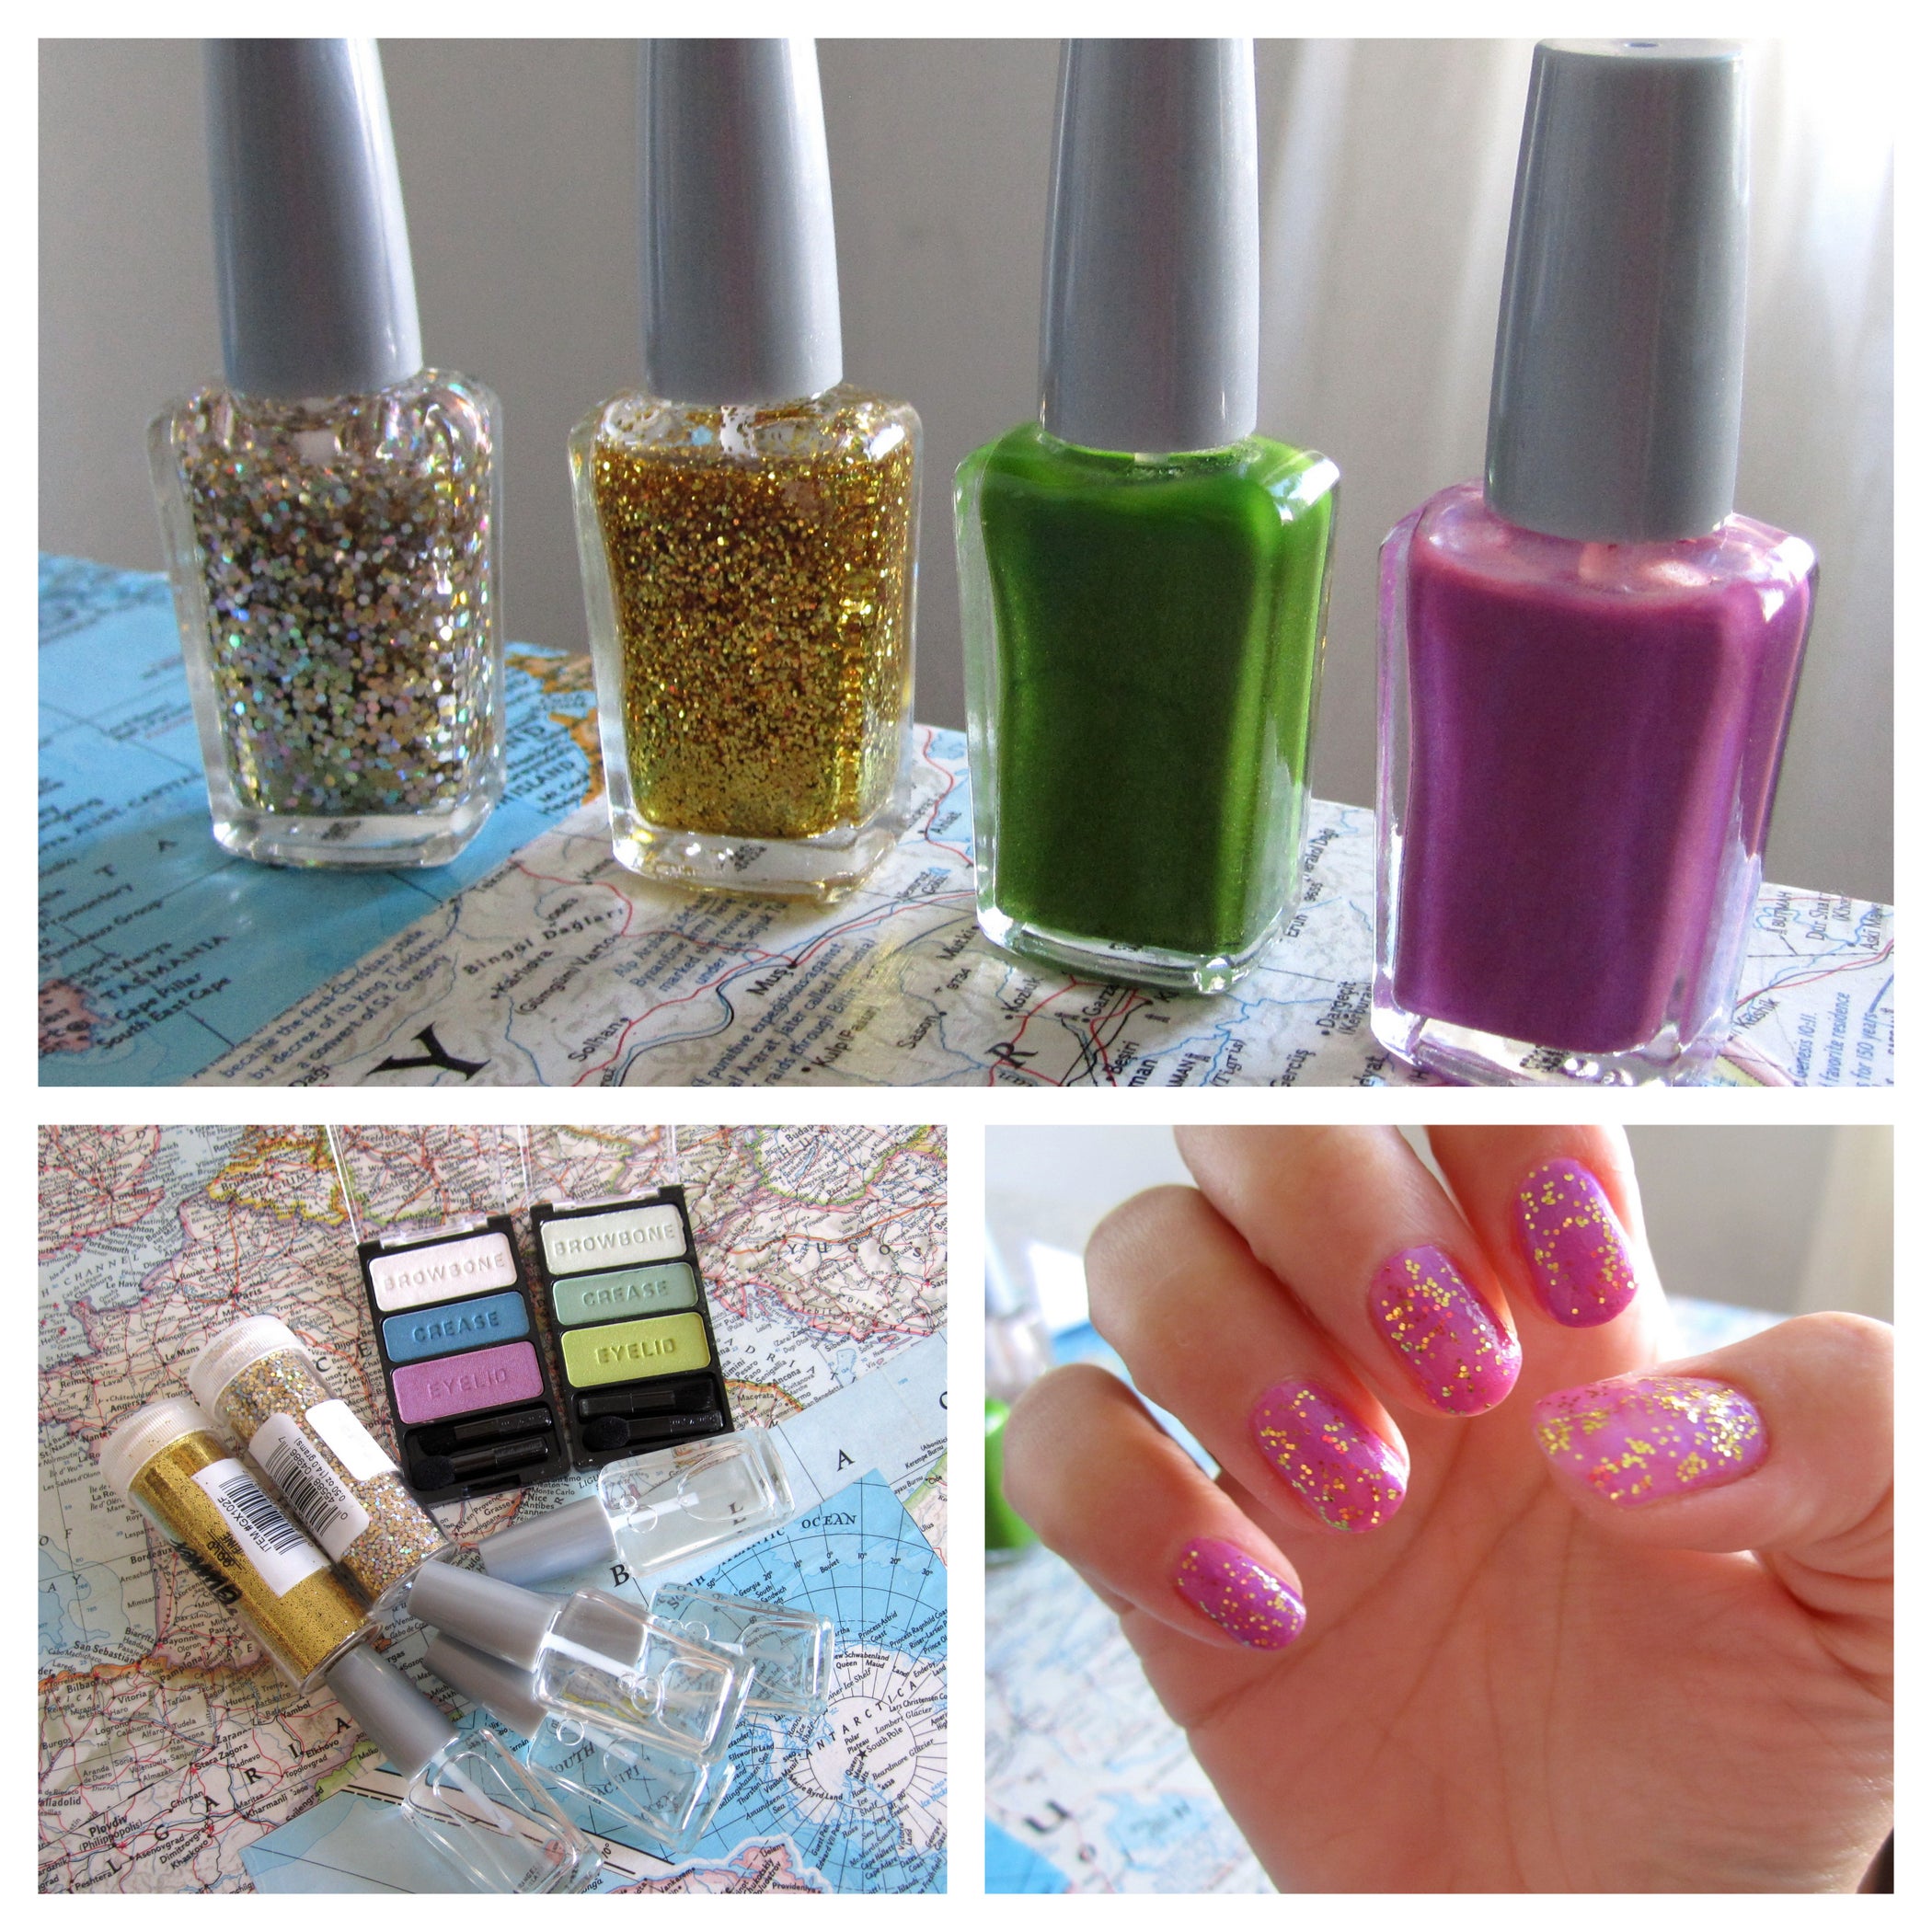
- Color Pigments: These are what give your nail polish its vibrant shade! You can use eye shadow, blush, or cosmetic-grade pigments. Just a small amount goes a long way!
- Thinner: If you find your polish too thick, consider adding a nail polish thinner that’s store-bought, or even a touch of clear acetone for consistency.
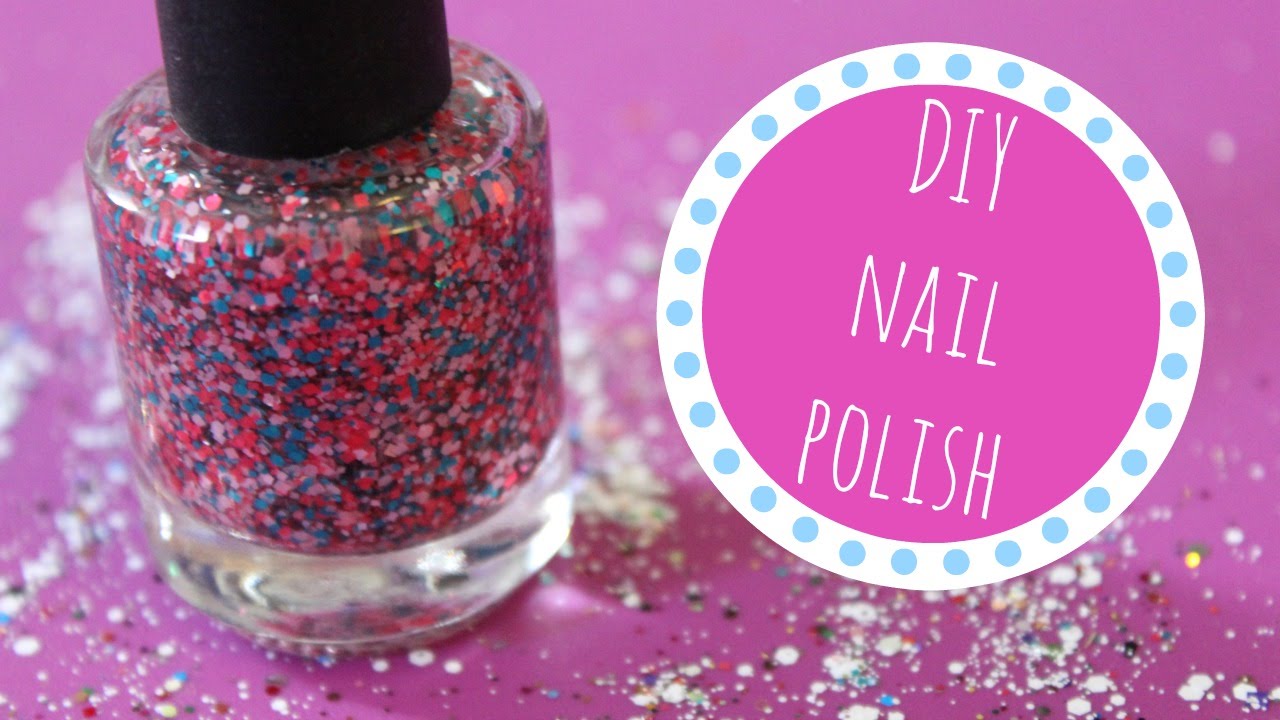
- Glitter (Optional): Want some sparkle? Add cosmetic glitter for a fun, glitzy effect. Just ensure it’s safe for nails!
- Essential Oils (Optional): For a pleasant scent or added benefits like hydration, essential oils like lavender or lemon can be a perfect addition.
- Small Mixing Tools: You'll need a bowl or a small container for mixing, a stirring stick or toothpick, and a funnel for easy transfer into your polish bottle.
With these ingredients on hand, you’re well on your way to creating customized nail polish tailored just for you. Once you have everything assembled, it’s time to move on to the fun part—making the polish!
Step-by-Step Guide to Creating Nail Polish

Here’s a simple, step-by-step guide to whip up your very own nail polish at home. Let’s dive in!
- Gather Your Ingredients: Start by ensuring that you have all the necessary ingredients and tools listed above.
- Choose Your Color: Select a color pigment or combination of pigments. If you’re using eyeshadow or blush, scrape a small amount into your mixing bowl.
- Add the Base: Pour the clear nail polish into the bowl with your color pigment. It’s typically a 1:1 ratio, but you can adjust to your desired opacity.
- Mix Well: Using your stirring stick or toothpick, mix thoroughly until the color is evenly distributed and there are no lumps. This might take a little time, so be patient!
- Adjust Consistency: If the polish feels too thick, carefully add a few drops of thinner or acetone. Mix again until you reach the desired consistency.
- Add Glitter and Scents: If you're feeling fancy, toss in some cosmetic glitter and a few drops of essential oils. Give it another good mix!
- Transfer Your Polish: Using a funnel, carefully pour your homemade polish into a clean nail polish bottle. Ensure it's sealed tightly.
- Test It Out: Finally, apply a coat to your nails! Give it time to dry and check out your stunning custom creation!
And there you have it! A simple way to make nail polish that’s uniquely yours. Feel free to experiment with different colors and additives to find your perfect blend.
Tips for Customizing Your Nail Polish
Want to give your homemade nail polish a personal touch? Customizing your very own nail polish can be a fun and creative experience! Here are some tips to help you create a shade that's uniquely yours:
- Color Mixing: Just like when you were a kid with crayons, you can mix colors to achieve the perfect shade. Start with a base color and gradually add other pigments until you get just the right hue.
- Texture Addition: Want a little sparkle or shimmer? Incorporate glitter or mica powders! Just be careful not to add too much—start small, and build up the sparkle to your liking.
- Fragrance: Add a few drops of your favorite essential oil to give your nail polish a delightful scent. Be mindful of the amount, though; you want a subtle fragrance, not an overpowering one.
- Finishing Touches: Consider adding a matte or glossy topcoat into your mix for a fun finish. The topcoat can change the way your color looks and feels!
- Experiment: Don't be afraid to try out different combinations! Take notes on what you did, so you can recreate your favorites. Remember, each attempt is a new adventure!
Remember, customizing nail polish is all about having fun, so let your creativity shine through. Enjoy the process, and you might discover your new favorite shade!
Storage and Shelf Life of Homemade Nail Polish
Once you’ve poured your love into making your own nail polish, it's crucial to store it properly to maintain its quality. Here’s the lowdown on how to ensure your creation lasts:
- Keep It Cool: Store your nail polish in a cool, dark place away from direct sunlight. Heat and light can alter the pigments and ingredients, which may affect color and consistency.
- Seal Tight: Always make sure the lid is securely fastened. This will prevent the solvent from evaporating and keep your polish from thickening.
- Shake It Up: Before using, gently shake the bottle to mix any settled ingredients. However, try not to shake it too vigorously, as this can create bubbles.
As for shelf life, homemade nail polish typically lasts around 6 to 12 months, depending on the ingredients used. If it starts to smell off, looks chunky, or separates significantly, it’s time to toss it out. Keeping your ingredients fresh from the get-go can extend its life, so always choose high-quality base items.
By following these storage tips, you’ll ensure that your personalized shades stay vibrant and ready to use whenever you're in the mood to pamper your nails!
Where to Watch DIY Nail Polish Tutorials
When it comes to mastering the art of homemade nail polish, watching tutorials can really speed up your learning process. YouTube is a treasure trove of DIY content, where you can find countless channels dedicated to nail art and nail care. Just search for “DIY nail polish tutorials” and you'll be amazed at the variety of creative ideas and techniques you can learn!
Here are a few platforms you should consider:
- YouTube: Channels like "Nail Art with Faith" or "Cute Polish" offer easy-to-follow guides and tips.
- Instagram: Many nail artists share quick tutorials in their reels. Look for hashtags like #NailPolishDIY.
- TikTok: Short, snappy videos make it easy to learn and get inspired with trendy DIY nail polish recipes.
- Pinterest: A great place to find both images and links to comprehensive tutorials from various bloggers and DIY enthusiasts.
- Blogs: Websites dedicated to beauty often feature in-depth articles with step-by-step instructions and videos.
Don’t forget to check the comments or the community section for additional tips and advice from fellow DIY fans! Engaging with the content will enhance your understanding and spark creativity. The beauty community is incredibly supportive, so feel free to ask questions as you dive deeper into creating your own nail polish.
Conclusion and Encouragement to Get Started
Creating your own homemade nail polish is not only a fun and creative endeavor but also an empowering experience. You have total control over the ingredients, colors, and finishes, which means you can make polishes that reflect your personal style and even cater to your sensitivities!
As you embark on this journey, remember that experimentation is part of the fun. Your first few attempts might not turn out exactly as you hoped, but that’s completely okay! Here are some words of encouragement as you start:
- Be Patient: Mastering DIY nail polish takes practice. Don't rush the process—enjoy it!
- Get Creative: Play around with colors and textures. Mixing and matching can lead to beautiful outcomes.
- Document Your Journey: Keep track of your favorite recipes and results. It can be rewarding to see your progress over time.
- Share Your Creations: Join online communities, share your photos, and connect with others who share your passion.
So, gather your materials, choose a recipe that excites you, and dive in! Making your own nail polish can be incredibly satisfying, and you might just discover a new favorite hobby along the way. Happy crafting!
 admin
admin


