Contouring powder is a game-changer in the world of makeup, especially when it comes to achieving that sought-after sculpted look. If you’ve ever seen those jaw-dropping transformations online and wondered how to replicate them, you're in the right place! Think of contouring as the art of playing with light and shadow on your face. By strategically applying darker shades in certain areas and lighter shades in others, you can enhance your natural features and create the illusion of bone structure. Whether you're preparing for a night out or aiming for an everyday look, mastering contouring might just become your new favorite beauty skill.
Choosing the Right Contouring Powder

Finding the perfect contouring powder can feel overwhelming given the plethora of options available. However, understanding your skin tone, texture, and personal preferences can make this process a lot simpler. Here's a handy guide to help you choose the right contouring powder:
- Know Your Skin Tone: The first step is to determine your undertone. Are you warm, cool, or neutral? This will help you select a contour shade that complements your skin. Generally:
- Warm undertones: Look for shades with a golden or peachy base.
- Cool undertones: Opt for shades with gray or taupe undertones.
- Neutral undertones: You can comfortably wear both warm and cool shades.
- Choose the Right Finish: Contouring powders come in various finishes—matte, satin, and shimmery. For a natural sculpted look, matte finishes tend to work best as they mimic natural shadows.
- Consider the Texture: Velvety, finely milled powders blend seamlessly into the skin. If you have dry or textured skin, try to avoid overly chalky formulas that can emphasize imperfections.
- Test Before You Commit: Always swatch the product on your jawline to see how it blends with your skin. Lighting can also play a crucial role; what looks good in the store may appear different in natural light.
With these tips in mind, selecting the right contouring powder will be a breeze, and you'll be one step closer to achieving that flawless, sculpted look.
3. Essential Tools for Contouring

Before diving into the world of contouring, it's important to gather your essential tools. Having the right equipment ensures that your makeup application is as seamless and effective as possible. Here are the must-have tools for contouring:
- Contouring Powder: Choose a contouring powder that is a few shades darker than your skin tone. Cream formulas can also work if you prefer a more blended appearance.
- Highlighter: A complimentary highlighter is key for achieving that sculpted look. Opt for a powder or liquid highlighter that gives a radiant glow.
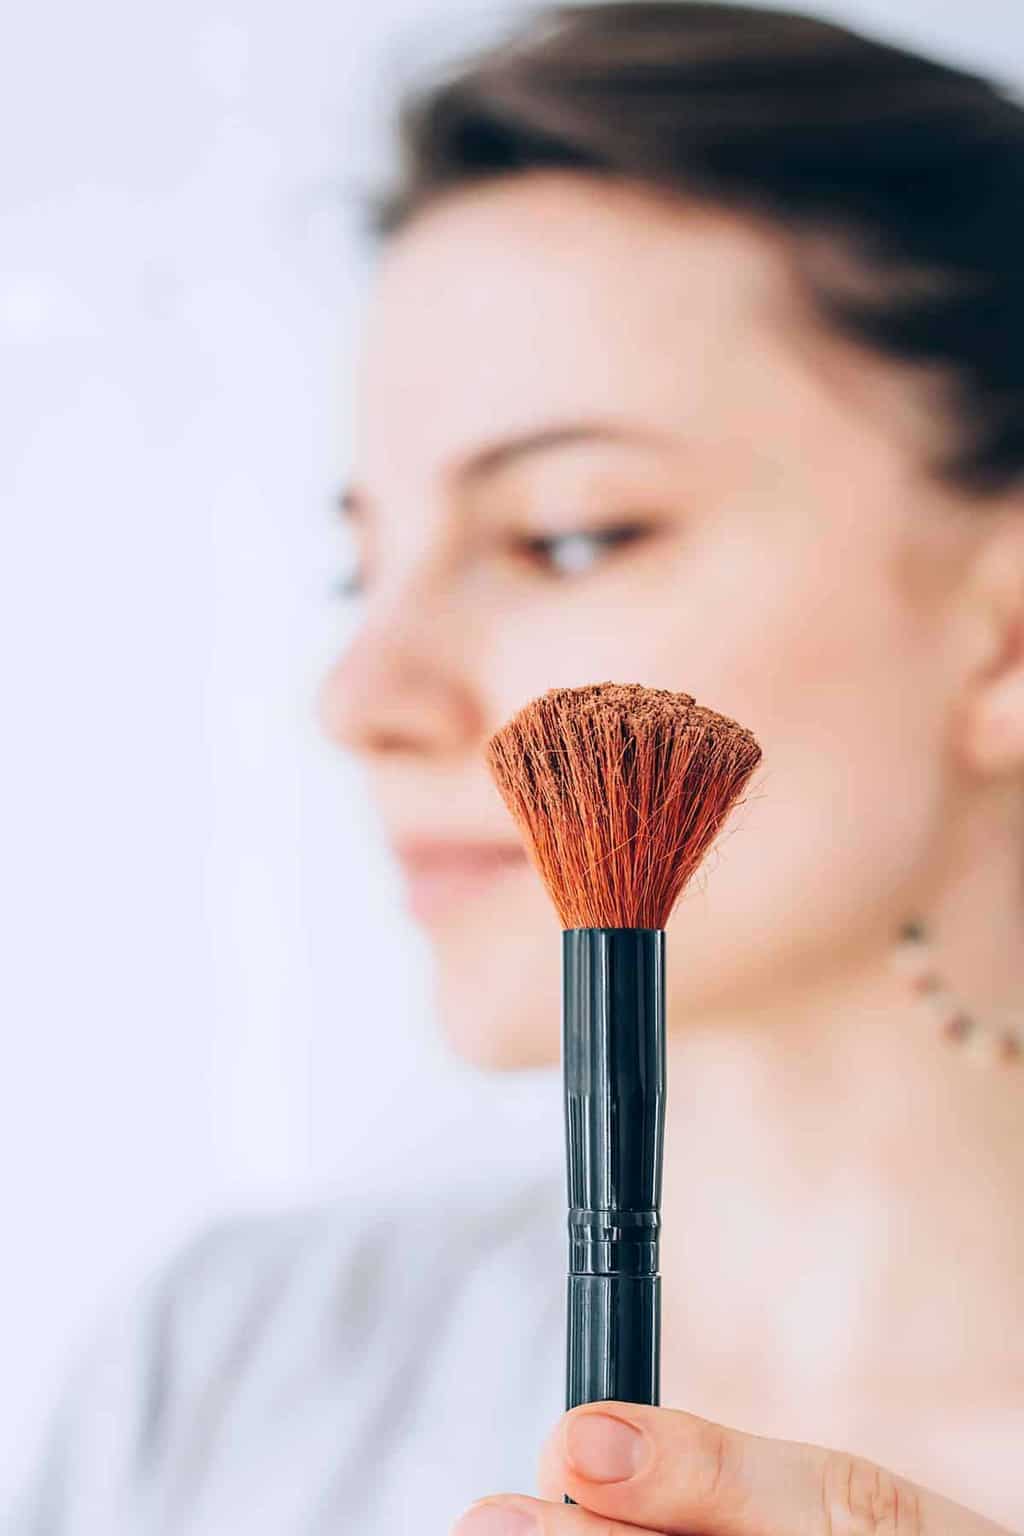
- Makeup Brushes: Invest in a variety of brushes. A fluffy brush works great for blending, while a smaller angled brush is perfect for applying contour precisely.
- Beauty Blender or Sponge: A damp sponge is excellent for blending the contour and highlighter, creating a soft, natural finish.
- Mirror: A good mirror, preferably with magnification, allows you to see every angle and detail of your face. Natural lighting is also a bonus!
Consider using a contour kit that includes both contour and highlight shades. This can simplify your process and ensure you’re using complementary colors!
4. Step-by-Step Guide to Applying Contouring Powder

Getting that sculpted look might seem intimidating at first, but with a little practice, you’ll be contouring like a pro! Follow these simple steps:
- Prep Your Face: Start with a clean, moisturized face. Apply your foundation and concealer first to even out your skin tone.
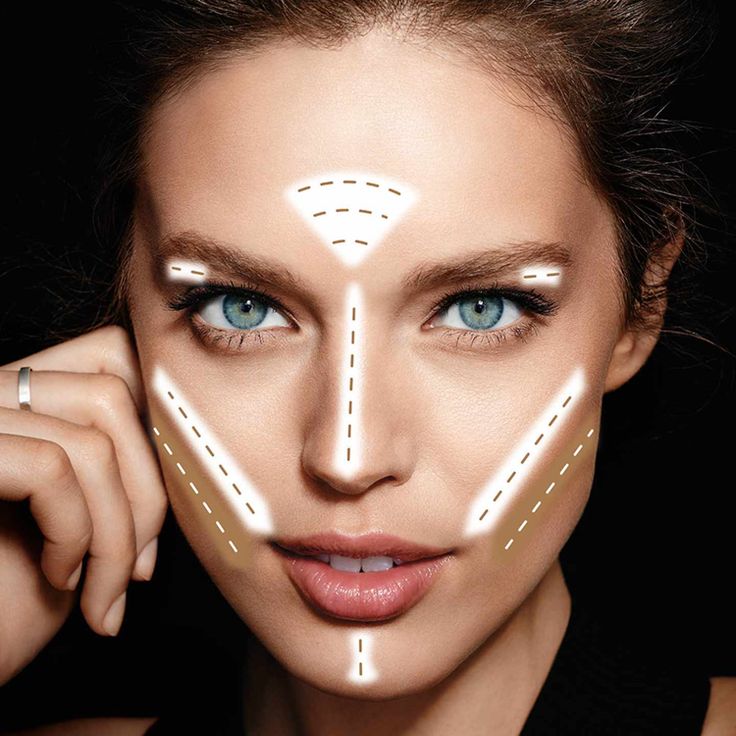
- Map Out Your Face: Use a contouring powder to outline areas you want to sculpt. Focus on the hollows of your cheeks, the sides of your nose, your jawline, and your forehead.
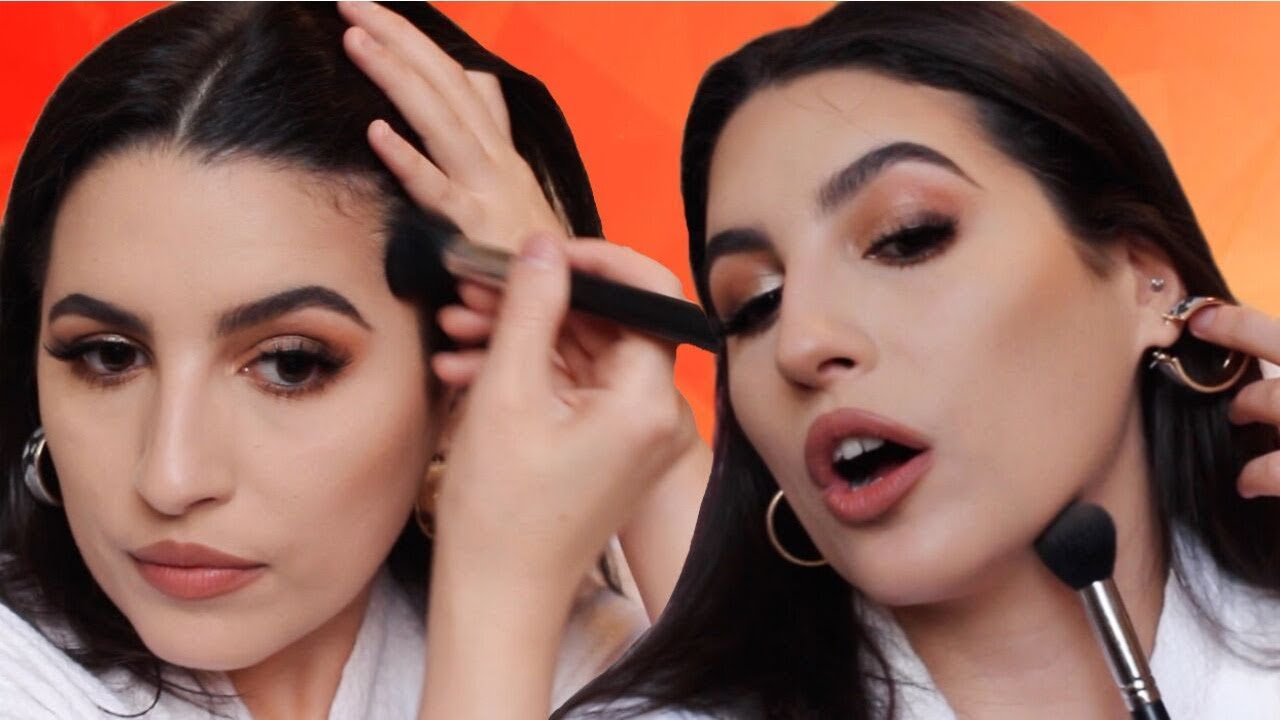
- Apply Contour: Using an angled brush, apply the contour powder in the mapped-out areas. Remember to blend well! The aim is to make it look natural.
- Add Highlighter: Apply your highlighter on the high points of your face, such as the tops of your cheekbones, the bridge of your nose, and the cupid's bow.
- Blend, Blend, Blend: Use a clean, fluffy brush or a beauty blender to blend everything together for a seamless finish. You want to avoid harsh lines!
- Set with Powder: If you’re using cream products, set your contour and highlighter with a translucent powder to keep everything in place throughout the day.
And voila! With these steps, you’ll have a beautifully sculpted look that enhances your natural features. Practice makes perfect, so don’t hesitate to experiment with different techniques!
Common Mistakes to Avoid

When it comes to using contouring powder, even seasoned makeup enthusiasts can stumble into some common pitfalls. Here’s a rundown of mistakes you definitely want to steer clear of to achieve that perfect sculpted look:
- Going Too Dark: One of the most frequent mistakes is choosing a contour shade that's too dark for your skin tone. This can lead to harsh lines that make your makeup look unnatural. Aim for a contour powder that is one or two shades darker than your natural skin tone.
- Applying Too Much Product: Less is often more in makeup. Over-applying contour powder can create a muddy appearance rather than enhancing your features. Start with a little product and build up slowly if needed.
- Skipping Blending: Blending is key to achieving a seamless look. If you neglect this crucial step, you'll end up with stark lines that make your contour stand out for all the wrong reasons. Use a clean brush or sponge to blend everything out smoothly.
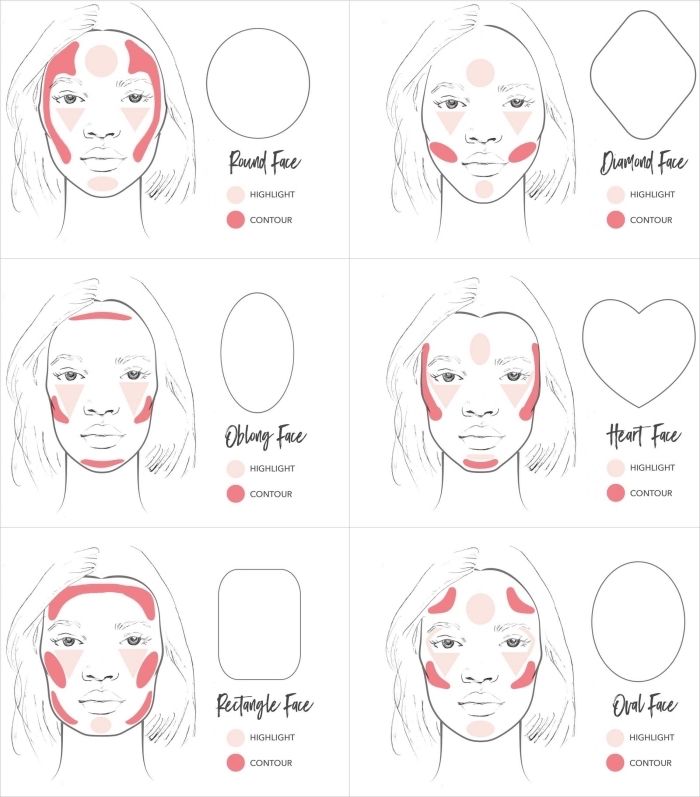
- Ignoring Face Shape: Contouring isn’t a one-size-fits-all approach. Each face shape has different areas that should be emphasized or downplayed. Familiarize yourself with your face shape to contour effectively.
- Using the Wrong Tools: The tools you use can make a significant difference. A fluffy brush may not deliver precise application, while a dense brush might apply too much product. Use a brush or sponge appropriate for the job.
By avoiding these common mistakes, you’ll be well on your way to achieving a beautifully sculpted look that enhances your natural beauty.
Tips for Achieving a Natural Look
If you want to master the art of contouring without looking overdone, aim for a natural finish. Here are some tried-and-true tips to help you keep things subtle while still defining your features:
- Choose Matte Formulations: Shiny or shimmery contour powders can draw attention to areas you may prefer to minimize. Opt for a matte finish to keep things looking more realistic.
- Focus on Shadows: Remember that contouring is about creating shadows, not just applying dark colors. So, think about the natural illumination of your face when placing your contour. Look for areas that would naturally have shadows, such as under the cheekbones and along the jawline.
- Use Natural Light: Try to do your makeup in natural daylight whenever possible. This helps you see the true effect of your contour and blend it more effectively.
- Layer Products: Instead of slapping on a heavy layer of contour, use a cream or liquid contouring product underneath your powder for a more subtle effect. Layering gives you depth and dimension without an obvious contour line.
- Highlight Strategically: Balance your contouring with some highlighting on the high points of your face. Make sure to use a soft, light shade to add a glow that contrasts the contour. This helps to create a more natural, three-dimensional effect.
With these tips, you’ll confidently enhance your features for a beautifully sculpted yet natural look that leaves you feeling fabulous.
How to Use Contouring Powder for a Sculpted Look
Achieving a beautifully sculpted face is easier than you might think with the right products and techniques. Contouring powder is a staple in makeup artistry that helps define and enhance the natural structure of your face. Below are essential tips and step-by-step guidance on how to effectively use contouring powder.
1. Choose the Right Shade
Select a contouring powder that is 1-2 shades darker than your natural skin tone. It should have a matte finish to ensure natural-looking shadows. Here are a few recommended shades:
- Light to Medium Skin: Taupe, Soft Brown
- Medium to Olive Skin: Caramel, Chestnut
- Dark Skin: Deep Brown, Ebony
2. Gather Your Tools
Invest in a few essential tools for flawless application:
- Angled contour brush
- Blending brush or sponge
- Highlighter (optional)
3. Identify Contour Areas
The main areas to contour include:
| Area | Application Tips |
|---|---|
| Cheekbones | Apply powder beneath the cheekbone and blend towards the temples. |
| Jawline | Apply along the jawline to create definition and blend well. |
| Nose | Apply contour powder along the sides of the nose for a narrower appearance. |
| Forehead | Apply at the hairline to reduce forehead size. |
4. Application Technique
Use your angled brush to pick up the contour powder, then tap off any excess. Start with small strokes and build the intensity gradually. Always blend well to ensure there are no harsh lines.
To enhance the sculpted look, apply highlighter on the high points of your face, such as the cheekbones, brow bones, and bridge of the nose.
Practice is key to mastering contouring. With these techniques, you can create stunning depth and dimension that accentuate your unique features.
Conclusion: Contouring powder is a powerful tool for achieving a sculpted appearance. By selecting the right shade, using appropriate tools, focusing on the key areas, and blending seamlessly, you can enhance your natural beauty effortlessly.
 admin
admin


